Be sure that the pages blend best with the actual design of the bath room. The checklist of bathroom flooring ideas is actually long; which includes familiar and unusual choices, though the bottom line in making the option is cleanliness and safety. Along with the many different designs & styles of flooring today, there are also a wide variety of prices.
Images about Bathroom Floor Tile Installation Instructions
Bathroom Floor Tile Installation Instructions

Nonetheless, vinyl can be utilized in innovative ways to provide the bathroom of yours great looks as well as style. No matter if you're thinking about luxury bathroom designs or a simpler one, you should take note that the floors substance depends on the amount of water spillage that happens, the timeframe you can devote for cleaning, as well as the longevity of the material.
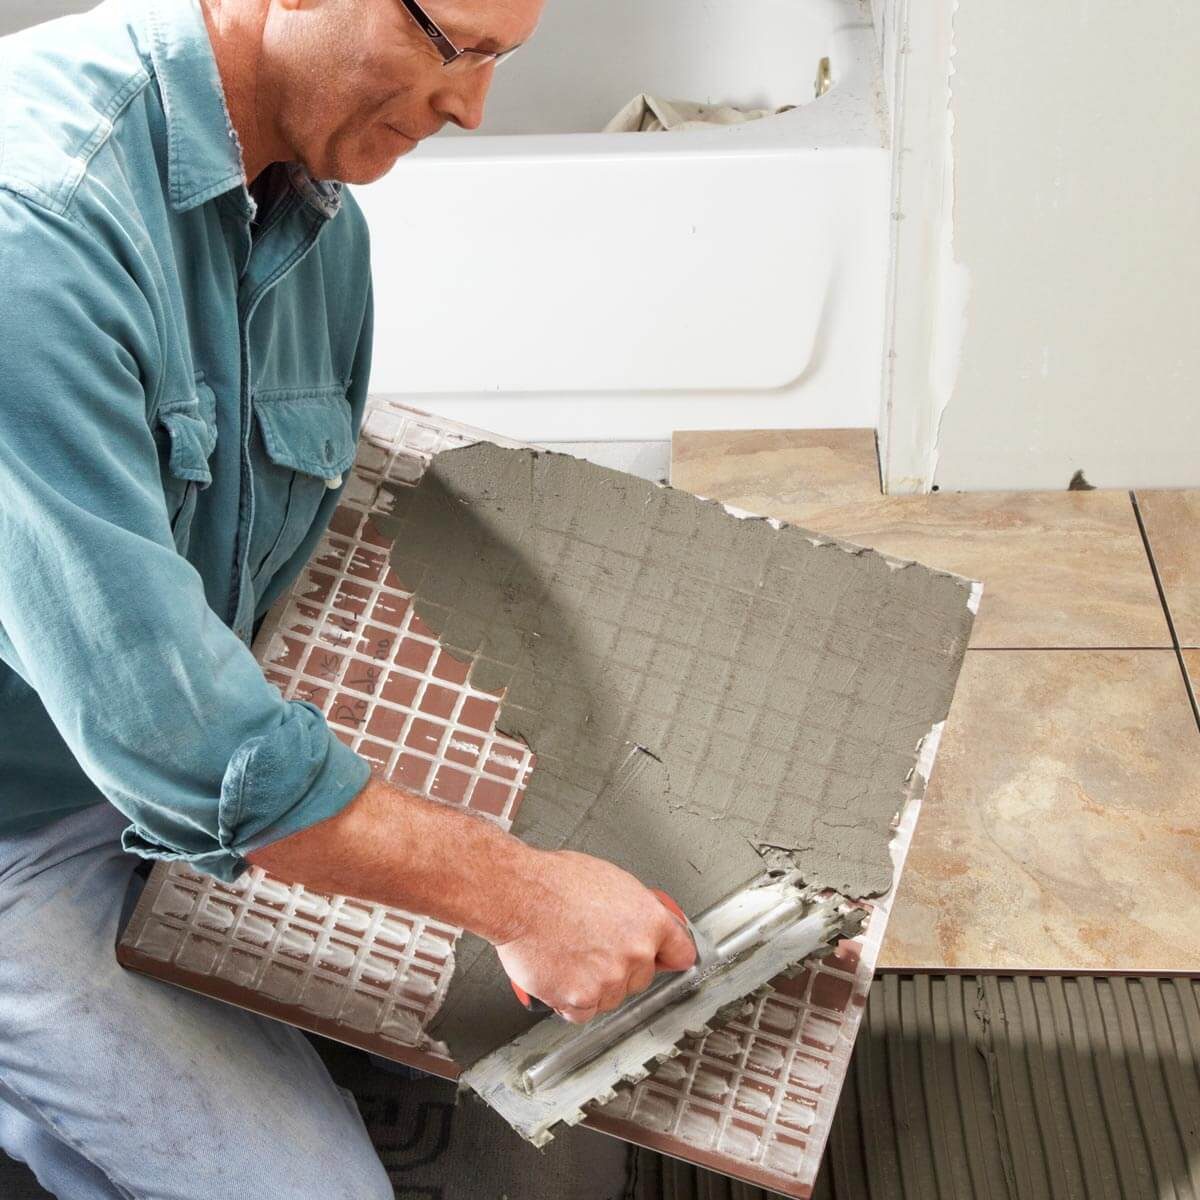
How to Install Ceramic Tile Flooring in 9 Steps – This Old House
:no_upscale()/cdn.vox-cdn.com/uploads/chorus_asset/file/19496978/howto_tile_01.jpg)
This particular type of floor substance is able to include a lot of unique textures as well as styles which go along with practically any interior design scheme. Wood responds to temperature extremes, can't prevent itself from water damage as well as vinyl is simply not a very organic or desirable flooring option. That's why it's surely a good idea to pick out a specialist rather than attempting to put in the flooring yourself.
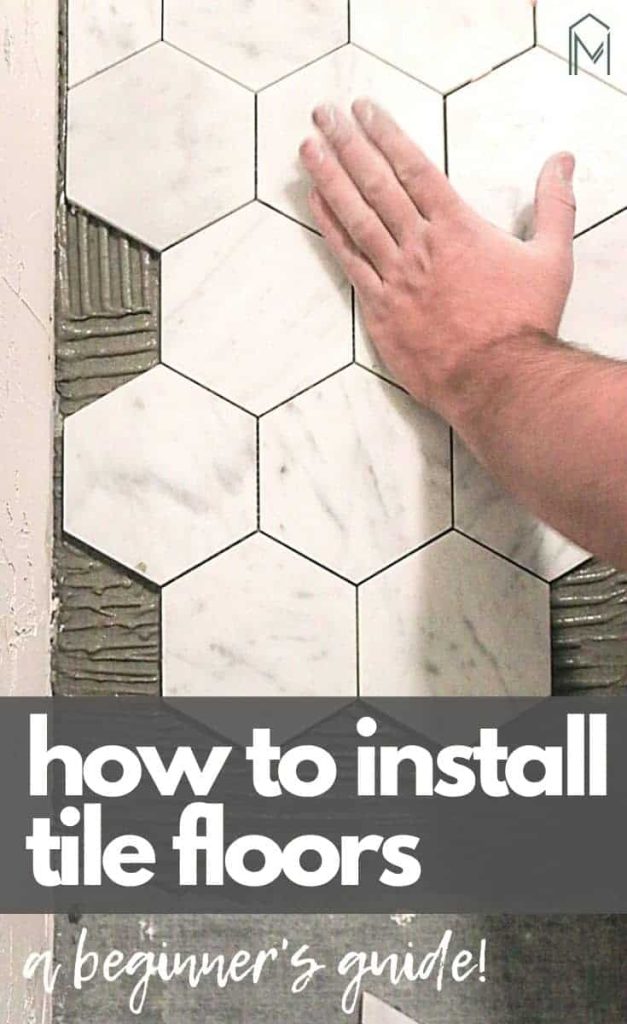
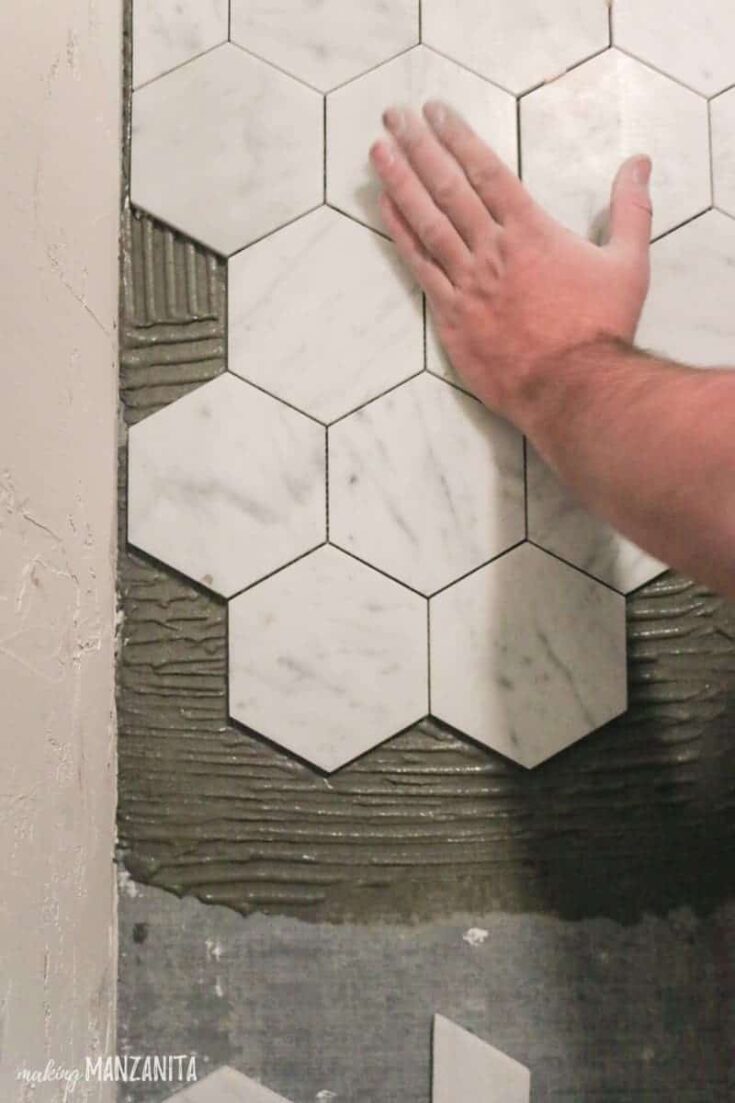
How To Tile A Bathroom Floor (For Beginners!) – Making Manzanita
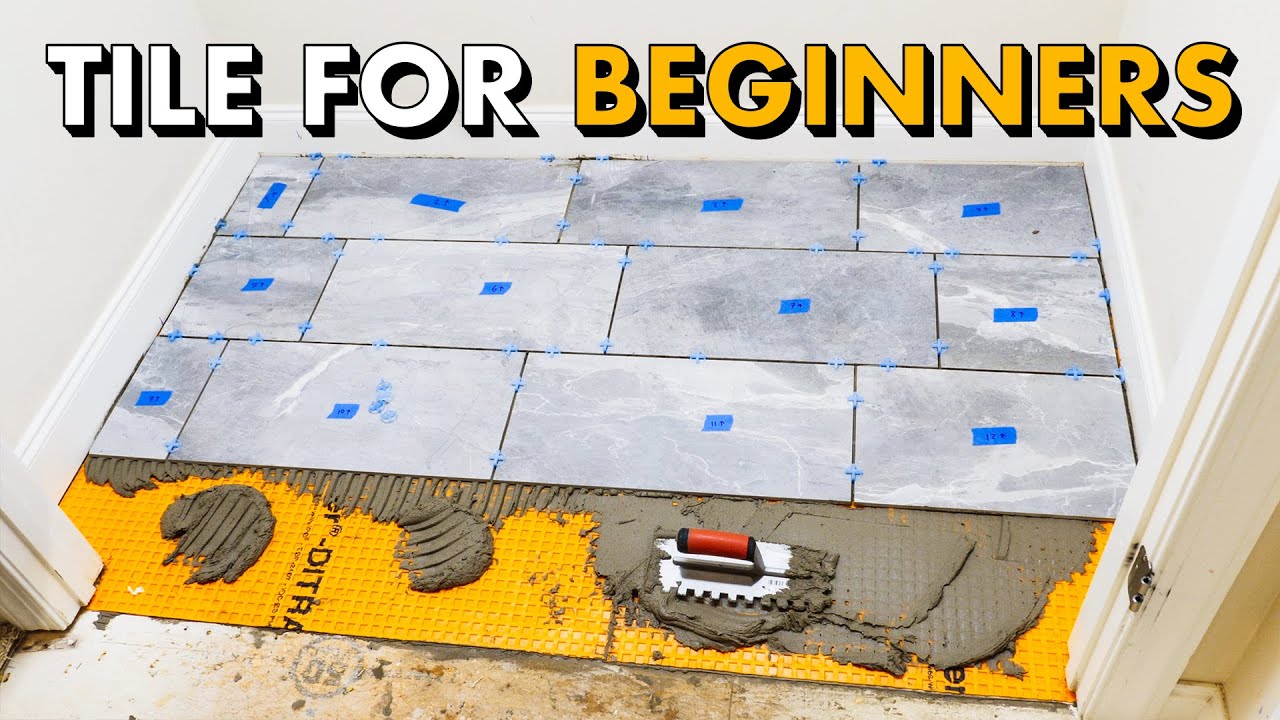
How to Lay Tile: Install a Ceramic Tile Floor In the Bathroom (DIY)
Installing TILE FLOOR for the FIRST TIME 🛠 How To Lay Tile Floor
How to Tile a Bathroom Floor Ceramic floor tiles, Home

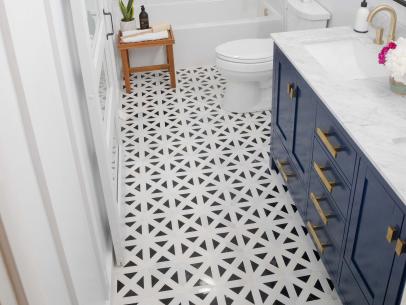
How to Lay a Tile Floor HGTV

How to Lay Tile: DIY Floor Tile Installation Loweu0027s

How to Lay a Tile Floor HGTV
How To Tile A Bathroom Floor (For Beginners!) – Making Manzanita
How to Lay Tile on a Plywood Subfloor
/Tile-install-GettyImages-183066355-588a1cb15f9b5874eed0a1ba.jpg)
Tips and Troubleshooting When Tiling a House Yourself
/how-hard-is-it-to-lay-tile-1822606-hero-f968495a39804d2f82df3e00d9f2b6f6.jpg)
How to Install Ceramic Tile Flooring in 9 Steps – This Old House
:no_upscale()/cdn.vox-cdn.com/uploads/chorus_asset/file/19497287/howto_tile_11.jpg)
How to Install a Tile Floor
Related Posts:
- Rustic Bathroom Flooring Ideas
- Cork Flooring In Bathroom Pictures
- Bathroom Floor Wet After Shower
- Bathroom Flooring Cheap
- Small Narrow Bathroom Floor Plans
- Bathroom Floor Tile Ideas
- Dark Wood Bathroom Floor
- Bathroom Floor Black And White
- Lino Bathroom Flooring Ideas
- Best Floor Covering For Bathrooms
Bathroom Floor Tile Installation Instructions: A Guide to Perfectly Installing Tile Flooring in Your Home
Installing new tile flooring in your bathroom is an exciting way to renovate and transform the room into a beautiful and functional space. It adds a touch of elegance, whether you opt for classic ceramic tiles or modern stone tiles. With the right tools and instructions, you can easily install your own tile floor. This guide will provide you with detailed instructions on how to measure, cut, lay, and grout your tiles for a perfect bathroom floor.
Measuring and Marking Your Floor
Before you begin the installation process, you’ll need to measure and mark your bathroom floor. Measure the length and width of the room and mark the center point on the floor with a pencil. From this center point, use a level to draw a line that’s squared to the walls of the room. To ensure a professional-looking installation, be sure to measure twice and cut once.
Cutting Your Tiles
Once you’ve marked your floor, it’s time to cut your tiles. As you prepare to cut the tiles, make sure you have all of the necessary tools: a wet saw, tile nippers, a tile cutter, and spacers. Depending on the shape of your bathroom, you may need to use different cutting techniques for each tile. For example, if you’re using ceramic or porcelain tiles, you may need to use a wet saw or tile nippers to make curved or angular cuts. For stone tiles, you’ll need a tile cutter for straight cuts since stone is too hard for wet saws or tile nippers.
Laying Your Tiles
Once your tiles are cut, it’s time to lay them on the bathroom floor. Start by locating the center point of the room and placing your first tile there. Use spacers between each tile as you work outward from the center point in all directions until the entire floor is covered. Be sure to check periodically that your lines are square as you lay your tiles. If not, adjust them as needed until they are in alignment.
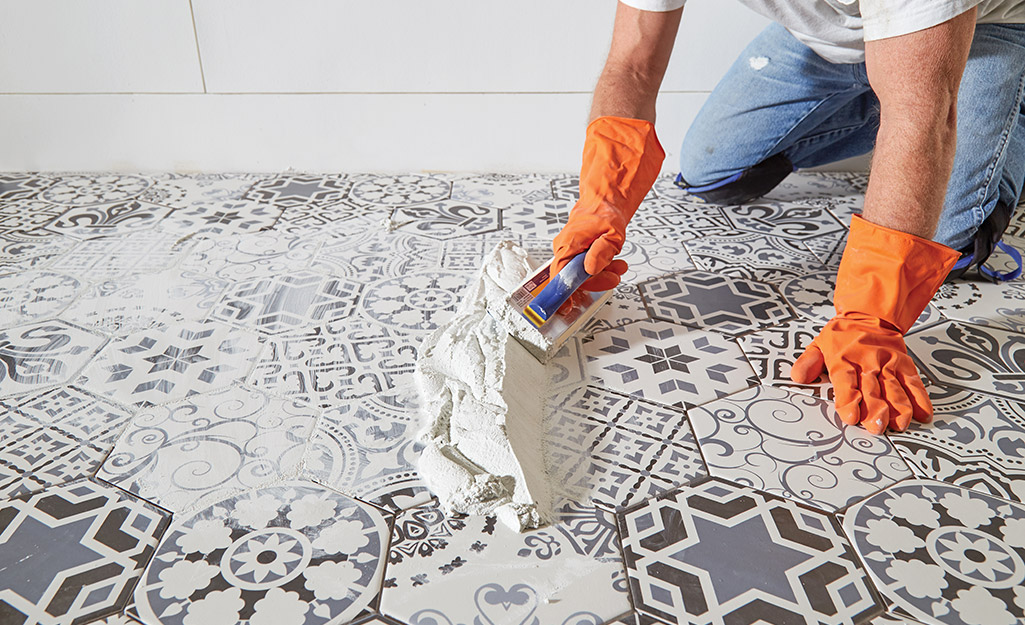
Grouting Your Tiles
The final step in installing your bathroom floor tile is grouting. Begin by mixing your grout according to the manufacturer’s instructions and spread it evenly over your tiles with a rubber float. Make sure you fill all of the joints completely with grout and then wipe off any excess with a damp sponge before it dries. Once the grout has had time to cure (usually about 24 hours), use a sealer to protect it from water damage and wear-and-tear.
FAQs
Q: What tools do I need for tile installation?
A: You will need a wet saw, tile nippers, a tile cutter, spacers, grout, sealer, and other necessary tools for installation such as level and measuring tape.
Q: How should I measure my bathroom floor for tiling?
A: Measure the length and width of your bathroom floor and then mark its center point with a pencil. Use a level to draw a line that’s squared to the walls of the room from this center point.
Q: How should I lay my tiles?
A: Start by locating the center point of the room and placing your first tile there. Use spacers between each tile as you work outward from the center point in all directions until the entire floor is covered. Check periodically that your lines are square as you lay your tiles and adjust them as needed until they are in alignment.
Q: How do I grout my tiles?
A: Begin by mixing your grout according to manufacturer’s instructions and spread it evenly over your tiles with a rubber float. Make sure you fill all of the joints completely with grout and then wipe off any excess with a damp sponge before it dries. Once the grout has had time to cure (usually about 24 hours), use a sealer to protect it from water damage and wear-and-