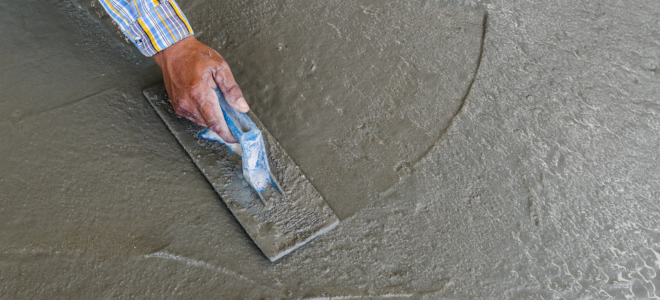
However, the problem with DIY floor concreting is you might not have the ability to mix an exact proportion for the cement as well as water blend and can create a terrible consequence. Concrete flooring polishing can turn the surface area into an elegant floor. Concrete flooring looks great in residences as it blends perfectly with home furnishing.
Images about DIY Leveling Concrete Floor Problem
DIY Leveling Concrete Floor Problem

You can find a few places that discover this particular type of polished concrete flooring very useful. The concrete floor also offers various levels of absorbency along with the acid giving the floor a marble result which can look hitting. Polishing the concrete floor brings out the beauty of the floor and leaves homeowners with the best building material.
How to Level a Concrete Floor DIY Concrete Floor Leveling

In order to change the color of the floor, buyers could request shake-on color hardeners or perhaps penetrating chemical stains as well as dyes to change their greyish concrete to any number of colors. Recently that has changed as a lot more people are realizing that a polished concrete floor actually looks great. Polished concrete flooring looks far more slippery than it is.
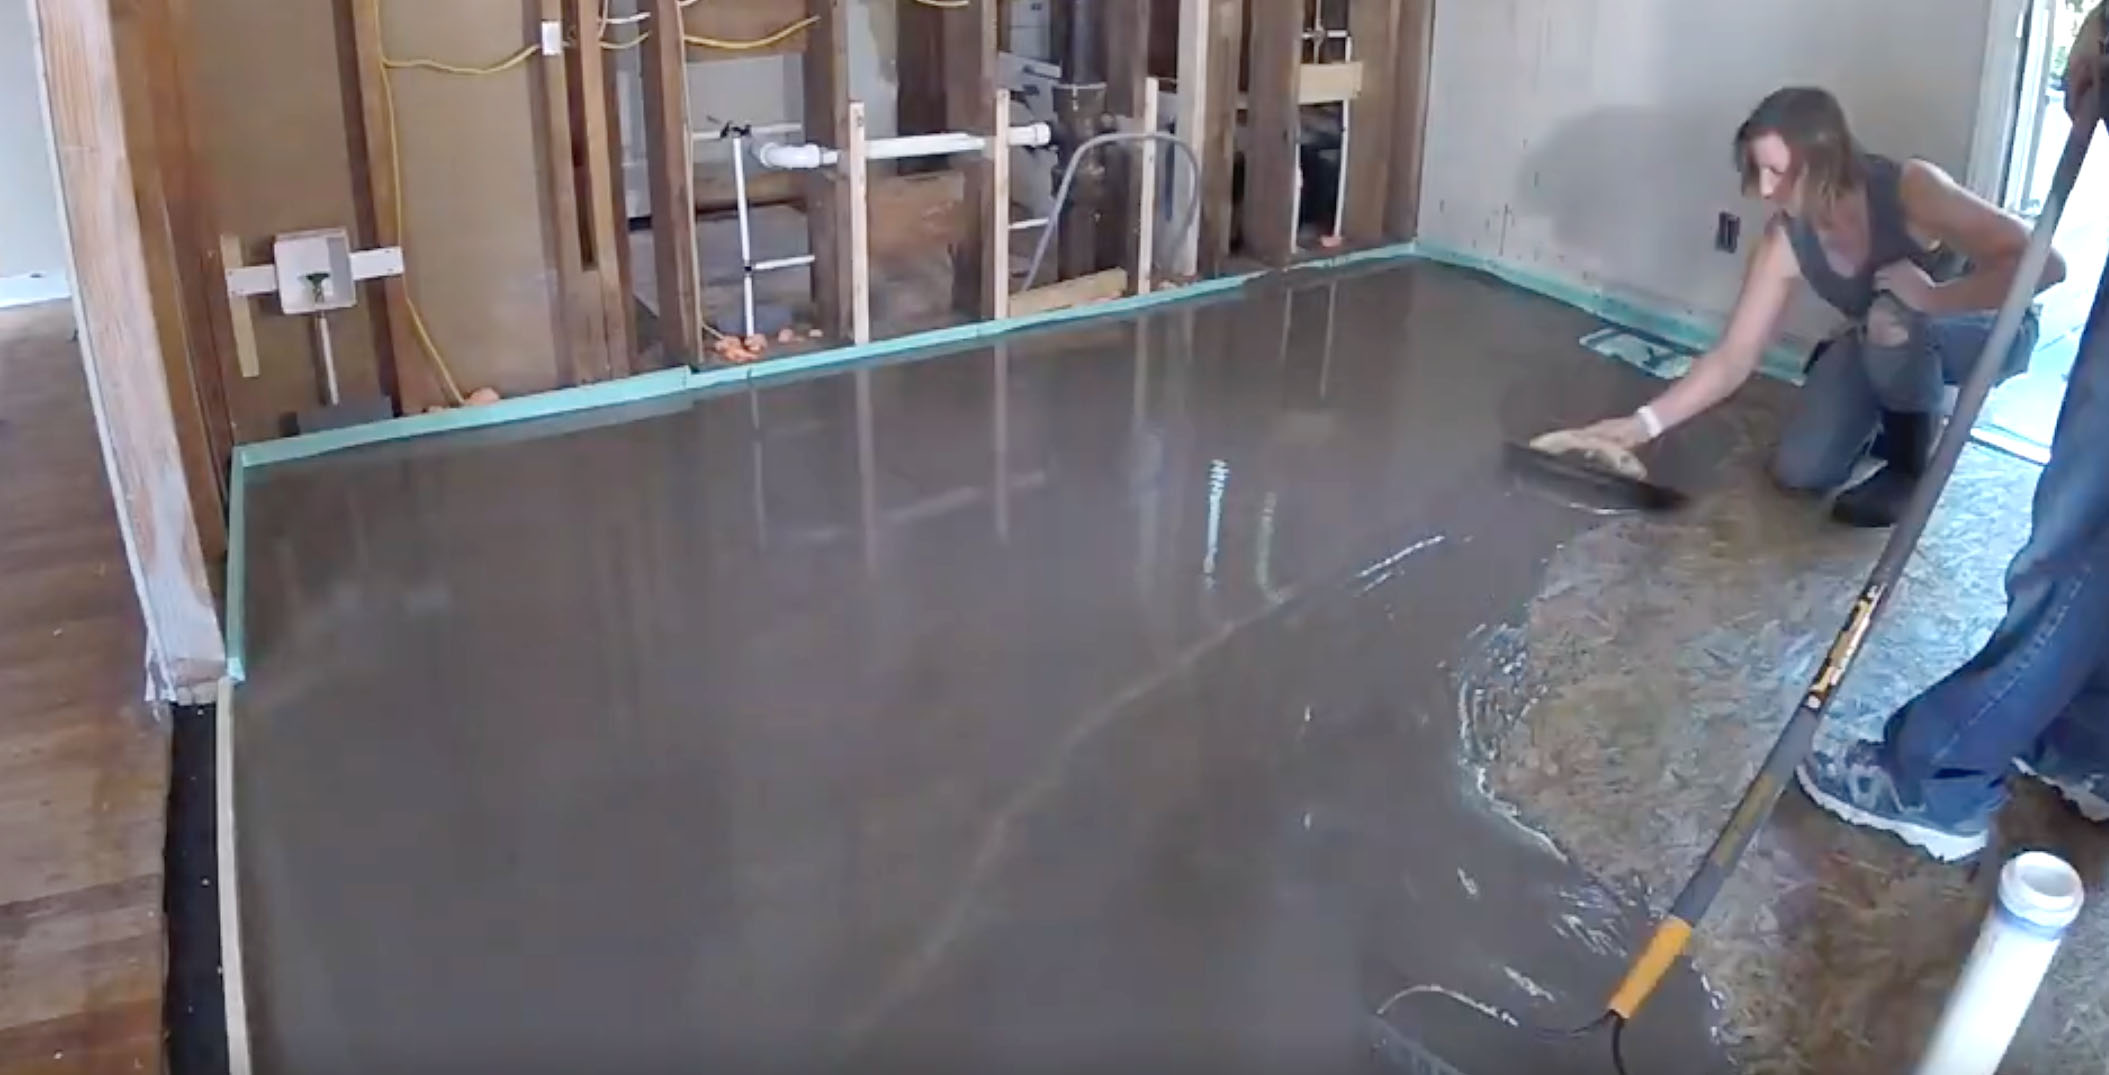
Tips u0026 Tricks to Self-Level a Floor at Millieu0027s Remodel – Pretty
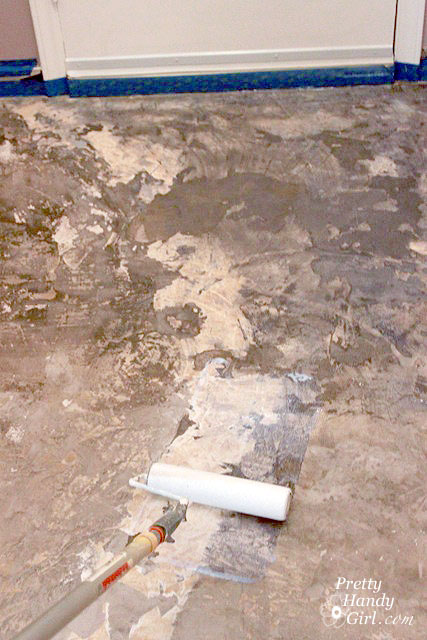
How to Patch and Level a Concrete Subfloor – Pretty Handy Girl
How To Level Your Floors
How to Self Level a Floor
How to Fix a Self Leveling Compound Job Gone Bad DoItYourself.com
6 Ways to Fix Uneven Subfloor or Concrete Slabs – Home Inspection
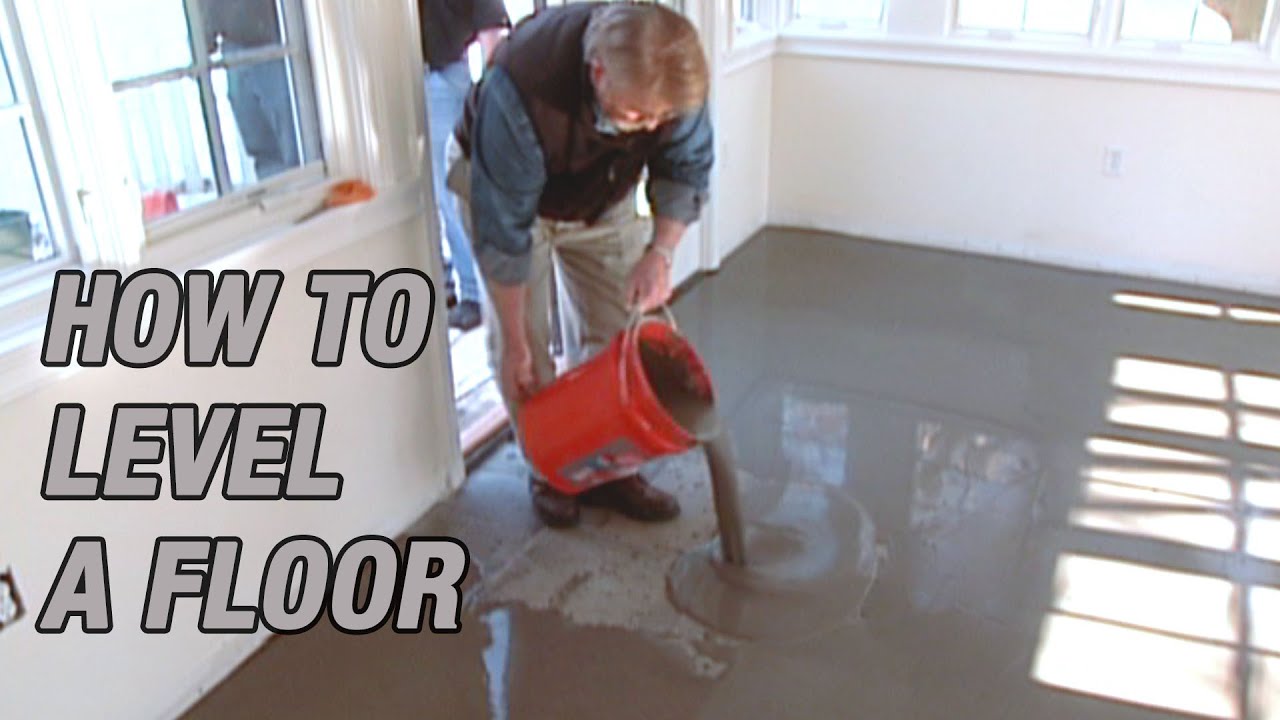
How to Level a Floor – This Old House
/cdn.vox-cdn.com/uploads/chorus_image/image/69419339/iStock_1312655868.0.jpg)
How to Fix a Self Leveling Compound Job Gone Bad DoItYourself.com
How to Self Level Bathroom Floors Part 2Adding Leveler Over Concrete — by Home Repair Tutor

Tips u0026 Tricks to Self-Level a Floor at Millieu0027s Remodel – Pretty
![]()
Can Self Leveling Concrete Be Used as a Finished Floor?
How To Level Concrete Slabs Family Handyman

Related Posts:
- How To Paint Concrete Garage Floor
- Outdoor Concrete Floor Ideas
- Concrete Floor Covering Ideas
- Cracks In Polished Concrete Floors
- Drylok Concrete Floor Paint Colors
- Polished Concrete Floor Thickness
- Residential Stained Concrete Floors
- Cheap Concrete Floor Finishes
- Concrete Floor Stain Sealer
- How To Install A Concrete Floor In A House
DIY Leveling Concrete Floor Problem: A Comprehensive Guide
Leveling a concrete floor is a major undertaking and can be a daunting challenge for the average homeowner. However, with the right tools and knowledge, it is possible to level a concrete floor without the help of professionals. This guide will provide a comprehensive overview of DIY leveling concrete floor problems, including the necessary materials and tools, preparation, and step-by-step instructions.
What You Will Need
Before you can begin leveling your concrete floor, it’s important to assemble the necessary materials and tools. You will need:
– Concrete resurfacer, either prepared or dry mix
– Plywood sheets
– Chalk line
– Hammer drill
– Masonry saw
– Mortar mix
– Trowel
– Floats
– Scrub brush
– Paintbrush
– Joint sealer
– Polyethylene sheeting
– Leveling compound
– Damp proof membrane
– 2x4s or concrete blocks
– Safety goggles and gloves
– Dust mask
Preparation
Before you begin leveling your concrete floor, it is important to take a few preparatory steps. First, you should inspect the existing floor for cracks or other damage that could be contributing to an uneven surface. If there are any cracks or other damage, repair them with mortar mix before proceeding.
Next, clean the floor thoroughly with a scrub brush to remove any dirt or debris. Then roll out a sheet of polyethylene sheeting and spread a layer of damp proof membrane over the entire area. Finally, lay down 2x4s or concrete blocks along the perimeter of the room to provide support for the new concrete surface.
Step by Step Instructions for Leveling Concrete Floors
Once you’ve prepared the area, you can begin leveling your concrete floor. The following steps will walk you through the process:
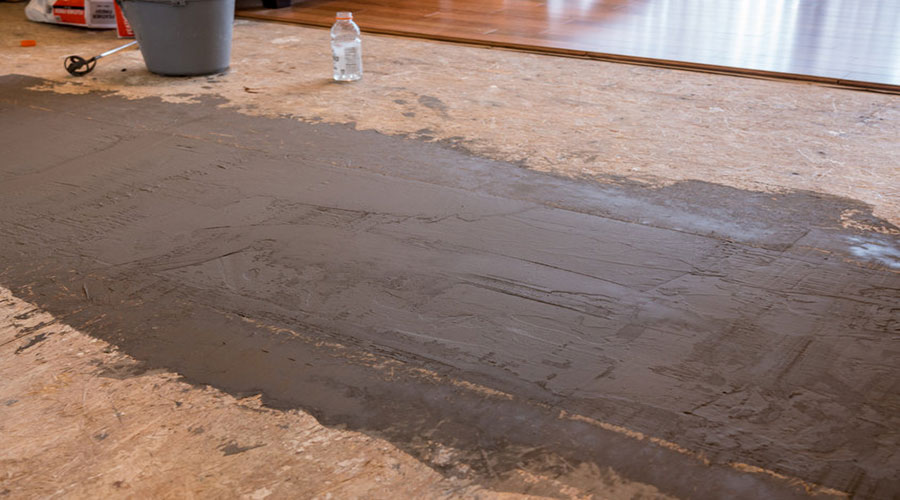
1. Begin by laying down your plywood sheets over the damp proof membrane. Use a chalk line to mark the edges of each sheet so that they are perfectly aligned. Then use a hammer drill to attach the sheets to the existing concrete surface with masonry screws.
2. Using a masonry saw, cut away any excess plywood along the edges of each sheet. This will ensure that your new surface is level and even.
3. Next, mix your concrete resurfacer according to the manufacturer’s instructions and spread it evenly over the plywood sheets using a trowel. Use a float to smooth out any ridges or irregularities in the surface and allow it to dry overnight. 4. Once dry, apply another layer of concrete resurfacer and use a float to smooth out any ridges or irregularities in the surface once again. Allow it to dry overnight before proceeding to the next step.
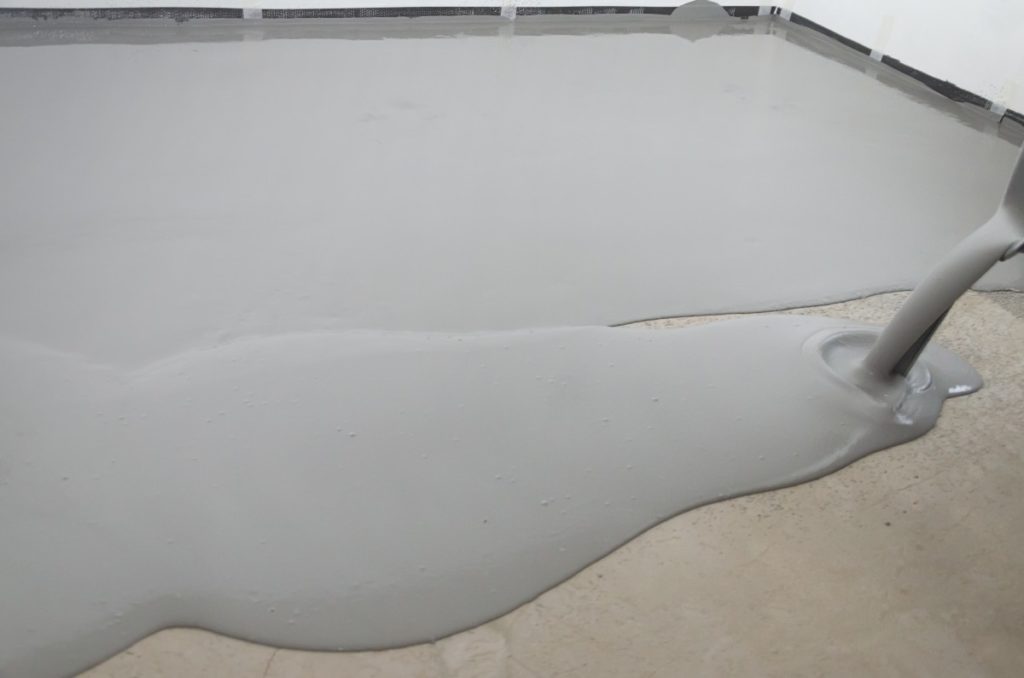
5. When your second layer of resurfacer has dried completely, apply a thin layer of joint sealer around all edges of your new floor and allow it to dry before proceeding.
6. Finally, spread a thin layer of leveling compound over your entire new surface and use a trowel to even out any ridges or irregularities in the surface. Allow it to dry completely before applying paint or any other type of finish.
FAQs About DIY Leveling Concrete Floor Problems
Q: Is it difficult to level a concrete floor?
A: Leveling a concrete floor can be challenging for an inexperienced homeowner but with careful planning and preparation it is possible to do it without professional help. It is important to assemble all necessary materials and tools ahead of time as well as inspect existing floors for cracks or other damage before beginning work on leveling the concrete surface.
Q: What safety precautions should I take when leveling my concrete floor?
A: Safety should always be your top priority when working with concrete