Preparation Phase: Assessing and Preparing the Subfloor
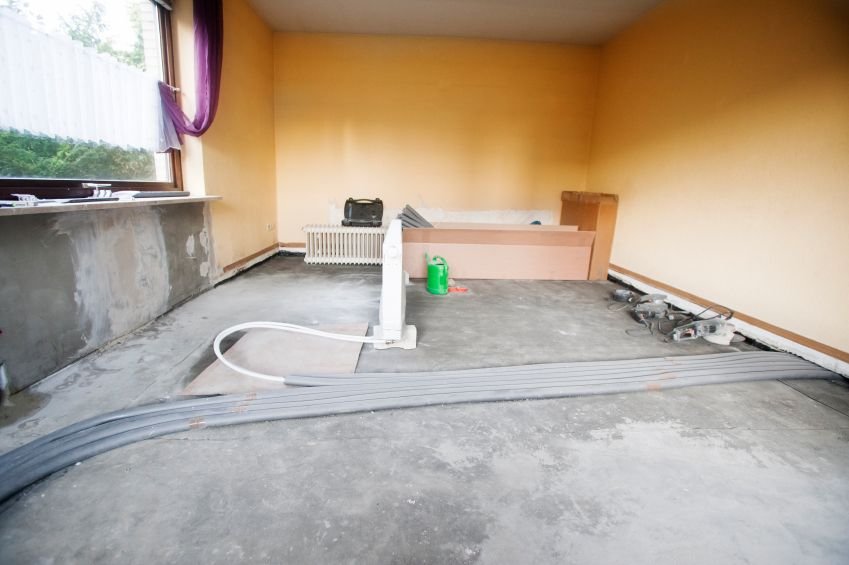
Before diving into the installation of a concrete floor, it’s crucial to thoroughly assess and prepare the subfloor to ensure a successful and long-lasting result. Here’s a step-by-step guide on how to properly prepare the subfloor for your concrete flooring project:
- Clearing and Cleaning: Start by clearing the area of any furniture, fixtures, or debris. Sweep and vacuum the subfloor to remove any dirt, dust, or loose particles. A clean surface will ensure proper adhesion and minimize the risk of imperfections in the finished concrete floor.
- Inspecting for Damage: Thoroughly inspect the subfloor for any signs of damage, such as cracks, unevenness, or moisture issues. Addressing these issues beforehand will prevent them from affecting the integrity of the concrete floor later on. Repair any cracks or uneven areas using suitable patching materials.
- Testing for Moisture: Moisture can compromise the adhesion and curing of concrete, leading to issues such as cracking or delamination. Perform a moisture test on the subfloor to determine if there are any excessive moisture levels present. This can be done using a moisture meter or by conducting a plastic sheet test.
- Applying a Vapor Barrier: If moisture levels are deemed to be too high, it’s essential to install a vapor barrier to prevent moisture from seeping into the concrete. A high-quality vapor barrier, such as a plastic sheet or specialized membrane, should be laid over the subfloor before proceeding with the concrete installation.
- Creating a Level Surface: To ensure a smooth and even concrete floor, it’s crucial to create a level surface. Use a leveling compound or self-leveling concrete to fill in any low spots or uneven areas on the subfloor. This will provide a solid foundation for the concrete to be poured onto, minimizing the risk of cracks or unevenness in the finished floor.
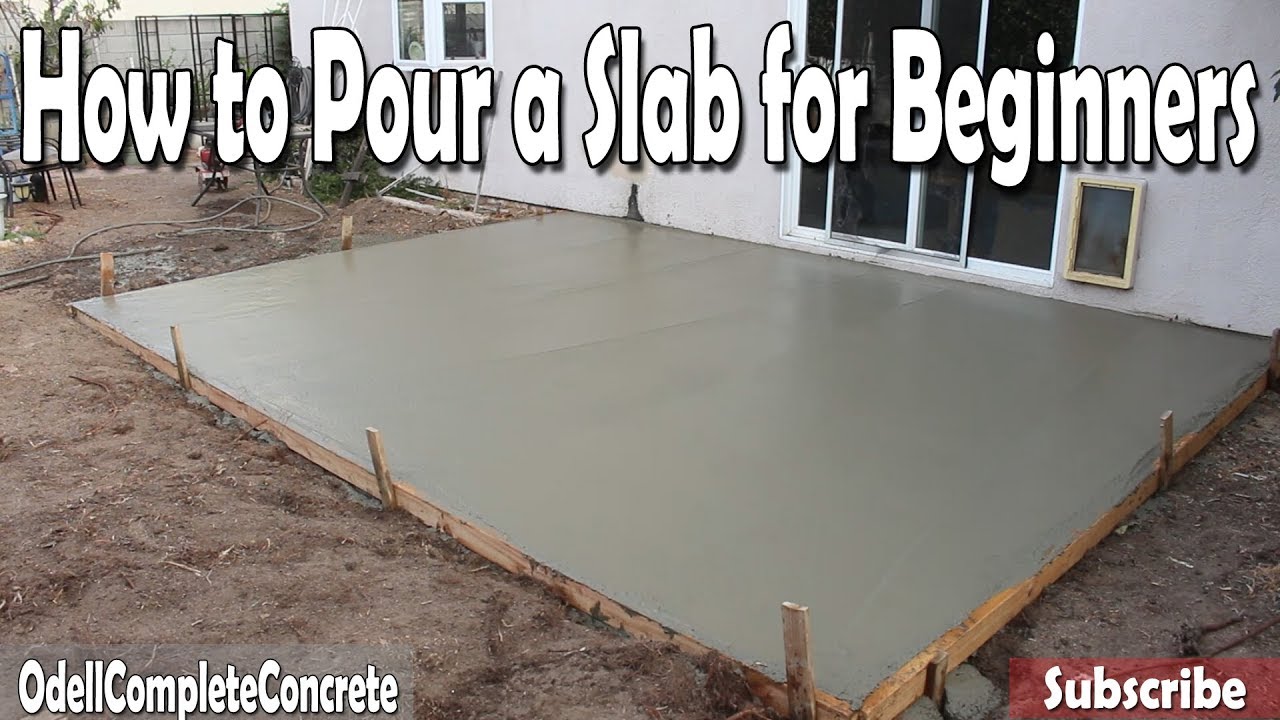
- Securing the Perimeter: Finally, secure the perimeter of the room by installing edge forms or expansion joints. These will help to contain the concrete and prevent it from spreading beyond the desired area. Make sure the forms are firmly in place and properly aligned to create clean edges and corners on the finished floor.

Materials and Tools: What You’ll Need for the Job
Installing a concrete floor requires the right materials and tools to ensure a smooth and successful process. Here’s a comprehensive list of what you’ll need to complete the job:
Concrete Mix: Choose a high-quality concrete mix suitable for the intended use and application of the floor. Consider factors such as strength, durability, and workability when selecting the appropriate mix.
Water: Water is essential for mixing the concrete to the correct consistency. Use clean, potable water free from any contaminants or impurities that could affect the quality of the concrete.
Aggregate: Depending on the desired finish and strength of the concrete floor, you may need to add aggregates such as gravel or crushed stone to the mix. Aggregate helps to enhance the strength and durability of the concrete.
Reinforcement: For added strength and structural integrity, consider reinforcing the concrete with steel mesh or rebar. This is especially important for larger or high-traffic areas where extra support is needed to prevent cracking and damage.
Concrete Mixer: A concrete mixer is essential for mixing large quantities of concrete efficiently and consistently. Choose between a portable mixer or a stationary mixer depending on the scale of your project and your specific needs.
Trowels and Floats: Trowels and floats are used for spreading and smoothing the concrete during the pouring and finishing process. Invest in high-quality trowels and floats for optimal results and easier handling.
Concrete Saw: A concrete saw is useful for cutting expansion joints or trimming excess concrete after it has cured. Choose a saw with a diamond blade for clean and precise cuts.
Protective Gear: Safety should always be a top priority when working with concrete. Wear appropriate protective gear, including gloves, safety goggles, and a dust mask, to protect yourself from potential hazards such as irritation, cuts, and exposure to dust and chemicals.
Sealer and Finish: Once the concrete has cured, consider applying a sealer or finish to enhance its durability and appearance. Choose a sealer suitable for concrete floors and follow the manufacturer’s instructions for application.

Step-by-Step Guide to Pouring and Spreading Concrete
Pouring and spreading concrete is a critical step in the process of installing a concrete floor. Here’s a step-by-step guide to help you navigate this stage of the project with ease:
Prepare the Concrete Mix: Start by preparing the concrete mix according to the manufacturer’s instructions. Use the appropriate ratio of water to concrete mix to achieve the desired consistency, typically a thick, workable paste.
Transfer the Concrete: Once the concrete mix is ready, transfer it to the desired location using a wheelbarrow or concrete pump. Work quickly but carefully to prevent the concrete from drying out prematurely.
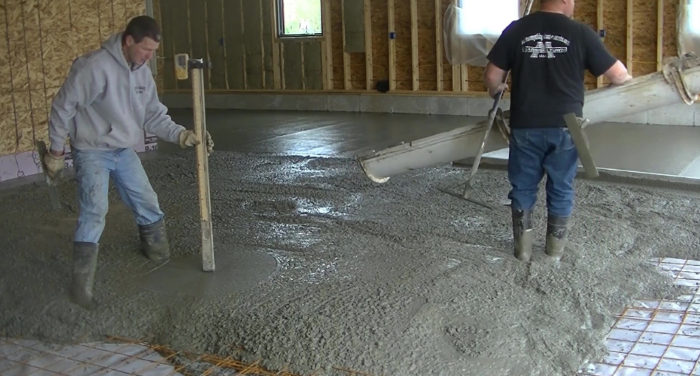
Spread the Concrete: Use a shovel or concrete rake to spread the concrete evenly across the prepared subfloor. Aim for a uniform thickness throughout the area to ensure a consistent finish.
Compact and Level: Once the concrete is spread out, use a screed or straightedge to level and compact the surface. Move the screed back and forth in a sawing motion to smooth out any bumps or ridges and create a flat, even surface.
Smooth and Finish: After screeding, use a bull float or magnesium float to further smooth and finish the surface of the concrete. Work in overlapping strokes to remove any imperfections and create a smooth, uniform finish.
Add Texture or Patterns: If desired, you can add texture or patterns to the concrete surface before it begins to set. Use tools such as stamps or texture mats to create decorative effects or mimic the look of natural materials like stone or wood.
Control Expansion Joints: Before the concrete sets completely, cut expansion joints into the surface to control cracking. Use a concrete saw to create straight, evenly spaced lines across the floor, taking care not to cut too deep.
Cure and Protect: Once the concrete is poured and finished, it’s important to properly cure and protect it to ensure optimal strength and durability. Keep the surface moist by covering it with plastic sheeting or applying a curing compound as recommended by the manufacturer.

Curing and Drying: Ensuring Proper Setting and Hardening
Curing and drying are crucial stages in the installation of a concrete floor, as they directly impact the strength, durability, and appearance of the finished product. Here’s a guide to ensuring proper curing and drying of your concrete floor:
Allow Sufficient Time to Cure: After pouring and finishing the concrete, it’s essential to allow sufficient time for curing before subjecting the floor to any heavy use or foot traffic. The curing process typically takes around 28 days to complete, during which the concrete gradually gains strength and hardness.
Maintain Moisture Levels: During the curing period, it’s important to keep the concrete moist to prevent it from drying out too quickly. This can be done by covering the surface with plastic sheeting or applying a curing compound that seals in moisture.
Avoid Premature Drying: Premature drying can result in shrinkage cracks and weaken the overall integrity of the concrete. Avoid exposing the floor to direct sunlight or high temperatures, and refrain from walking or placing heavy objects on the surface until it has fully cured.
Monitor Temperature and Humidity: Temperature and humidity levels can affect the curing process of concrete. Aim to maintain a consistent temperature and humidity level in the curing area to promote optimal curing conditions.
Test for Dryness: Once the curing period is complete, test the concrete floor for dryness before applying any finishes or sealers. A simple moisture test can be conducted by taping a plastic sheet to the surface and checking for condensation after 24 hours.
Allow for Additional Drying Time: Even after the initial curing period is complete, it’s advisable to allow the concrete floor to dry further before applying any sealers or finishes. This additional drying time will help to ensure that the surface is fully dry and free from moisture before sealing.

Finishing Touches: Polishing and Sealing for Durability and Aesthetic Appeal
The finishing touches play a crucial role in enhancing the durability and aesthetic appeal of your concrete floor. Here’s a guide to polishing and sealing your concrete floor for optimal results:
Surface Preparation: Before applying any finishes or sealers, thoroughly clean the surface of the concrete to remove any dirt, dust, or debris. Use a broom, vacuum, or pressure washer to ensure a clean and smooth surface.
Polishing: If you desire a polished finish for your concrete floor, begin by grinding the surface with a concrete grinder equipped with diamond abrasives. Start with a coarse grit to remove any imperfections, then gradually move to finer grits to achieve the desired level of smoothness and shine.
Staining or Coloring: To add color or decorative effects to your concrete floor, consider staining or coloring the surface. Acid stains or dyes can be applied to create a wide range of colors and patterns, enhancing the visual appeal of the floor.
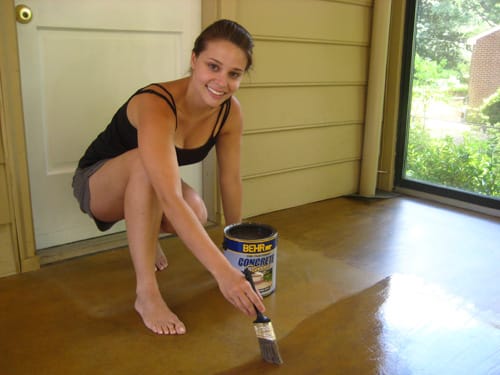
Sealing: Once the surface has been polished and/or stained, it’s essential to seal the concrete to protect it from stains, moisture, and damage. Choose a high-quality concrete sealer suitable for your specific needs, such as a penetrating sealer for a natural look or a topical sealer for added shine and protection.
Applying the Sealer: Apply the sealer evenly to the surface of the concrete using a paint roller or sprayer. Work in small sections, ensuring complete coverage and avoiding puddles or uneven application. Allow the sealer to dry according to the manufacturer’s instructions before applying additional coats if necessary.
Maintaining the Finish: Once the sealer has dried, it’s important to maintain the finish of your concrete floor to ensure long-lasting beauty and protection. Regular cleaning with a mild detergent and water, along with routine maintenance such as resealing as needed, will help to preserve the integrity and appearance of the floor over time.
Pouring Second-Story Concrete Flooring DoItYourself.com
The Pros and Cons of Concrete Flooring

How to Pour a Concrete Living Room Floor (DIY)

How to pour a concrete floor for an existing garage Best How-To Guide
Styles of Stained Concrete Floors u2014 Craftsman Concrete Floors

Master Carpenter: Wood Floors on a Concrete Slab – Fine Homebuilding

Things I Did Before Pouring Concrete Slab Pole Barn House Ep 7

Residential Concrete Floors – Concrete Floors in House – Concrete

Staining A Concrete Floor Is Easy, Just Follow Our Step By Step
How to Pour Self Leveling Concrete. Concrete floors diy, Cement

Related Posts:
- How To Paint Concrete Garage Floor
- Outdoor Concrete Floor Ideas
- Concrete Floor Covering Ideas
- Cracks In Polished Concrete Floors
- Drylok Concrete Floor Paint Colors
- Polished Concrete Floor Thickness
- Residential Stained Concrete Floors
- Cheap Concrete Floor Finishes
- Concrete Floor Stain Sealer
- How To Install A Concrete Floor In A House