Introduction to Heated Floors
Heated tile floors bring luxury and comfort to your home. This DIY project not only adds warmth to your feet but also increases the value of your property. The gentle heat radiates upward, creating a cozy environment during cold months. Installing heated floors is an excellent way to enhance your living space while enjoying the benefits of modern technology. This guide will walk you through the steps to achieve a heated tile floor in your home.
Planning and Materials
Before starting your DIY heated tile floor project, proper planning and gathering materials are crucial. Measure the area where you plan to install the heated floor to determine the amount of heating cable or mat needed. Choose tiles that are compatible with underfloor heating systems, such as porcelain or ceramic. Additionally, gather tools like a trowel, mortar, spacers, and a thermostat. Having everything ready ensures a smooth and efficient installation process.
Preparing the Subfloor
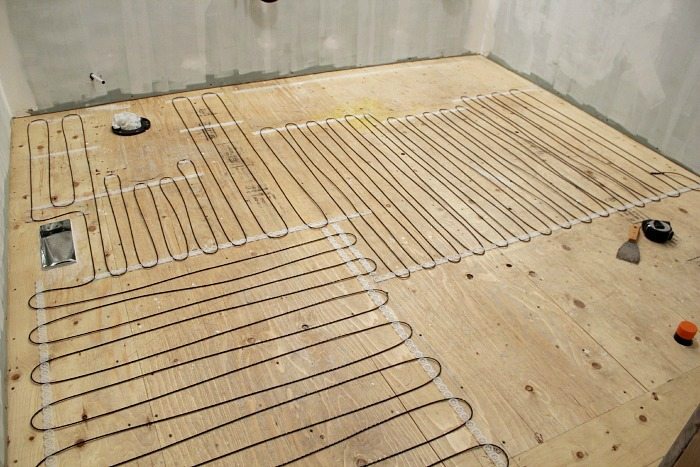
Preparing the subfloor is a critical step in installing heated tile floors. Ensure the subfloor is clean, dry, and level. Any debris or unevenness can affect the performance of the heating system and the final look of the tiles. Apply a primer if necessary, and install an insulation board to improve heat efficiency. This preparation creates a solid foundation for the heating system and tiles, ensuring optimal performance and longevity.
Installing the Heating System
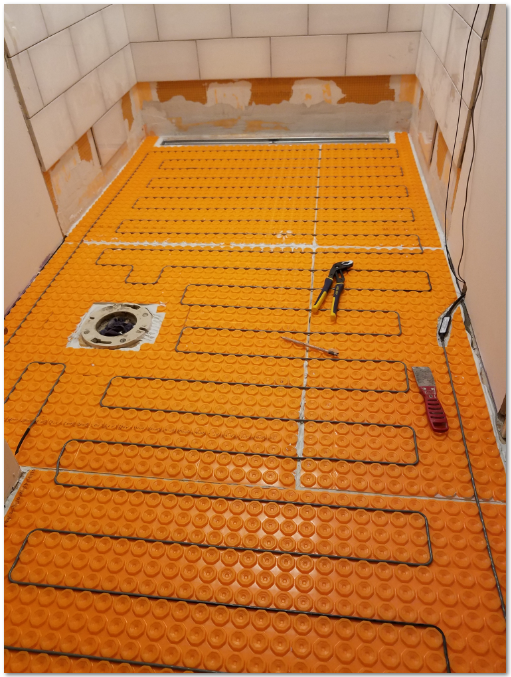
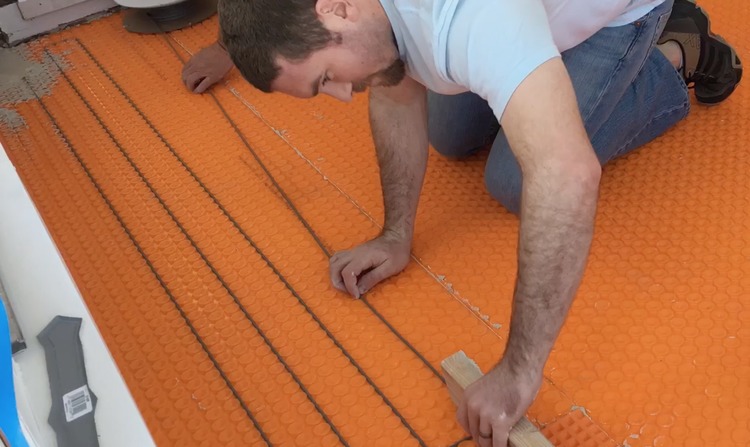
Installing the heating system involves laying out the heating cable or mat according to the manufacturer’s instructions. Secure the heating elements to the subfloor with adhesive or clips, making sure they are evenly spaced. Connect the heating system to the thermostat, following the wiring guidelines carefully. Test the system to ensure it is working correctly before proceeding with tile installation. Proper installation of the heating system is essential for safe and effective operation.
Laying the Tiles
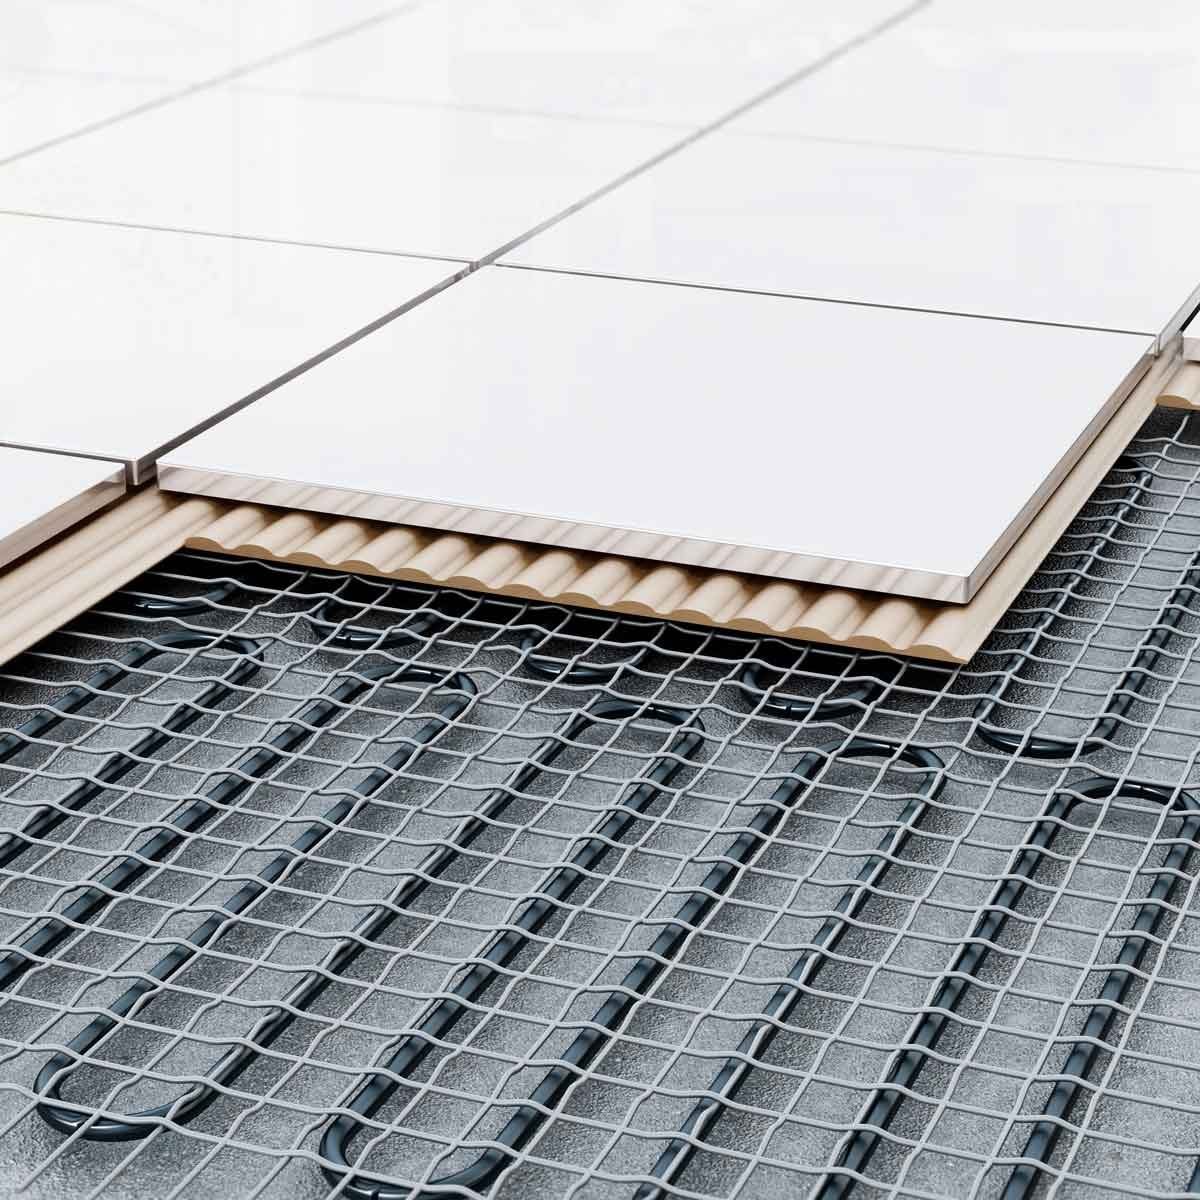
Once the heating system is in place, it’s time to lay the tiles. Spread a layer of thin-set mortar over the heating elements using a notched trowel. Place the tiles on the mortar, using spacers to maintain even gaps between them. Press the tiles firmly to ensure good adhesion and level them as needed. Allow the mortar to cure according to the manufacturer’s instructions. Grout the tiles to fill the gaps and create a polished finish. This step completes the look of your heated tile floor.
Finishing Touches and Maintenance
After the tiles and grout have fully cured, connect the thermostat and test the heated floor system. Make any necessary adjustments to ensure even heating. Regular maintenance includes checking for any loose tiles or grout and cleaning the surface to prevent debris buildup. Following the manufacturer’s guidelines for the heating system will keep it in optimal condition. Enjoy the comfort and luxury of your DIY heated tile floor for years to come.
Images about Diy Heated Tile Floor
DIY Heated Tile Floor

Heated Tile Floor on Slab » Rogue Engineer

How to Install In-Floor Radiant Heat

Heated Tile Floor – DIY Style u2014 Steemit
How to Install In-Floor Radiant Heat
Heated Tile Floor on Slab » Rogue Engineer
How to install a heated tile floor. and also how NOT to install
DIY Heated Floor Tile Tutorial – Room for Tuesday

Flooring Hydronic radiant floor heating, Radiant floor heating

Best Affordable Heated Floor SystemSave TONS of MONEY!

Heated Flooring DIY – Corvus Construction
How to Install In-Floor Radiant Heat Radiant floor heating

Related Posts: