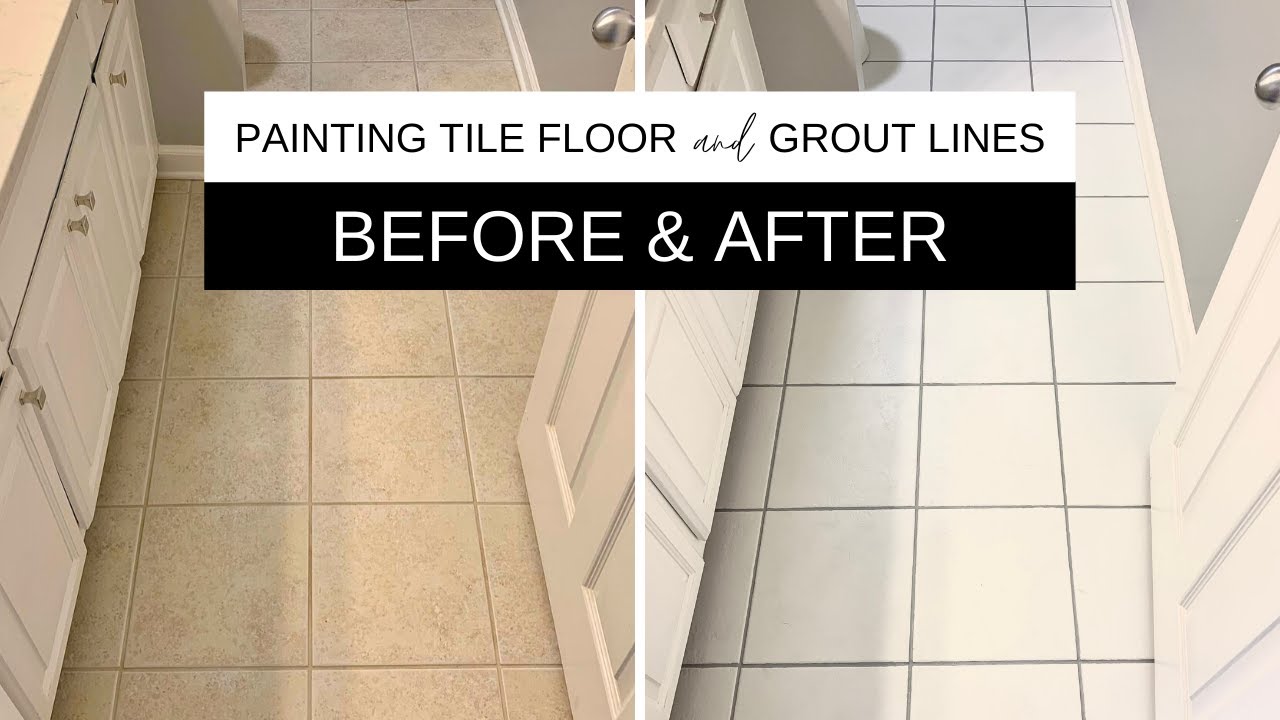
DIY painting of tile floors is a cost-effective and creative way to transform the look of a room without the need for expensive replacements. While tiles are typically durable and resistant to wear and tear, they can become outdated or worn over time. Painting tile floors allows homeowners to refresh the look of their space while staying within budget. Before starting the painting process, it’s essential to thoroughly clean and prepare the tile surface to ensure proper adhesion of the paint. This involves removing any dirt, grease, or grime using a suitable cleaner and allowing the tiles to dry completely before applying primer.
Images about Diy Paint Tile Floor
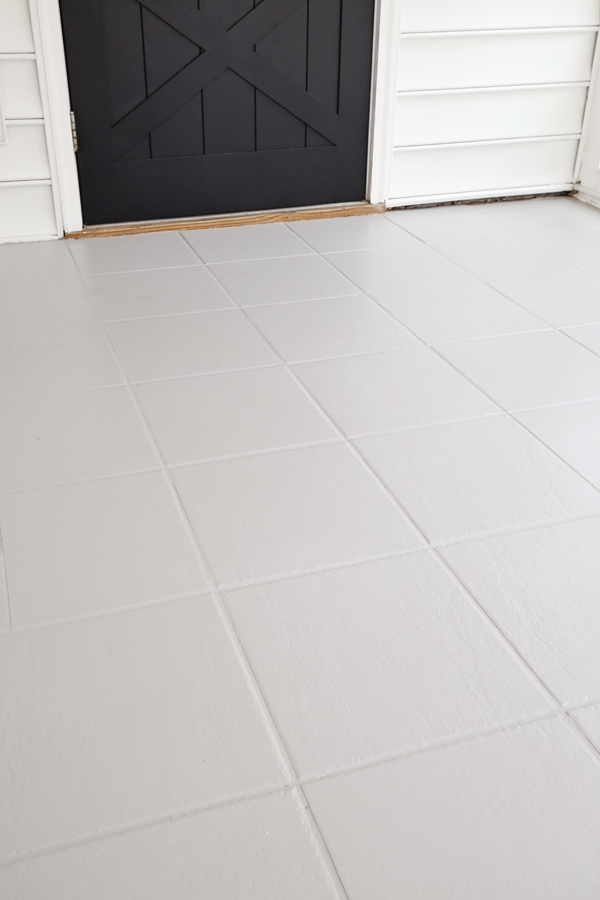
Diy Paint Tile Floor
Once the tile surface is clean and dry, the next step is to apply a high-quality primer designed specifically for use on tile surfaces. Primer helps to create a smooth and uniform base for the paint to adhere to, ensuring better durability and longevity of the painted finish. It’s crucial to select a primer that is compatible with both the type of tile and the type of paint being used. After applying the primer, allow it to dry completely according to the manufacturer’s instructions before proceeding with the painting process.
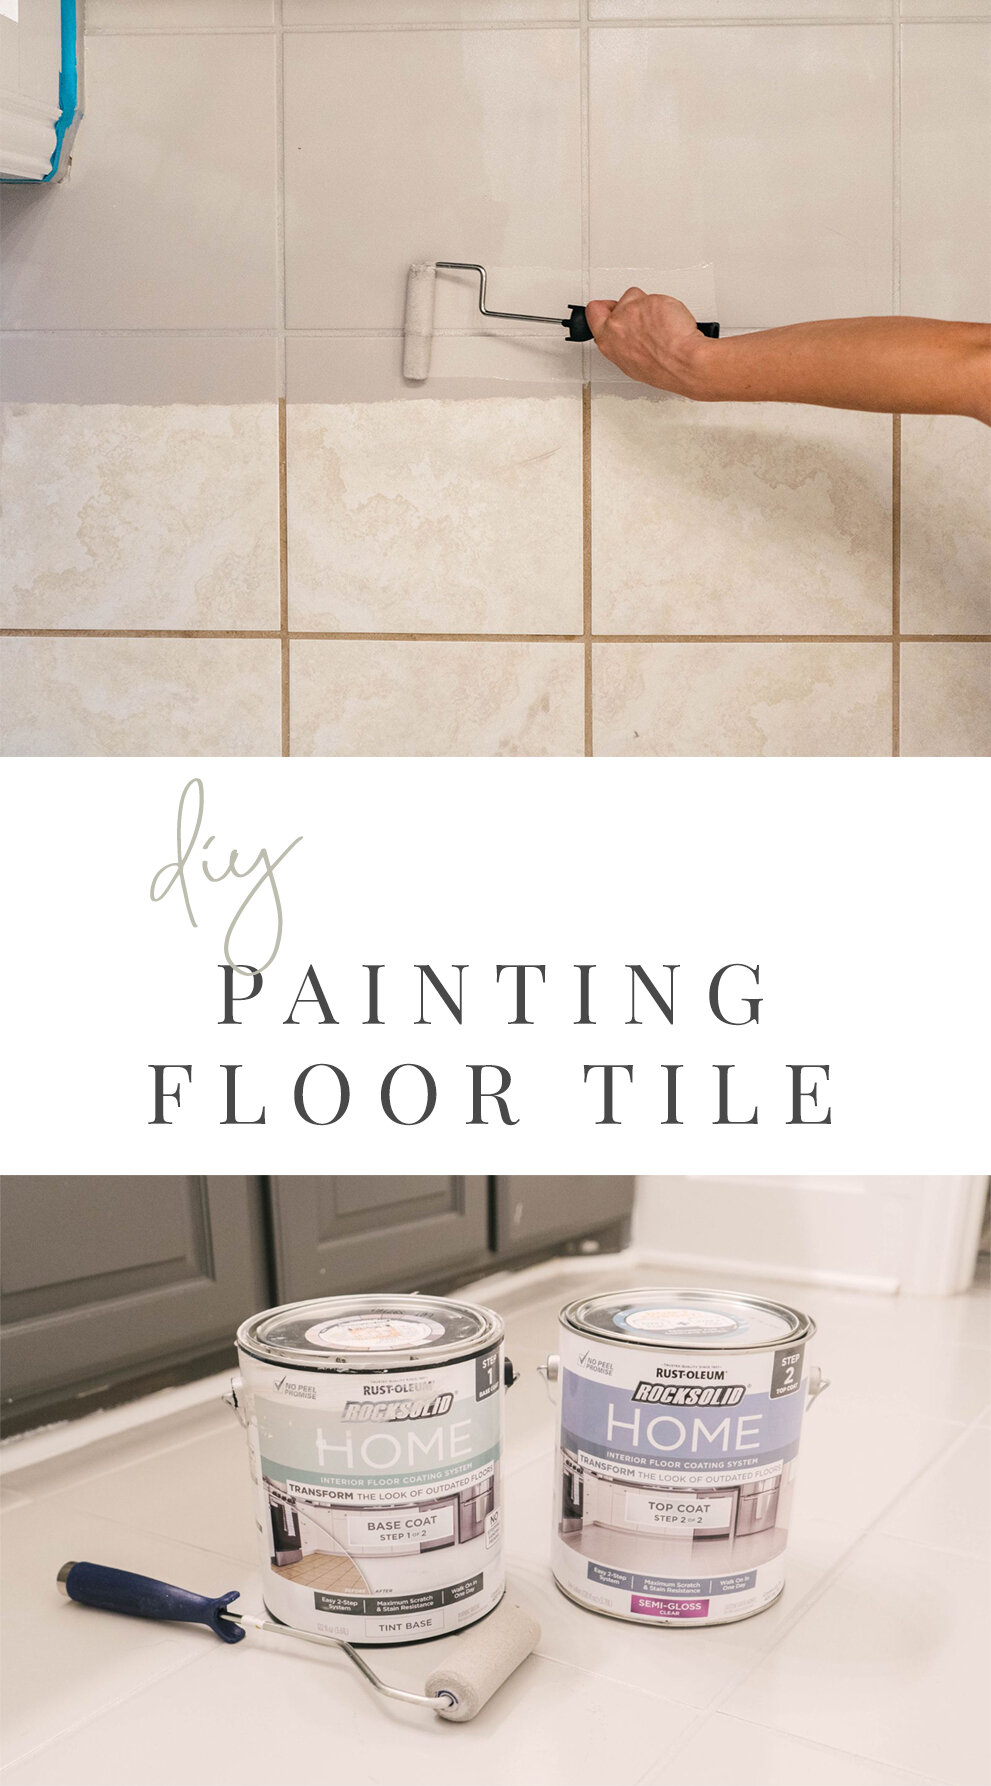
When choosing paint for DIY tile floor painting projects, it’s essential to select a high-quality paint specifically formulated for use on tile surfaces. Epoxy or enamel paints are often recommended for their durability and resistance to moisture, stains, and wear. These types of paint offer excellent adhesion to tile surfaces and provide a long-lasting finish that can withstand heavy foot traffic. Additionally, consider the color and finish of the paint carefully to achieve the desired look for the room. Satin or semi-gloss finishes are popular choices for tile floors, as they offer a balance of durability and aesthetic appeal.
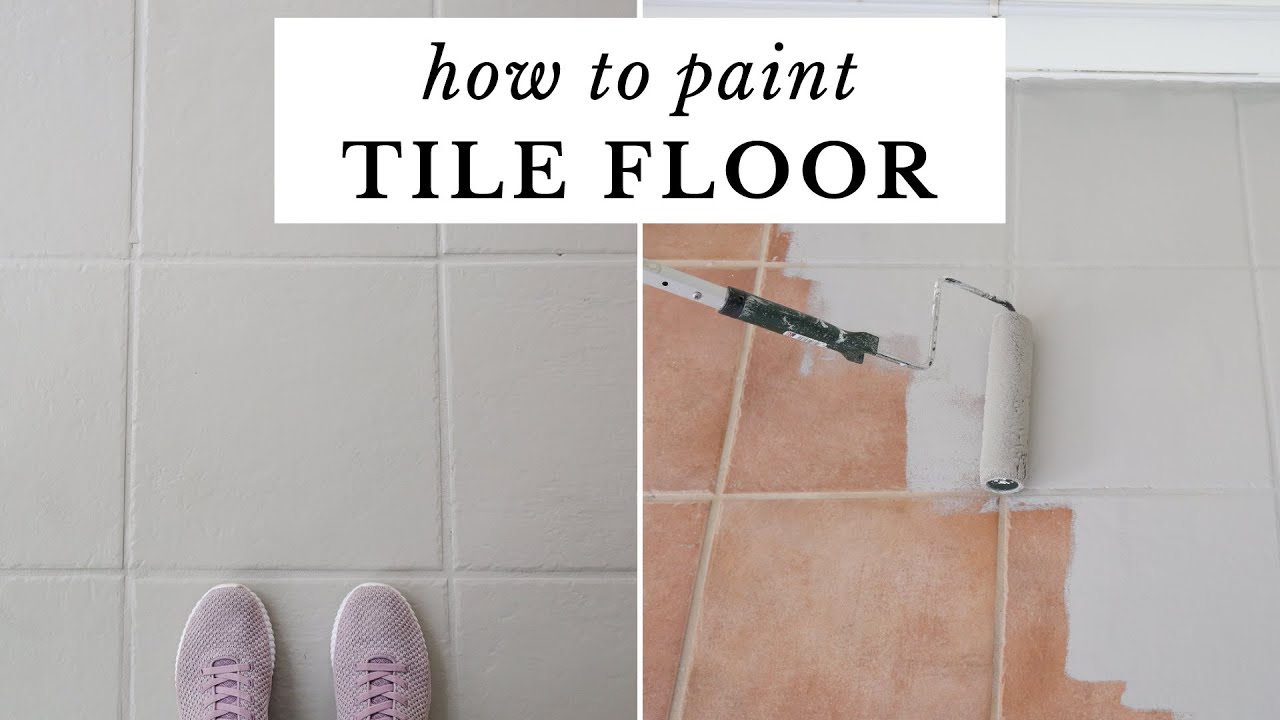
Once the paint has been selected, apply it to the tile surface using a high-quality paintbrush or roller, working in small sections to ensure even coverage. Multiple coats may be necessary to achieve the desired color and finish, with drying time between each coat as recommended by the paint manufacturer. After the final coat has been applied and allowed to dry completely, consider applying a clear topcoat or sealant to protect the painted finish and enhance its durability. With proper preparation, materials, and technique, DIY painting of tile floors can be a rewarding and cost-effective way to update the look of any room in the home.
DIY: How to Paint Ceramic Floor Tile u2014 Farmhouse Living
Cordelia Tile Stencil Diy flooring, Diy bathroom decor, Painting

painted tile floor-six months later ~ Make Do and DIY

How to Ruin your DIY Painted Tile Floor – Joyful Derivatives

How To Paint Tile Floor (With Stenciling) – Making Manzanita

How to Paint a Tile Floor Apartment Therapy

How to Paint Tile Floor – Angela Marie Made
Painted Ceramic Tile Floors – plus a 1 year update! The Beauty Revival

Pin on paint tips

How well do painted tile floors hold up? Our one year review

How to Paint your Tile Floor with Rust-Oleum HOME Paint

Related Posts:
- Installing Slate Tile Floor
- Painting Ceramic Tile Floor In Kitchen
- Anti Slip For Tile Floors
- Laminate Tile Flooring
- Marble Tile Floors
- Travertine Tile Flooring
- Modern Kitchen Tile Floor
- Country Style Tile Floors
- White Tile Flooring Ideas
- Herringbone Brick Tile Floor
If you’re looking for an inexpensive way to transform the look of your tile floor, it’s time to consider painting it. Painting tile floors can be a great way to restore the color and vibrancy of your tile without having to replace it. With the right preparation, supplies, and techniques, you can easily paint your tile floor yourself. Below we provide you with all the information you need to get started on DIY-painting your tile floor.
Preparation
Before you jump into painting your tile floor, there are a few steps that need to be taken to prepare your space. First and foremost, you must ensure that the tile is clean and free of any dirt, dust, or grime. This is important as any dirt or debris will affect the adherence of your paint. To do this, you should use a vacuum cleaner or broom and dustpan to remove any visible dirt and then follow up with a damp cloth to mop up any remaining residue.
Once the tile is clean, it’s time to prep for painting. For best results, it’s important to use a quality primer before painting. This will help create a strong base for your paint and ensure a long-lasting result. Additionally, it’s also recommended that you use painter’s tape along the edges of the tiles to avoid getting any paint on them.
Choosing Paint Supplies
When it comes to choosing the right supplies for painting your tile floor, several factors need to be taken into consideration. When selecting the paint itself, it’s important to opt for a high-quality paint designed specifically for use on ceramic tile floors. Additionally, when selecting a brush or roller for application, make sure that these are also designed for use on ceramic tiles to ensure optimal results. Finally, it’s also important to consider the finish of your paint. If you’re looking for a glossy finish, then an epoxy-based paint should be used. Alternatively, if you’re looking for a matte finish, acrylic-based paint should be used instead.
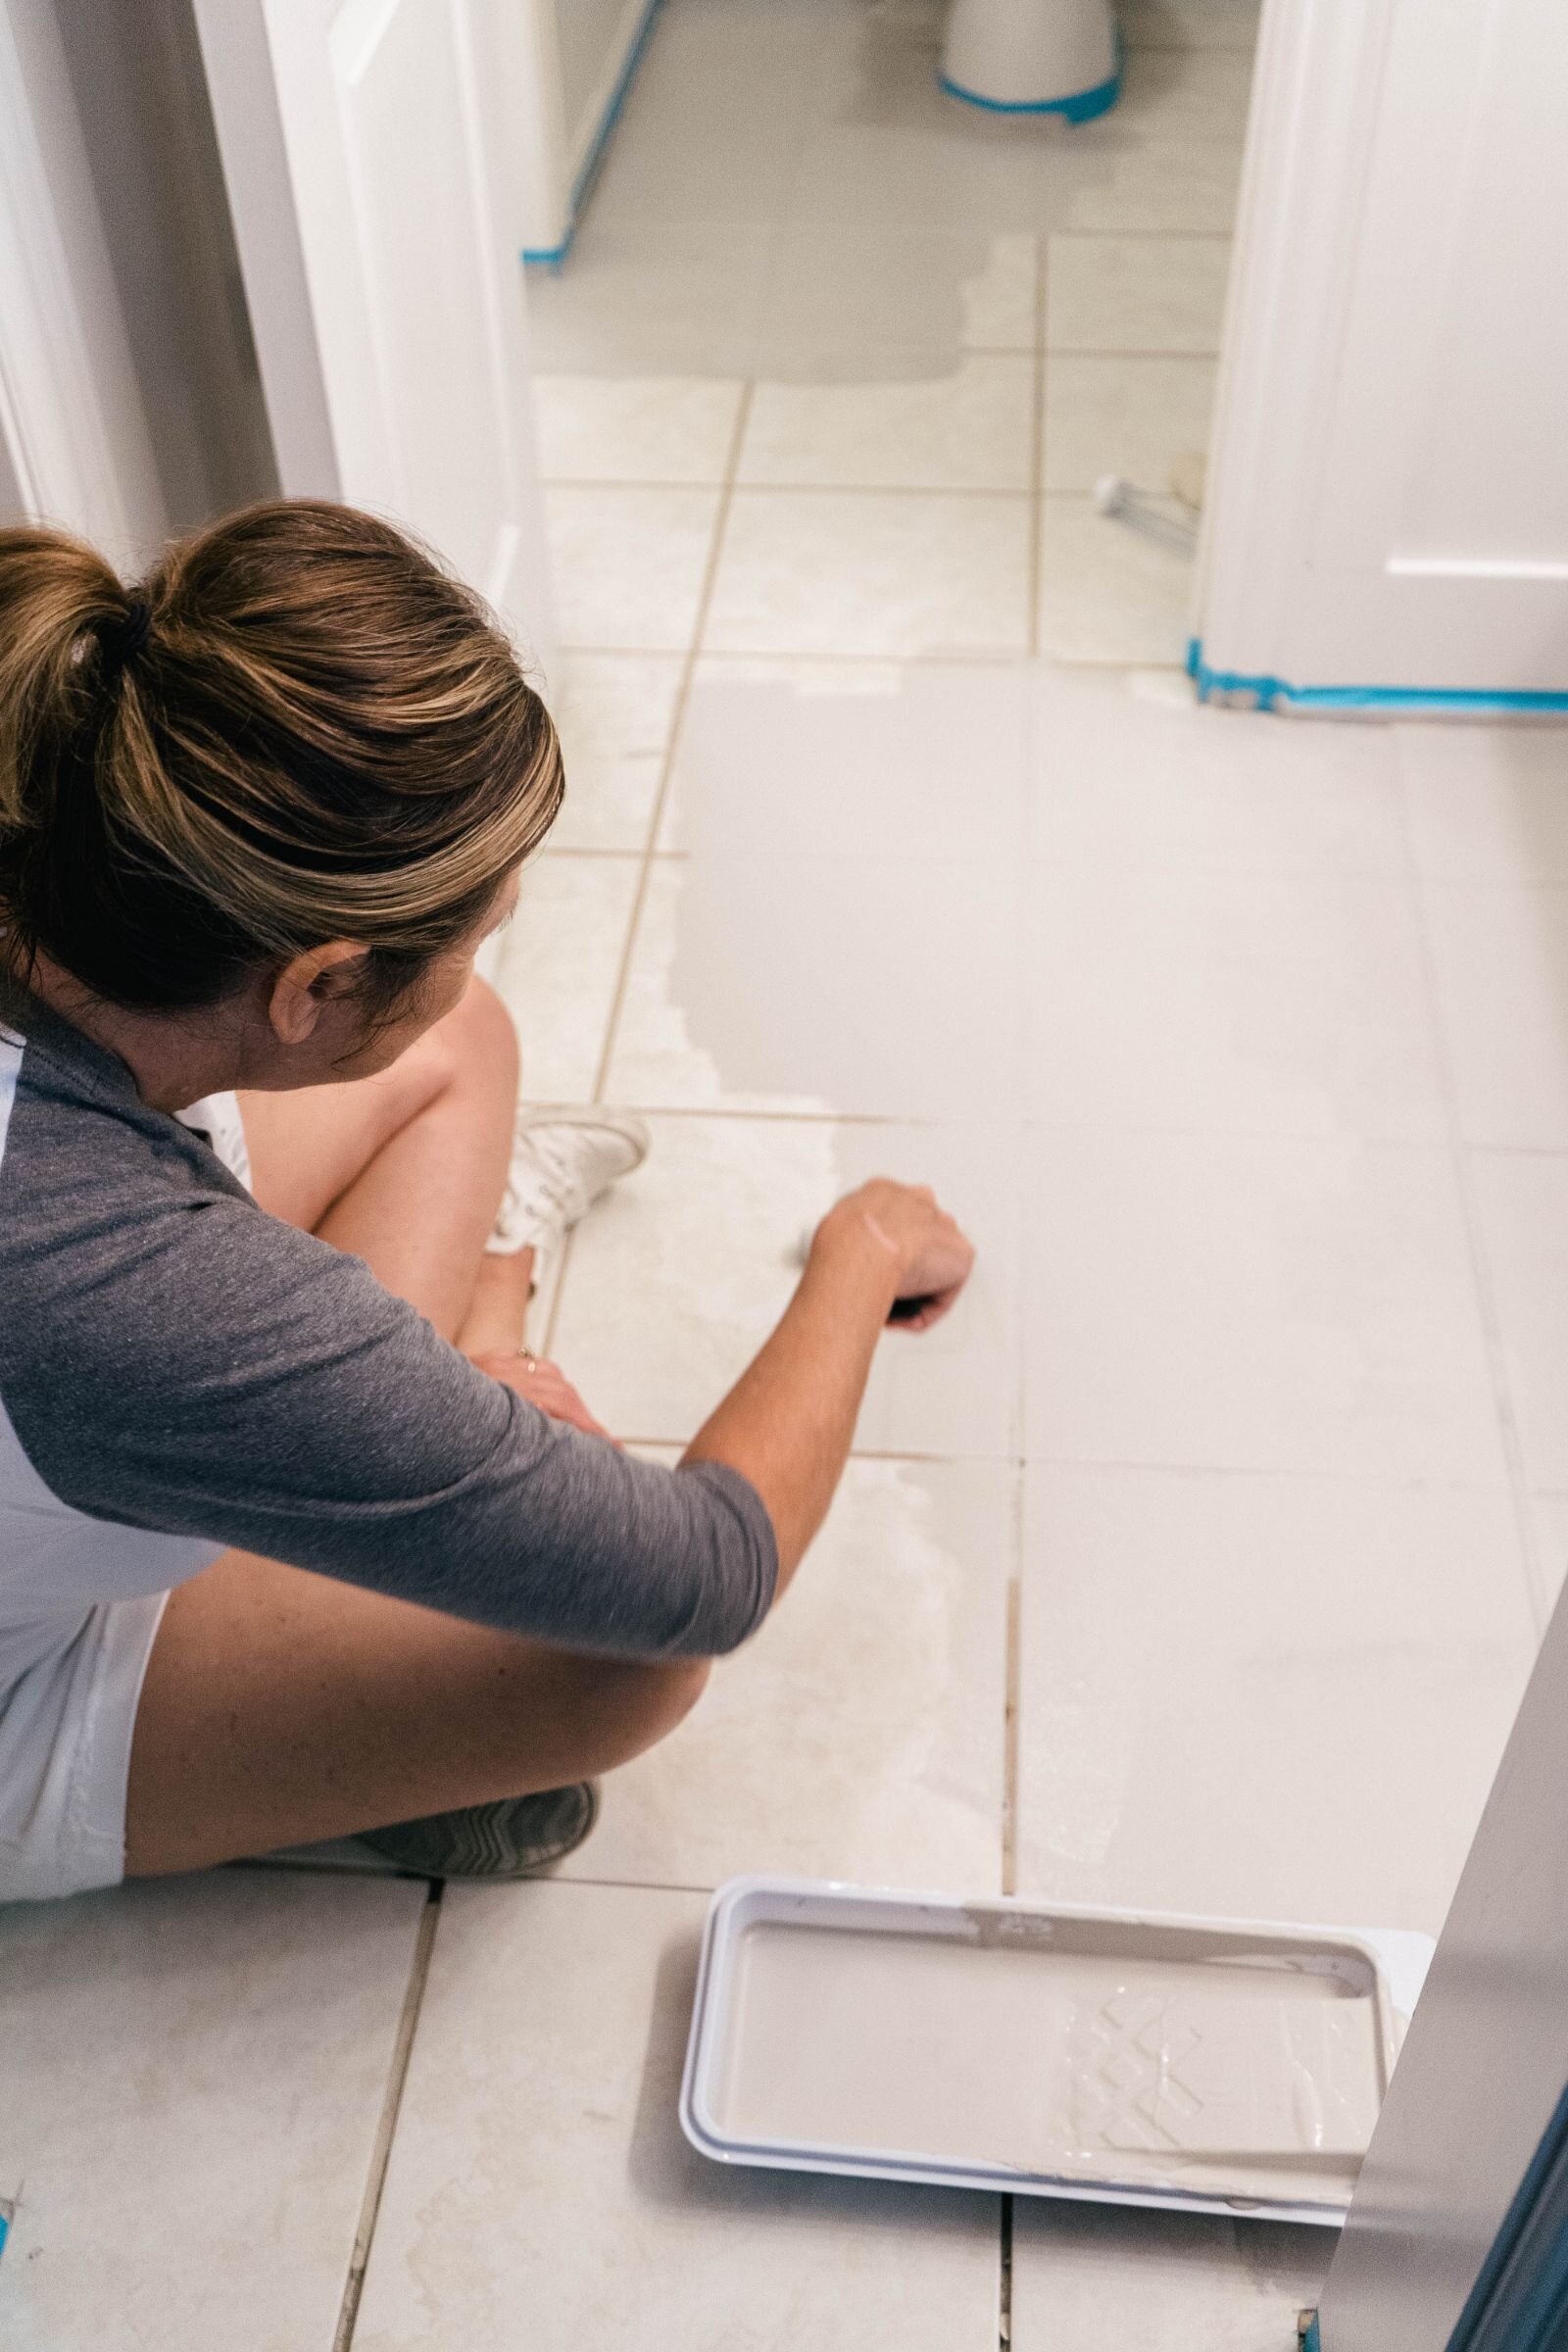
Painting Technique
Once all of the necessary supplies have been gathered and the space is prepared for painting, it’s time to begin painting! Before beginning though, it’s important to remember that always start from the furthest point away from the door and work your way towards it to avoid having to walk back over wet paint. Additionally, it’s also important to make sure that each coat is given ample time to dry before applying another one to achieve optimal results.
When it comes time to apply the paint onto the tile floor itself, start by applying a thin layer of primer over the entire surface and allow this to dry completely before continuing with further coats of paint. Once dry, begin applying thin coats of paint over the entire surface using either a brush or roller depending on what type of finish you want. Make sure that each coat dries completely before applying another one to ensure optimal results. Depending on how many coats are being used and how thick they are being applied, this process may take anywhere from several hours up to several days depending on how many layers are needed.
Finishing Touches
Once all coats of paint have been applied and allowed time to completely dry, it’s time for the finishing touches! Start by carefully removing all painter’s tape from along the edges of each tile to reveal a crisp line between the paint and tiles. If desired, you can also apply a sealant over the painted area to further protect it from wear and tear over time. Once complete, enjoy your newly transformed tile floor.