Walking through my front door used to feel like stepping into a construction zone rather than a welcoming home. The builder-grade vinyl flooring had seen better days, with scuff marks, worn patches, and an overall tired appearance that made my entire house feel less inviting. I knew that first impressions matter, and my entryway was failing to create the warm, stylish welcome I wanted for guests and family members. After months of feeling embarrassed about this space, I decided it was time to transform my entryway with a thoughtfully designed tile floor that would set the tone for my entire home.
The Problem: An Entryway That Failed to Impress
My original entryway flooring was a practical but uninspiring beige vinyl that the builder had installed throughout the main level of my home. While it served its basic function, the material showed every scuff mark, accumulated dirt in the textured surface, and created an institutional feeling that made my home feel more like an office building than a personal sanctuary. The monotonous color and pattern offered no visual interest or personality.
The functional problems were equally frustrating. The vinyl flooring provided no transition between the outdoor elements and my interior spaces, meaning mud, water, and debris tracked easily throughout the house. During rainy seasons, the smooth surface became slippery and dangerous, especially when wet shoes met the non-slip coating that had worn away over the years of use.
What bothered me most was how the flooring affected my mood every time I came home. Instead of feeling welcomed and relaxed, I felt disappointed and slightly embarrassed. The entryway set a negative tone that followed me into other areas of my house. I realized that this small space had a disproportionate impact on my overall satisfaction with my home and needed immediate attention.
Research and Inspiration: Finding My Perfect Style
My search for entryway tile inspiration began with countless hours browsing design magazines and websites, saving images of entryways that caught my attention. I discovered that successful entryway designs balance durability with aesthetic appeal, using materials that can withstand heavy foot traffic while creating visual impact. The best designs incorporated pattern, color, and texture to create interest without overwhelming the space.
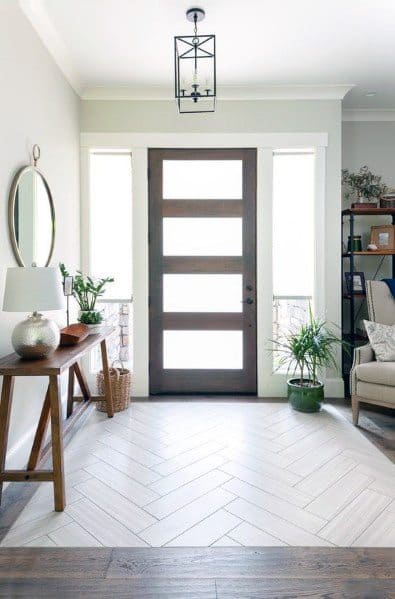
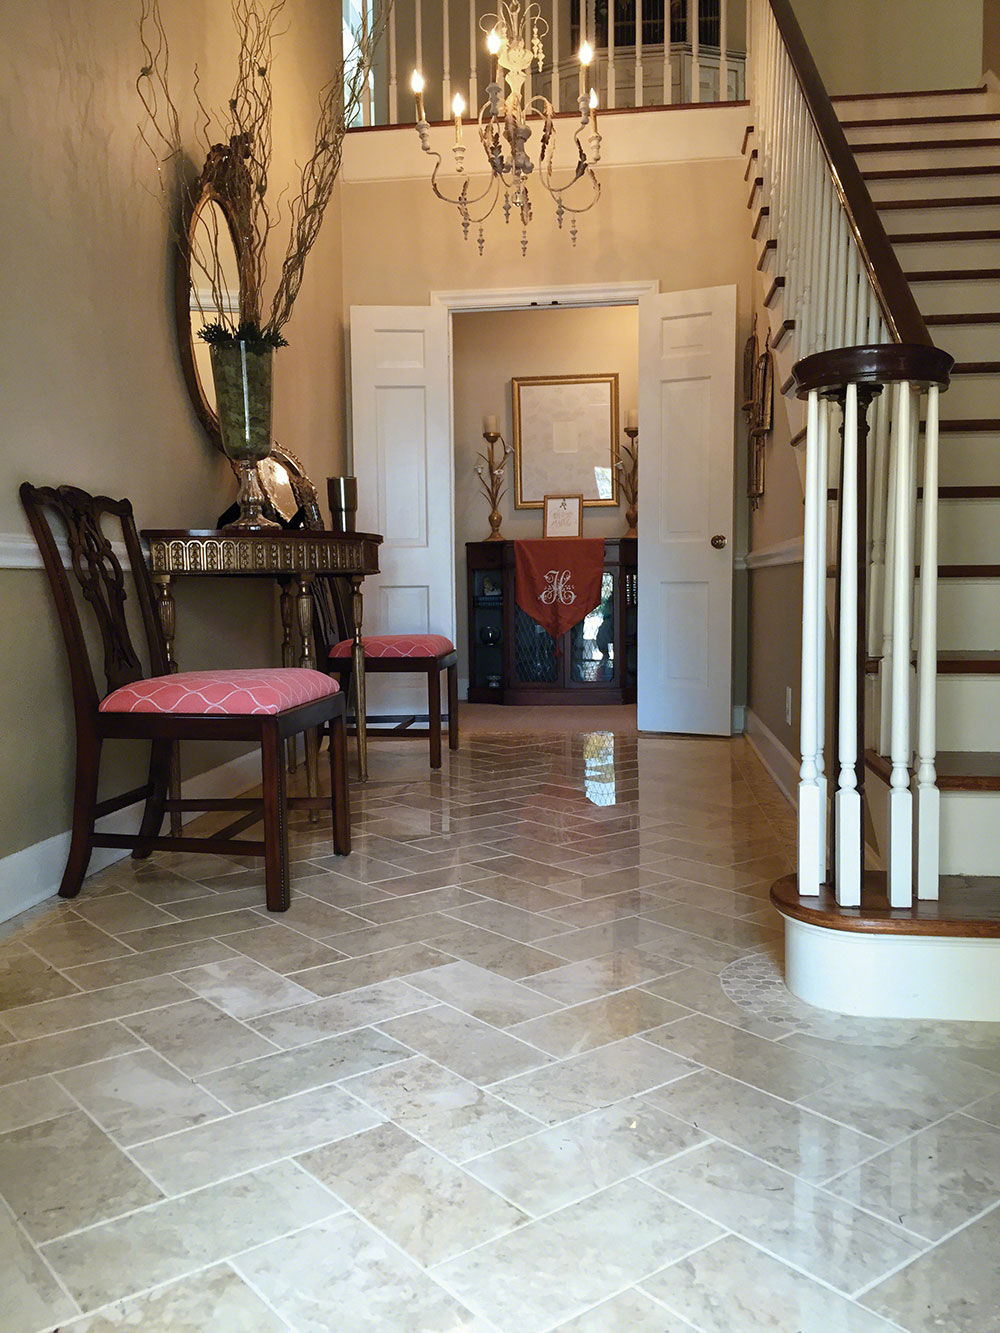
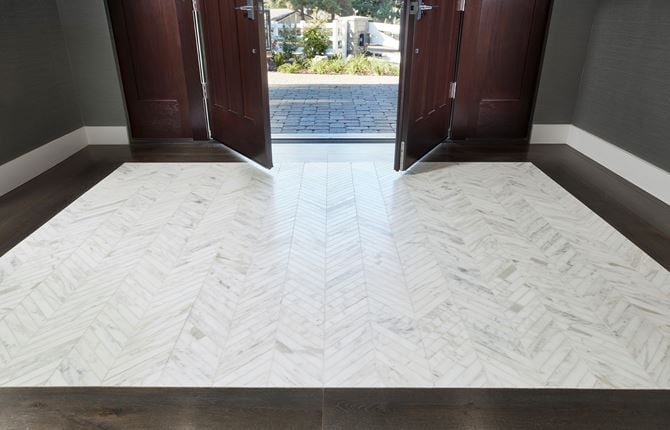
I was particularly drawn to geometric patterns that created movement and visual flow from the exterior to the interior spaces. Hexagonal tiles, herringbone patterns, and intricate mosaic designs all appealed to me for different reasons. Each pattern style offered unique advantages, from the classic elegance of herringbone to the modern sophistication of large-format geometric shapes.
Color selection proved equally important in my research. I learned that entryway tiles should complement both exterior and interior design elements while being practical enough to hide dirt and wear. Neutral bases with accent colors seemed to offer the best balance, allowing for seasonal decorating changes while maintaining a timeless foundation that wouldn’t quickly become dated.
Design Planning: Creating a Vision
Once I had gathered sufficient inspiration, I began the challenging process of adapting my favorite design elements to my specific space and budget constraints. My entryway measured approximately 6 by 8 feet, providing enough area for a meaningful pattern while remaining manageable for a DIY installation. I sketched various layout options, considering how patterns would align with doorways and transition to adjacent flooring.
The pattern I ultimately chose was a classic herringbone design using 12-inch by 3-inch rectangular tiles in a warm gray color with subtle veining. This choice offered timeless appeal while being large enough to install efficiently. The herringbone pattern would create visual movement and interest without being too busy or overwhelming in the relatively small space.
Planning the installation sequence required careful consideration of starting points and pattern alignment. I created detailed drawings showing exactly where each tile would be placed, accounting for cuts around doorways and transitions to other flooring materials. This planning phase took several weeks but was essential for achieving professional-looking results and avoiding costly mistakes during installation.
Installation Challenges: Learning Through Experience
The tile installation process began with removing the existing vinyl flooring, which proved more difficult than anticipated. The adhesive had bonded strongly to the concrete subfloor, requiring considerable scraping and chemical removal products. I had to rent a floor scraper and spend an entire weekend preparing the surface, but this foundation work was crucial for proper tile adhesion.
Laying out the herringbone pattern required precise measurements and constant attention to alignment. The first few tiles took much longer than expected as I adjusted to the pattern’s requirements and developed a rhythm for the installation process. Each tile had to be placed at exactly the right angle and spacing to maintain the pattern’s integrity throughout the entryway.
The most challenging aspect was cutting tiles to fit around doorways and transitions to other flooring materials. The herringbone pattern created complex angles that required careful measurement and multiple test cuts. I invested in a high-quality tile saw and diamond blades, which made the cutting process more accurate and efficient. The additional tool expense was justified by the improved results and time savings.

The Transformation: Immediate Impact
Stepping back to admire the completed entryway floor, I was amazed by how dramatically the space had been transformed. The herringbone pattern created visual interest and sophistication that elevated the entire area from utilitarian to stylish. The gray tiles with subtle veining added texture and depth while maintaining the neutral palette I wanted for long-term satisfaction.
The new tile floor completely changed how I felt about coming home each day. Instead of disappointment, I now experience a sense of pride and satisfaction every time I walk through the front door. The entryway feels intentional and welcoming, setting a positive tone that carries throughout the rest of my home. Friends and family members consistently comment on the beautiful flooring and professional appearance.
Functionally, the tile floor exceeded my expectations. The textured surface provides excellent traction even when wet, eliminating the slippery conditions that concerned me with the previous vinyl flooring. Dirt and debris are easily swept up, and occasional mopping keeps the tiles looking fresh and clean. The herringbone pattern helps camouflage normal wear and minor stains.

Living with My New Entryway: Long-Term Satisfaction
Six months after completing the installation, I continue to appreciate the tile floor’s beauty and functionality every single day. The herringbone pattern has proven timeless rather than trendy, and the neutral color works beautifully with seasonal decorating changes. The investment in quality materials and careful installation has paid dividends in durability and appearance retention.
Maintenance has been simpler than I anticipated. Weekly sweeping and monthly mopping with a pH-neutral cleaner keep the tiles looking like new. The sealed grout lines resist staining and are easy to clean with a soft brush when needed. The tile’s finish has shown no signs of wear despite heavy daily use and occasional furniture moving across the surface.
The entryway renovation has inspired me to tackle other home improvement projects with the same attention to detail and quality materials. The successful transformation proved that thoughtful design and careful execution can create dramatic improvements even in small spaces. The confidence gained from this project has made me more ambitious about future renovations throughout my home.

How much does it cost to tile an average-sized entryway?
My 6×8 foot entryway cost approximately $1,200, including materials and tools. The herringbone-pattern tiles averaged $4 per square foot, while adhesive, grout, and supplies added another $200. Tool rental and purchase added $300 to the total cost. Professional installation would have doubled the expense, but DIY completion made the project affordable. Quality materials justify higher costs through improved durability and appearance over time.
What tile materials work best for high-traffic entryway areas?
Porcelain tiles offer the best combination of durability, water resistance, and style options for entryway applications. I chose porcelain over ceramic for its lower water absorption and higher strength ratings. Natural stone tiles like slate or travertine provide beautiful textures but require more maintenance and sealing. Avoid soft materials like marble in entryways due to scratching and staining concerns from outdoor debris and moisture.

How difficult is it to install herringbone tile patterns for beginners?
Herringbone patterns require more precision and planning than standard straight-lay installations, but are manageable for motivated DIYers. The key is careful layout planning and starting with a proper center reference line. I spent extra time on the first few rows to establish the pattern correctly, then the installation rhythm became more natural. Expect 25-30% longer installation time compared to simple rectangular patterns.
What should I consider when choosing grout colors for entryway tiles?
Grout color significantly impacts the overall appearance and maintenance requirements of your tile installation. I chose a medium gray grout that complements my tiles while hiding normal dirt and wear better than white grout would. Light grout shows every stain but creates clean, contemporary looks. Dark grout hides dirt effectively but can make spaces feel smaller. Consider your lifestyle and maintenance preferences when selecting grout colors.
How do I transition from entryway tiles to other flooring materials?
Proper transitions between different flooring materials require careful planning and appropriate transition strips or profiles. I used a marble threshold strip between my tile entryway and adjacent hardwood floors, creating a clean, professional appearance. The transition should account for height differences between materials and provide a smooth, safe walking surface. Plan transitions during the design phase to ensure proper installation and attractive results.
What maintenance routine keeps entryway tiles looking their best?
My maintenance routine includes daily sweeping or vacuuming to remove dirt and debris before it can scratch the tile surface. Weekly damp mopping with pH-neutral cleaner keeps the tiles and grout looking fresh. Monthly deep cleaning with a soft brush addresses any grout discoloration. Annual professional cleaning and grout sealing maintain the installation’s appearance and protect against stains and moisture damage in this high-traffic area.
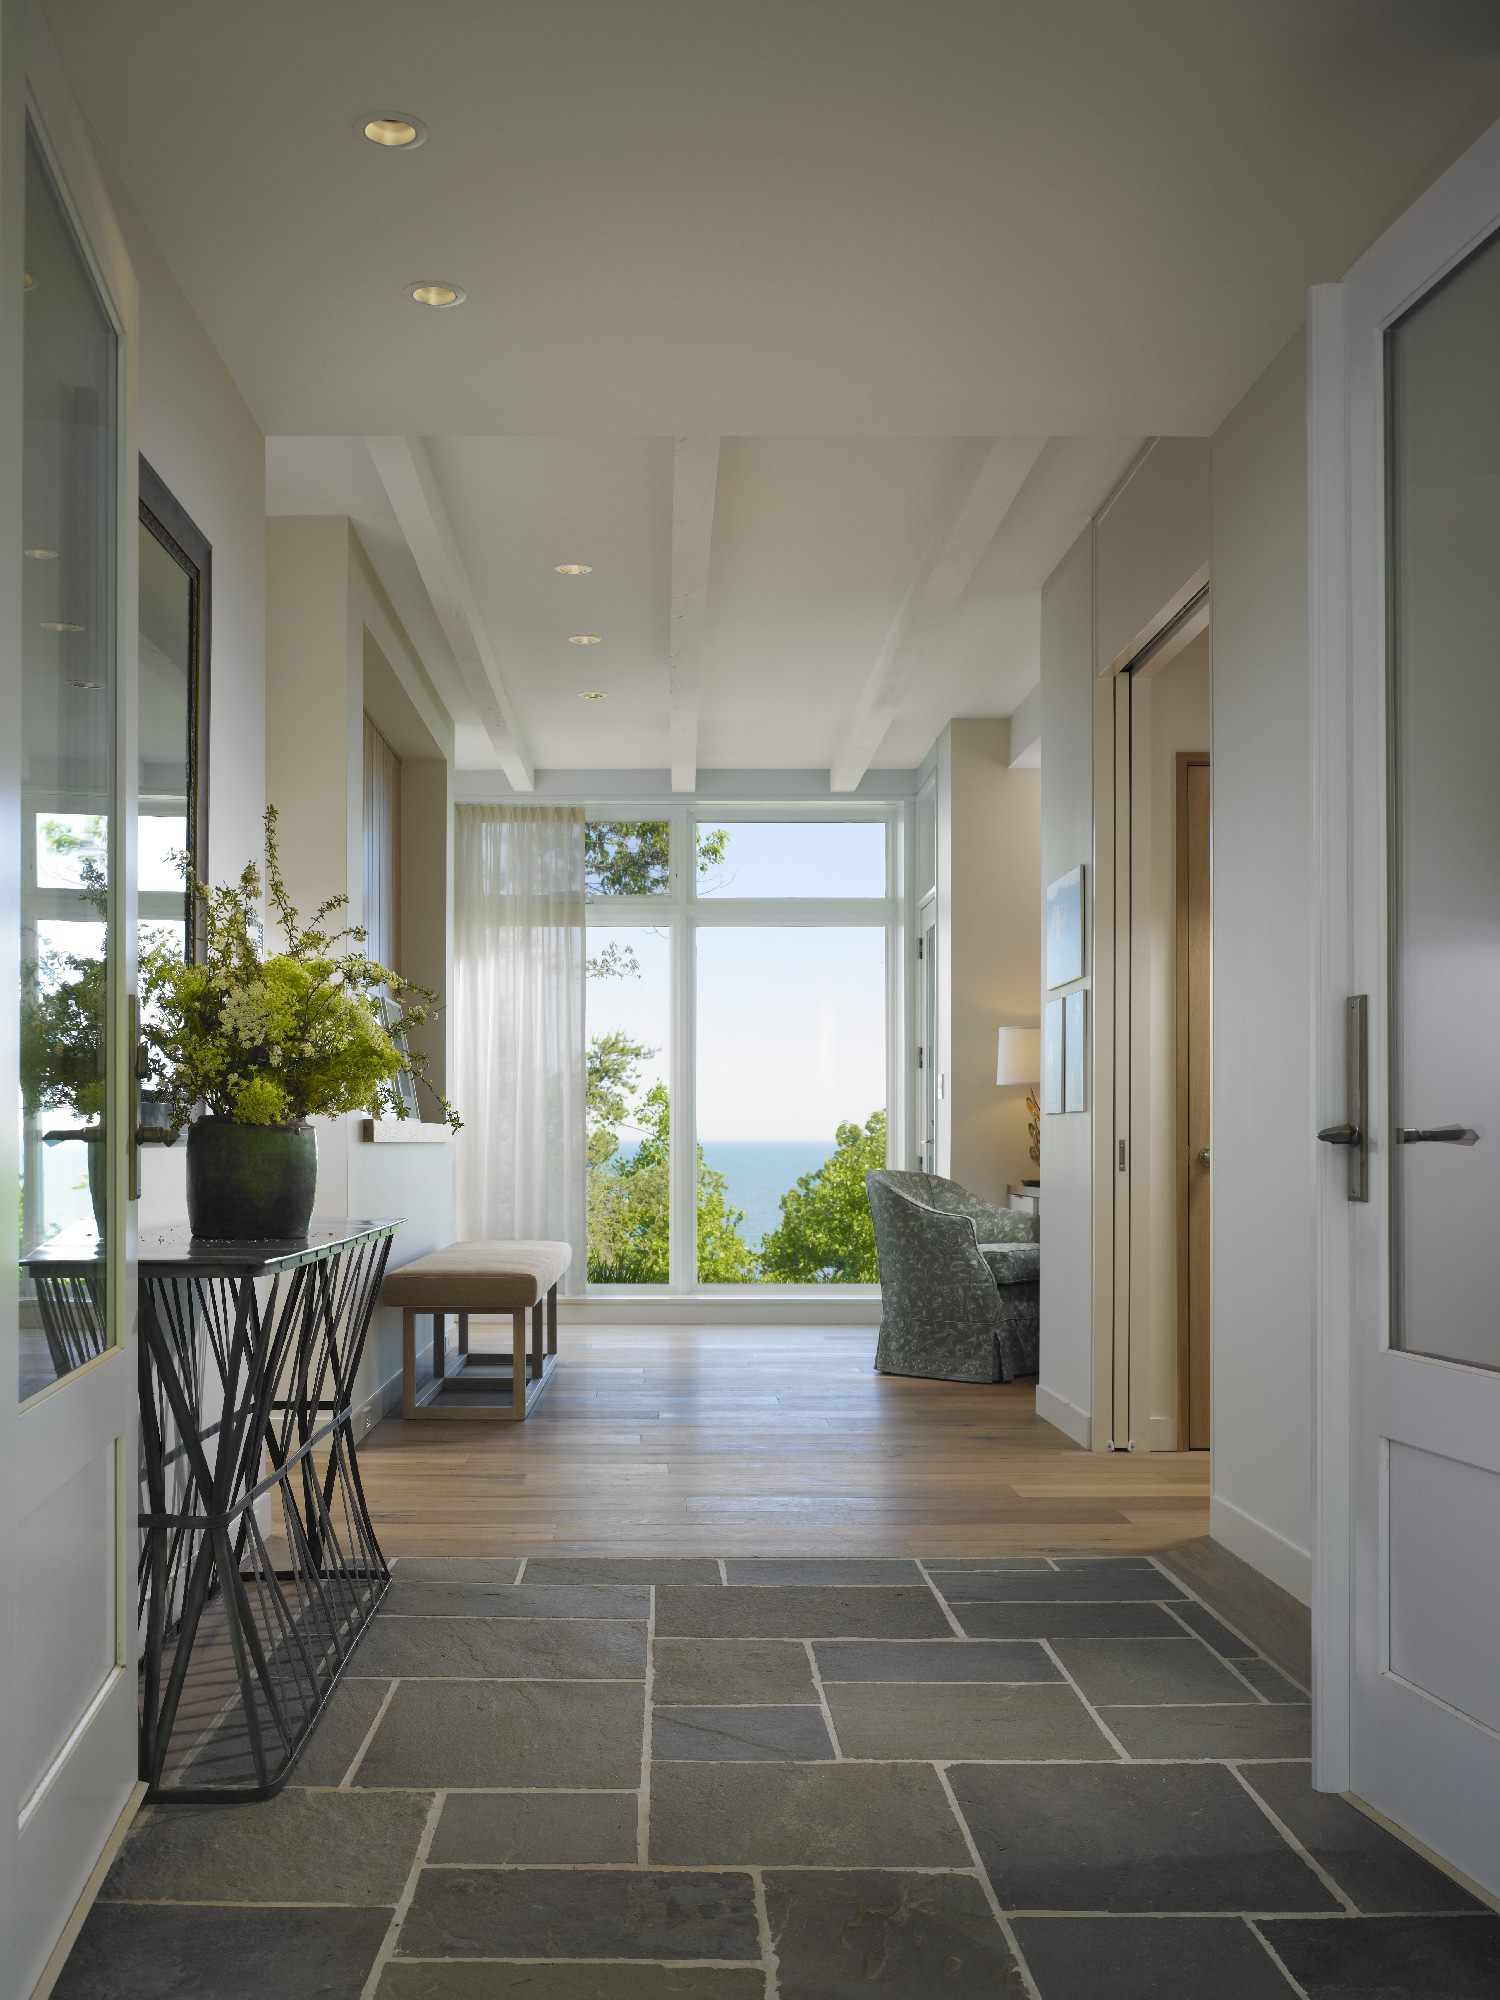
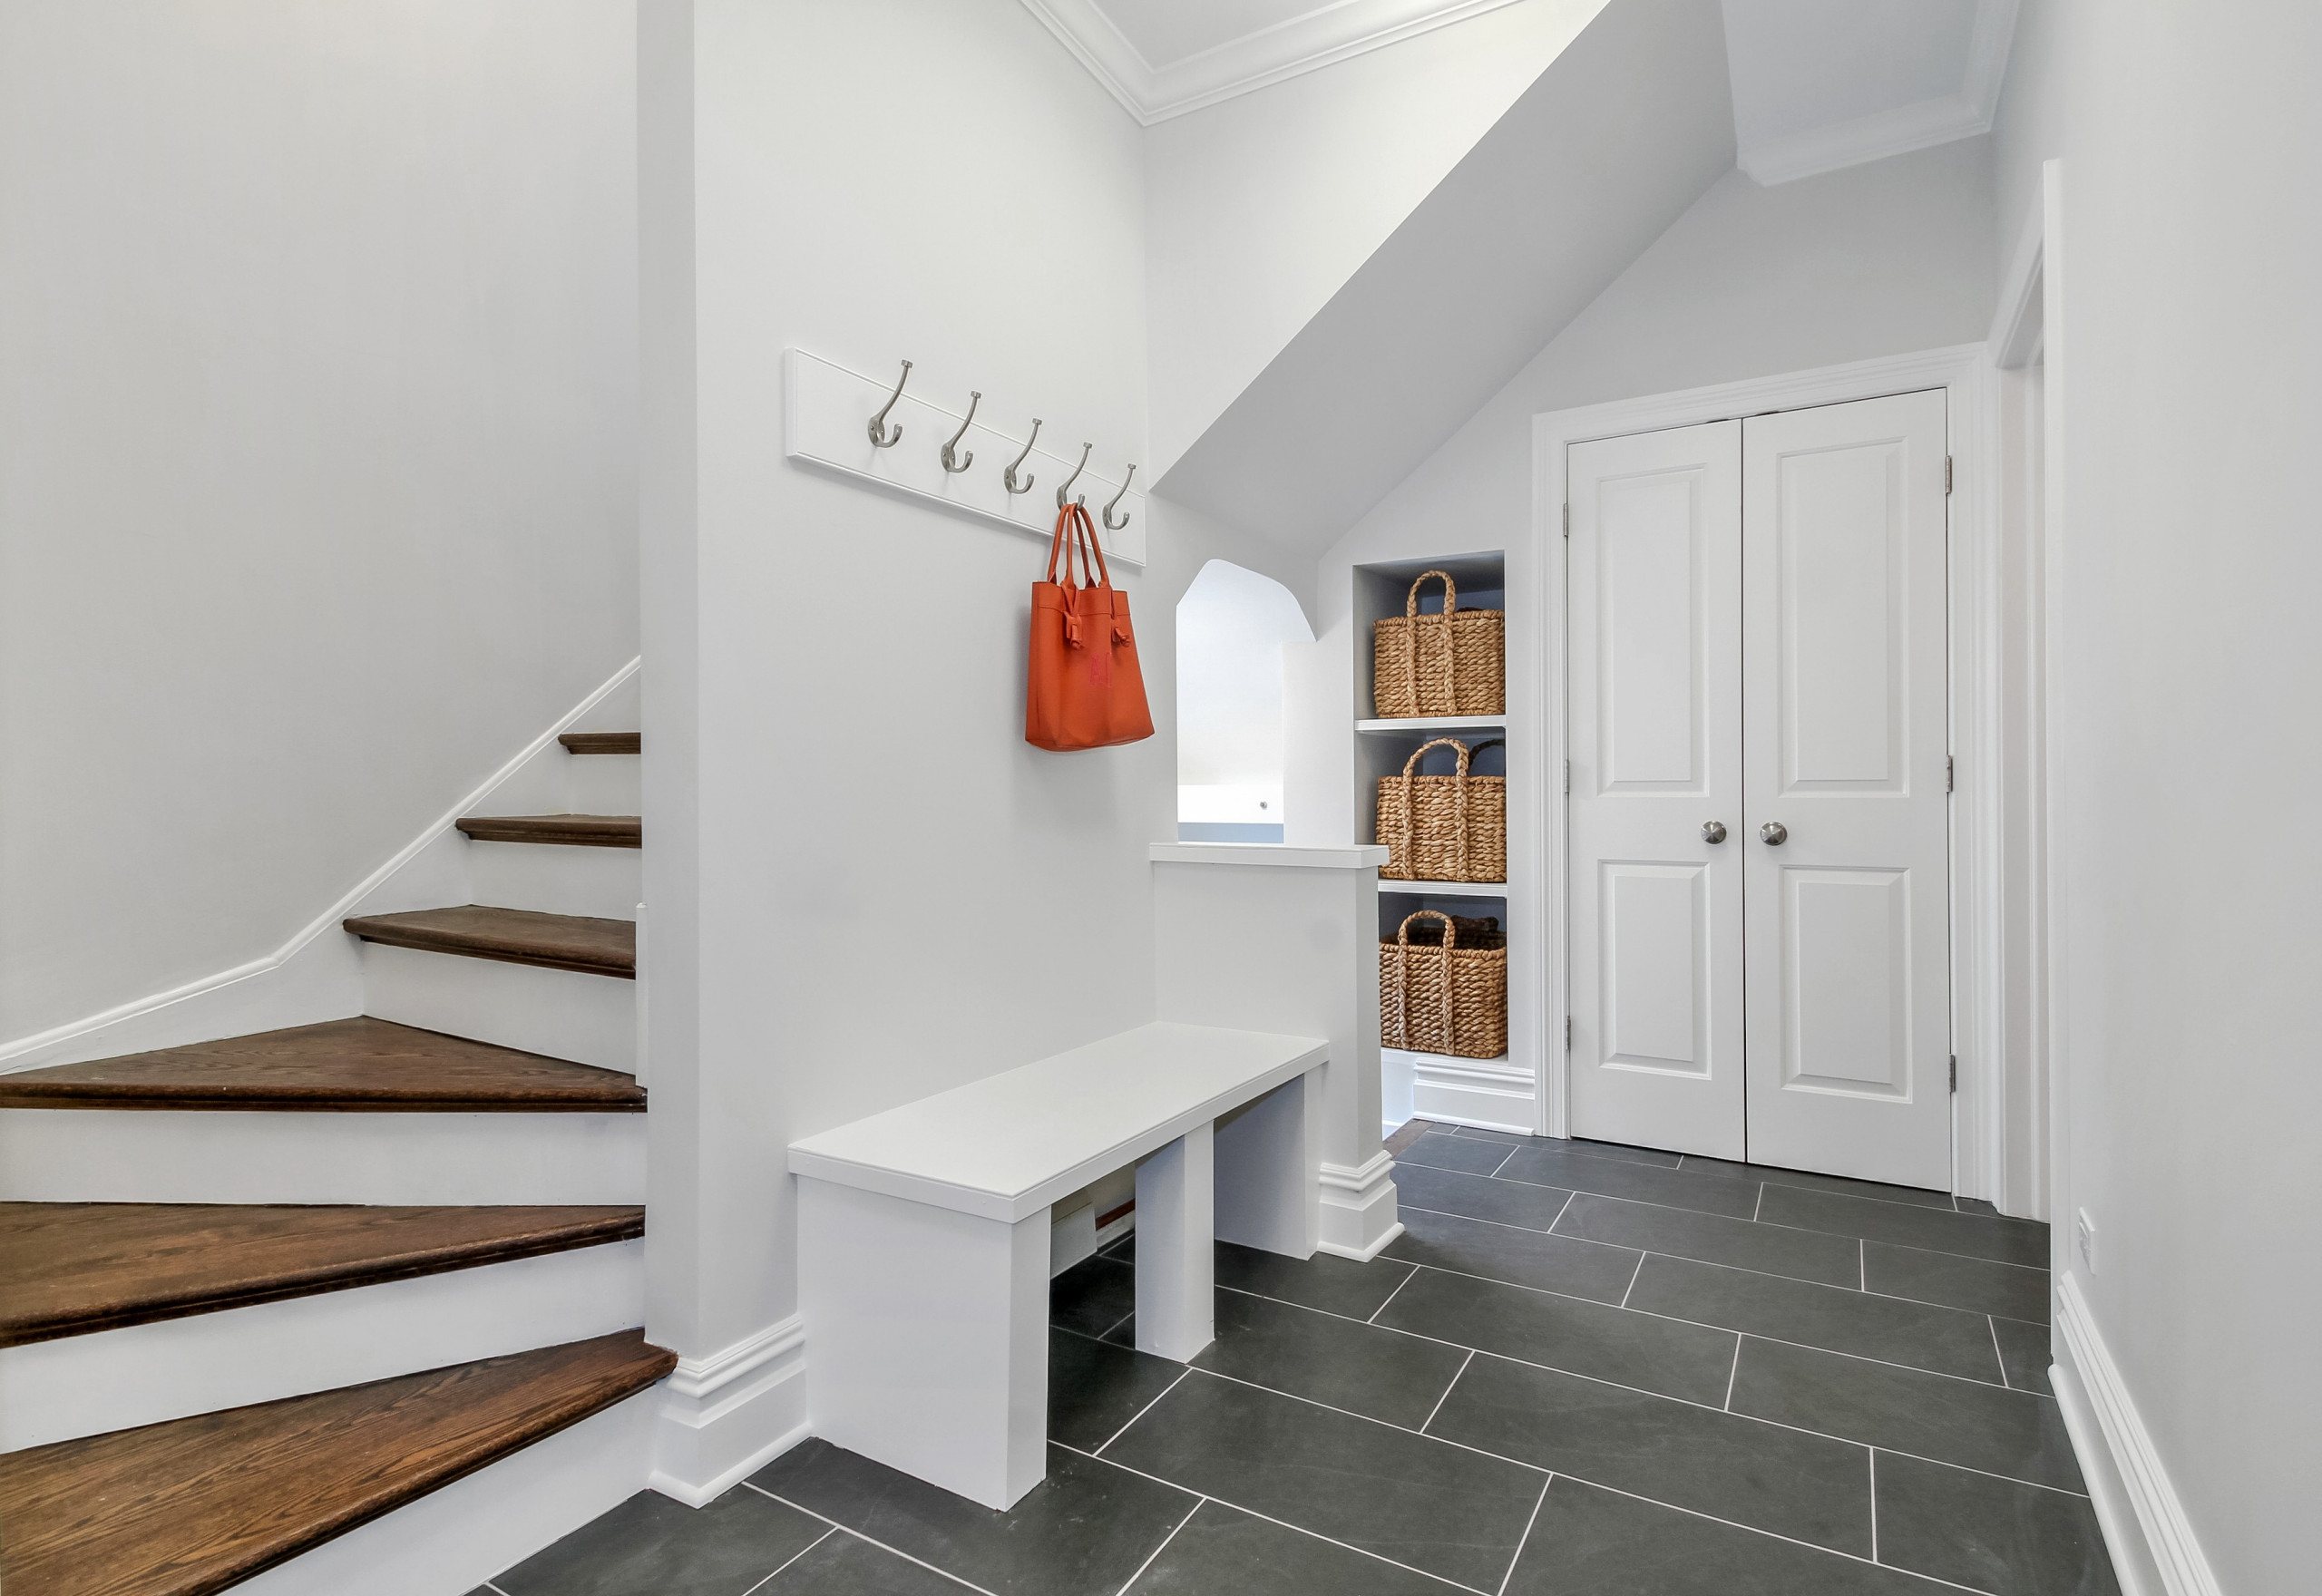
Best Entryway Tile Ideas – Foyer Designs
Best Entryway Tile Ideas – Foyer Designs

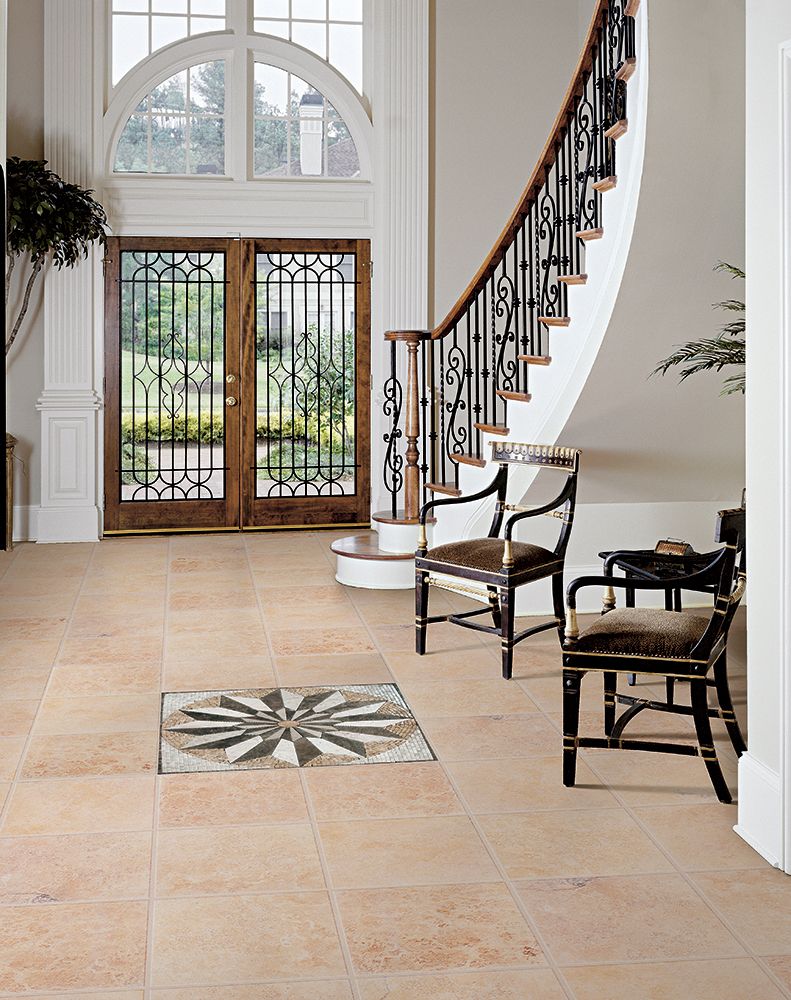
Tile Flooring: First Impressions Start with the Foyer
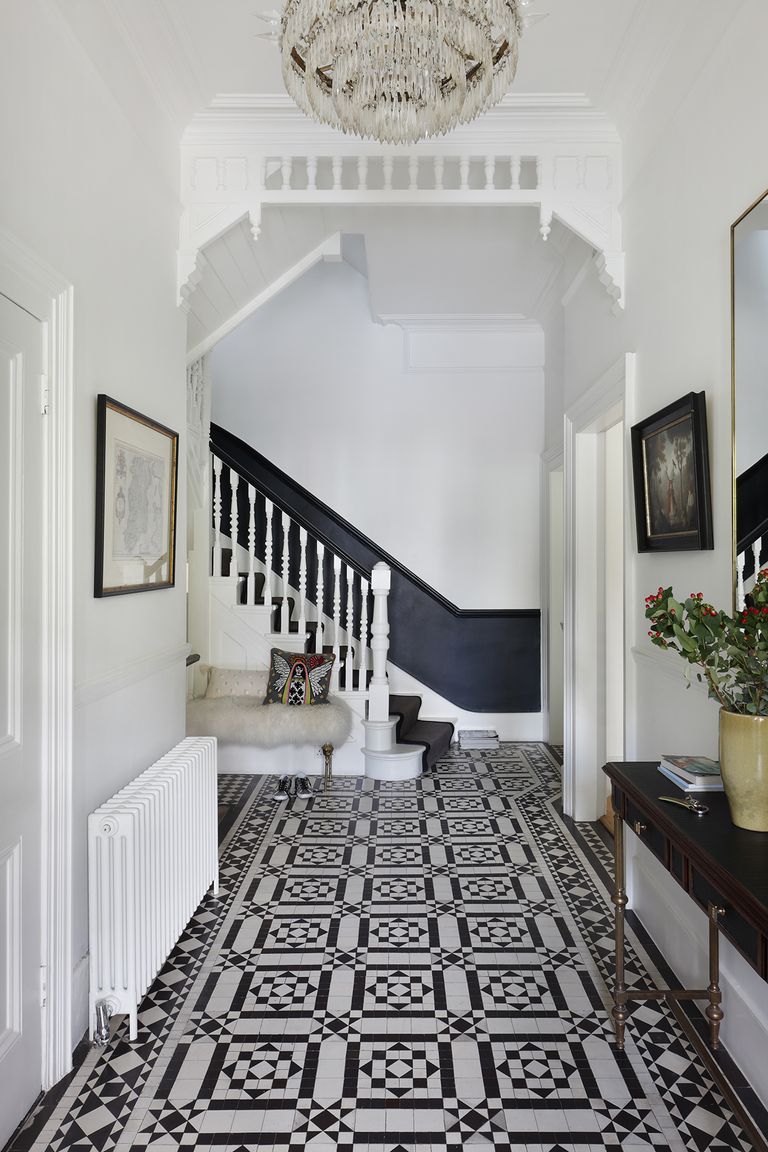
Modern Entryway Flooring Ideas to Try – Arizona Tile
Ceramic Tile Entryway Ideas
Related Posts: