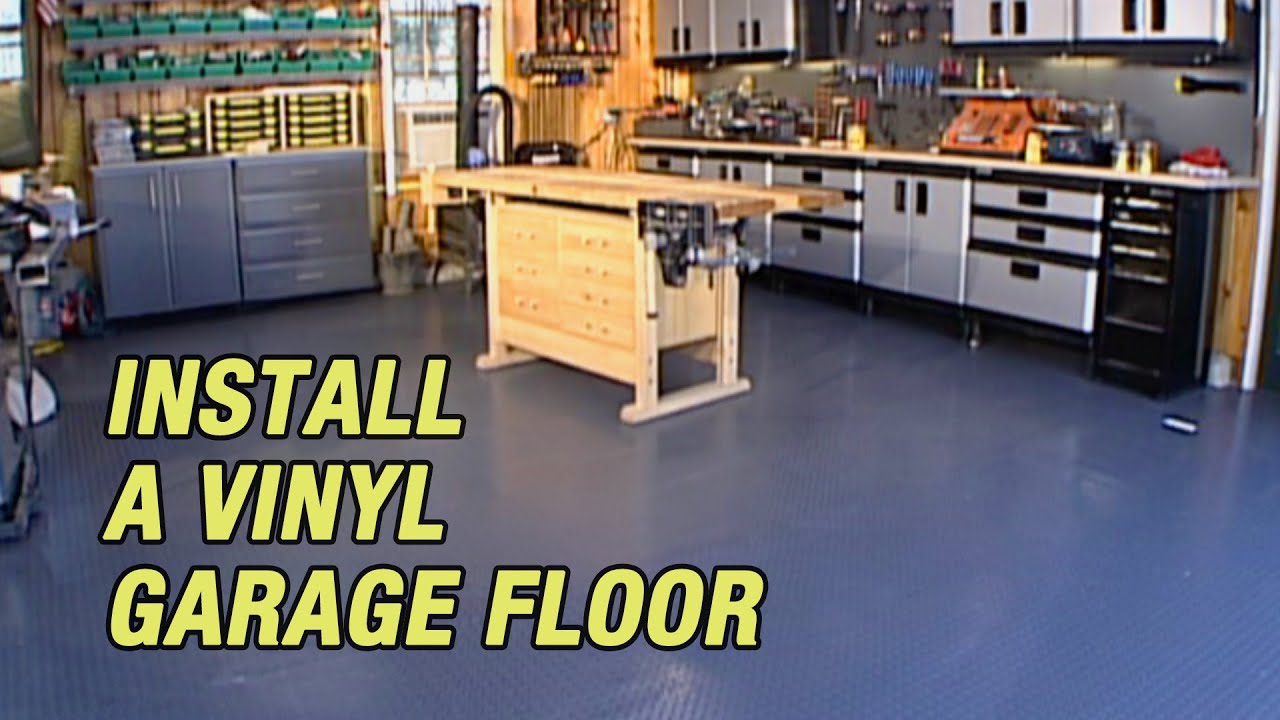
Transform Your Garage with Durable and Stylish Vinyl Tiles
Garages are often overlooked spaces in our homes, relegated to mere storage units for cars, tools, and miscellaneous items. However, with a bit of creativity and the right materials, your garage can become a functional and stylish extension of your living space. One of the most impactful ways to enhance your garage is by upgrading the floor. Let’s discuss the benefits, styles, installation process, and maintenance tips for garage floor vinyl tiles, which are an excellent choice for transforming your garage.
The Benefits of Garage Floor Vinyl Tiles
- Durability: Garage floor vinyl tiles are designed to withstand the harsh conditions of a garage environment. They are resistant to heavy loads, chemicals, oil spills, and abrasions, making them a durable flooring option that can handle the weight of vehicles and the rigors of daily use.
- Easy Maintenance: Vinyl tiles are incredibly easy to clean and maintain. Unlike concrete floors that can absorb stains and require extensive cleaning, vinyl tiles can be easily wiped down with a mop and a mild cleaning solution. This makes it easier to keep your garage looking pristine.
- Comfort and Insulation: Vinyl tiles provide a softer and more comfortable surface to walk on compared to concrete. They also offer better insulation, helping to keep your garage warmer in the winter and cooler in the summer. This can make your garage a more pleasant space to work in or use as a home gym or workshop.
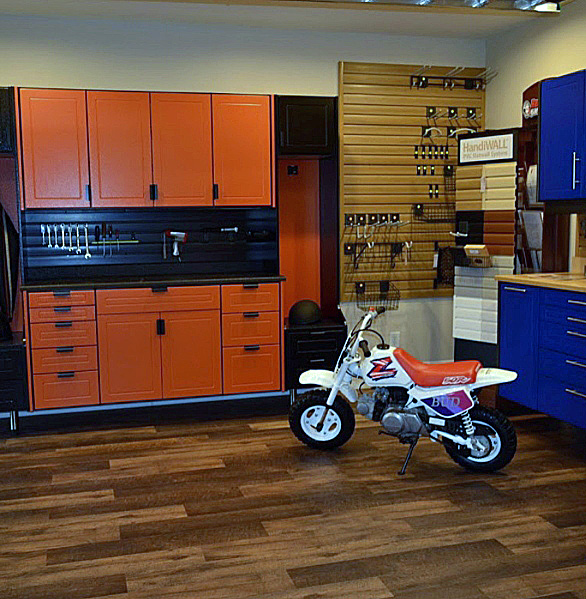
- Aesthetic Appeal: With a wide range of colors, patterns, and textures available, vinyl tiles allow you to customize the look of your garage floor. You can choose tiles that mimic the appearance of stone, wood, or even metallic finishes, giving your garage a stylish and personalized touch.
- Cost-Effectiveness: Compared to other flooring options, garage floor vinyl tiles are relatively affordable. They offer a cost-effective solution for upgrading your garage without breaking the bank. Additionally, their long lifespan and low maintenance requirements contribute to their overall value.
Exploring Different Styles of Vinyl Tiles
Interlocking Tiles: Interlocking vinyl tiles are designed to snap together like puzzle pieces, creating a seamless and secure fit. These tiles are easy to install and do not require any adhesives, making them a popular choice for DIY enthusiasts. Interlocking tiles are available in various patterns and designs, allowing you to create a unique look for your garage.
Peel-and-Stick Tiles: Peel-and-stick vinyl tiles come with a pre-applied adhesive backing, making installation quick and straightforward. Simply peel off the protective layer and press the tiles onto the floor. These tiles are perfect for those looking for a hassle-free installation process. They are available in a wide range of styles, from classic checkered patterns to modern geometric designs.
Luxury Vinyl Tiles: For those seeking a more premium look and feel, luxury vinyl tiles (LVT) are an excellent option. LVT offers enhanced durability and a more realistic appearance, closely mimicking natural materials like hardwood, stone, and ceramic. These tiles are thicker and more robust, providing an upscale finish to your garage floor.
Textured Tiles: Textured vinyl tiles feature raised patterns or embossed designs that add both visual interest and slip resistance. The textured surface provides better traction, making it safer to walk on, especially in areas prone to moisture or oil spills. These tiles are ideal for garages that see a lot of foot traffic or where safety is a priority.
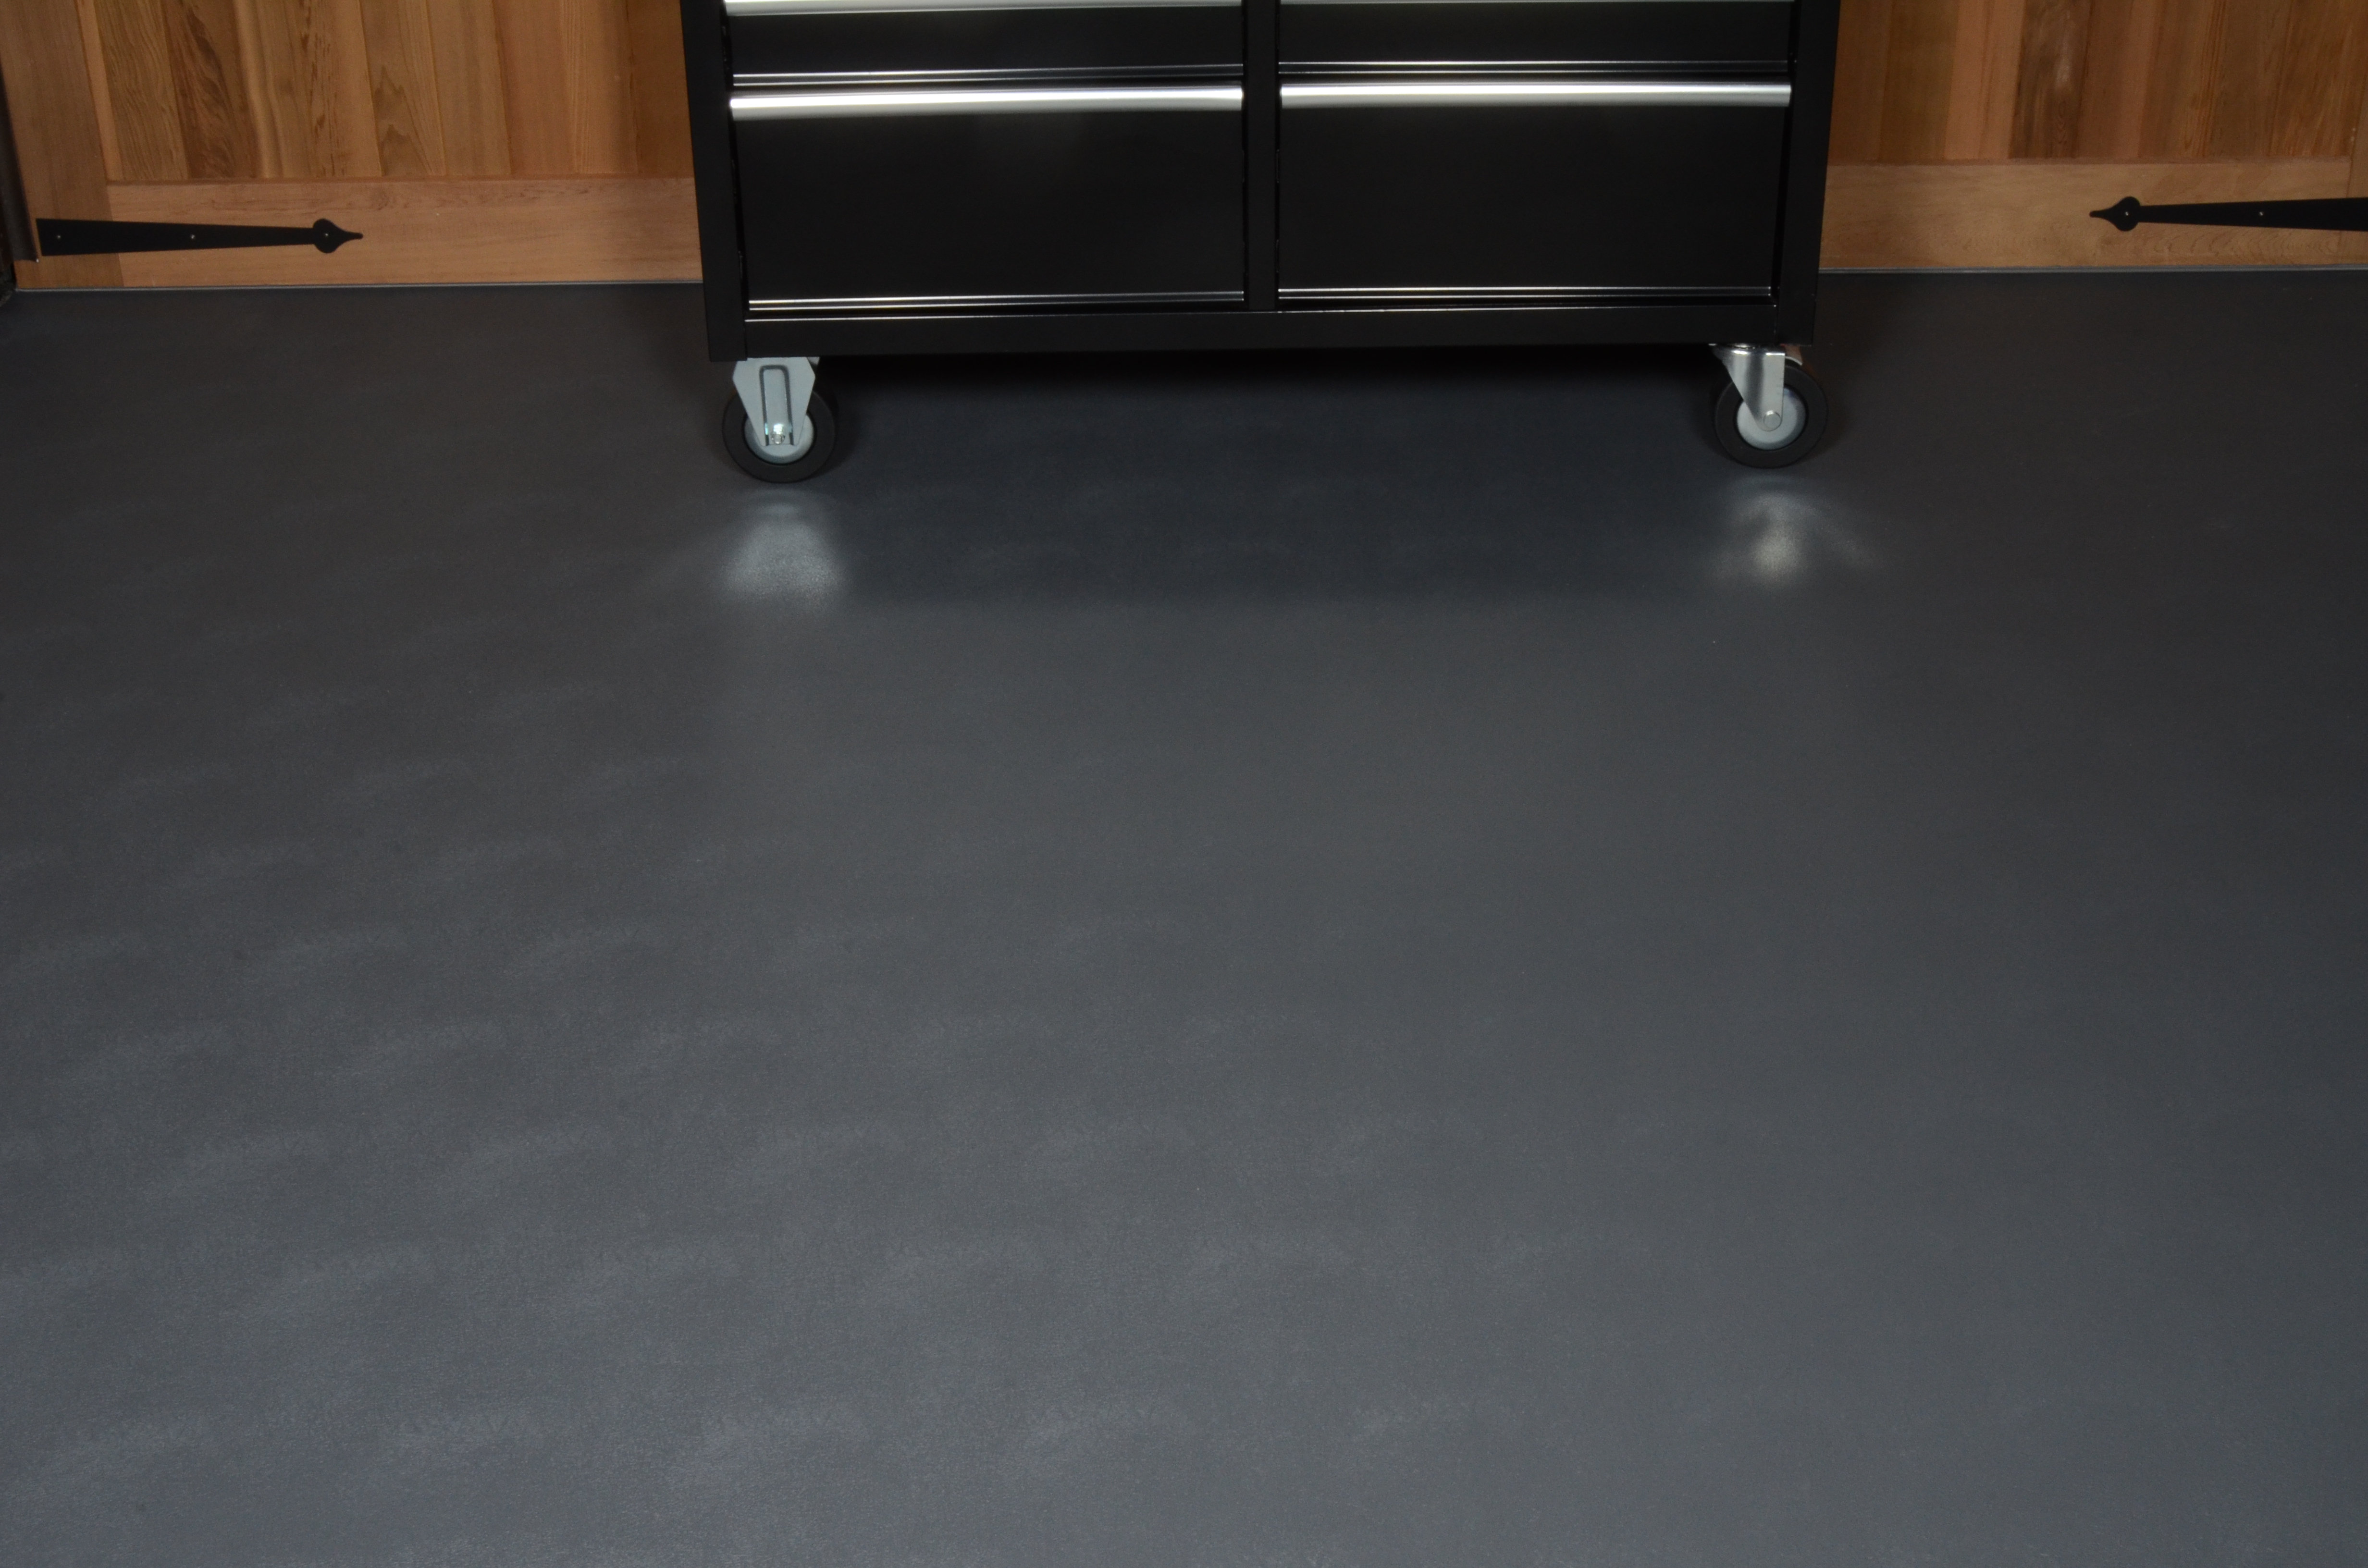
Solid Color Tiles: If you prefer a clean and minimalist look, solid color vinyl tiles are a great choice. These tiles come in various shades, allowing you to create a uniform and sleek appearance. Solid color tiles are versatile and can easily complement any garage decor, providing a polished and professional finish.
The Installation Process of Vinyl Tiles
Preparation: Before installing vinyl tiles, it’s essential to prepare the garage floor properly. Start by cleaning the floor thoroughly, removing any dirt, debris, and grease. If there are any cracks or imperfections in the concrete, repair them using a concrete patching compound. Ensure the floor is completely dry before proceeding with the installation.
Measuring and Planning: Accurate measurements are crucial for a successful installation. Measure the dimensions of your garage to determine the number of tiles needed. Plan the layout of the tiles, starting from the center of the garage and working your way outwards. This will ensure a balanced and symmetrical appearance.
Cutting and Fitting: Vinyl tiles can be easily cut to fit around obstacles and edges using a utility knife or a vinyl tile cutter. Make precise cuts to ensure a snug fit and a clean finish. For interlocking tiles, ensure that the tiles snap together securely to prevent any gaps or misalignment.
Adhering the Tiles: For peel-and-stick tiles, simply peel off the backing and press the tiles firmly onto the floor, following your planned layout. For other types of vinyl tiles, you may need to apply adhesive to the floor before placing the tiles. Follow the manufacturer’s instructions for the specific adhesive recommended for your tiles.
Finishing Touches: Once all the tiles are installed, use a roller to press them down firmly and ensure proper adhesion. Check for any gaps or uneven edges and make necessary adjustments. Allow the tiles to set for the recommended time before moving any heavy objects or vehicles onto the floor.
Maintenance Tips for Garage Floor Vinyl Tiles
Regular Cleaning: To keep your vinyl tiles looking their best, establish a regular cleaning routine. Sweep or vacuum the floor regularly to remove dust and debris. For a deeper clean, mop the floor with a mild detergent and warm water. Avoid using harsh chemicals or abrasive cleaners that could damage the tiles.
Stain Removal: In case of spills or stains, it’s important to address them promptly. Wipe up any spills immediately using a clean cloth or paper towel. For stubborn stains, use a vinyl floor cleaner or a mixture of baking soda and water. Gently scrub the stained area with a soft brush and rinse thoroughly.
Protective Measures: To prevent scratches and scuffs, place mats or rugs in high-traffic areas and under heavy equipment. Use furniture pads or coasters under heavy items to distribute the weight and reduce the risk of indentations. Avoid dragging heavy objects across the floor to prevent damage.
Periodic Inspections: Regularly inspect the tiles for any signs of wear, damage, or loose edges. Replace any damaged tiles promptly to maintain the integrity and appearance of the floor. Periodic inspections will help you identify and address potential issues before they become more significant problems.
Preventive Care: Taking preventive measures can extend the lifespan of your vinyl tiles. Avoid exposing the tiles to extreme temperatures or direct sunlight for prolonged periods, as this can cause fading or warping. Additionally, keep the garage well-ventilated to prevent moisture buildup, which can affect the adhesive and the overall condition of the tiles.
Transforming your garage with vinyl tiles not only enhances its functionality but also adds a touch of style and sophistication. With their durability, easy maintenance, and versatile design options, vinyl tiles are an excellent choice for creating a garage floor that is both practical and visually appealing. So, why wait? Start planning your garage makeover today and enjoy the benefits of a beautifully upgraded space.

Stone Composite LVP Flooring 9.5mm 1000 sq. ft. Flooring Kit

Solid White Peel u0026 Stick Vinyl Floor Tile-Garage Flooring 12″x12
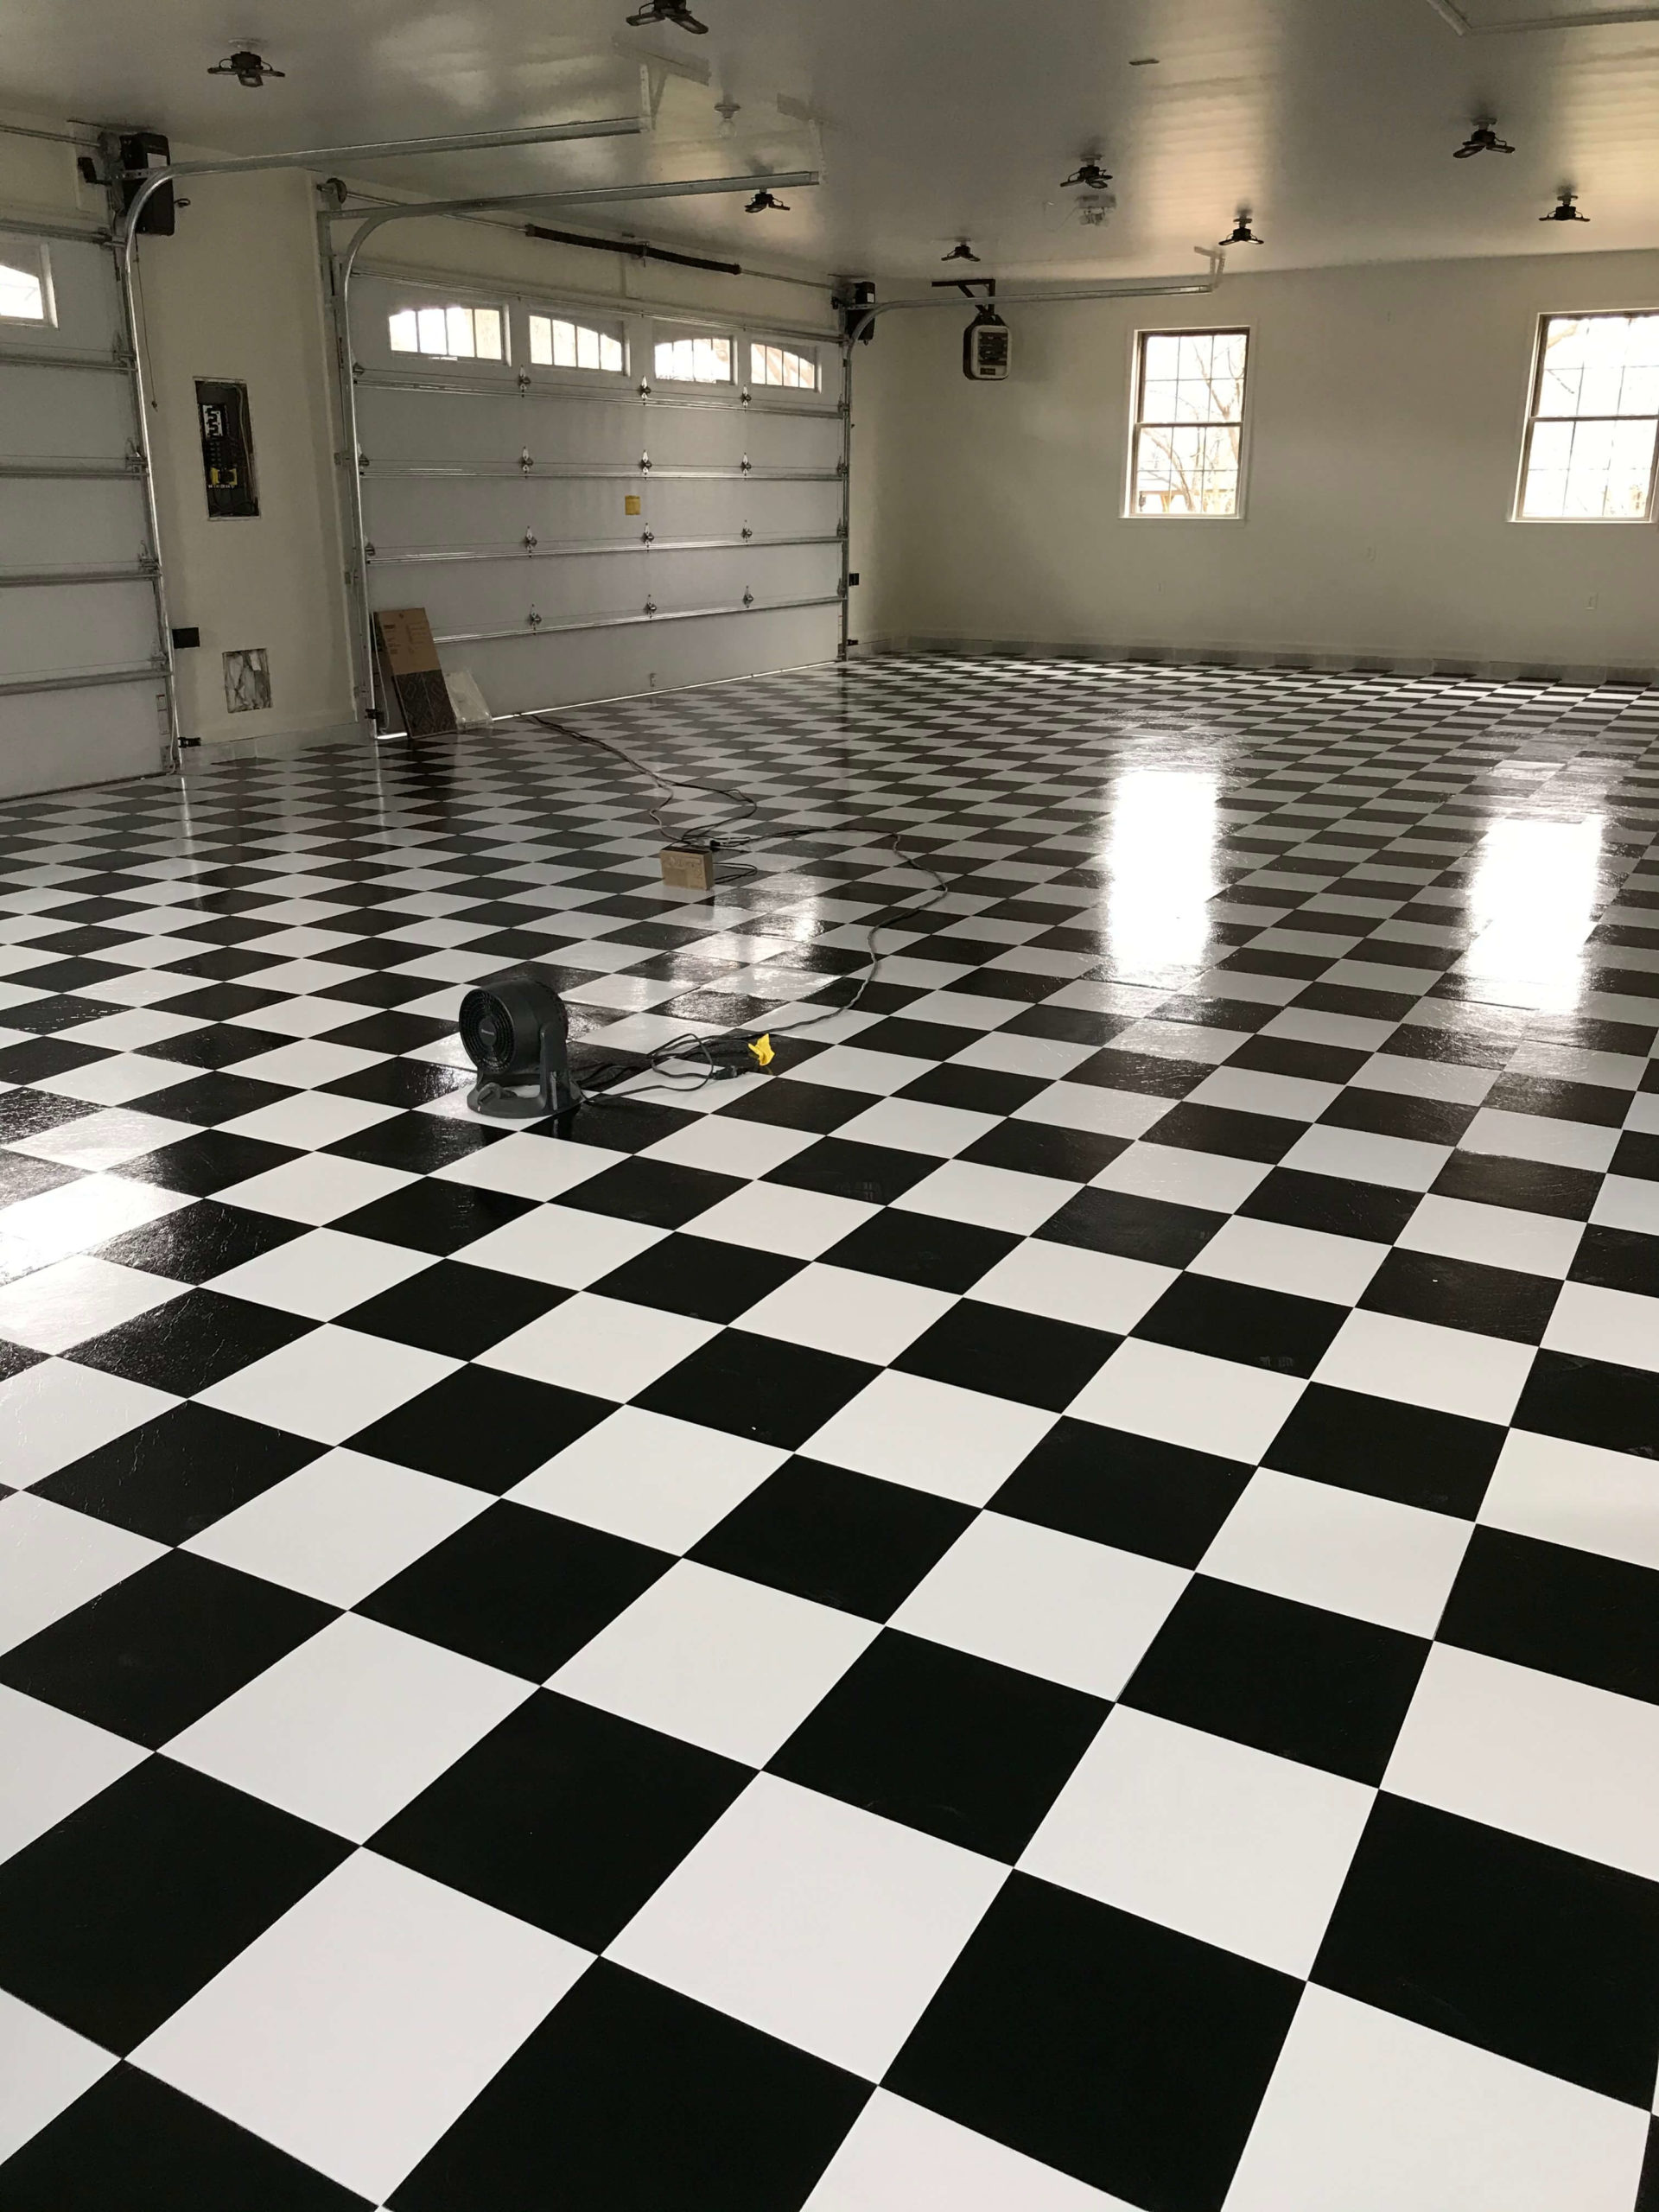
Checkered Garage Flooring On A Budget!! Vinyl Garage Flooring DIY Armstrong Stylistk II

Related Posts: