Preparing the Surface
Follow the steps below to prepare the surface for a smooth and even base:
- Clearing the Area: Before starting any tile installation project, it is crucial to clear the bathroom floor of any obstacles. Remove all furniture, bathroom fixtures, and other items that may hinder your work. This will ensure a clean and clutter-free workspace.
- Removing Old Flooring: If you have existing flooring, such as vinyl or laminate, it is important to remove it before proceeding. Use a floor scraper or a pry bar to carefully lift and remove the old flooring. Make sure to wear protective gloves and goggles during this process.
- Repairing Subflooring: Inspect the subfloor for any signs of damage or decay. Replace any rotten or weakened sections to ensure a sturdy base for your new tile. Use a circular saw or a reciprocating saw to cut out the damaged areas and install new plywood or cement backer board.
- Leveling the Surface: A level and even surface is crucial for a successful tile installation. Use a self-leveling compound to fill in any low spots or uneven areas on the subfloor. Follow the manufacturer’s instructions carefully to achieve a smooth and level base.
- Cleaning and Priming: Before laying the tile, make sure to thoroughly clean the surface. Remove any dust, dirt, or debris using a broom or vacuum cleaner. Once the floor is clean, apply a primer to the subfloor. This will help the tile adhesive bond effectively and ensure a long-lasting installation.
Choosing the Right Tile
Ceramic Tiles: Ceramic tiles are a popular choice for bathroom floors due to their durability and water resistance. They come in a wide range of colors, patterns, and sizes, allowing for versatile design options. Additionally, ceramic tiles are relatively easy to clean and maintain.
Porcelain Tiles: Porcelain tiles are known for their strength and durability. They are highly resistant to water, stains, and scratches, making them an excellent choice for bathroom flooring. Porcelain tiles also come in various finishes, such as matte or polished, allowing you to achieve the desired look for your bathroom.
Natural Stone Tiles: For a luxurious and timeless look, natural stone tiles, such as marble, granite, or travertine, are an excellent choice. These tiles add a touch of elegance to any bathroom and come in a variety of colors and textures. However, it’s important to note that natural stone requires regular sealing to maintain its appearance and durability.
Vinyl Tiles: Vinyl tiles are a budget-friendly option that offers a wide range of designs and colors. They are water-resistant and easy to clean, making them suitable for bathrooms. Vinyl tiles can mimic the look of natural materials like wood or stone, providing a cost-effective alternative.
Considerations for Style and Maintenance: When choosing bathroom floor tiles, consider the overall style and aesthetic of your bathroom. Opt for tiles that complement the existing decor and create a cohesive look. Additionally, think about the maintenance requirements of different tile materials and choose one that fits your lifestyle and cleaning preferences.
Measuring and Planning
Taking Accurate Measurements: Start by measuring the dimensions of your bathroom floor. Use a tape measure to determine the length and width of the space. It’s important to account for any alcoves or irregularities in the shape of the floor. Take note of these measurements and write them down for reference.
Calculating Tile Quantity: Once you have the measurements, calculate the number of tiles you will need for your bathroom floor. Consider the size of the tiles and the desired layout pattern. It’s recommended to purchase extra tiles to account for any cutting or breakage during the installation process.
Planning the Layout: Before starting the tile installation, plan the layout of the tiles. Consider the focal point of the bathroom, such as the vanity or bathtub, and start tiling from that area. Use a pencil and a straightedge to create reference lines on the subfloor, ensuring straight and even tile placement.
Dry Fitting Tiles: To ensure a proper fit and avoid any surprises during installation, dry fit the tiles without adhesive. Lay out the tiles according to your planned layout and make any necessary adjustments. This step will help you visualize the final result and identify any potential issues before applying adhesive.
Marking and Cutting Tiles: Use a tile cutter or a wet saw to cut tiles that need to fit around corners, edges, or bathroom fixtures. Measure and mark the tiles carefully before cutting. Remember to wear protective goggles and gloves when handling cutting tools. Double-check the measurements before making any cuts to avoid wastage.
Installation Techniques
Preparing the Adhesive: Start by preparing the tile adhesive according to the manufacturer’s instructions. Mix the adhesive thoroughly to achieve a smooth and consistent consistency. Allow the adhesive to rest for a few minutes before proceeding.
Applying the Adhesive: Use a notched trowel to apply the adhesive to the subfloor. Start at the reference lines and work your way outwards. Spread the adhesive evenly, creating ridges with the notched side of the trowel. This will help achieve proper adhesion and prevent air pockets under the tiles.
Placing the Tiles: Carefully place the tiles onto the adhesive, pressing them firmly but gently. Use tile spacers to maintain consistent spacing between tiles. Check the alignment and level of each tile as you go. Periodically remove any excess adhesive that squeezes up between the tiles.
Cutting and Fitting Tiles: As you reach the edges or areas that require cut tiles, measure and mark the tiles for accurate cutting. Use a tile cutter or a wet saw to make the cuts. Fit the cut tiles into place, ensuring a tight and seamless fit with the surrounding tiles.
Grouting and Finishing: Once the tiles are set and the adhesive has dried, remove the tile spacers. Prepare the grout mixture according to the manufacturer’s instructions. Use a grout float to spread the grout over the tiles, working it into the joints at a 45-degree angle. Remove any excess grout with a damp sponge, taking care not to disturb the grout lines. Allow the grout to cure for the recommended time before applying a grout sealer to protect and enhance the durability of the tiled floor.
Sealing and Grouting
Cleaning the Grout Lines: Before sealing the grout, ensure that the grout lines are clean and free from debris. Use a grout cleaner and a stiff brush to scrub the grout lines gently. Rinse the area thoroughly with clean water and allow it to dry completely.
Choosing the Right Sealer: Select a suitable grout sealer based on the type of grout used. There are two main types of sealers: penetrating sealers and topical sealers. Penetrating sealers soak into the grout, providing long-lasting protection, while topical sealers create a protective layer on the surface.
Applying the Sealer: Follow the manufacturer’s instructions to apply the grout sealer. Use a brush or a sponge to apply the sealer evenly onto the grout lines. Allow the sealer to penetrate the grout for the recommended time, typically around 10-15 minutes. Wipe off any excess sealer with a clean cloth.
Curing Time: After applying the sealer, allow it to dry and cure for the recommended time. This can vary depending on the specific sealer used. During this period, avoid walking on the tiled floor or exposing it to water or moisture.
Regular Maintenance: To prolong the life of your bathroom tile floor, regular maintenance is essential. Clean the tiles regularly using a mild detergent or a tile cleaner. Avoid using abrasive cleaners or scrub brushes that can damage the grout. Periodically check the sealed grout lines for any signs of wear or damage and reapply the sealer as needed.

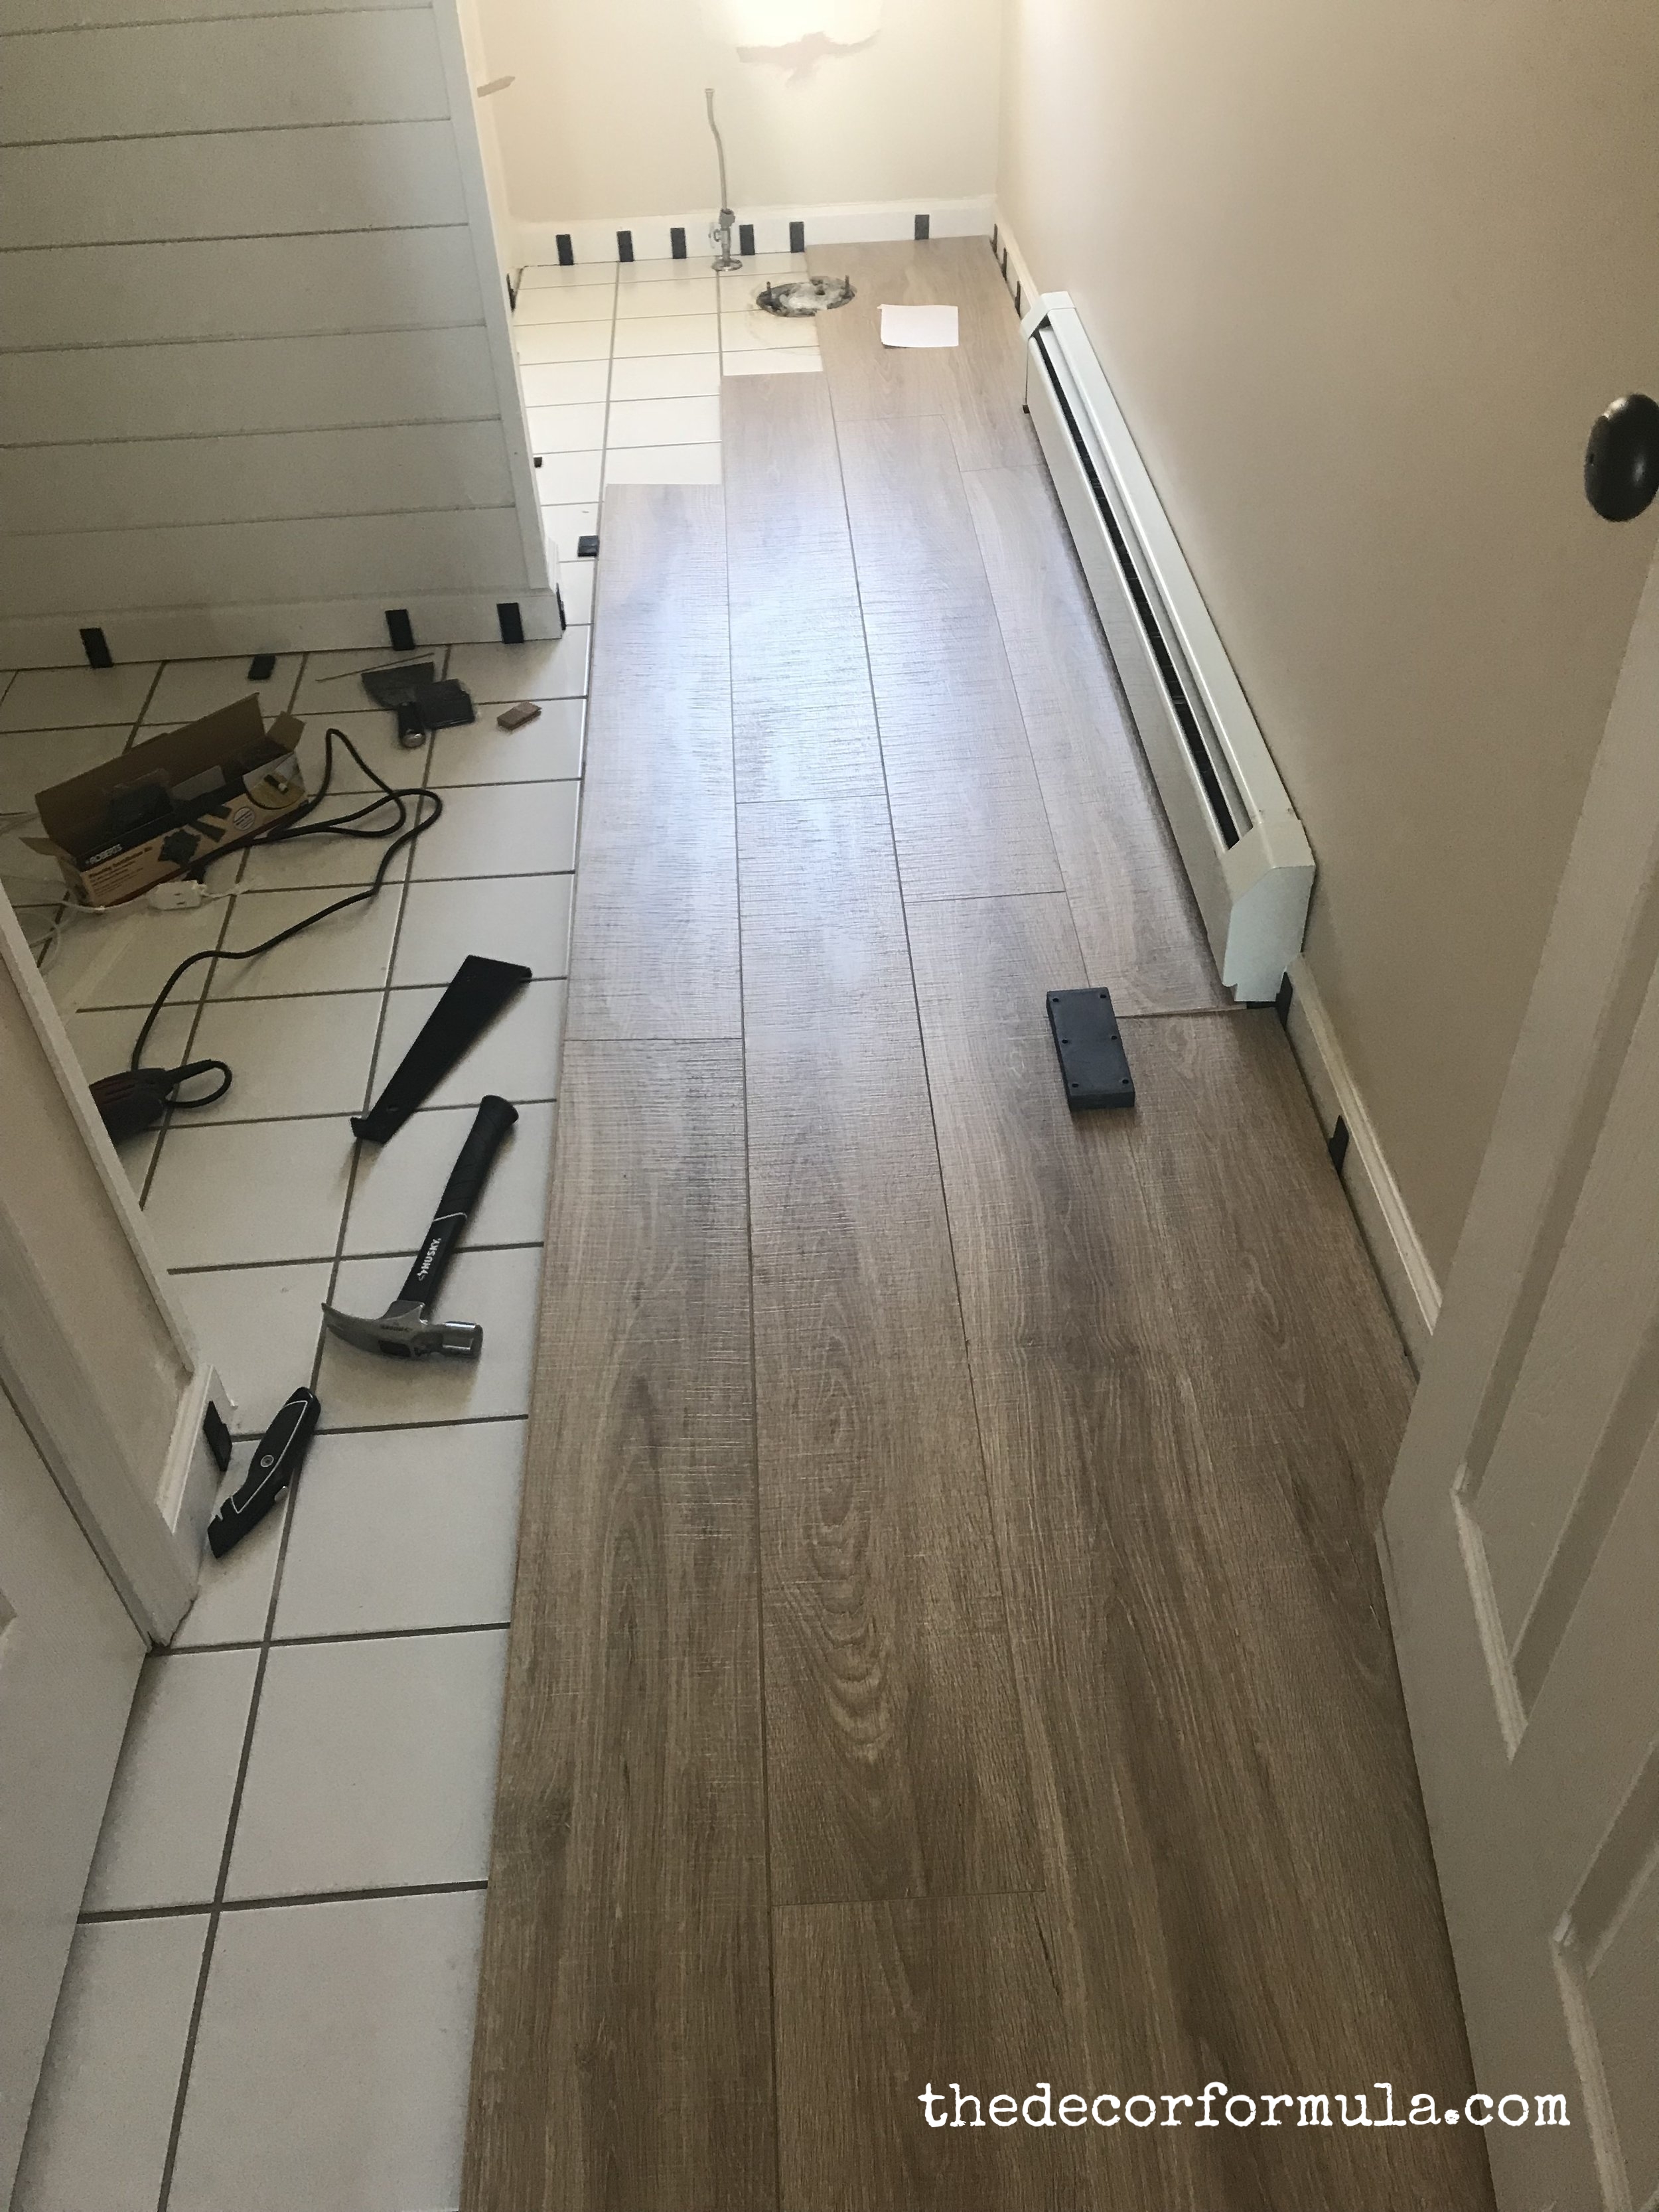
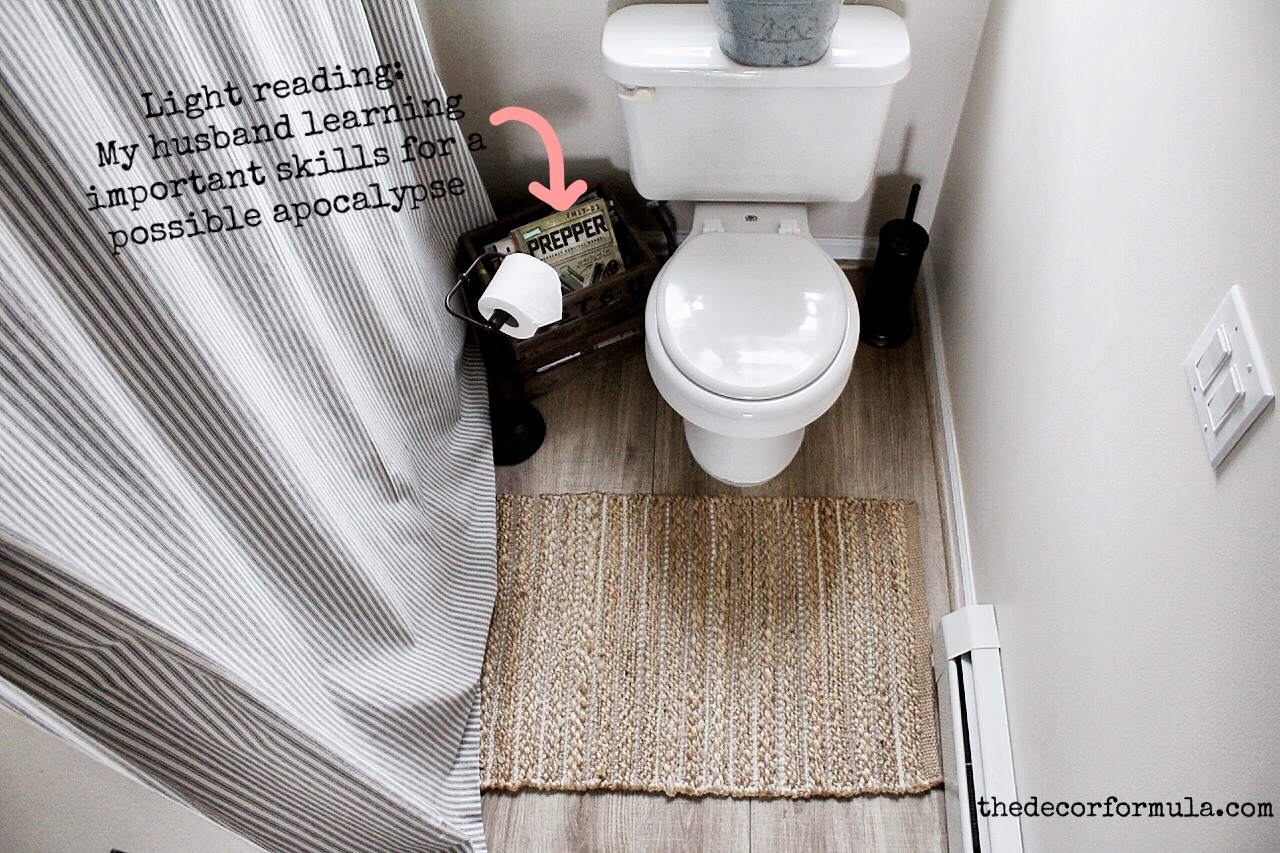
Ideas for Covering Up Tile Floors Without Removing It u2014 The Decor
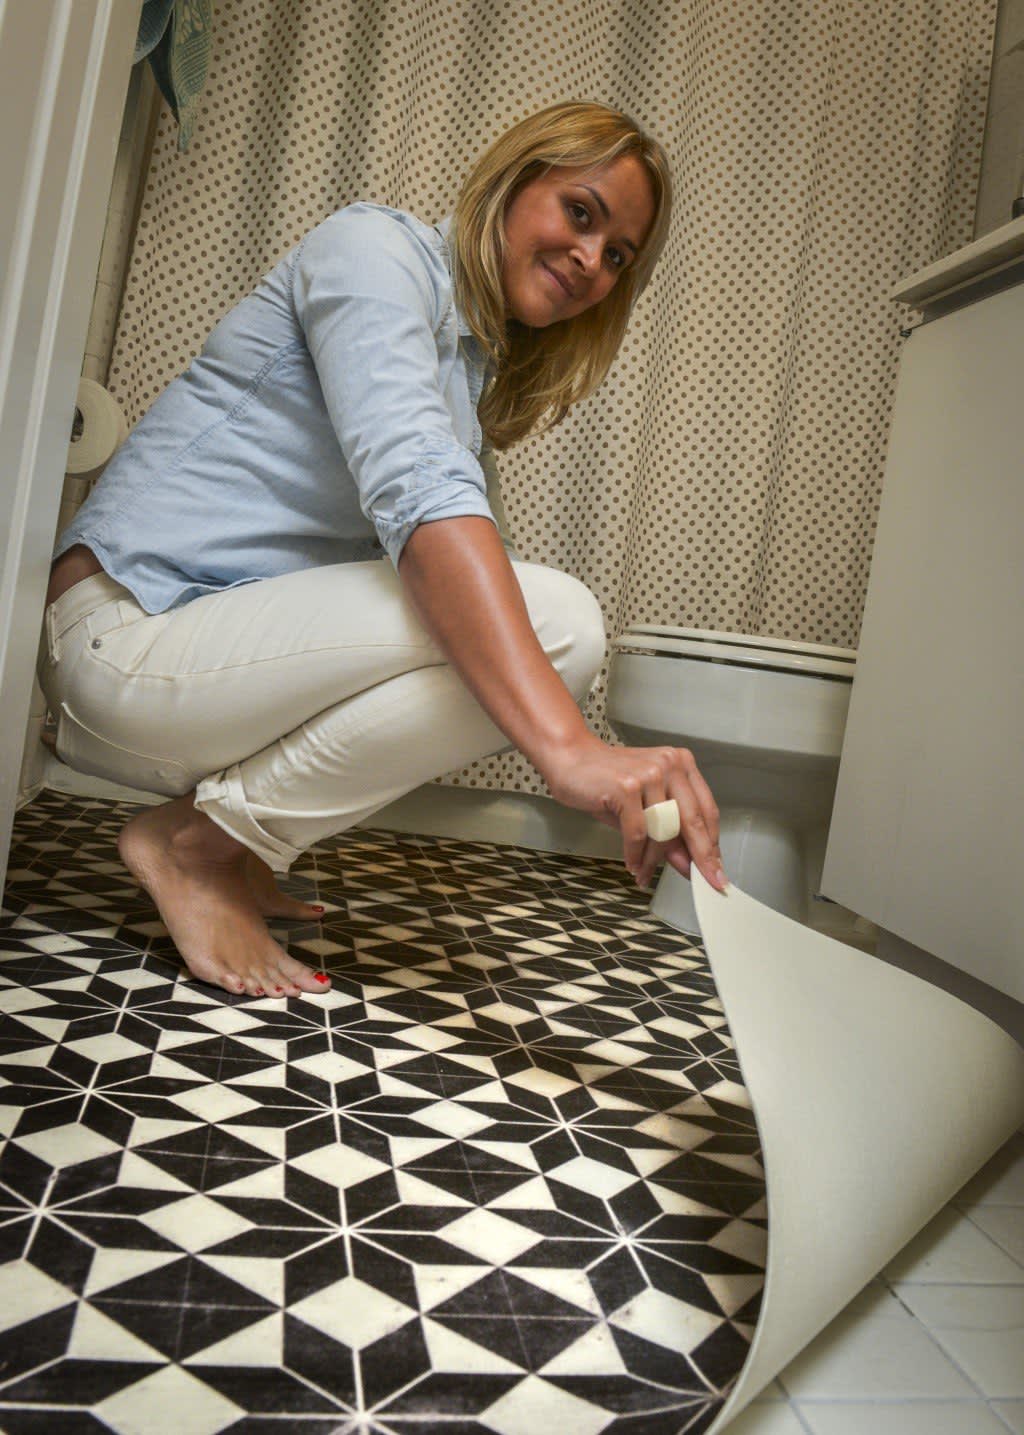
How to Cover Ugly Mosaic Tile Floors: The Easy u0026 RENTER-FRIENDLY

How to Lay a Tile Floor HGTV

How to Cover Ugly Mosaic Tile Floors: The Easy u0026 RENTER-FRIENDLY

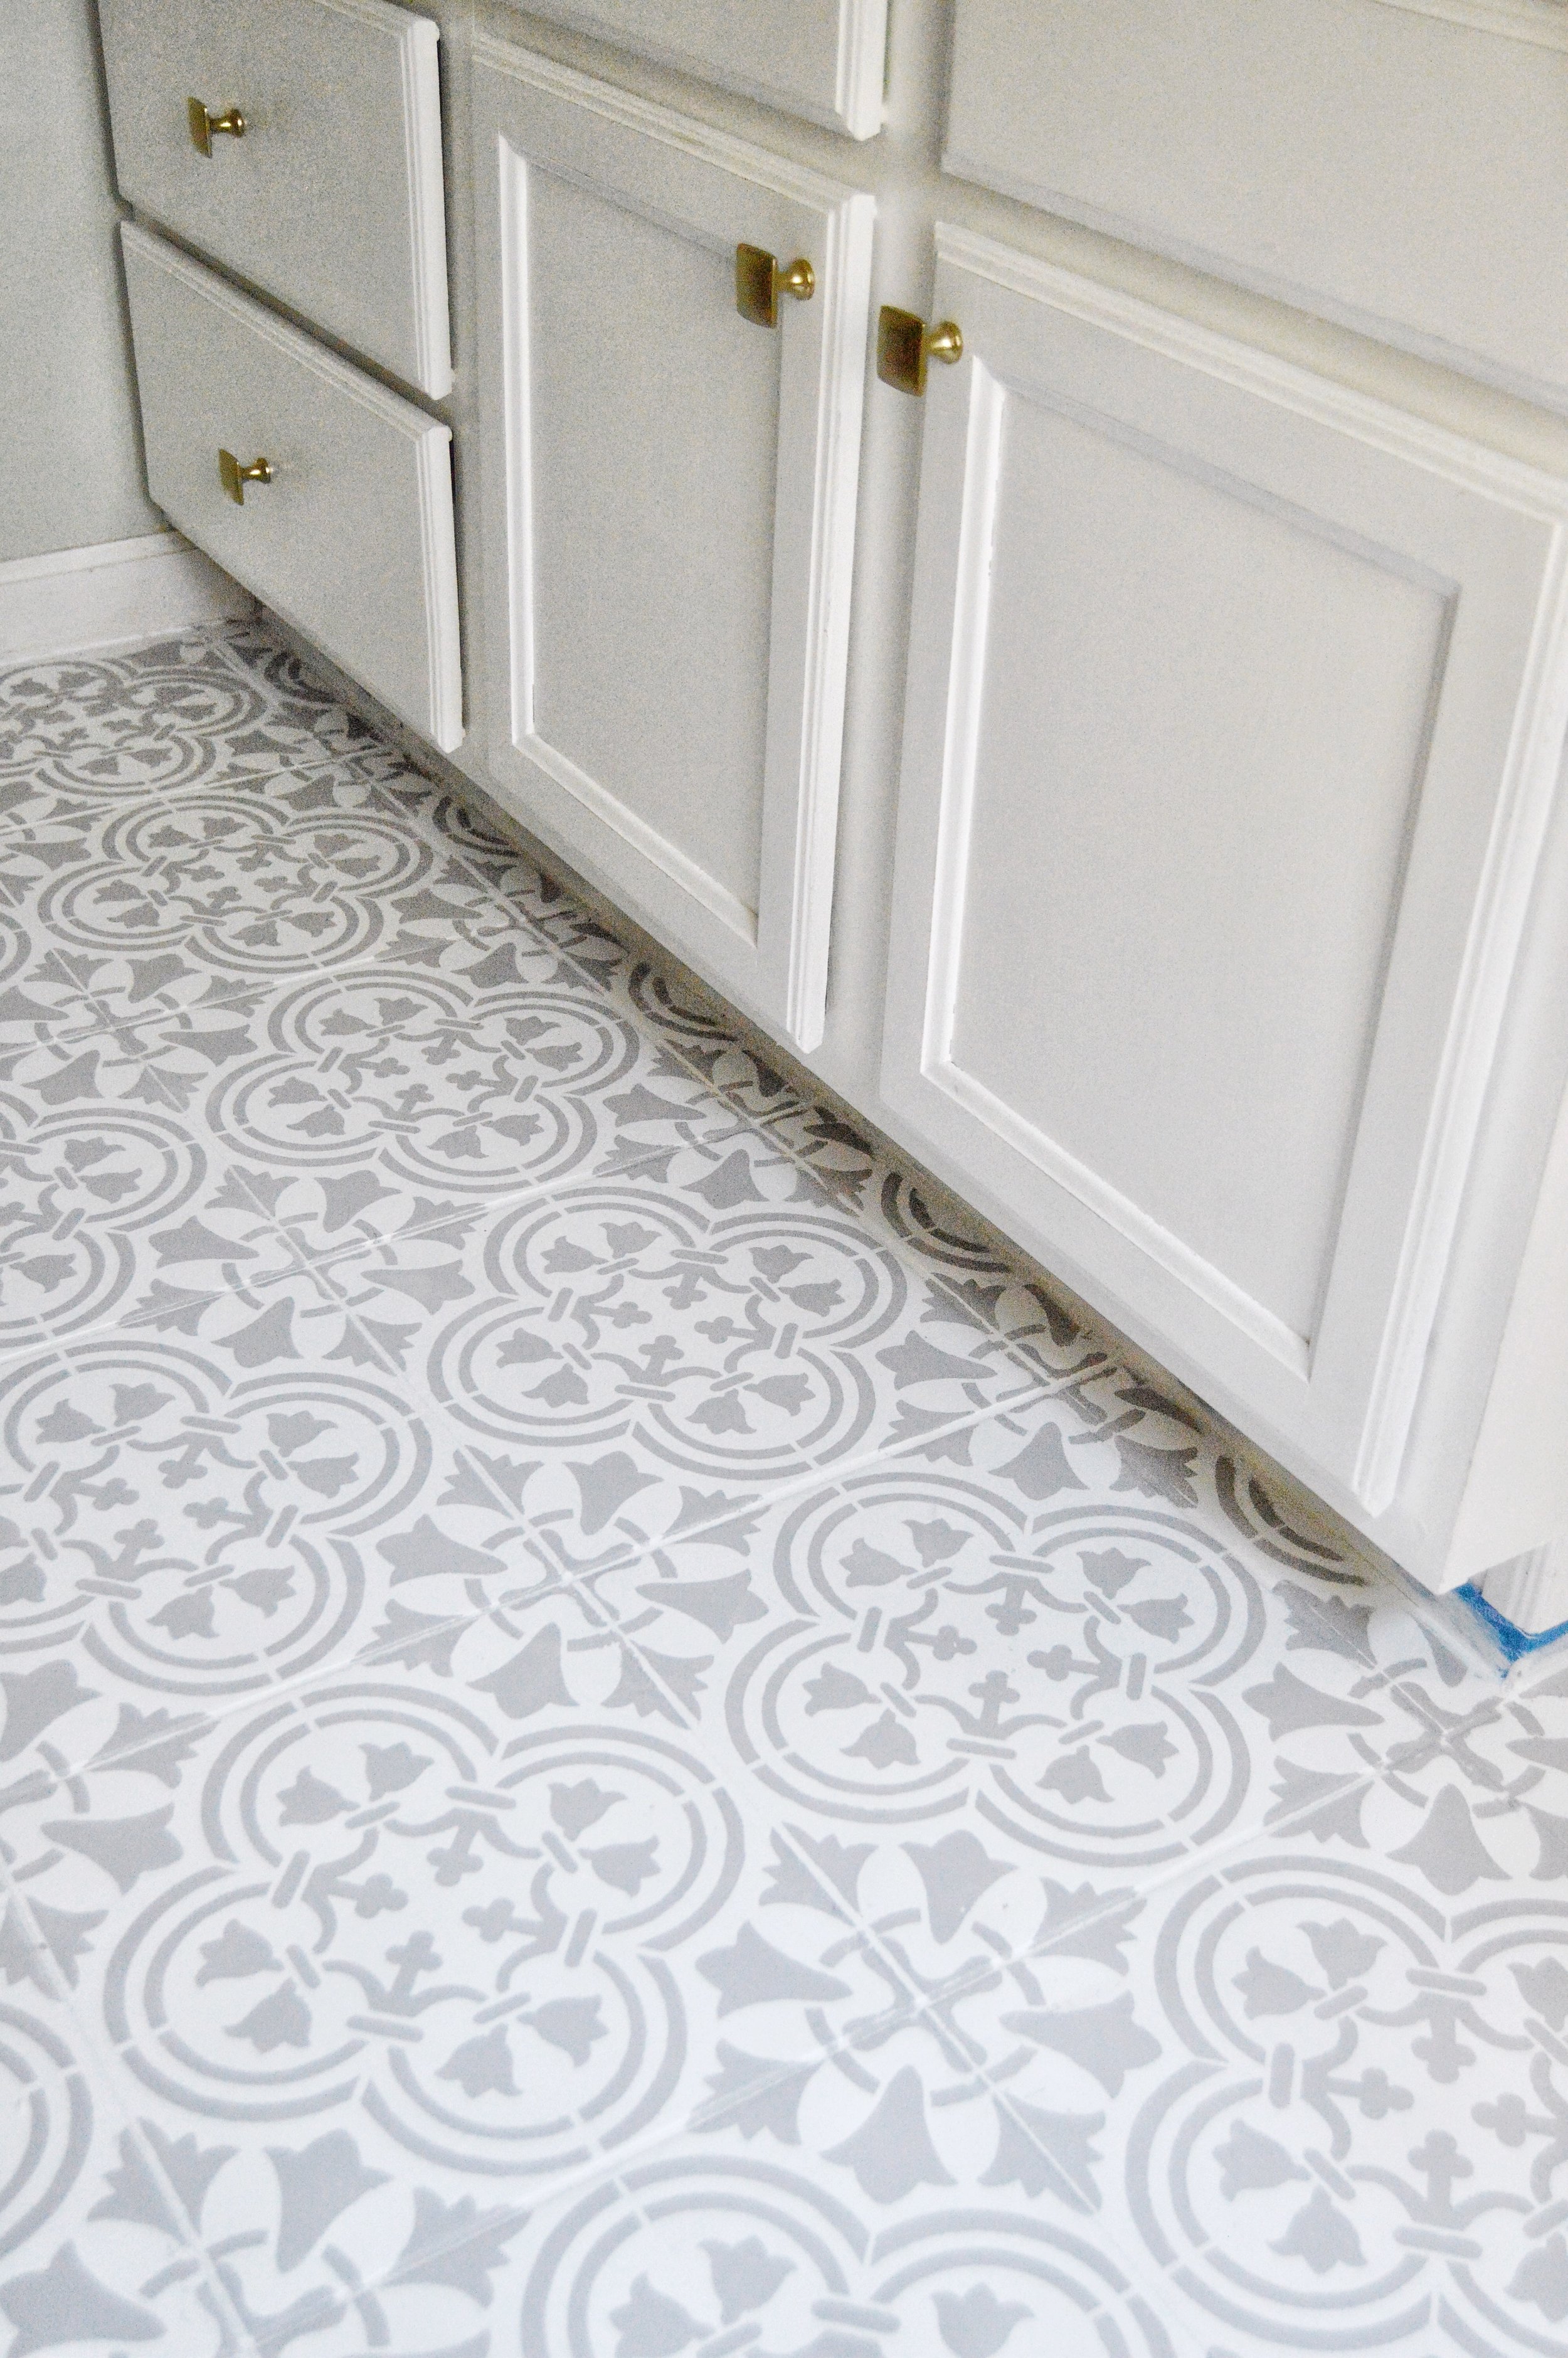
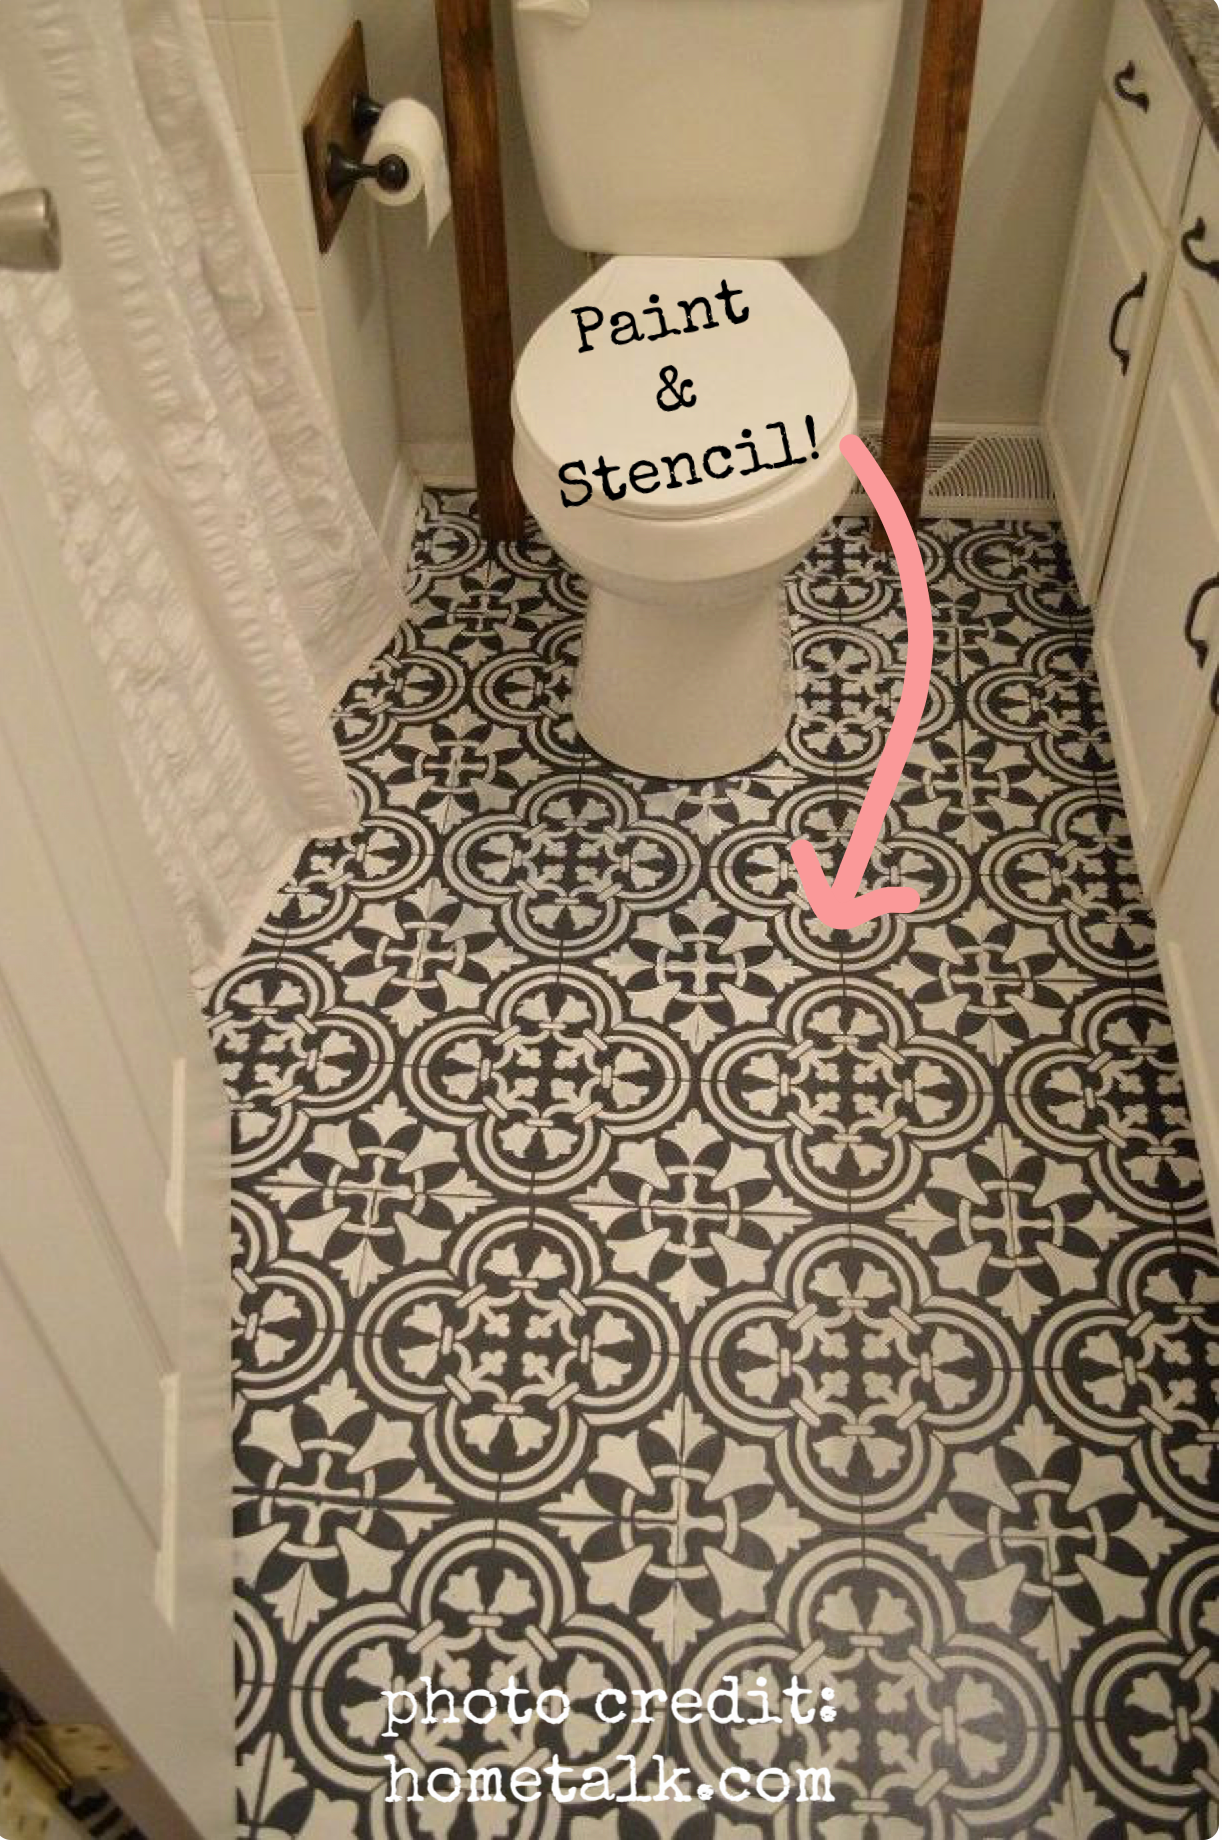
Pin on Home Improvement

Ideas for Covering Up Tile Floors Without Removing It u2014 The Decor
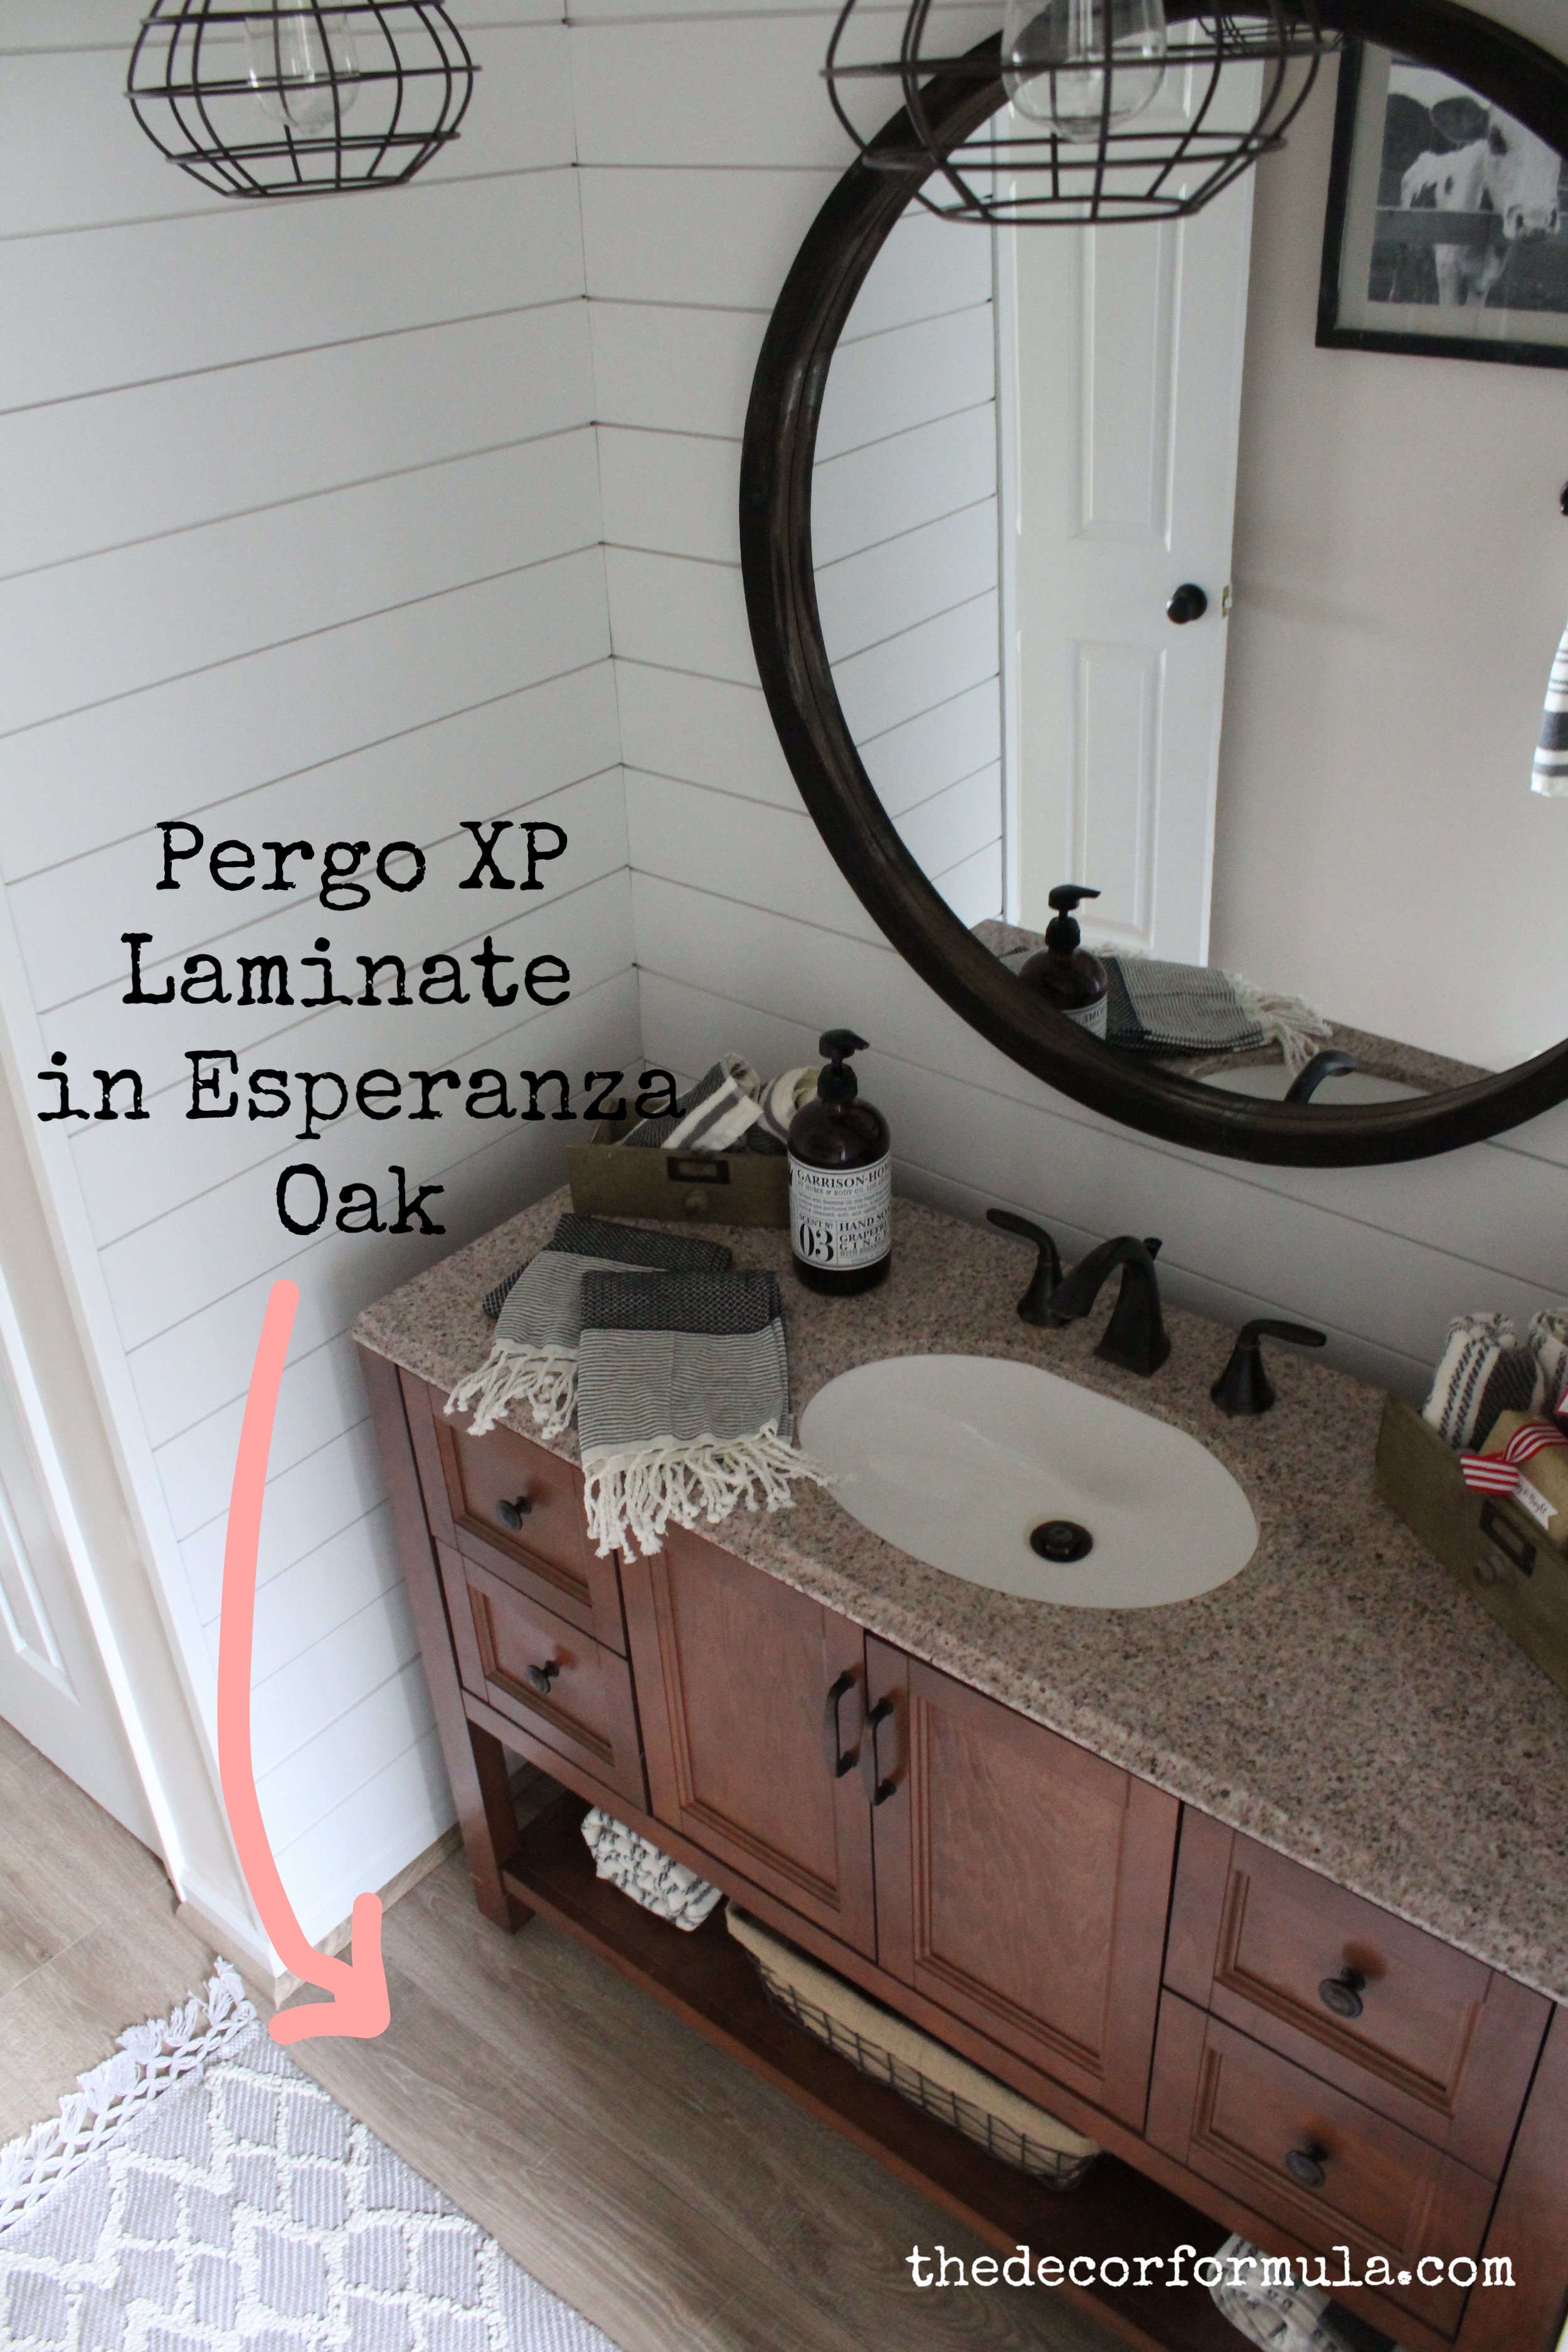
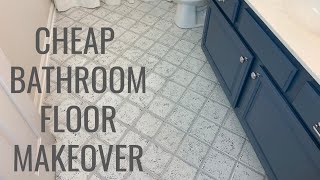
Cheap Bathroom Floor Makeover Easy DIY
Related Posts:
- Installing Slate Tile Floor
- Painting Ceramic Tile Floor In Kitchen
- Anti Slip For Tile Floors
- Laminate Tile Flooring
- Marble Tile Floors
- Travertine Tile Flooring
- Modern Kitchen Tile Floor
- Country Style Tile Floors
- White Tile Flooring Ideas
- Herringbone Brick Tile Floor