These resources come in a wide range of styles and patterns which would mean you'll undoubtedly be equipped to acquire one that suits the tastes of yours. If perhaps you like the typical truly white or maybe cream, try using colored grout so that your bathroom gets a splash of hue. The best part about bath room floor vinyl tiles is you are able to upgrade theme easily and with no professional help.
Images about How To Create Slope On Tiled Bathroom Floor
How To Create Slope On Tiled Bathroom Floor
Add it this the germs and bacteria which you get in a bathroom and also you are able to realize why the flooring takes much more of a beating compared to some other rooms. Ceramic tiles are actually available in an amazing array of different styles, sizes and designs, also, making it a snap to receive the look that's ideal for you. It is also important to look at bathroom flooring as a larger photo.
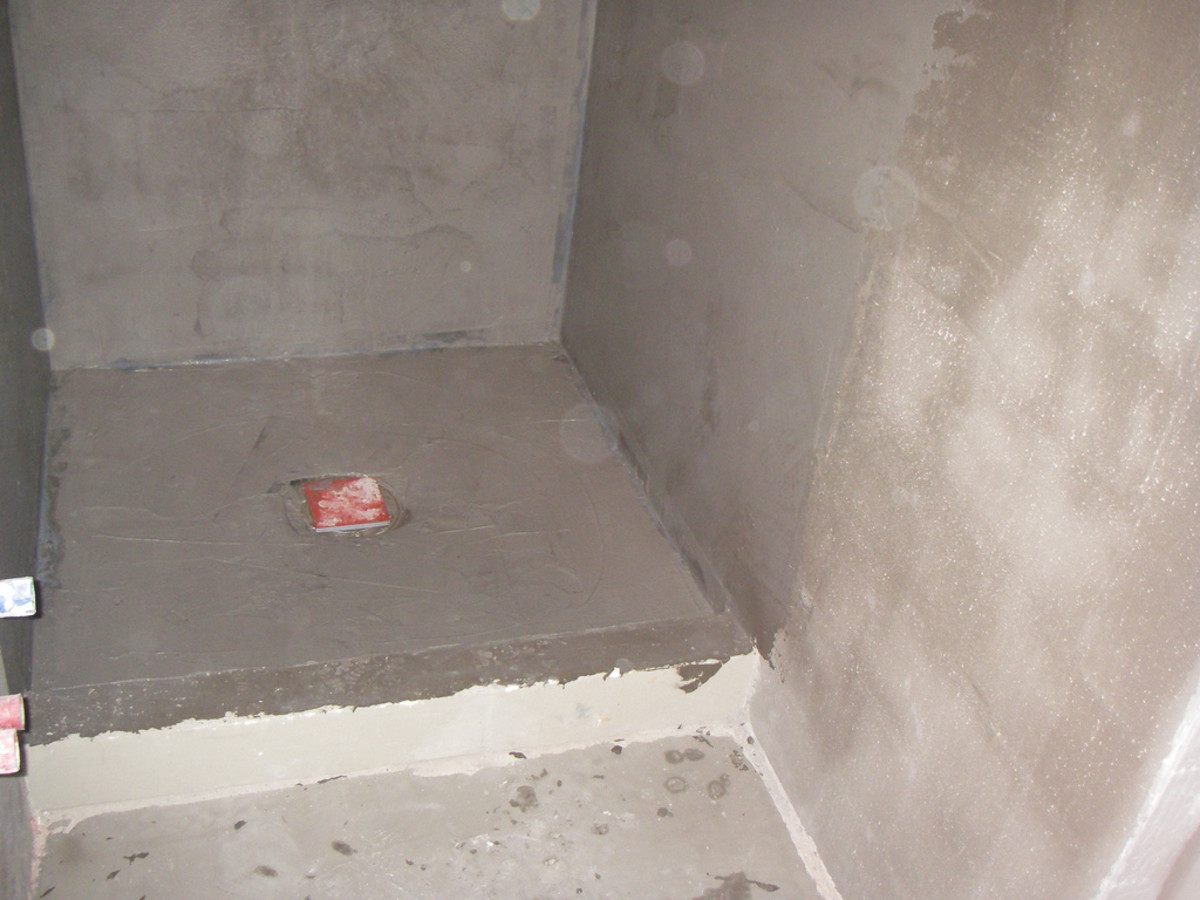
How to Slope a Shower Floor With Mortar: A Pro Guide – Dengarden
Has your bathroom flooring seen better days? Mosaic tiles are made using glass, used tiles, pebbles etc and then add texture and color to the bathroom. You'll find many modern options – like laminate floors and engineered wood floor surfaces – that enable you to enjoy the look of classic substances without all of the problems.
How to Slope a Shower Floor With Mortar: A Pro Guide – Dengarden
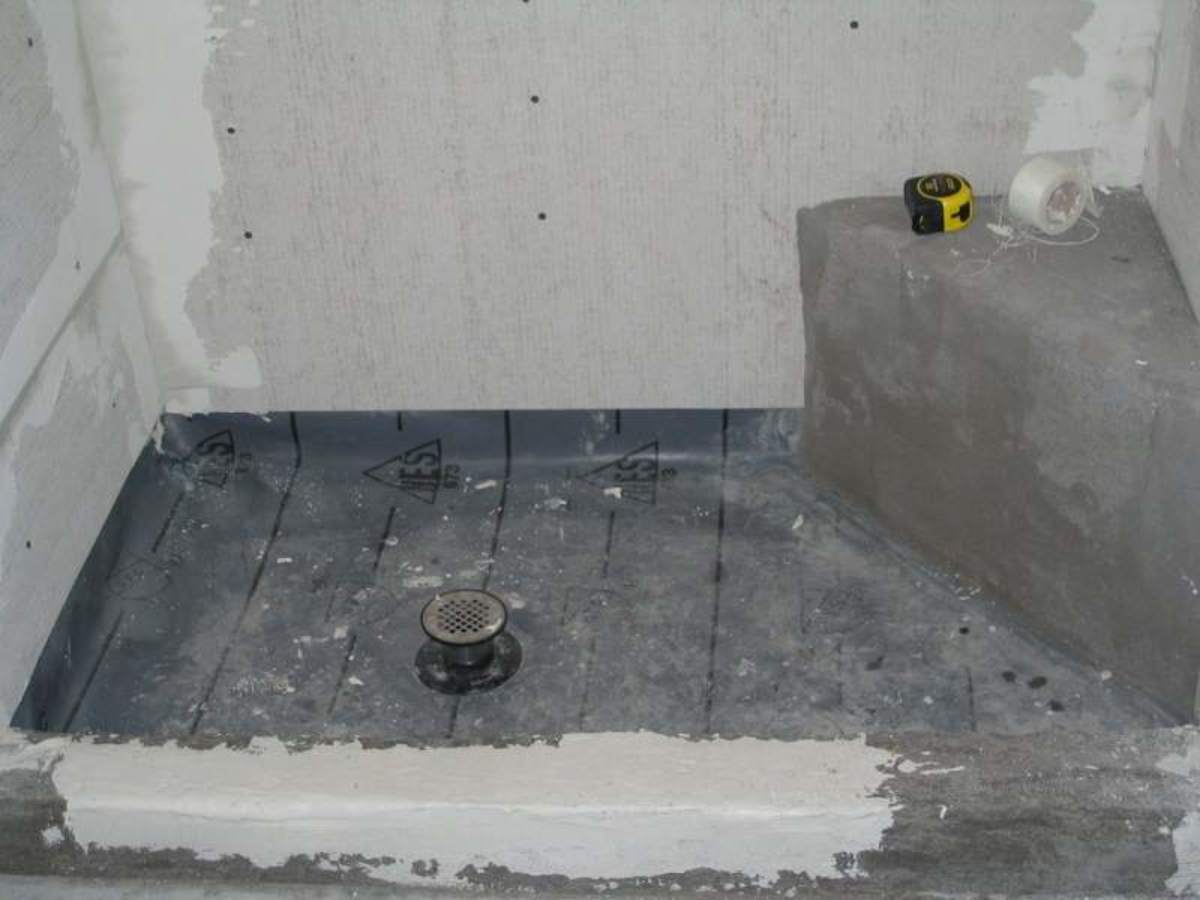
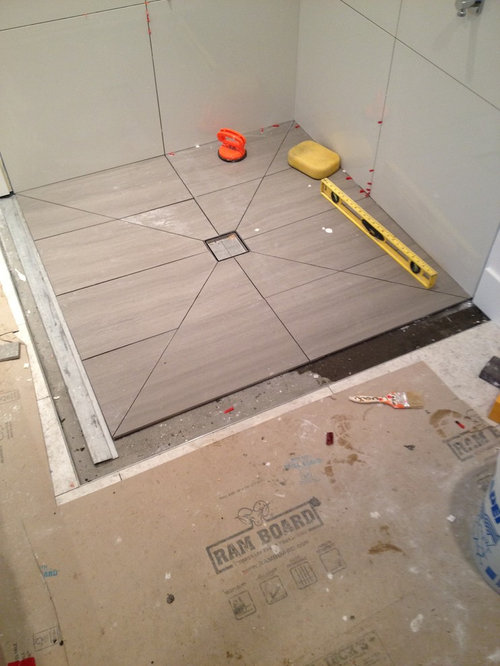
How to Create a Shower Floor u2013 Part 1

Renovate Forums

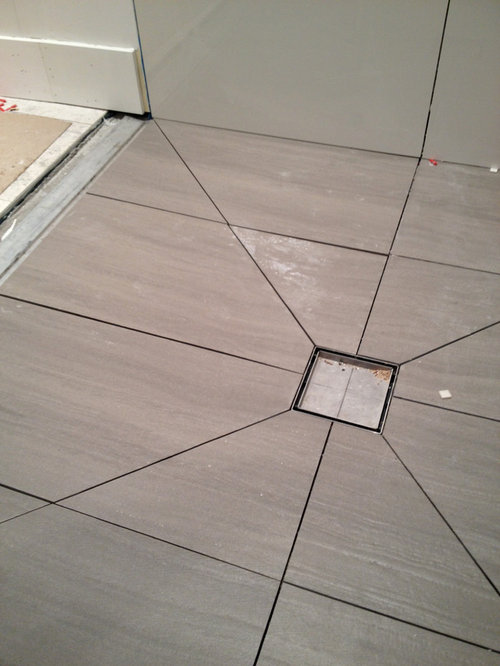
How do I slope this tiled shower floor ? DIYnot Forums

How do I slope this tiled shower floor ? DIYnot Forums
How To Install Shower Pre Slope – Step By Step – D.I.Y – The Easy Way

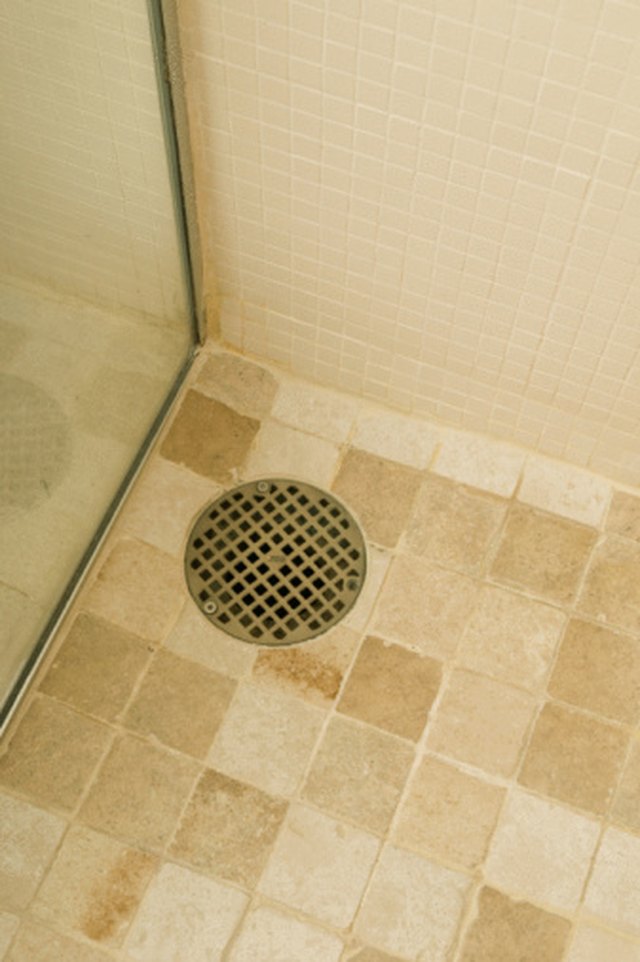
Does Your Tile Slope To the Drain?

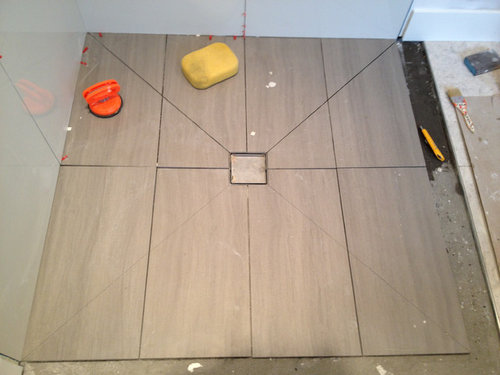
Using Diagonal Cuts to slope your shower floor – Planning Guide
Using Diagonal Cuts to slope your shower floor – Planning Guide
How to Slope a Shower Floor eHow
How to Create a Shower Floor u2013 Part 1

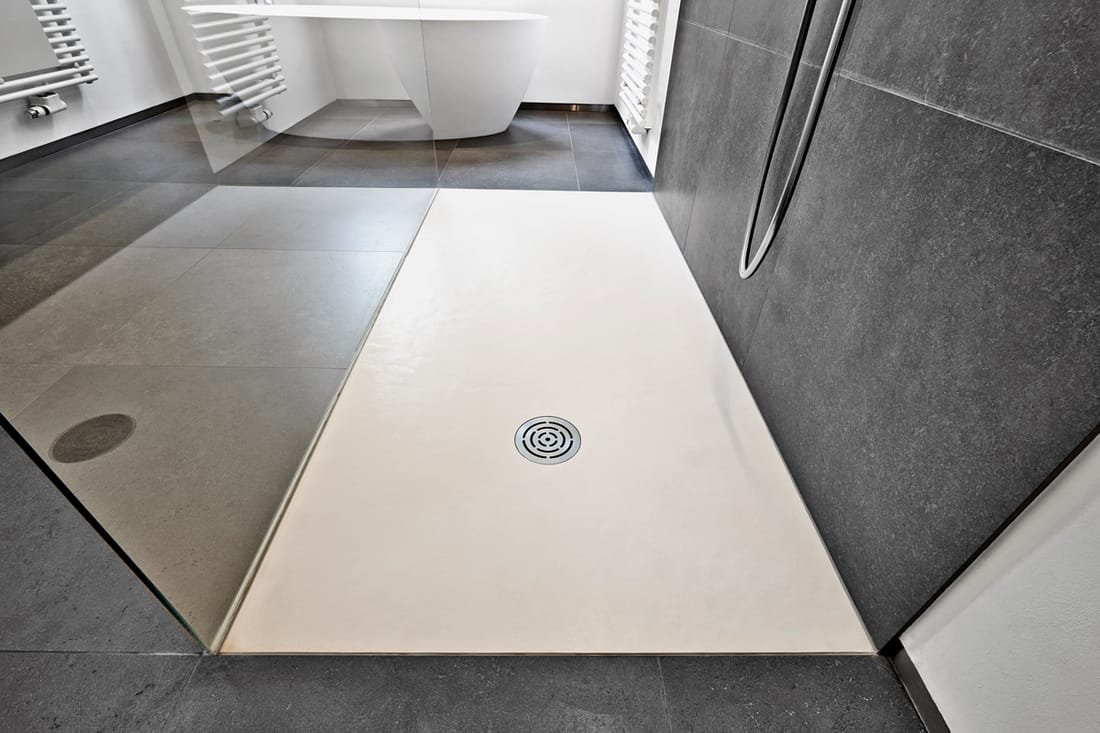
Should A Shower Drain Match The Tiles? – Home Decor Bliss
Related Posts:
- Reglazing Bathroom Floor Tiles
- Colorful Bathroom Floor Tile
- Vinyl Flooring For Bathrooms
- Bathroom Flooring Ideas
- Bathroom Floor Patterns
- Bathroom Tile Floors
- Modern Vinyl Bathroom Flooring
- Mosaic Bathroom Floor Tiles
- Wood Bathroom Floor
- 1930s Bathroom Floor Tile
How To Create Slope On Tiled Bathroom Floor
Creating a slope on a tiled bathroom floor is a great way to create a modern and stylish look. Sloping floors are becoming increasingly popular in modern homes, as they provide a unique look that is both aesthetically pleasing and functional. This article will explain how to create a slope on tiled bathroom flooring, as well as provide tips and advice on the best materials and tools to use.
Before You Begin: Preparing the Space
Before you start creating a slope on your tiled bathroom floor, it’s important to take the necessary time to properly prepare the space. This includes removing all existing tiles, furniture, and other items from the room. Once this is done, it’s important to level the ground and make sure it is even before beginning the slope installation. If there are any bumps or dips in the ground, these should be addressed first before moving forward with the installation.
Materials and Tools Needed
Once you have prepared the space, it’s time to gather all of the necessary materials and tools for creating a slope on your tiled bathroom floor. It’s important to use high-quality materials that will last for many years. Some of the most commonly used materials include:
– Tile adhesive
– Tile grout
– Tile spacers
– Tile sealant
– Leveling compound
– Tile cutter
– Notched trowel
– Rubber mallet
– Sponge
– Bucket
– Ruler
– Drill
– Hammer
– Nails
– Screws
– Sandpaper
Installing the Slope
Once you have all of the necessary materials and tools, it’s time to begin installing the slope on your tiled bathroom floor. The first step is to measure out where you want the slope to begin and end. It’s important to make sure that these measurements are accurate so that the slope will be even across the entire length of the floor. Once these measurements have been taken, you can begin laying down tile adhesive onto the ground in sections. Start from one end of the area and work your way towards the other end. Make sure to spread a thin layer of adhesive, using a notched trowel for even coverage. Place each tile into its designated spot using a rubber mallet. Continue this process until all of your tiles are installed.
Adding Grout and Sealing Tiles
Once all of your tiles are installed, it’s time to add grout and seal them in place. Begin by mixing tile grout according to package instructions in a bucket. Use a sponge to spread an even layer of grout between each tile, making sure that no air pockets are present between them. Allow this to dry completely before sealing your tiles with sealant. Make sure to follow package instructions when applying sealant for best results.
FAQs About Creating Slope On Tiled Bathroom Floor
Q: What type of materials should I use when installing a slope on my tiled bathroom floor?
A: It’s important to use high-quality materials when creating a slope on your tiled bathroom floor. Some of the most commonly used materials include tile adhesive, tile grout, tile spacers, tile sealant, leveling compound, tile cutter, notched trowel, rubber mallet, sponge, bucket, ruler, drill, hammer, nails, screws, and sandpaper.
Q: How do I know where I want my slope to begin and end?
A: Before beginning your installation process, it’s important to measure out where you want your slope to begin and end. Make sure that these measurements are accurate so that your slope will be even across its entire length.
Q: How long should I wait before sealing my tiles?
A: After adding grout between each tile, it’s important to allow this to dry completely before sealing them with sealant. Depending on ambient temperature and humidity levels, this can take anywhere from several hours up to 24 hours or more in some cases.