You can opt for one form of tile once you want flooring that is durable and beautiful. Glass tiles are broadly obtainable in the market with numerous colors and designs in addition to textures. Make use of a scraper at a 45 % angle to drive the grout down. One reason for this versatility is the fact that tiles are available in a wide variety of colors and sizes.
Images about How To Replace Ceramic Tile Floor
How To Replace Ceramic Tile Floor
Once you've made quite sure of the section of flooring that you are going to use ceramic tiling for and also the tiles that you wish to make use of – you're ready to start. The final phase of the ceramic tile set up process is mixing the grout and distribute it between the areas of the tiles until there's no hollow left. Affordable but loaded with quality, ceramic tiles are quite durable and versatile components.
How to Remove a Tile Floor HGTV
Floors which get damp like toilets as well as kitchens have to get of extremely durable products as well as ceramic tile flooring fits the bill completely. Grout can have a huge influence on tile flooring's lifetime. For example, they might make use of carpet flooring in the rooms which don't have other sources or windows through which sunlight or dust could possibly come in and make use of tiles in some other rooms.
How to Remove Ceramic Floor Tiles BuildDirect® Learning

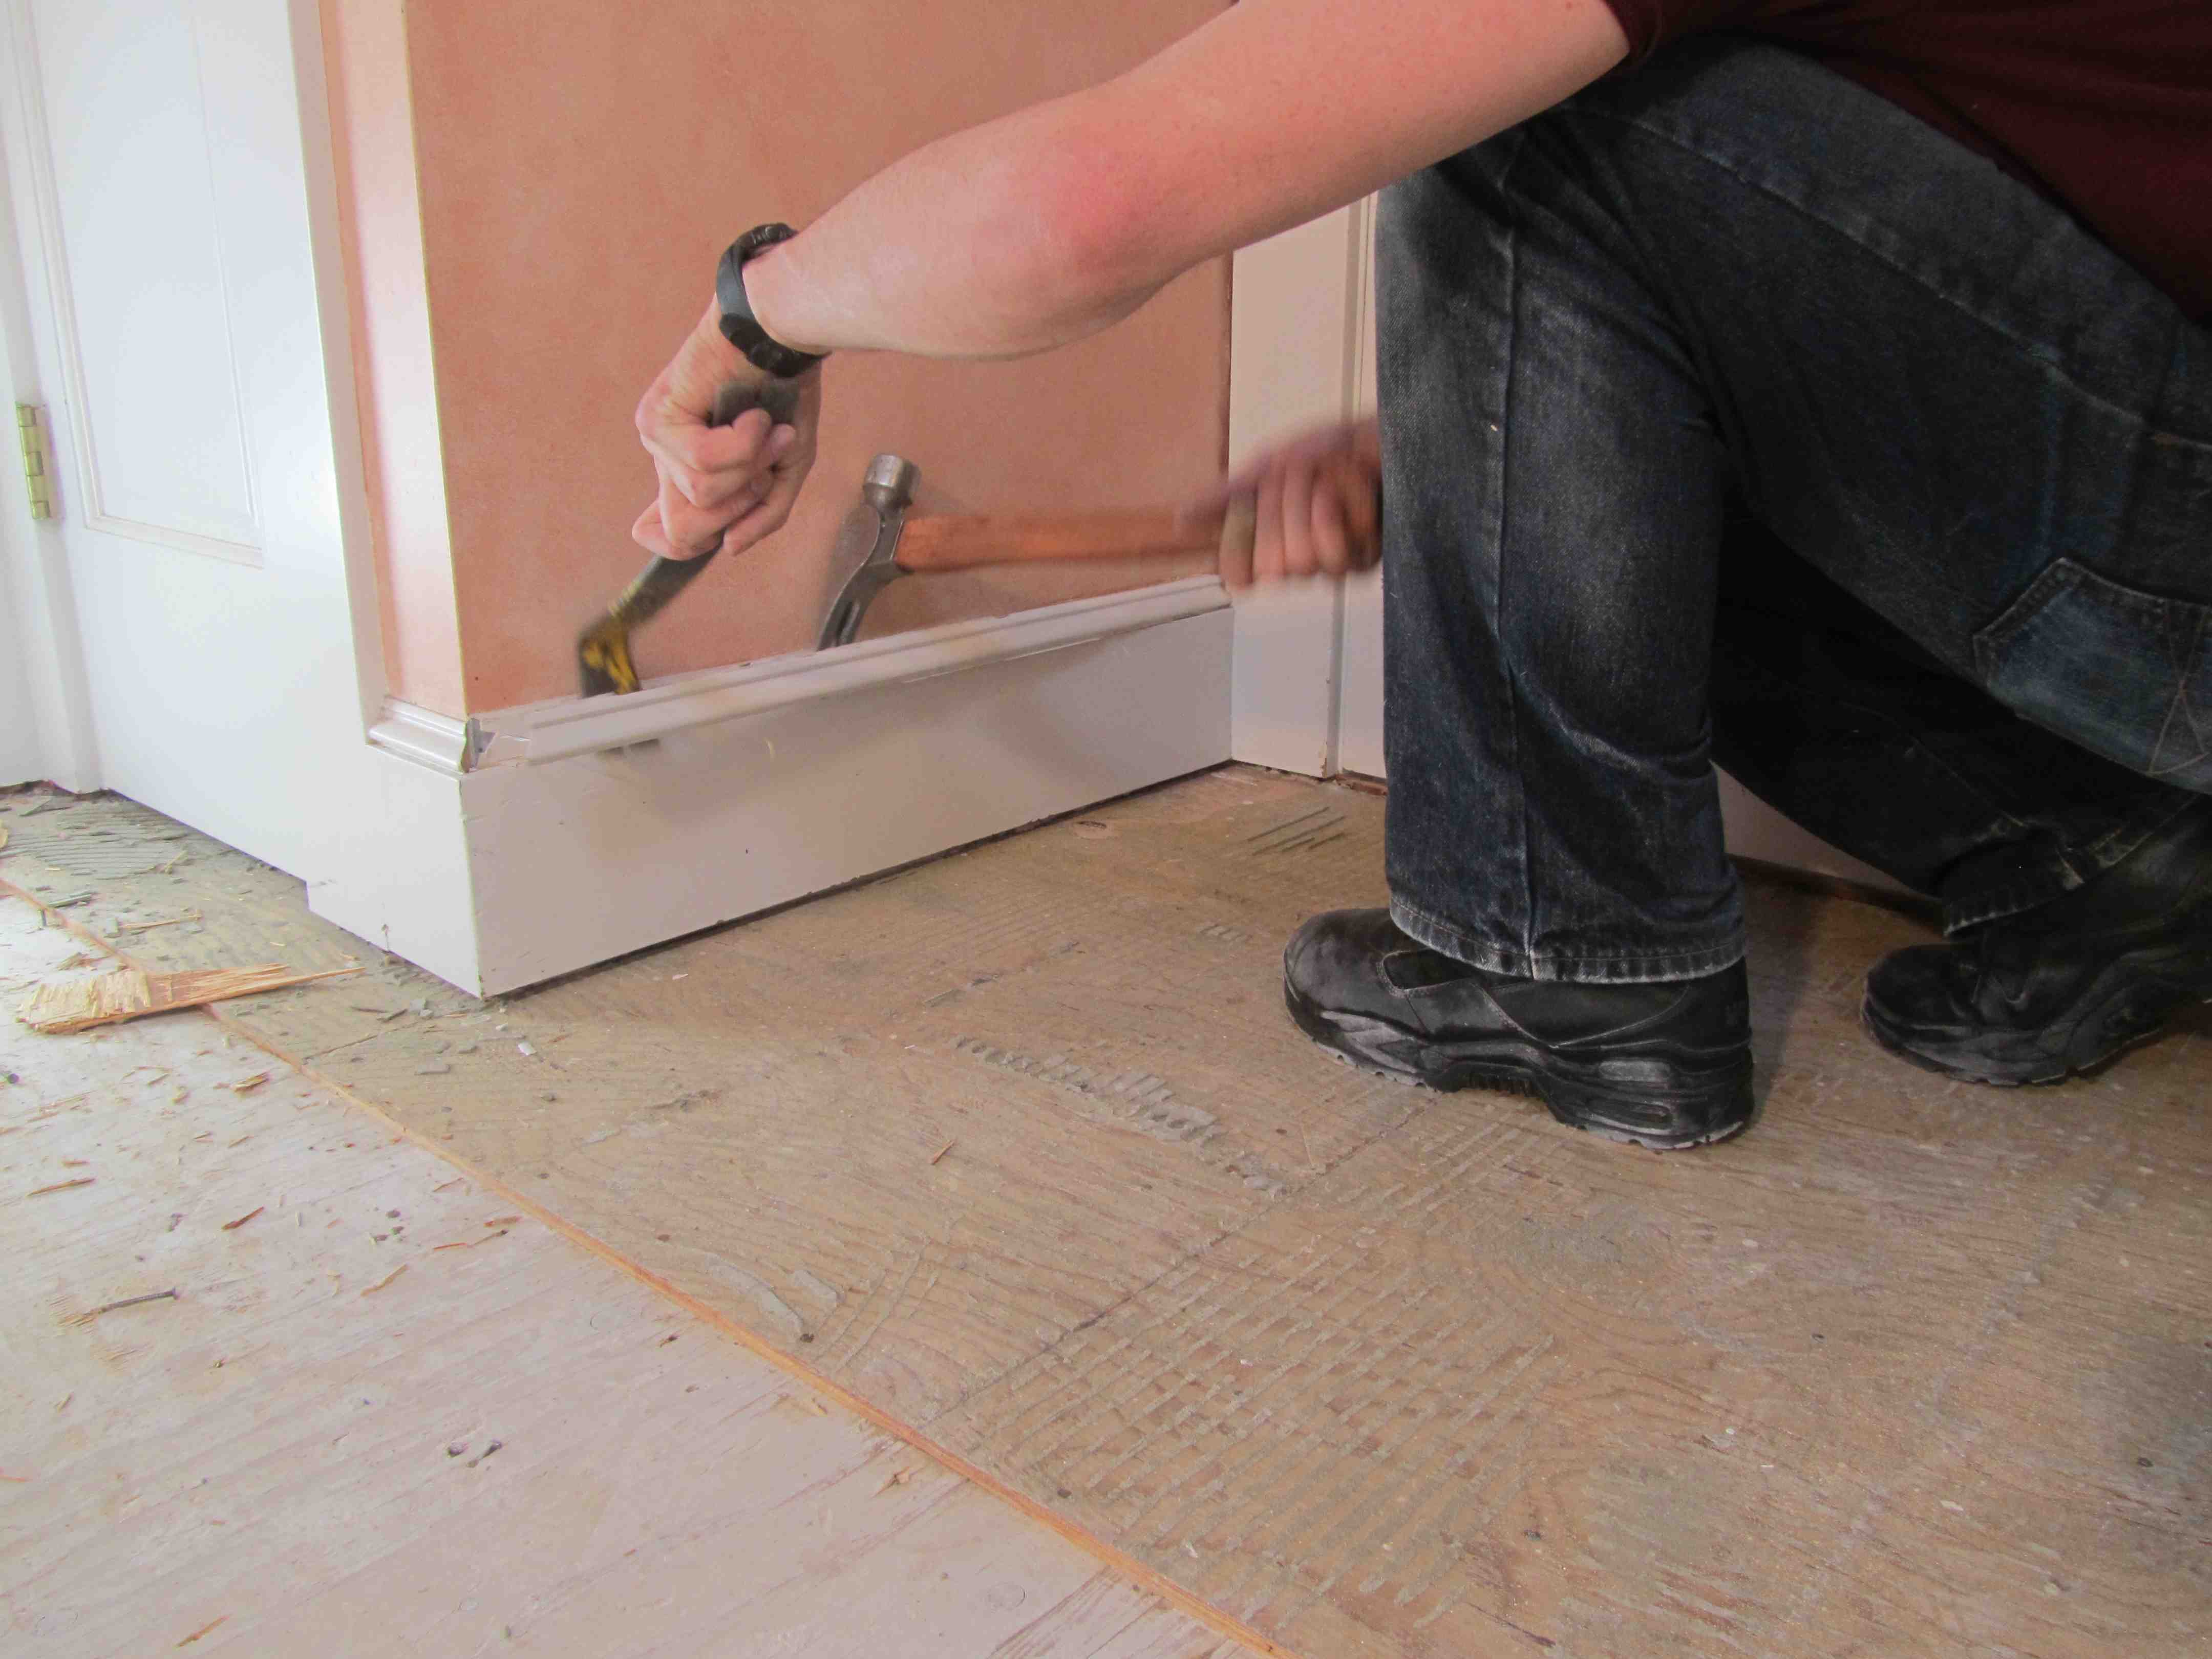
How To Remove A Tile Floor and Underlayment
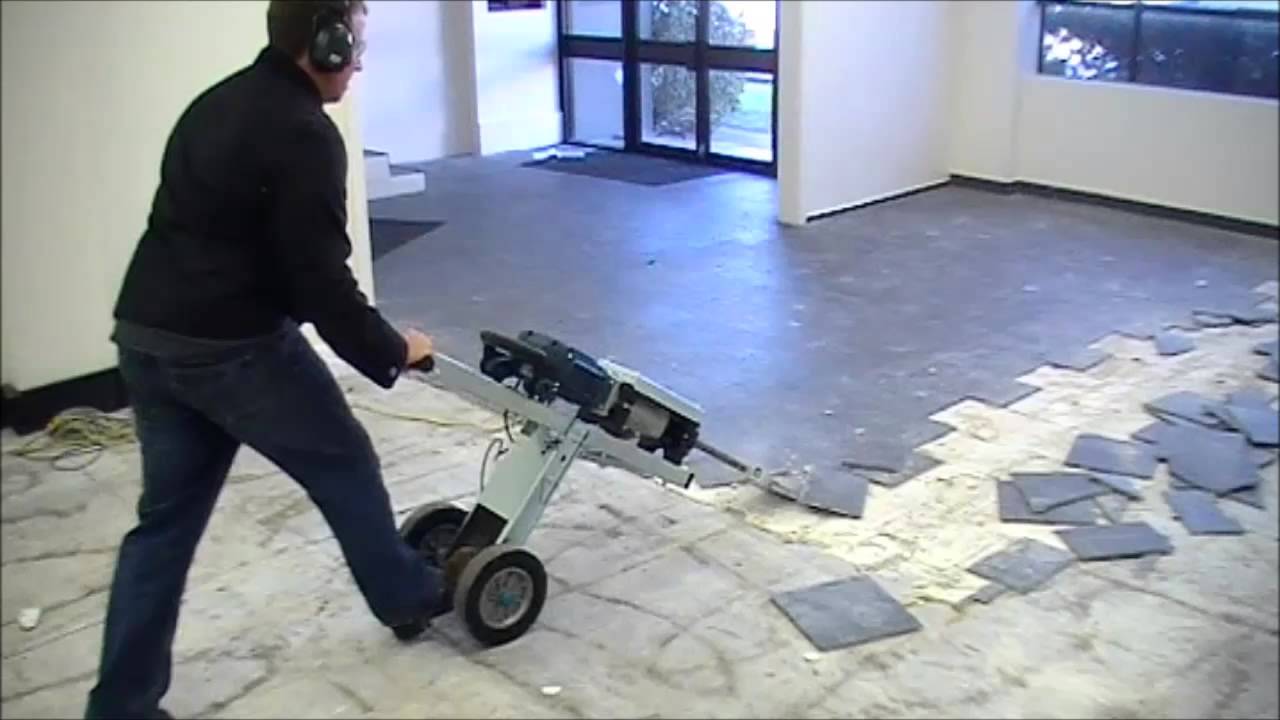
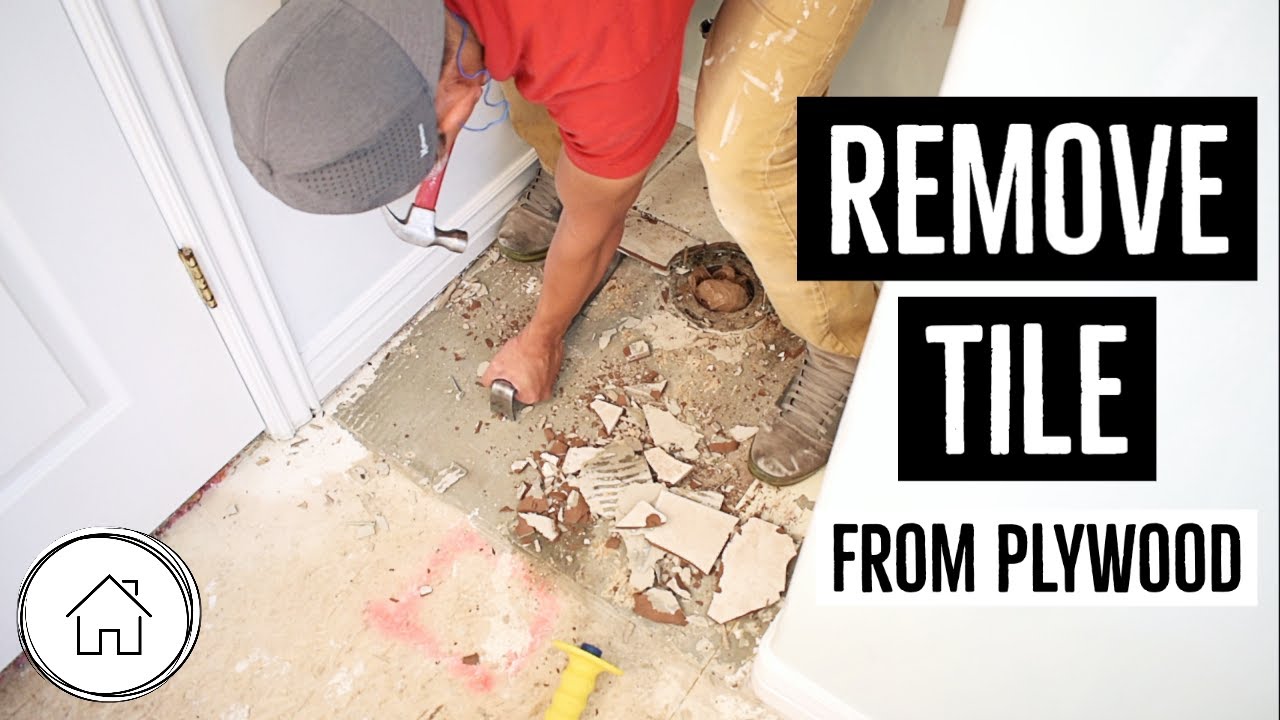
FASTEST WAY TO REMOVE FLOOR TILES
How to remove tile – easy ceramic tile removal
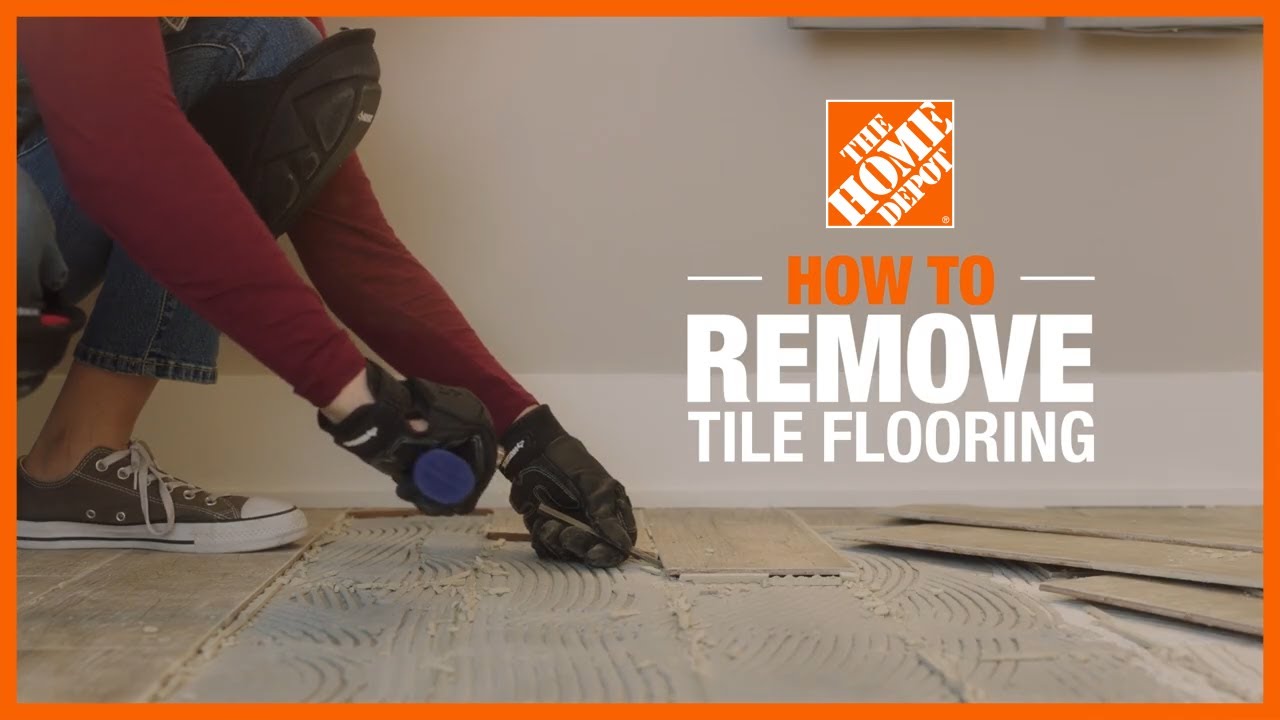
How to Remove Tile Flooring Yourself {with Tips and Tricks

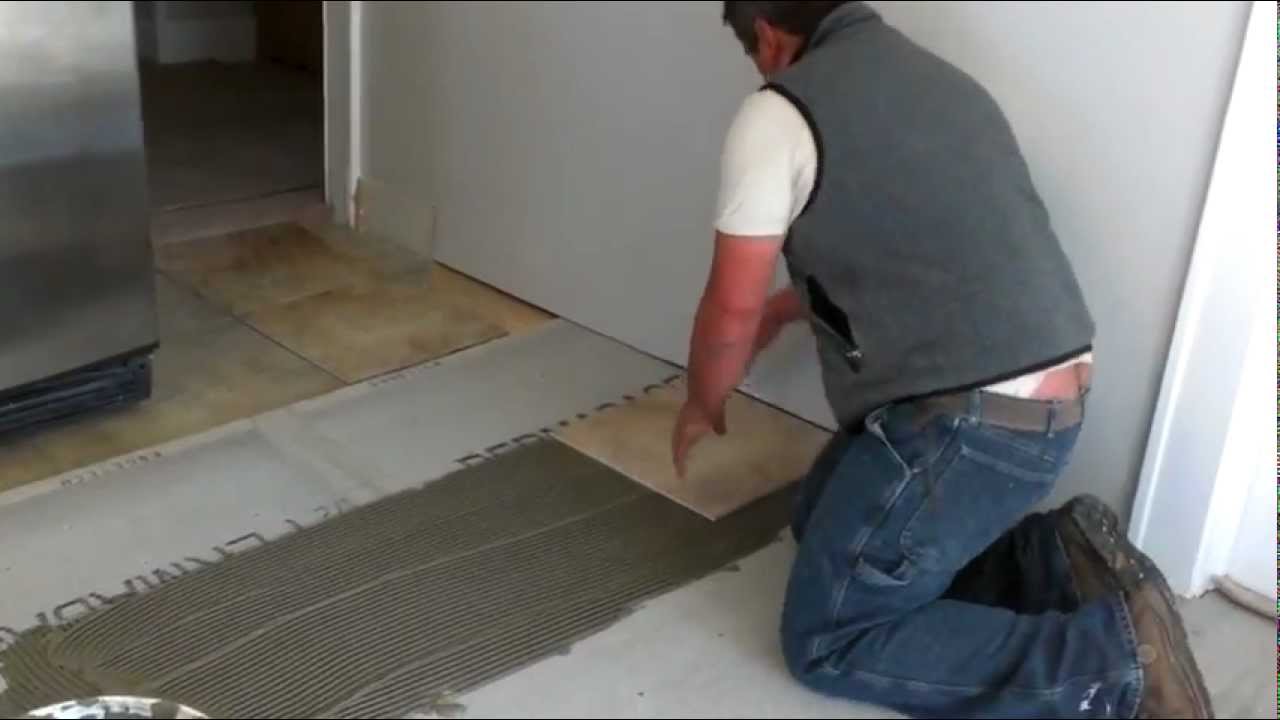
How to install ceramic tiles on a floor
How To Remove A Tile Floor and Underlayment
How to Remove Ceramic Tile
How to Remove and Replace a Damaged Ceramic Tile
Tile Removal Made Easy DIY
How to Remove a Tile Floor HGTV
How to Install Ceramic Floor Tile
/Installing-Ceramic-Floor-Tile-86464768-583ffd0d5f9b5851e5eac8c0.jpg)
Related Posts:
- Installing Slate Tile Floor
- Painting Ceramic Tile Floor In Kitchen
- Anti Slip For Tile Floors
- Laminate Tile Flooring
- Marble Tile Floors
- Travertine Tile Flooring
- Modern Kitchen Tile Floor
- Country Style Tile Floors
- White Tile Flooring Ideas
- Herringbone Brick Tile Floor
How To Replace Ceramic Tile Floor: A Step-by-Step Guide
Replacing a ceramic tile floor can be a difficult and time-consuming task, but it can also be a rewarding one. With the right tools and instructions, you can replace your ceramic tile floor and create a beautiful new look in your home. Here is a step-by-step guide on how to replace ceramic tile flooring.
Preparing the Area
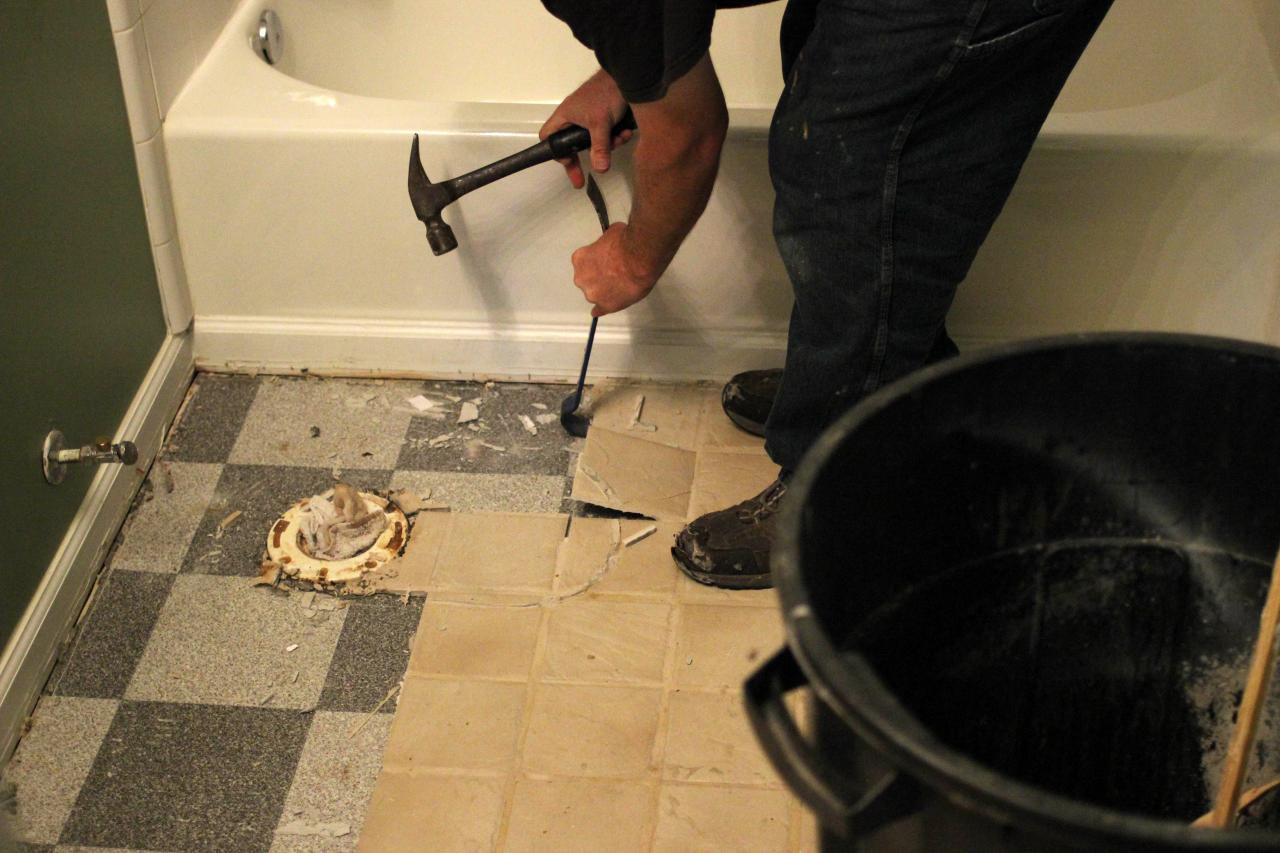
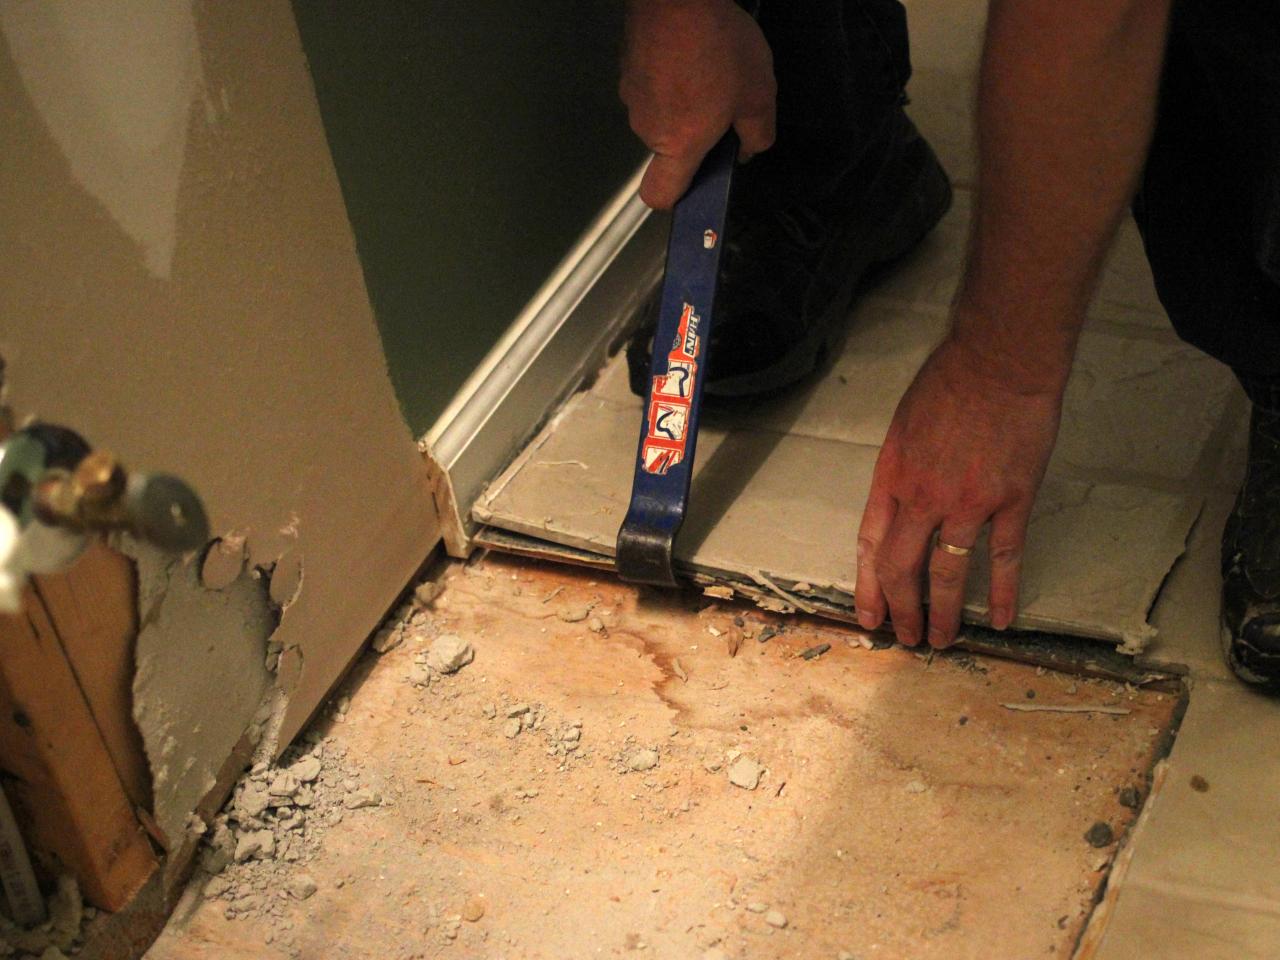
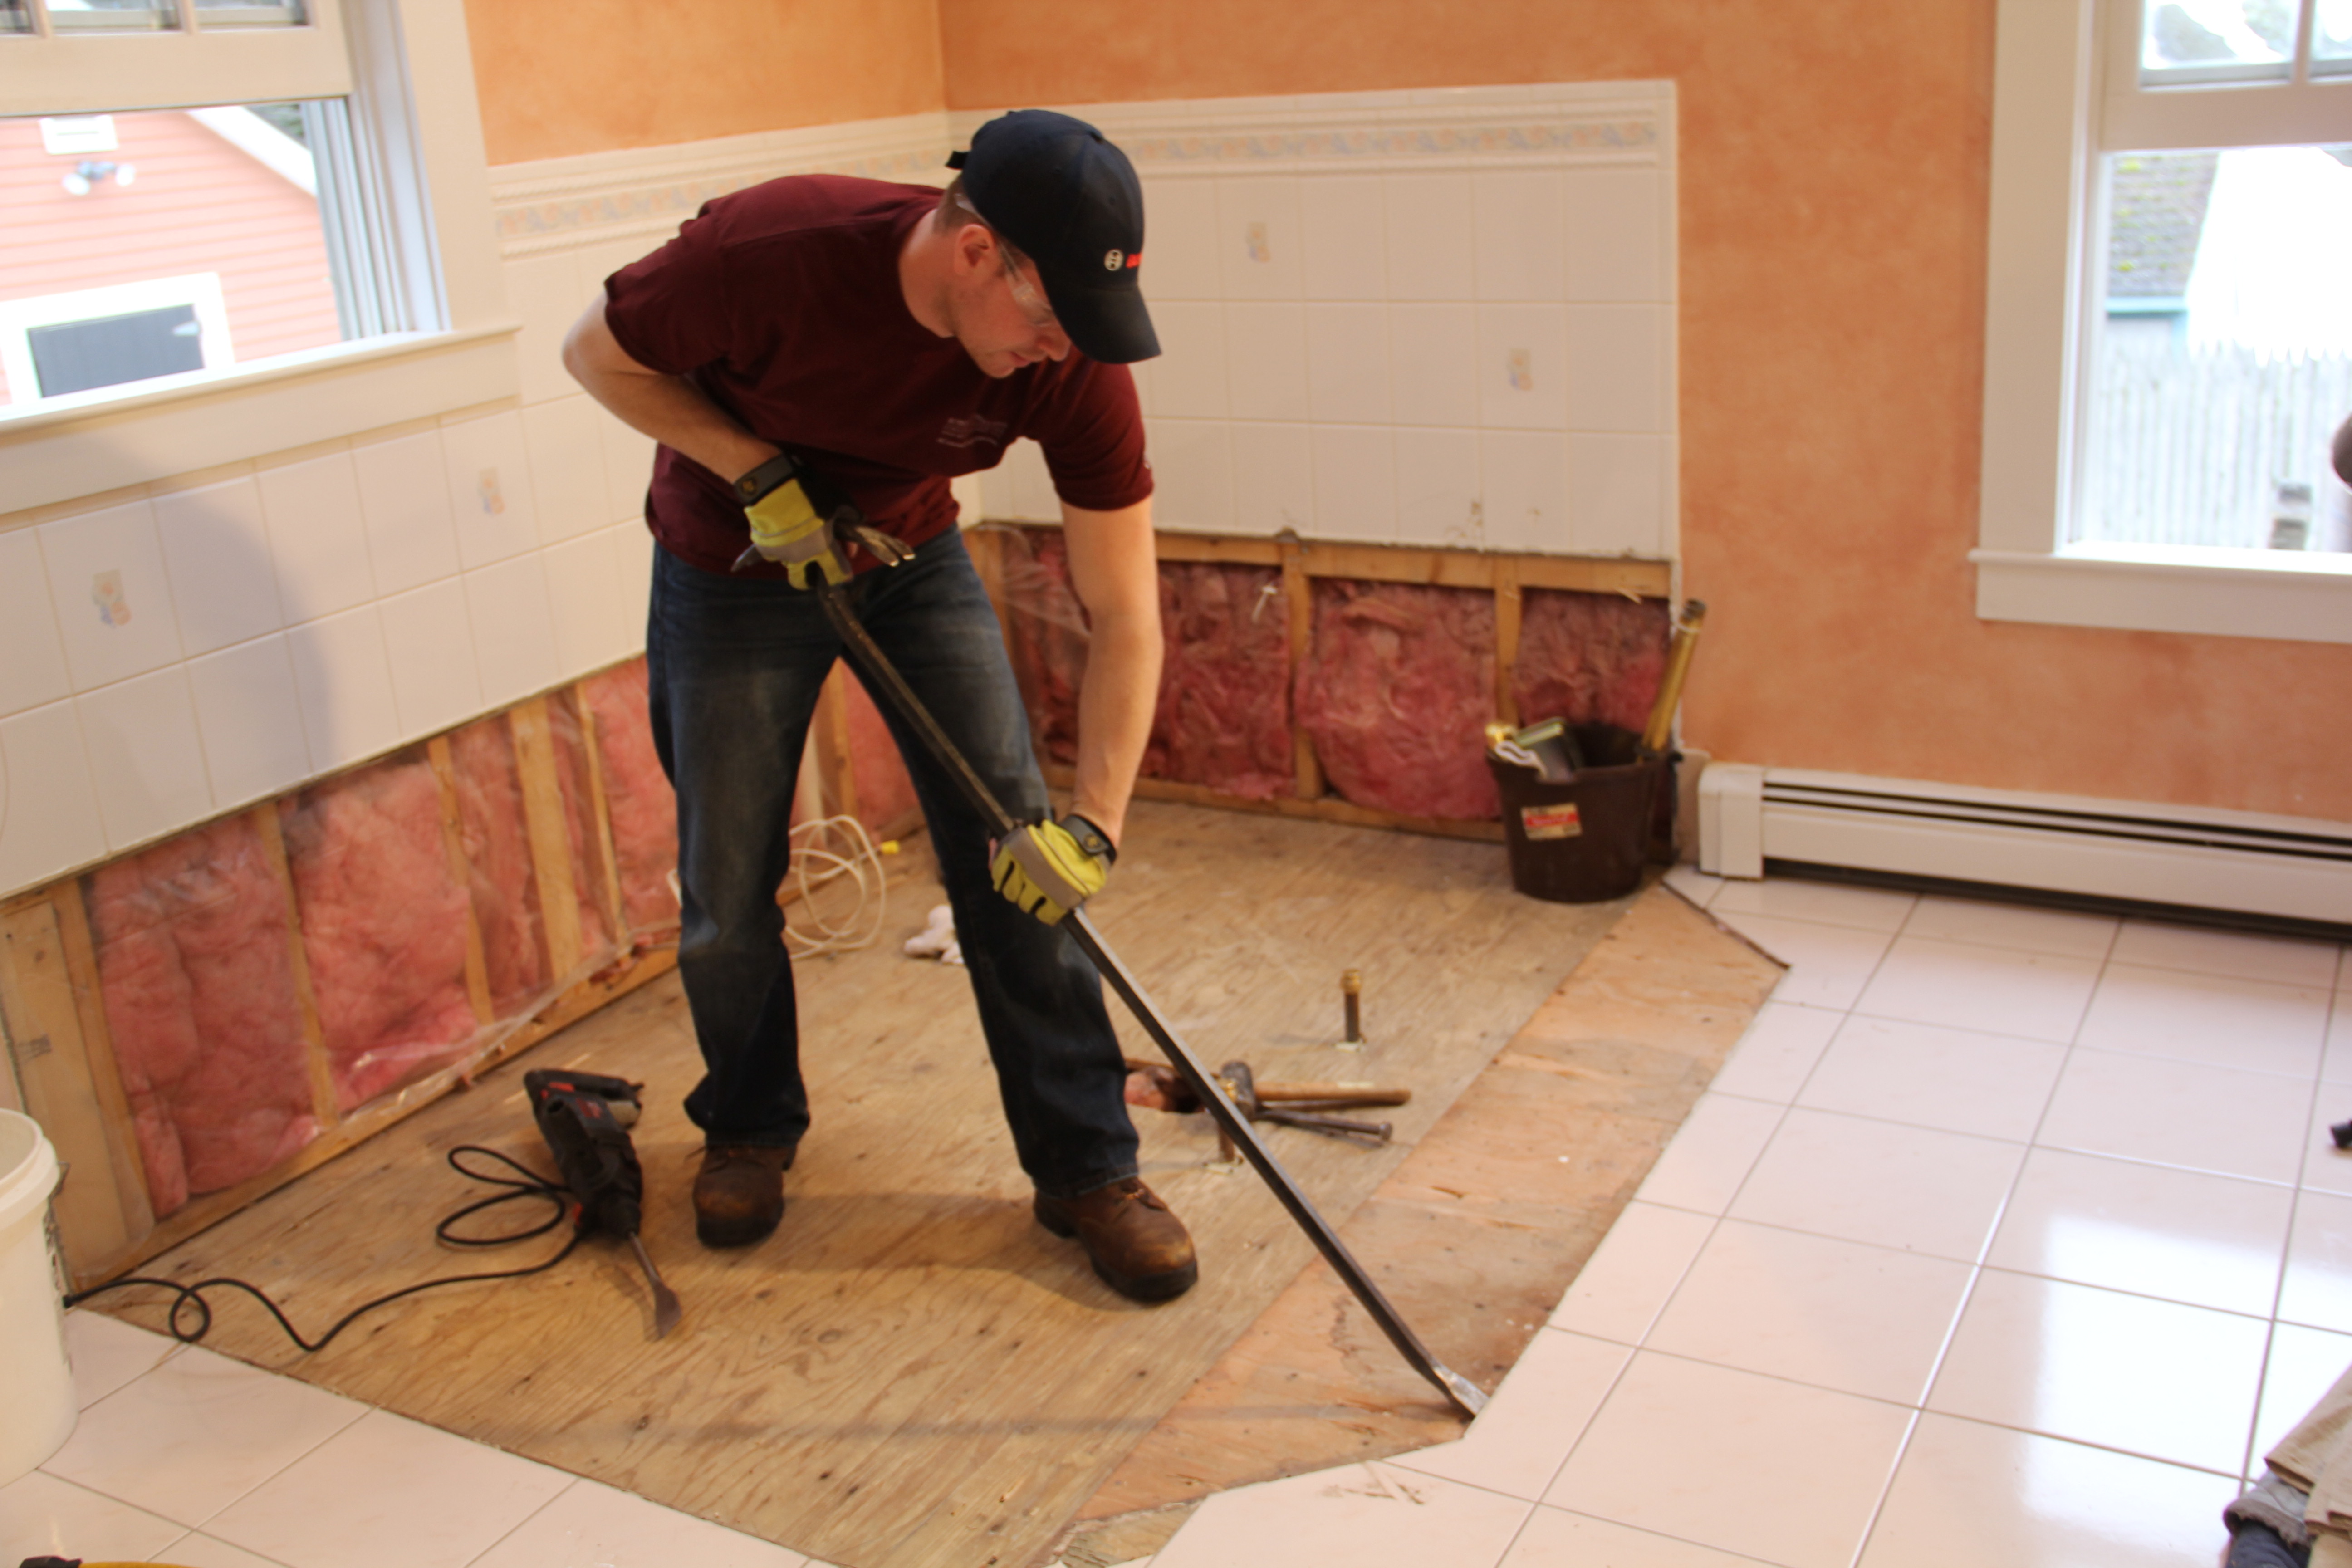
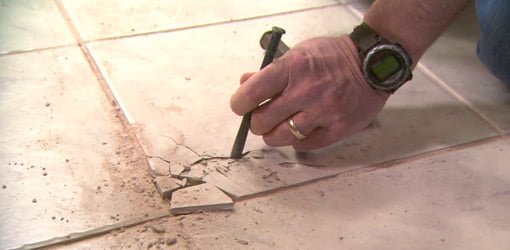
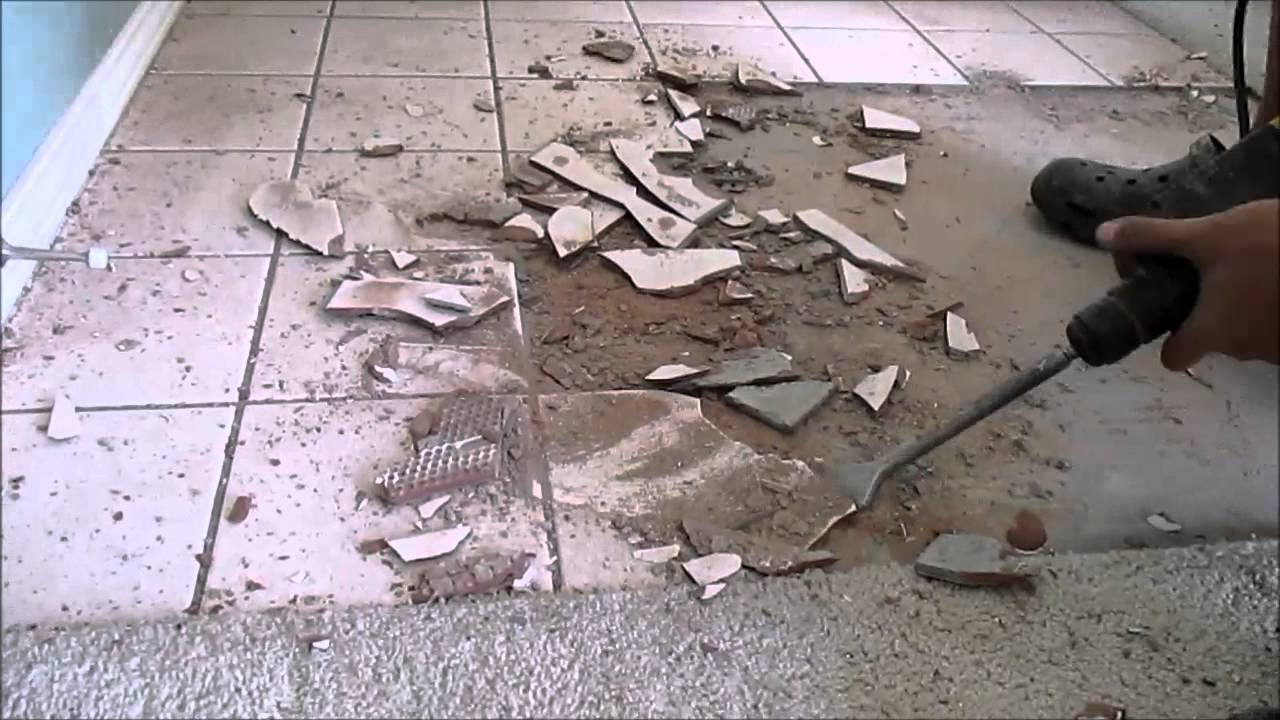
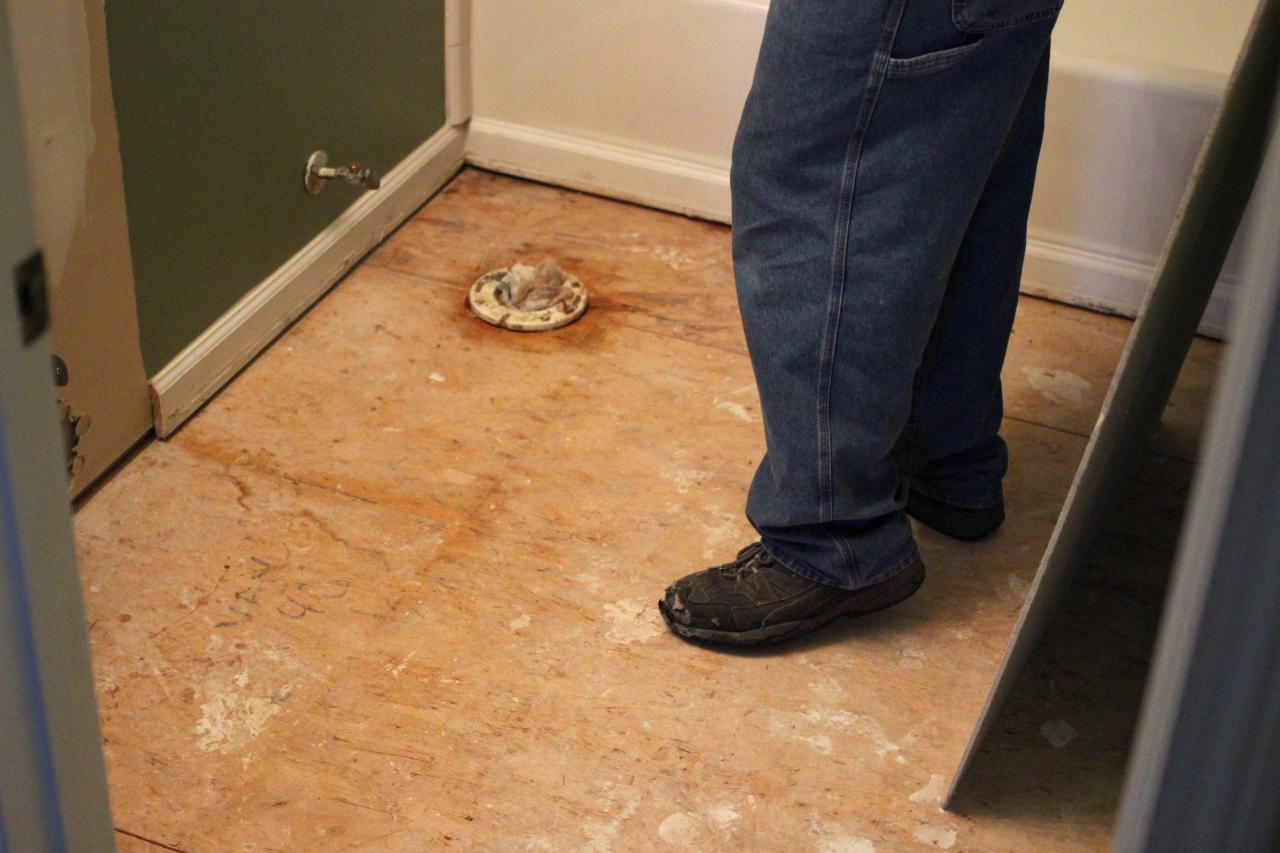
The first step in replacing your ceramic tile floor is to prepare the area. This involves removing all existing tiles, adhesive, and grout. You will need to use a chisel and hammer to remove any tiles that are stuck in place, as well as any adhesive residue. Once the area has been cleared of all debris, you should clean it with a vacuum cleaner to remove any dust or dirt.
Measuring and Cutting Tiles
Once the area has been prepared, you will need to measure and cut the tiles for the new floor. You should measure the area carefully to ensure that all of the tiles fit correctly. When cutting the tiles, you will need to use a wet saw with a diamond blade to get precise cuts. It is important to wear protective eyewear and gloves when working with a wet saw.
Applying Adhesive
Once all of the tiles have been cut, you can begin applying adhesive to the back of each tile. You will need to use a trowel to spread an even layer of adhesive over the entire surface of the tile. Make sure that you cover all corners and edges completely with adhesive. Allow the adhesive to dry for at least 24 hours before moving on to the next step.
Laying the Tiles
Now that the adhesive has dried, you can begin laying the tiles on the floor in a pattern or design of your choice. Start in one corner of the room and work your way out from there, making sure to press down firmly on each tile as you go. Once all of the tiles have been laid, allow them to dry for at least 24 hours before continuing.
Grouting
Once all of the tiles have been laid and dried, you can begin grouting them. You will need to mix together a grout mixture according to the instructions on the package. Use a rubber float to spread an even layer of grout over all of the tiles, making sure that it is pushed into all corners and edges completely. Allow the grout to dry for at least 24 hours before continuing.
Cleaning
Once all of the grout has dried, you can begin cleaning off any excess grout from the surface of the tiles. Use a damp cloth or sponge to wipe away any excess grout from each tile. Make sure that you are gentle when cleaning so as not to damage or scratch any of the tiles. Once all of the grout has been removed from each tile, allow them to dry completely before walking on them or placing furniture over them.
FAQs
Q: What type of saw do I need for cutting ceramic tiles?
A: You will need to use a wet saw with a diamond blade for cutting ceramic tiles for your new floor. It is important to wear protective eyewear and gloves when working with a wet saw.
Q: How long should I let my adhesive dry before laying down my tiles?
A: You should allow your adhesive to dry for at least 24 hours before laying down your new tiles. This will ensure that they adhere properly and stay in place once they have been laid down.
Q: How long should I let my grout dry before walking on it?
A: You should allow your grout to dry for at least 24 hours before walking on it or placing furniture over it. This will ensure that it sets properly and does not shift or crack under pressure or weight.