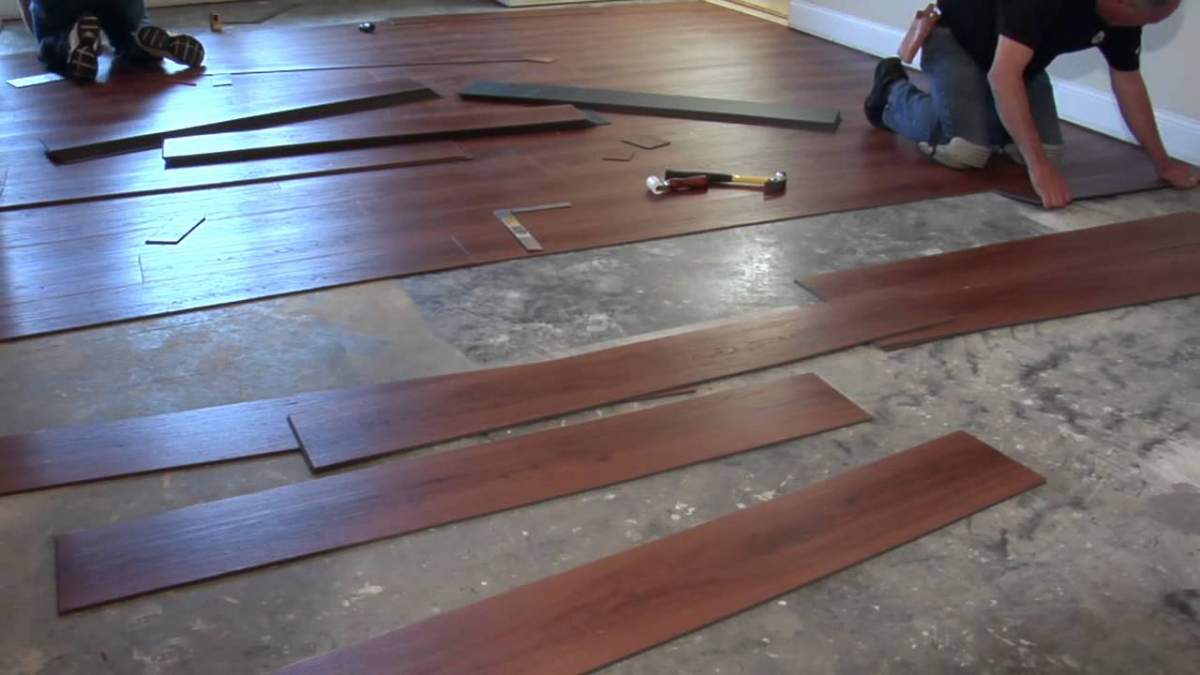
Benefits of Choosing Vinyl Flooring for Concrete Surfaces
When I was deciding on flooring options for my concrete basement, vinyl flooring quickly emerged as a top contender. Its advantages over other flooring types made it an easy choice for me, and here’s why.
- Durability: Vinyl flooring is incredibly durable, which is essential for concrete surfaces that are often subject to heavy foot traffic and potential wear and tear. Its resilience means it can withstand daily use without showing signs of damage, making it perfect for high-traffic areas like basements and utility rooms.
- Water Resistance: One of the biggest advantages of vinyl flooring is its water resistance. Concrete floors, especially in basements, are prone to moisture issues. Vinyl’s water-resistant properties ensure that it won’t warp, swell, or deteriorate when exposed to moisture, making it an ideal choice for areas where water might be a concern.
- Ease of Maintenance: Vinyl flooring is incredibly easy to maintain. Regular sweeping and occasional mopping are usually all that’s required to keep it looking new. This low maintenance is a huge plus for busy households or anyone looking for a hassle-free flooring option.
- Comfort and Warmth: Concrete floors can be cold and hard underfoot, but vinyl flooring adds a layer of cushioning that makes it more comfortable to walk on. Some vinyl options even have a padded underlayer that provides additional warmth and comfort, making the space more inviting.
- Affordability: Vinyl flooring is cost-effective, offering a great balance between quality and price. Compared to hardwood or tile, vinyl is much more affordable both in terms of material costs and installation. This makes it a great option if you’re renovating on a budget but don’t want to compromise on style or functionality.
- Aesthetic Versatility: Vinyl flooring comes in a wide range of styles, colors, and patterns, including options that mimic the look of wood, stone, or tile. This versatility allows you to achieve the desired aesthetic for your space without the higher costs associated with natural materials.

Types of Vinyl Flooring Suitable for Concrete
When I began researching vinyl flooring options for my concrete basement, I discovered several types that are particularly well-suited for this application. Here’s a rundown of the different types of vinyl flooring that work best on concrete surfaces.
Luxury Vinyl Plank (LVP): Luxury Vinyl Plank, or LVP, is designed to mimic the look of hardwood floors. It comes in long planks that can be clicked together or glued down. LVP is highly durable, water-resistant, and offers a realistic wood appearance, making it a popular choice for basements and other areas with concrete floors.
Luxury Vinyl Tile (LVT): Similar to LVP, Luxury Vinyl Tile (LVT) is made to look like stone or ceramic tiles. LVT comes in square or rectangular tiles and can be installed with a click-lock mechanism or adhesive. Its realistic appearance and durability make it a great option for concrete surfaces, providing the look of natural stone or tile without the high cost.
Sheet Vinyl: Sheet vinyl is a continuous sheet of flooring material that comes in large rolls. It’s an excellent option for covering large areas with minimal seams, which helps prevent moisture from seeping through. Sheet vinyl is easy to clean and provides a smooth, uniform surface, making it ideal for basements and other high-moisture areas.
Vinyl Composite Tile (VCT): Vinyl Composite Tile is a durable and economical option that is often used in commercial settings but can also be great for residential basements. VCT is composed of vinyl and limestone and is available in a variety of colors and patterns. It requires regular maintenance, such as stripping and waxing, to keep it looking its best.
Rigid Core Vinyl: Rigid Core Vinyl is a newer type of vinyl flooring that features a solid, stable core made from a composite of plastic and wood or stone. This type of vinyl is highly durable, water-resistant, and provides excellent stability, making it suitable for concrete floors. The rigid core also helps to mask minor imperfections in the concrete surface.
Self-Adhesive Vinyl Tiles: These tiles come with a peel-and-stick backing, making them easy to install on concrete floors. They’re a great DIY option for homeowners looking to update their flooring without professional help. Self-adhesive vinyl tiles are available in various styles and patterns, allowing for a customized look.
Essential Tools and Materials Needed
Before starting my vinyl flooring installation project, I made sure to gather all the essential tools and materials. Having everything on hand made the process smoother and more efficient. Here’s a comprehensive list of what you’ll need.
Measuring Tape and Pencil: Accurate measurements are crucial for a successful flooring installation. A measuring tape and pencil will help you measure and mark the dimensions of your room, ensuring you purchase the correct amount of vinyl flooring and make precise cuts.
Utility Knife: A sharp utility knife is essential for cutting vinyl flooring to fit around edges, corners, and other obstacles. Make sure to have extra blades on hand, as they can dull quickly when cutting through vinyl.
Straight Edge or T-Square: A straight edge or T-square will help you make straight, clean cuts. This is especially important when cutting vinyl planks or tiles to fit along walls and in corners.
Underlayment: Depending on the type of vinyl flooring and the condition of your concrete floor, you may need an underlayment. Underlayment provides additional cushioning, sound insulation, and moisture protection. Be sure to choose an underlayment that is compatible with your vinyl flooring.
Adhesive and Trowel: If you’re using a glue-down vinyl flooring option, you’ll need adhesive and a notched trowel to apply it. Make sure to follow the manufacturer’s instructions for the type of adhesive and trowel size required for your specific flooring.
Roller: A heavy roller is used to press the vinyl flooring into the adhesive, ensuring a strong bond and removing any air bubbles. If you don’t have access to a heavy roller, a rolling pin or a similar tool can be used in a pinch.
Cleaning Supplies: Before installation, the concrete surface must be clean and free of dust, dirt, and debris. A broom, vacuum, and mop with a mild cleaner will help prepare the surface. Ensure the floor is completely dry before proceeding with the installation.
Leveling Compound: If your concrete floor has any imperfections or uneven areas, a leveling compound can be used to create a smooth, flat surface. Follow the manufacturer’s instructions for mixing and applying the compound.
Transition Strips and Baseboards: Transition strips are used to cover the edges where the vinyl flooring meets other types of flooring. Baseboards can be installed around the perimeter of the room to cover the expansion gap and give the floor a finished look.
Personal Protective Equipment (PPE): Safety is important, so make sure to wear appropriate PPE, such as gloves, safety glasses, and knee pads, to protect yourself during the installation process.
Preparing the Concrete Surface
Proper preparation of the concrete surface is crucial for a successful vinyl flooring installation. Here’s how I prepared my concrete floor to ensure a smooth and long-lasting finish.
Cleaning the Surface: The first step in preparing the concrete surface is thorough cleaning. I started by sweeping the floor to remove any loose dirt and debris. Next, I vacuumed the entire area to ensure all dust and small particles were removed. Finally, I mopped the floor with a mild detergent and water to remove any remaining dirt and stains. It’s important to let the floor dry completely before moving on to the next step.
Repairing Cracks and Holes: Any cracks, holes, or imperfections in the concrete surface need to be repaired before installing vinyl flooring. I used a concrete patching compound to fill in any cracks or holes, following the manufacturer’s instructions for mixing and application. After applying the patching compound, I smoothed it out with a putty knife and allowed it to dry completely. Once dry, I sanded the patched areas to ensure they were level with the rest of the floor.
Leveling the Surface: A smooth, level surface is essential for a successful vinyl flooring installation. I used a leveling compound to even out any high or low spots on the concrete floor. Following the manufacturer’s instructions, I mixed the leveling compound and poured it onto the floor, spreading it evenly with a trowel. I allowed the leveling compound to dry according to the recommended drying time before proceeding.
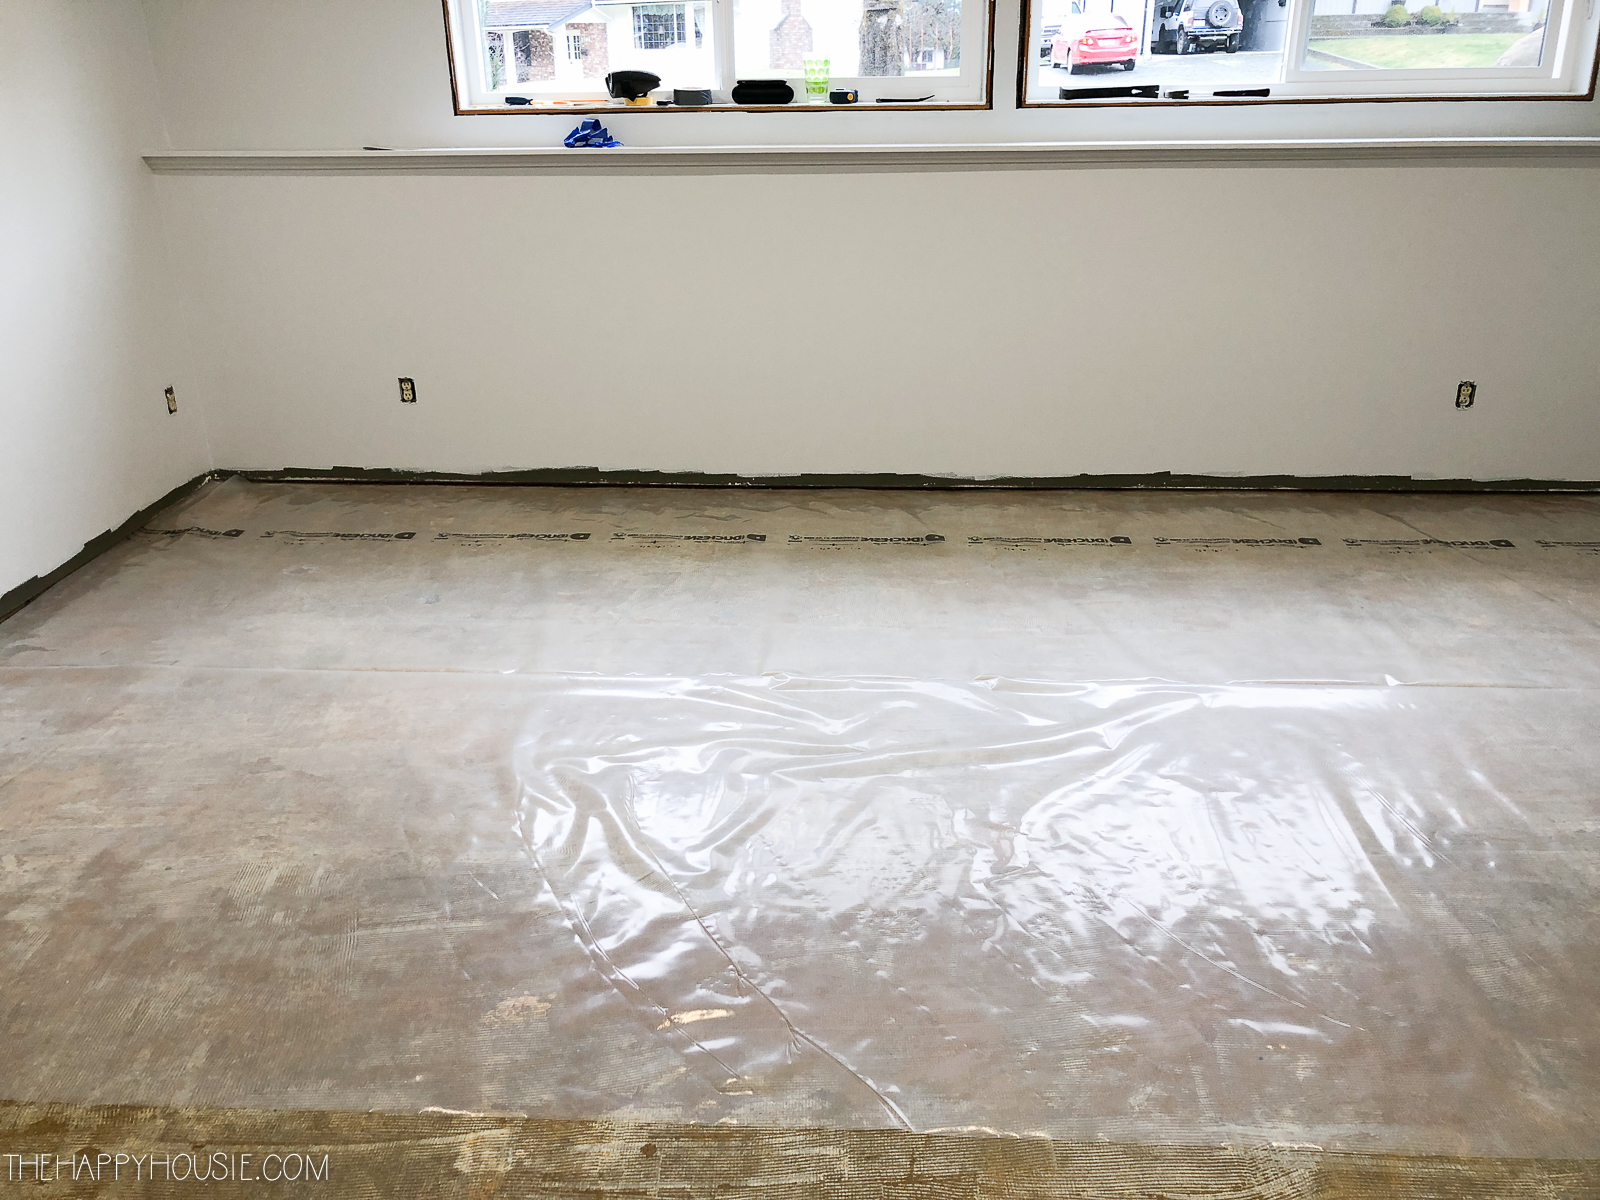
Moisture Testing: Concrete floors can sometimes have moisture issues, which can affect the adhesion and performance of vinyl flooring. To check for moisture, I conducted a simple moisture test by taping a piece of plastic sheeting to the concrete floor and leaving it in place for 24 hours. If condensation formed on the underside of the plastic, it indicated a moisture problem that needed to be addressed before installation. In such cases, I would consider using a moisture barrier or consulting a professional for advice.
Smoothing the Surface: After ensuring the concrete surface was clean, repaired, and level, I gave it one final inspection to make sure there were no rough spots or debris. I used a floor scraper to remove any remaining high spots or protrusions and vacuumed the floor again to remove any dust created during the process.
Applying a Primer: Depending on the type of vinyl flooring and adhesive being used, applying a primer to the concrete surface can improve adhesion and ensure a stronger bond. I followed the vinyl flooring manufacturer’s recommendations for primer application, using a paint roller to apply a thin, even coat. I allowed the primer to dry completely before proceeding with the installation.
Step-by-Step Installation Process
With the concrete surface properly prepared, it was time to install the vinyl flooring. Here’s the step-by-step process I followed to achieve a seamless and professional installation.
Planning and Layout: Before starting the installation, I planned the layout of the vinyl flooring. This involved measuring the room and marking a starting point. For plank or tile vinyl flooring, it’s best to start from the center of the room and work outwards to ensure a balanced look. For sheet vinyl, starting along one wall and working towards the opposite side is typically recommended.
Cutting the Vinyl Flooring: Based on the measurements and layout, I cut the vinyl flooring to fit the room. For vinyl planks or tiles, I used a utility knife and straight edge to make precise cuts. For sheet vinyl, I rolled it out and used the utility knife to trim it to the correct size, leaving a small gap around the edges for expansion.
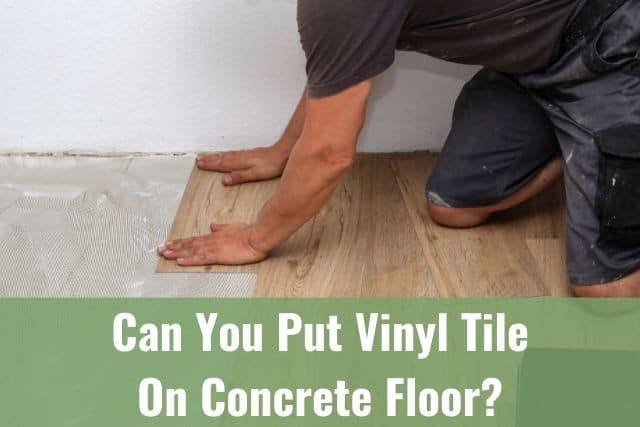
Applying Adhesive (if needed): For glue-down vinyl flooring, I applied adhesive to the concrete surface using a notched trowel. I worked in small sections to ensure the adhesive didn’t dry out before laying the vinyl. It’s important to follow the manufacturer’s instructions for the type of adhesive being used, including the recommended trowel size and drying time.
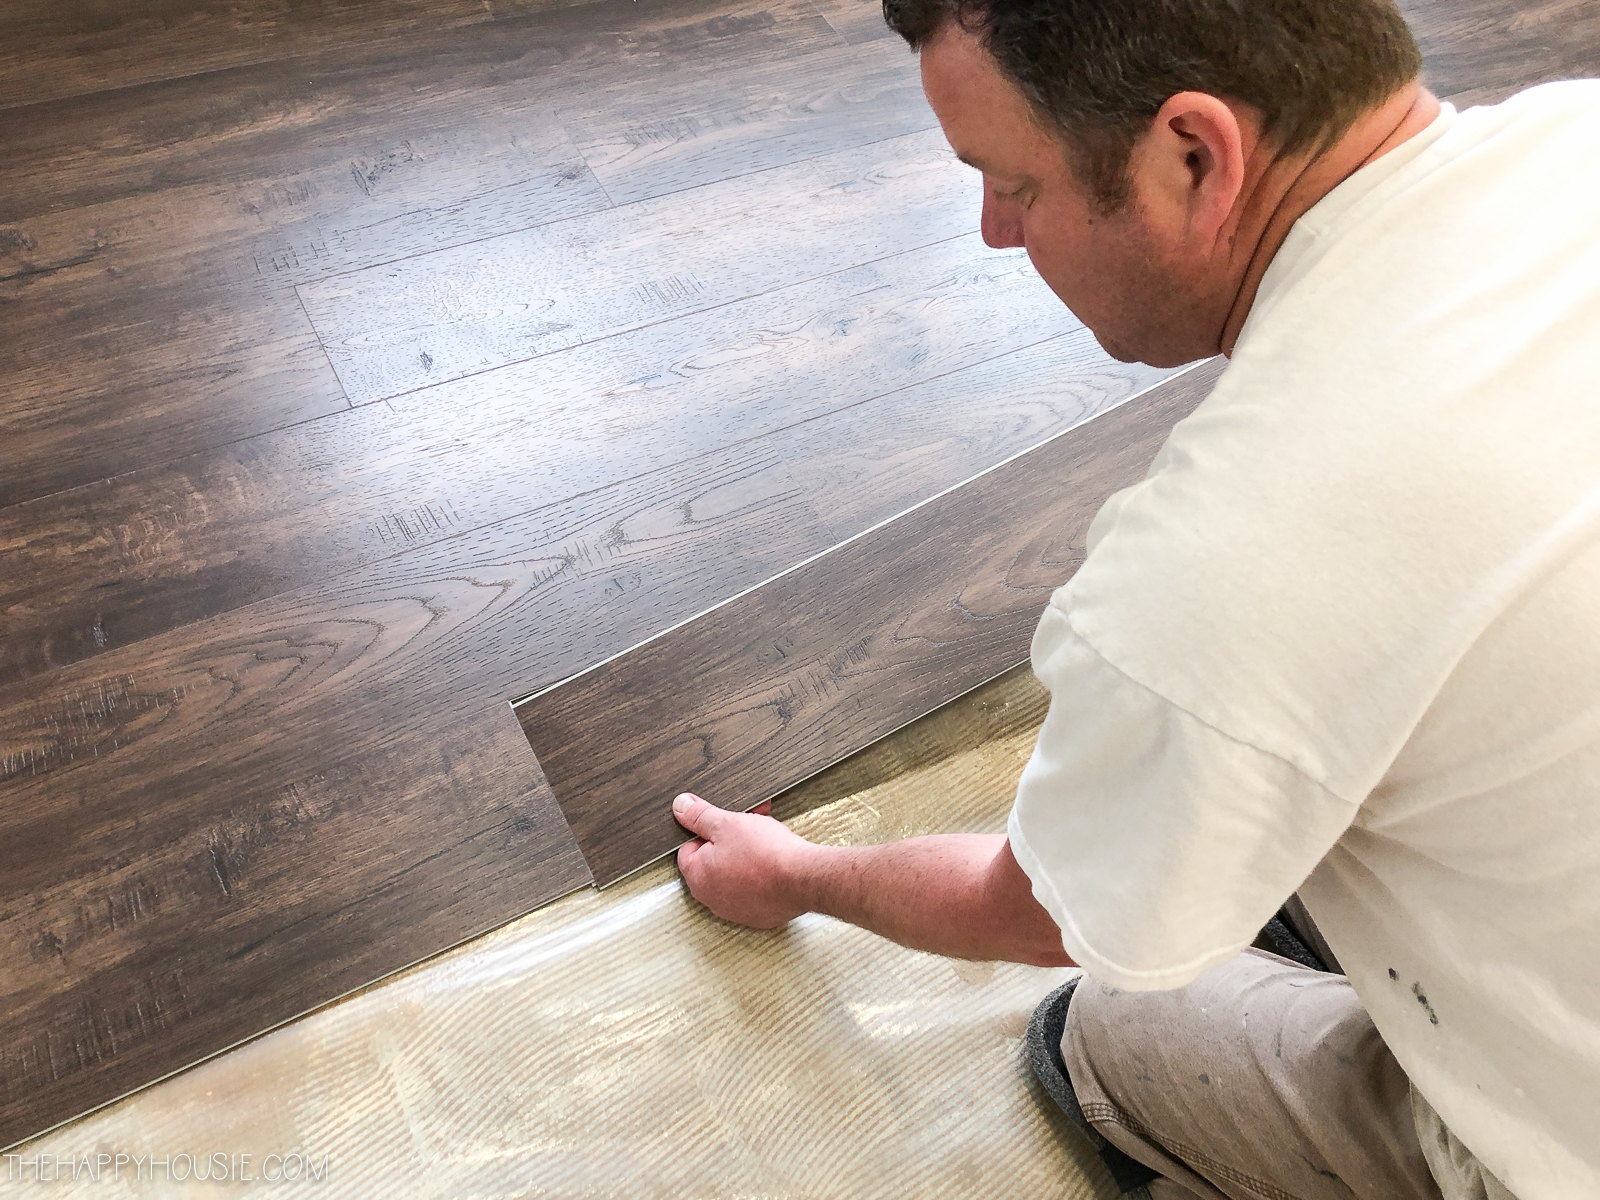
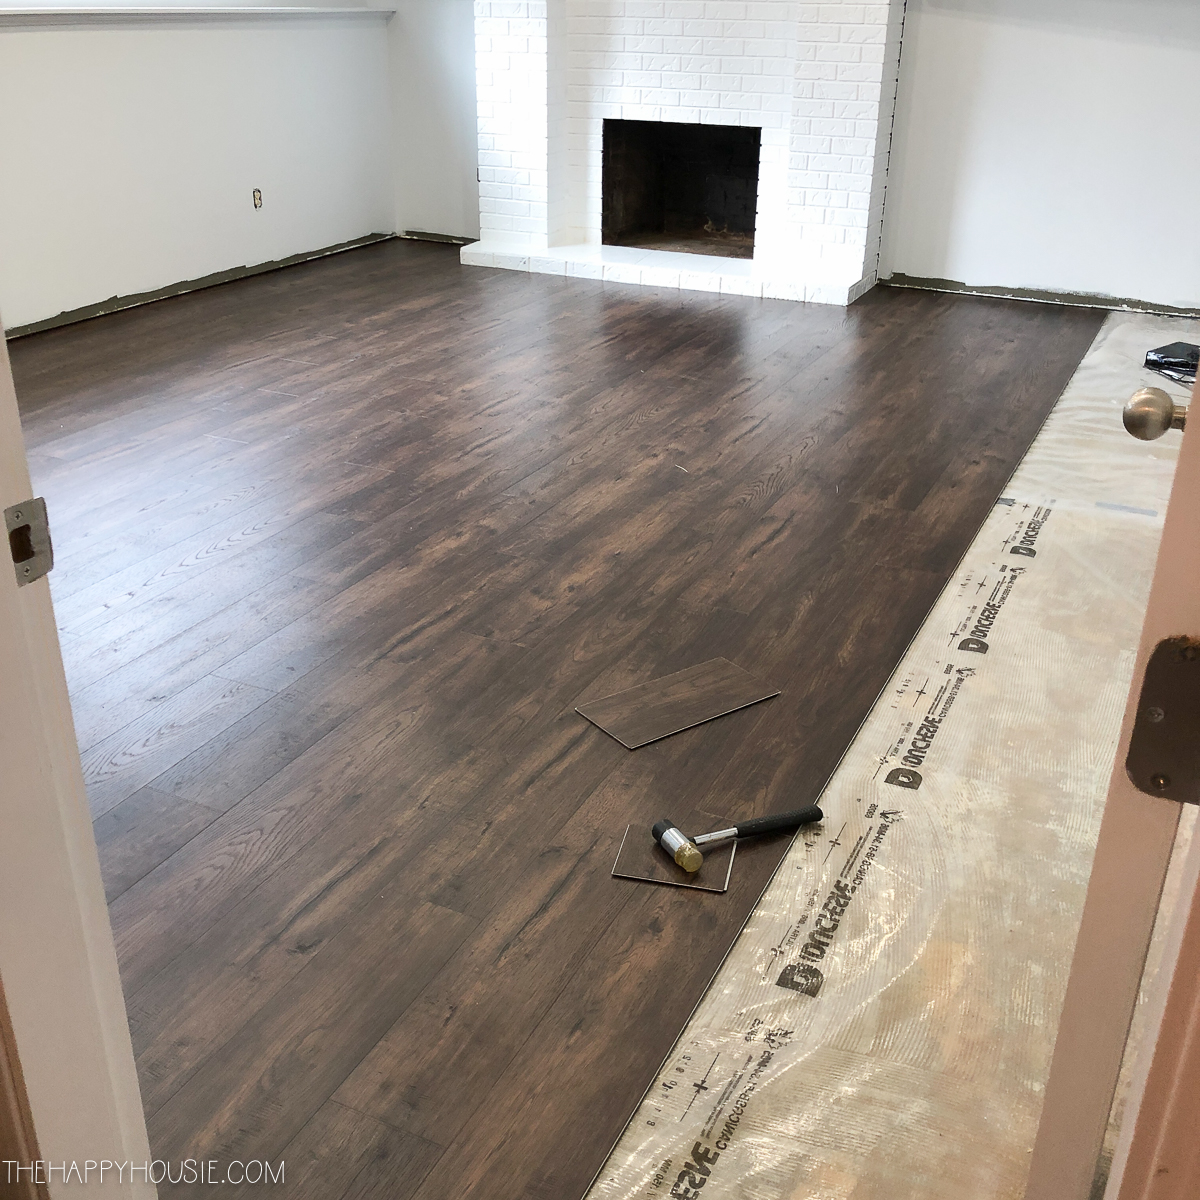
Laying the Vinyl Flooring: Starting from my chosen starting point, I began laying the vinyl flooring. For click-lock vinyl planks or tiles, I clicked the pieces together and laid them in place, ensuring a tight fit with no gaps. For glue-down vinyl, I carefully positioned each piece into the adhesive and pressed it down firmly. For sheet vinyl, I unrolled it onto the adhesive and used a roller to smooth it out and remove any air bubbles.
Trimming and Fitting: As I approached the edges of the room, I needed to trim the vinyl flooring to fit around obstacles such as door frames, vents, and corners. Using a utility knife, I made precise cuts to ensure a snug fit. For areas where the vinyl met other types of flooring, I installed transition strips to create a seamless transition.
Rolling the Floor: After laying the vinyl flooring, I used a heavy roller to press it down firmly and ensure a strong bond with the adhesive. This step is crucial for removing air bubbles and ensuring the flooring adheres properly to the concrete surface. If a heavy roller isn’t available, a rolling pin or similar tool can be used.
Tips for Achieving a Professional Finish
Achieving a professional finish with vinyl flooring requires attention to detail and a few key techniques. Here are some tips that helped me get the best results in my project.
Acclimate the Flooring: Before installation, I allowed the vinyl flooring to acclimate to the room’s temperature and humidity for at least 48 hours. This helped prevent expansion or contraction after installation. Simply unbox the vinyl flooring and lay it flat in the room where it will be installed.
Use a Chalk Line for Straight Rows: To ensure straight rows of vinyl planks or tiles, I used a chalk line to mark guidelines on the concrete floor. This helped me keep the installation aligned and consistent, especially when starting from the center of the room and working outwards.
Stagger the Seams: When installing vinyl planks, staggering the seams creates a more natural and aesthetically pleasing look. I made sure to offset the seams of adjacent rows by at least 6 inches, similar to how hardwood flooring is installed. This also enhances the structural integrity of the flooring.
Ensure Tight Seams: For a seamless appearance, it’s important to ensure the seams between vinyl planks or tiles are tight. I used a tapping block and mallet to gently tap the pieces together, eliminating any gaps. For sheet vinyl, I carefully overlapped and trimmed the seams to create a smooth transition.
Trim Around Obstacles: Precision is key when trimming vinyl flooring around obstacles such as door frames, vents, and corners. I took my time to measure and cut carefully, using a utility knife for clean, precise cuts. For complex shapes, creating a paper template first helped me achieve an accurate fit.
Use Transition Strips: Transition strips are essential for creating a smooth transition between different types of flooring. I installed transition strips at doorways and where the vinyl flooring met other surfaces, such as carpet or tile. This not only improved the appearance but also prevented tripping hazards and protected the edges of the vinyl flooring.
Maintaining and Caring for Your Vinyl Flooring
Proper maintenance and care can extend the life of your vinyl flooring and keep it looking great. Here’s how I maintain and care for my vinyl flooring to ensure its longevity.
Regular Cleaning: Regular cleaning is essential for maintaining vinyl flooring. I sweep or vacuum the floor daily to remove dirt and debris that can cause scratches. For a deeper clean, I mop the floor with a mixture of warm water and a mild, pH-neutral cleaner. It’s important to avoid using abrasive cleaners or scrubbers, as they can damage the vinyl surface.
Wipe Up Spills Promptly: Spills can cause stains and damage to vinyl flooring if left unattended. I make sure to wipe up any spills promptly using a soft cloth or paper towel. For stubborn stains, a gentle scrub with a soft brush and a mild cleaner usually does the trick. Avoid using harsh chemicals or bleach, as they can discolor the vinyl.
Use Floor Protectors: To prevent scratches and dents, I use floor protectors under furniture legs and heavy appliances. Felt pads or rubber caps work well for this purpose. When moving furniture, I lift it rather than dragging it across the floor to avoid scratching the vinyl.
Avoid Excessive Water: While vinyl flooring is water-resistant, excessive water can seep into seams and edges, causing damage over time. When mopping, I use a damp mop rather than soaking the floor. I also ensure that any moisture issues, such as leaks or high humidity, are addressed promptly to protect the flooring.
Place Mats and Rugs: Placing mats and rugs in high-traffic areas and entryways helps reduce wear and tear on the vinyl flooring. I use non-slip, non-staining mats to prevent slipping and avoid discoloration of the vinyl. Regularly shaking out or vacuuming the mats keeps them clean and effective.
Regular Inspection and Maintenance: Periodically inspecting the vinyl flooring for signs of wear or damage allows me to address any issues early. If I notice any loose seams or minor damage, I repair them promptly using a vinyl repair kit. For more significant damage, replacing individual planks or tiles can help maintain the overall appearance and integrity of the floor.
How to Install Vinyl Plank over Concrete (ORC Week 4/5)
How to install vinyl plank flooring on a concrete base
Easy Ways to Install Vinyl Plank Flooring on Concrete
Easy Ways to Install Vinyl Plank Flooring on Concrete
Beginner Mistakes Installing Vinyl Plank Flooring
Related Posts:
