Embrace Vintage Charm with Retro Vinyl Floor Covering
Retro vinyl floor covering is making a comeback, adding a touch of nostalgia and timeless charm to modern homes. Whether you’re looking to create a vintage-inspired kitchen, a funky living room, or a playful playroom, retro vinyl flooring offers an array of patterns, colors, and styles to suit your taste. Let’s discuss the benefits, styles, installation process, and maintenance tips for retro vinyl floor covering, as well as some design inspiration to help you achieve the perfect look.
The Benefits of Retro Vinyl Floor Covering
- Durability and Longevity: Retro vinyl flooring is known for its durability and long-lasting nature. It can withstand heavy foot traffic, making it an excellent choice for busy households. The tough surface resists scratches, stains, and moisture, ensuring that your floor maintains its beauty for years to come.
- Easy Maintenance: One of the main advantages of vinyl flooring is its low maintenance requirements. Cleaning is a breeze – a simple sweep or vacuum followed by a damp mop is usually all that’s needed to keep your floor looking pristine. Vinyl’s resistance to stains and spills makes it a practical choice for kitchens, bathrooms, and play areas.
- Cost-Effectiveness: Vinyl flooring is an affordable option compared to other flooring materials like hardwood or ceramic tiles. It offers the same aesthetic appeal at a fraction of the cost, making it an attractive choice for budget-conscious homeowners. Additionally, vinyl’s longevity means you won’t need to replace it frequently, saving you money in the long run.
- Comfort Underfoot: Retro vinyl flooring provides a comfortable surface to walk on, thanks to its slight cushioning. This makes it a great option for rooms where you spend a lot of time standing, such as the kitchen or laundry room. The added comfort also reduces the risk of fatigue and joint strain.
- Wide Range of Styles: With a vast array of colors, patterns, and textures available, retro vinyl flooring allows you to unleash your creativity and personalize your space. From classic black-and-white checkerboards to vibrant geometric designs, there’s a retro vinyl floor covering to suit every taste and style preference.
Popular Styles of Retro Vinyl Floor Covering
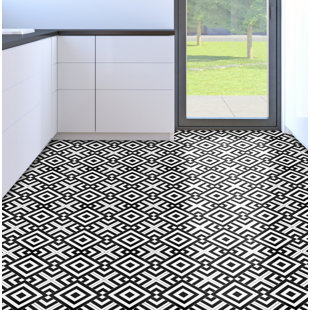
Checkerboard Patterns: Checkerboard patterns are a classic choice for retro vinyl flooring, evoking the charm of 1950s diners and vintage kitchens. This iconic black-and-white design can be used to create a bold statement or a subtle nod to the past, depending on the size and placement of the squares.
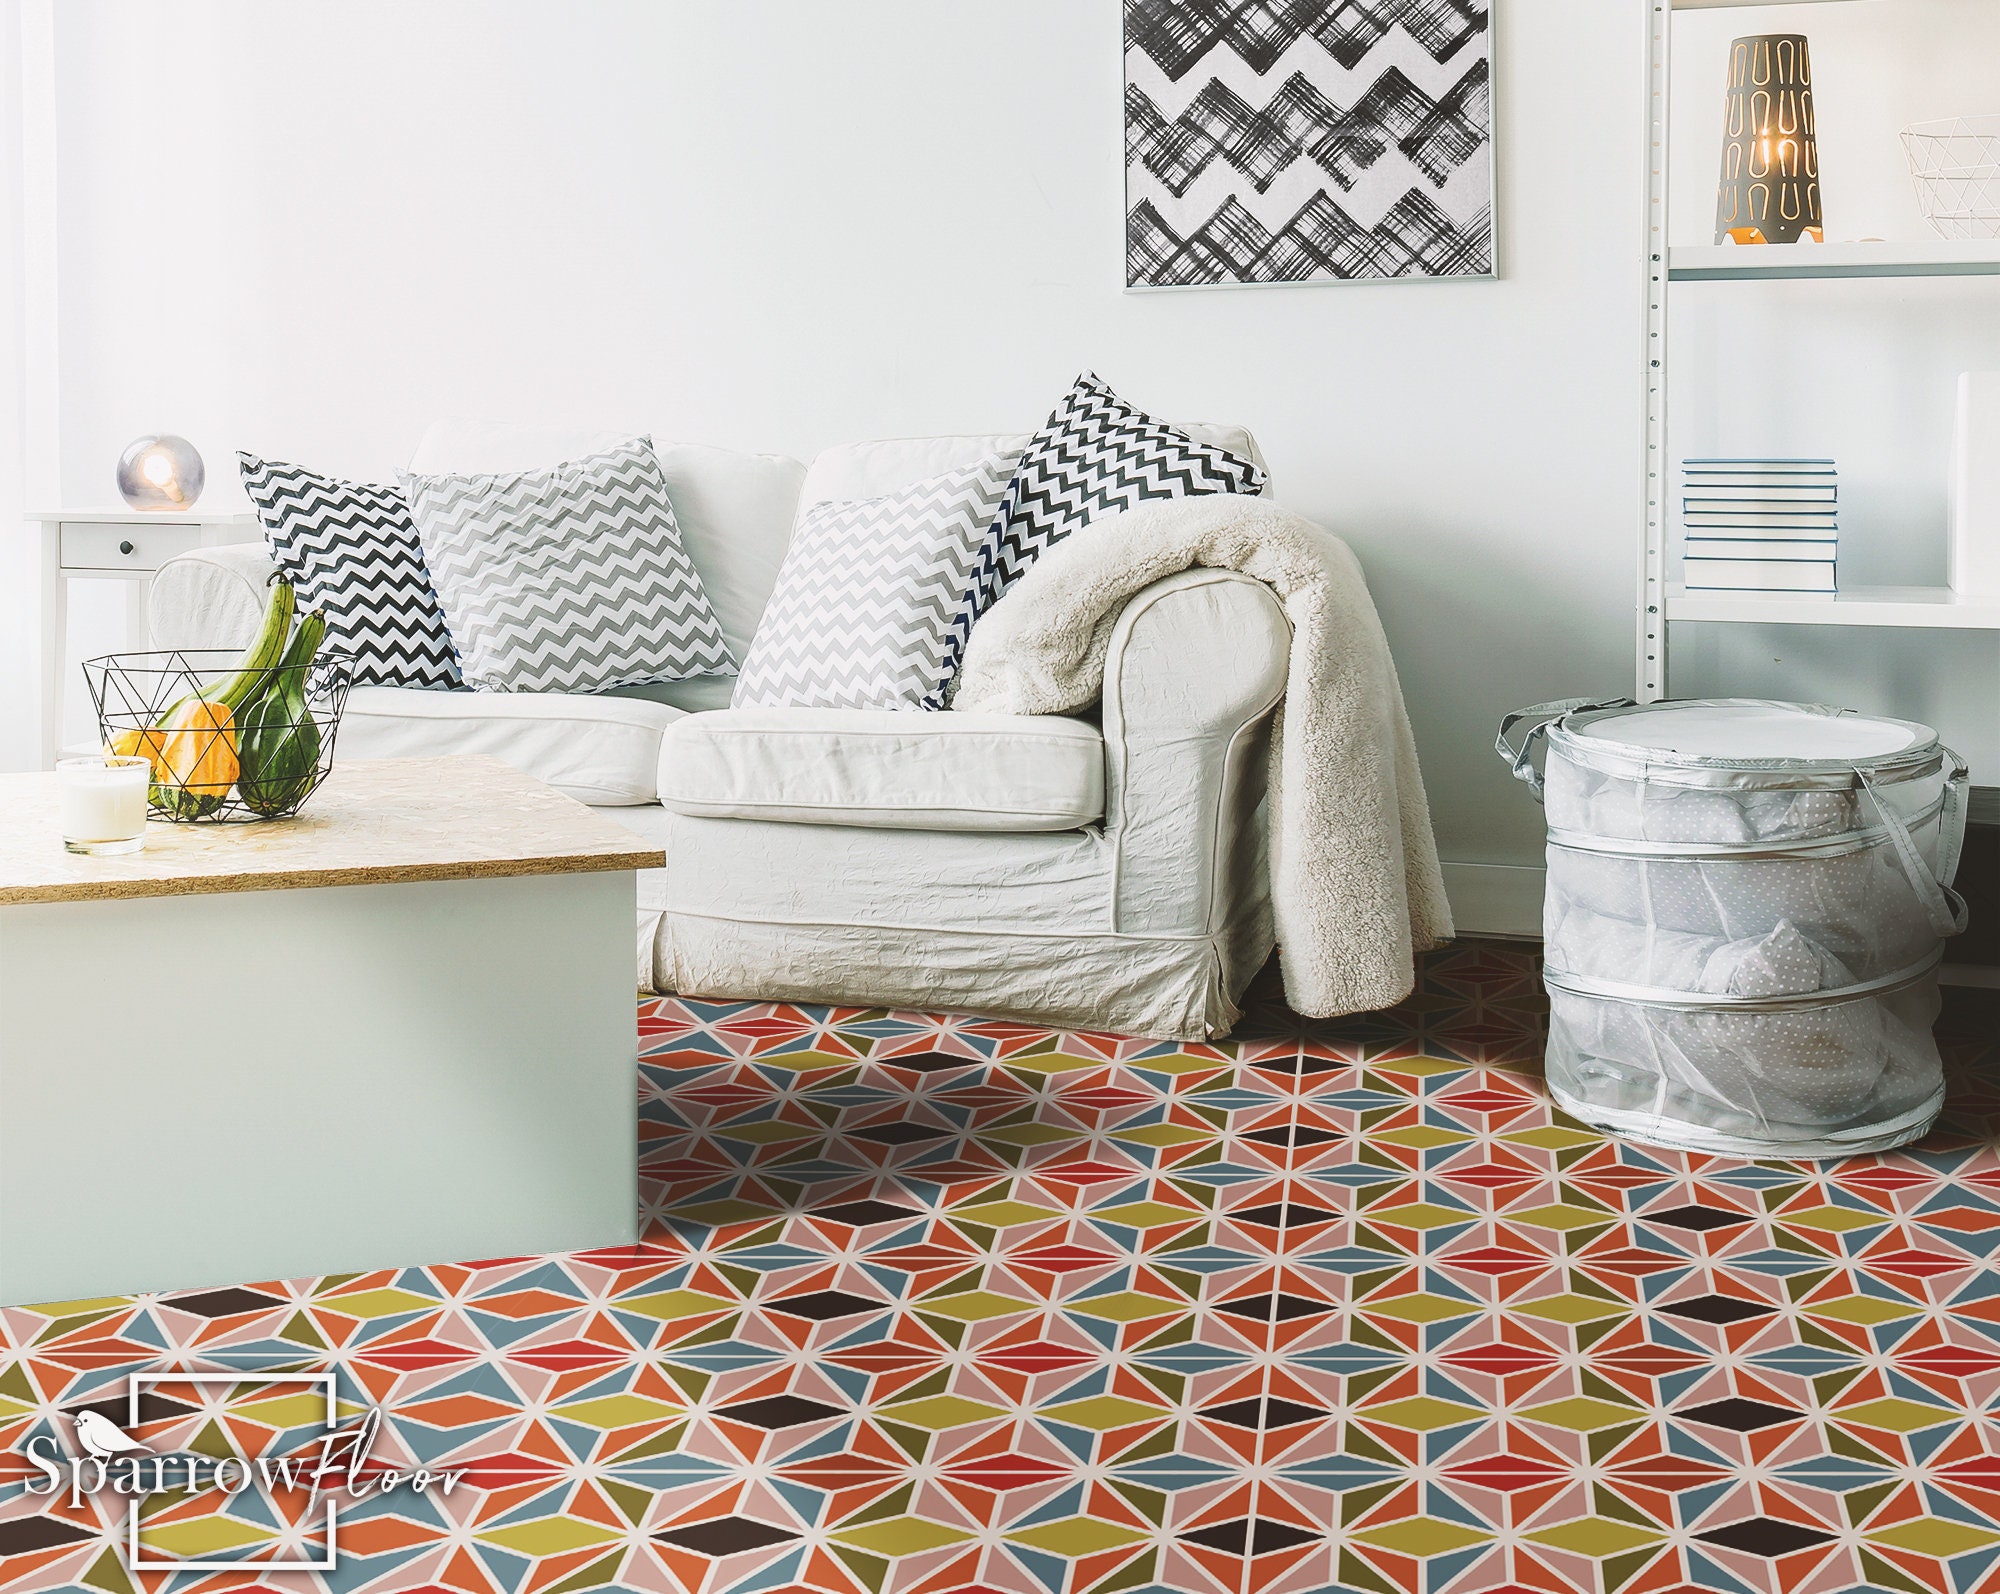
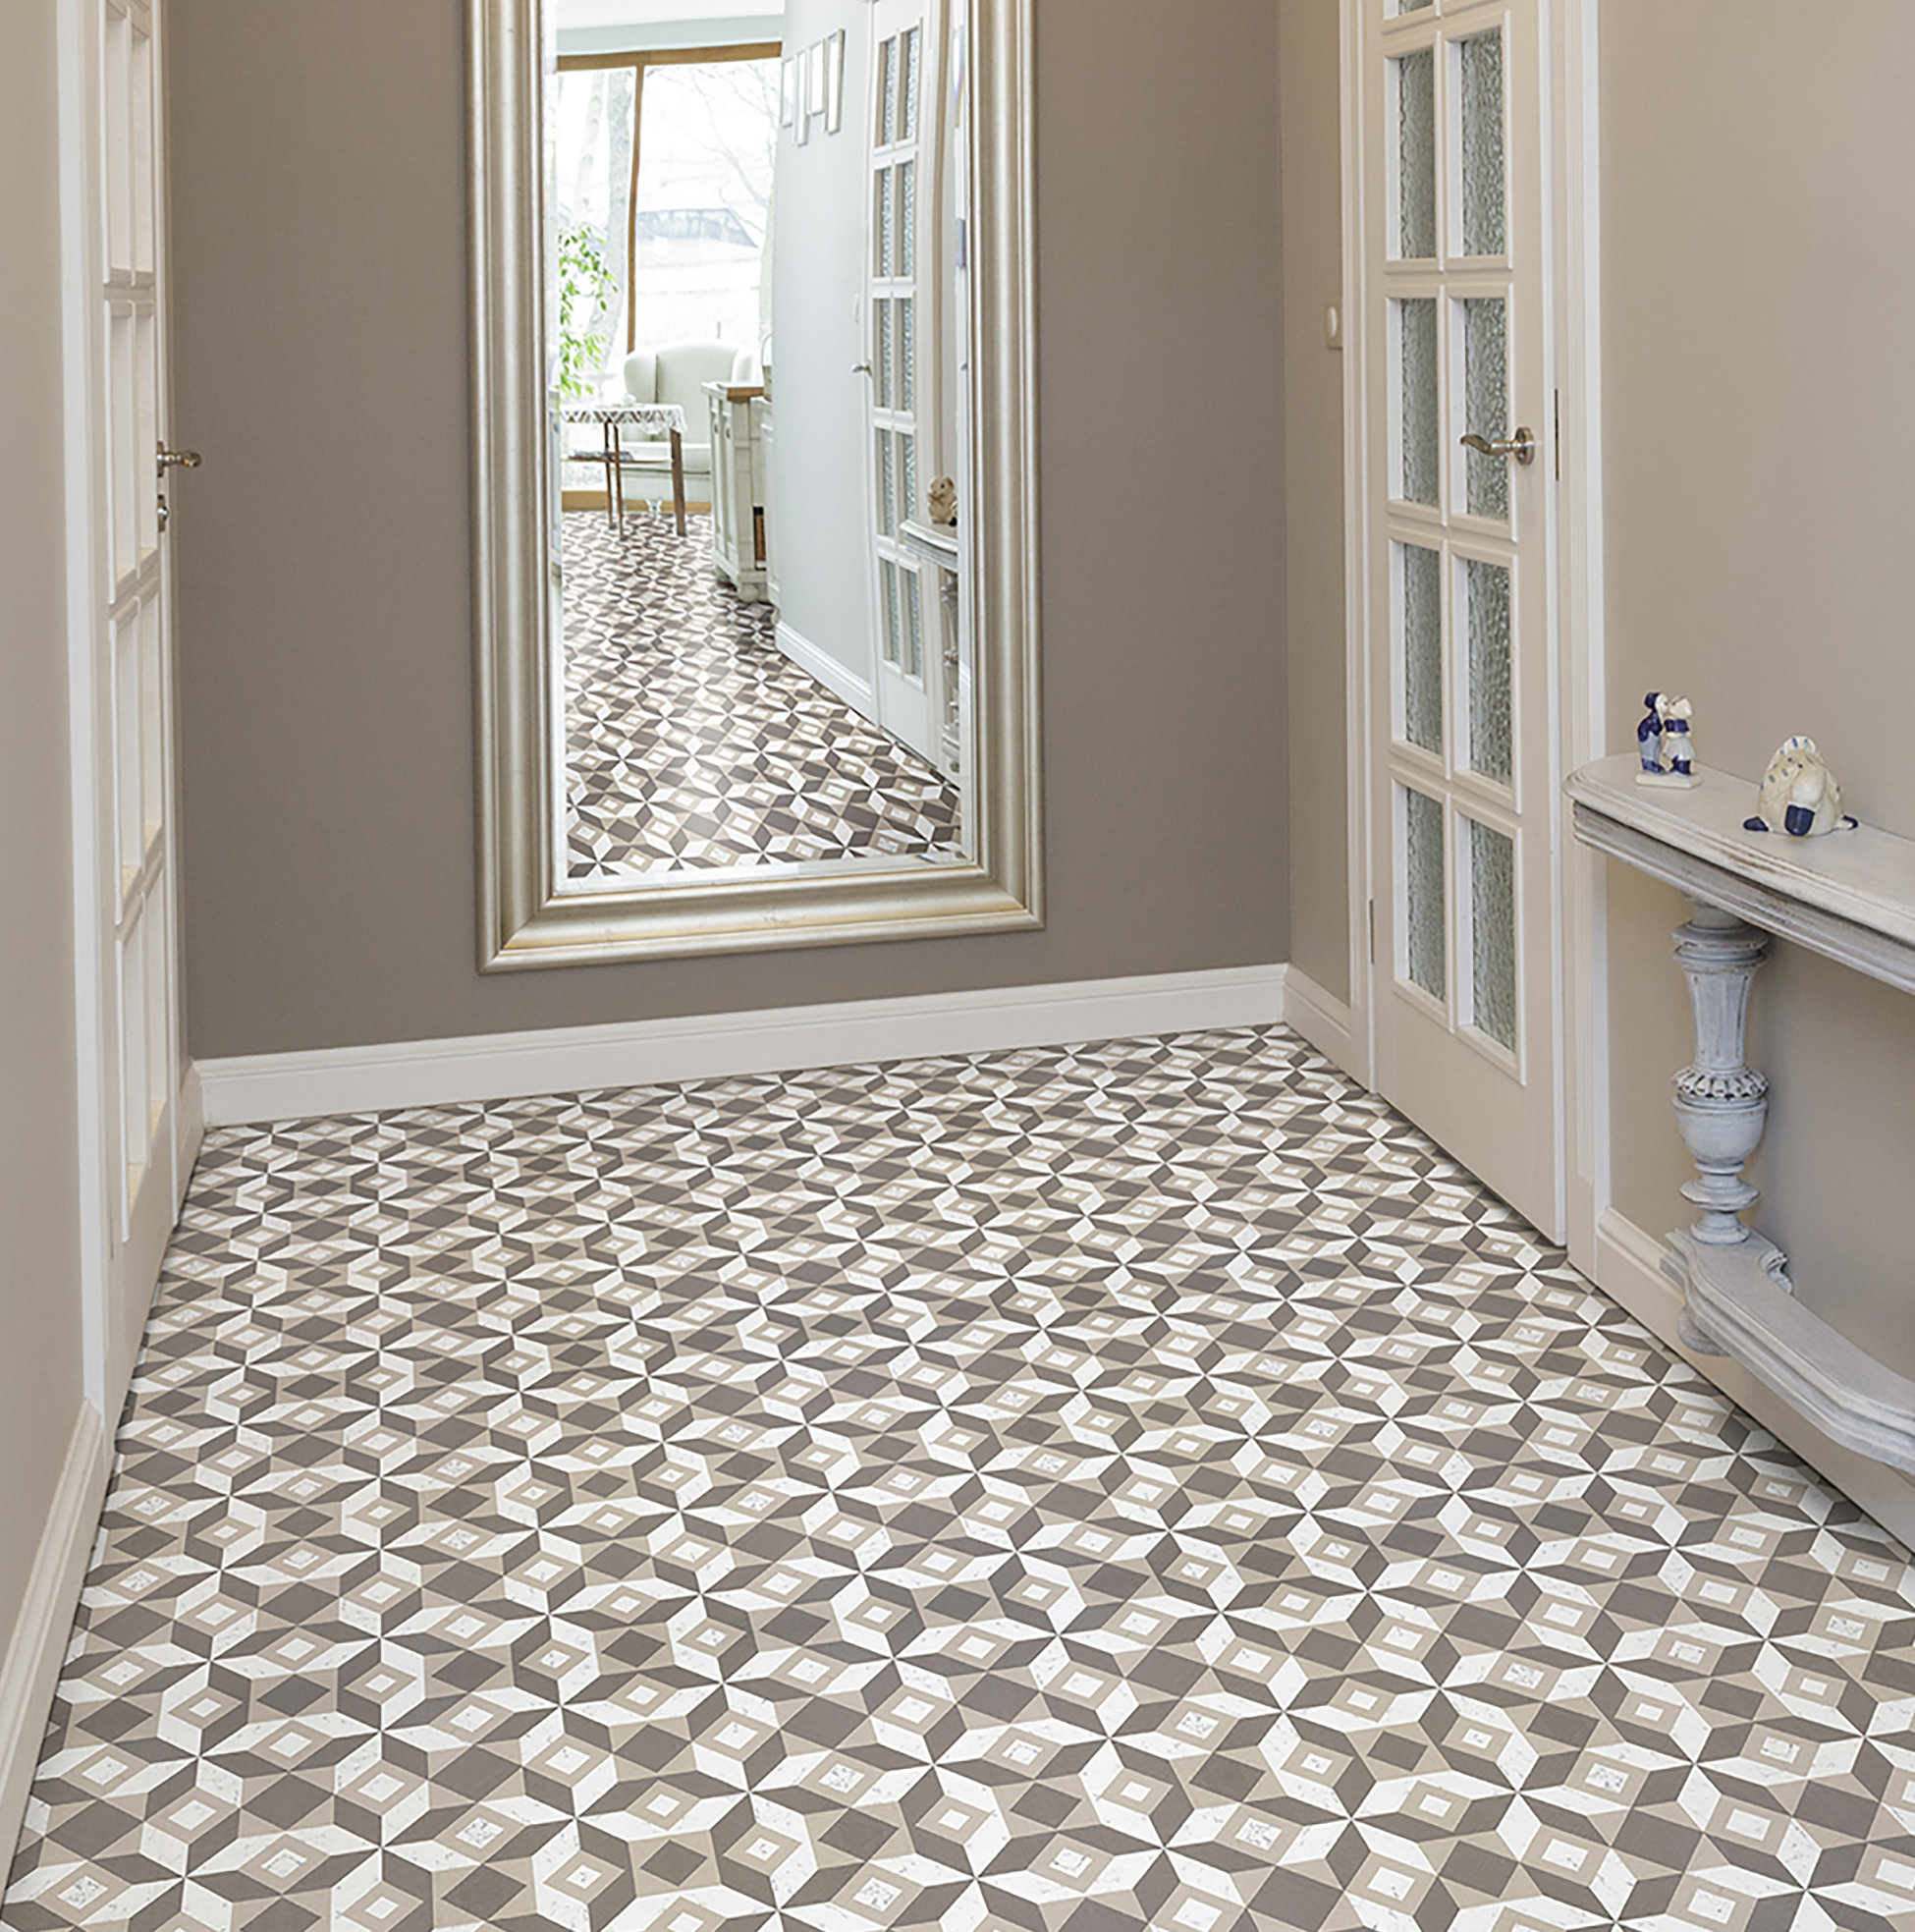
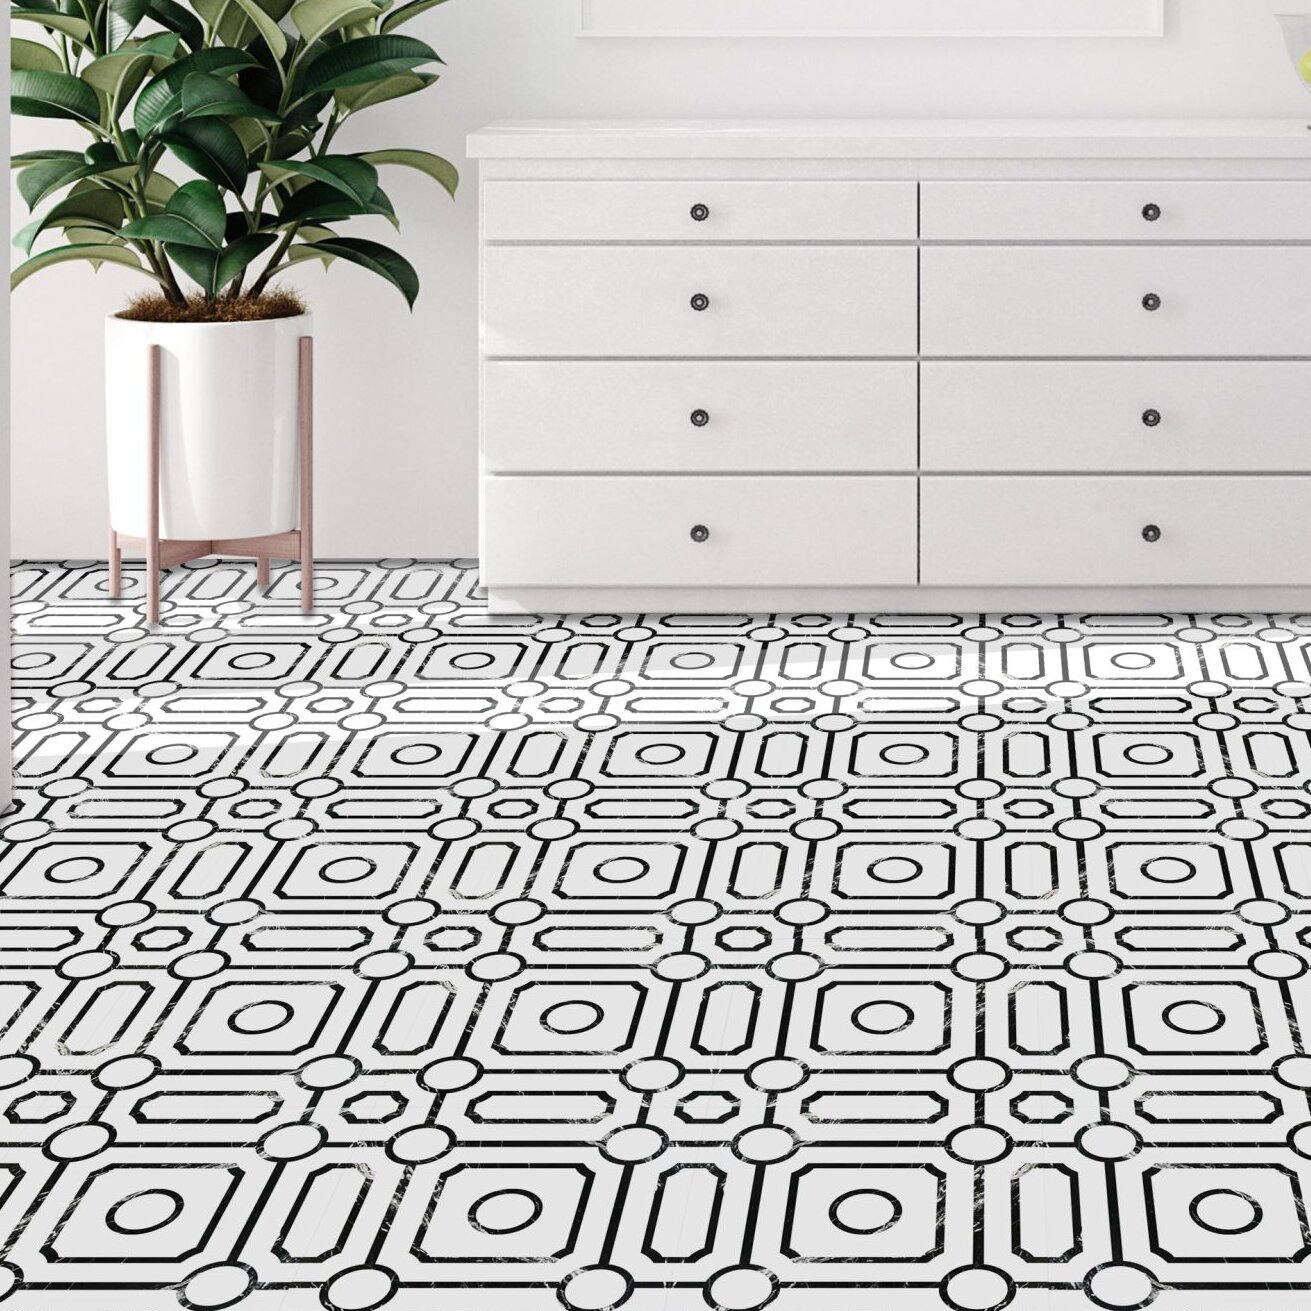
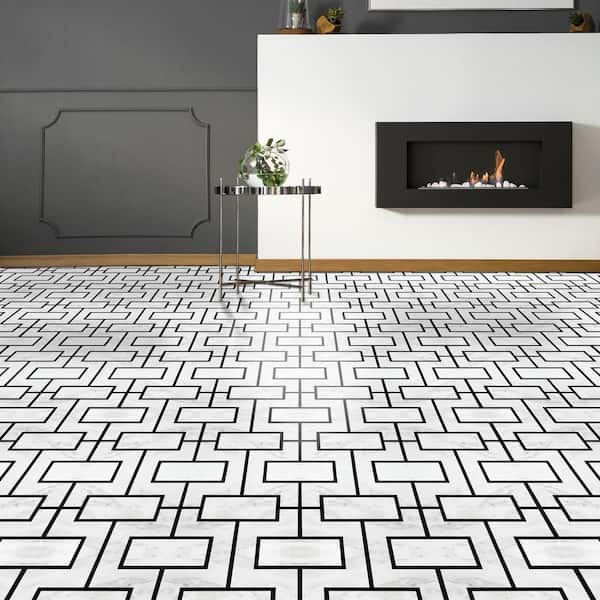
Geometric Designs: Geometric patterns were all the rage in the mid-20th century, and they continue to be a popular choice for retro vinyl flooring. These eye-catching designs feature bold shapes and vibrant colors, adding a playful and dynamic element to any room. From triangles and diamonds to hexagons and chevrons, geometric vinyl flooring offers endless possibilities.
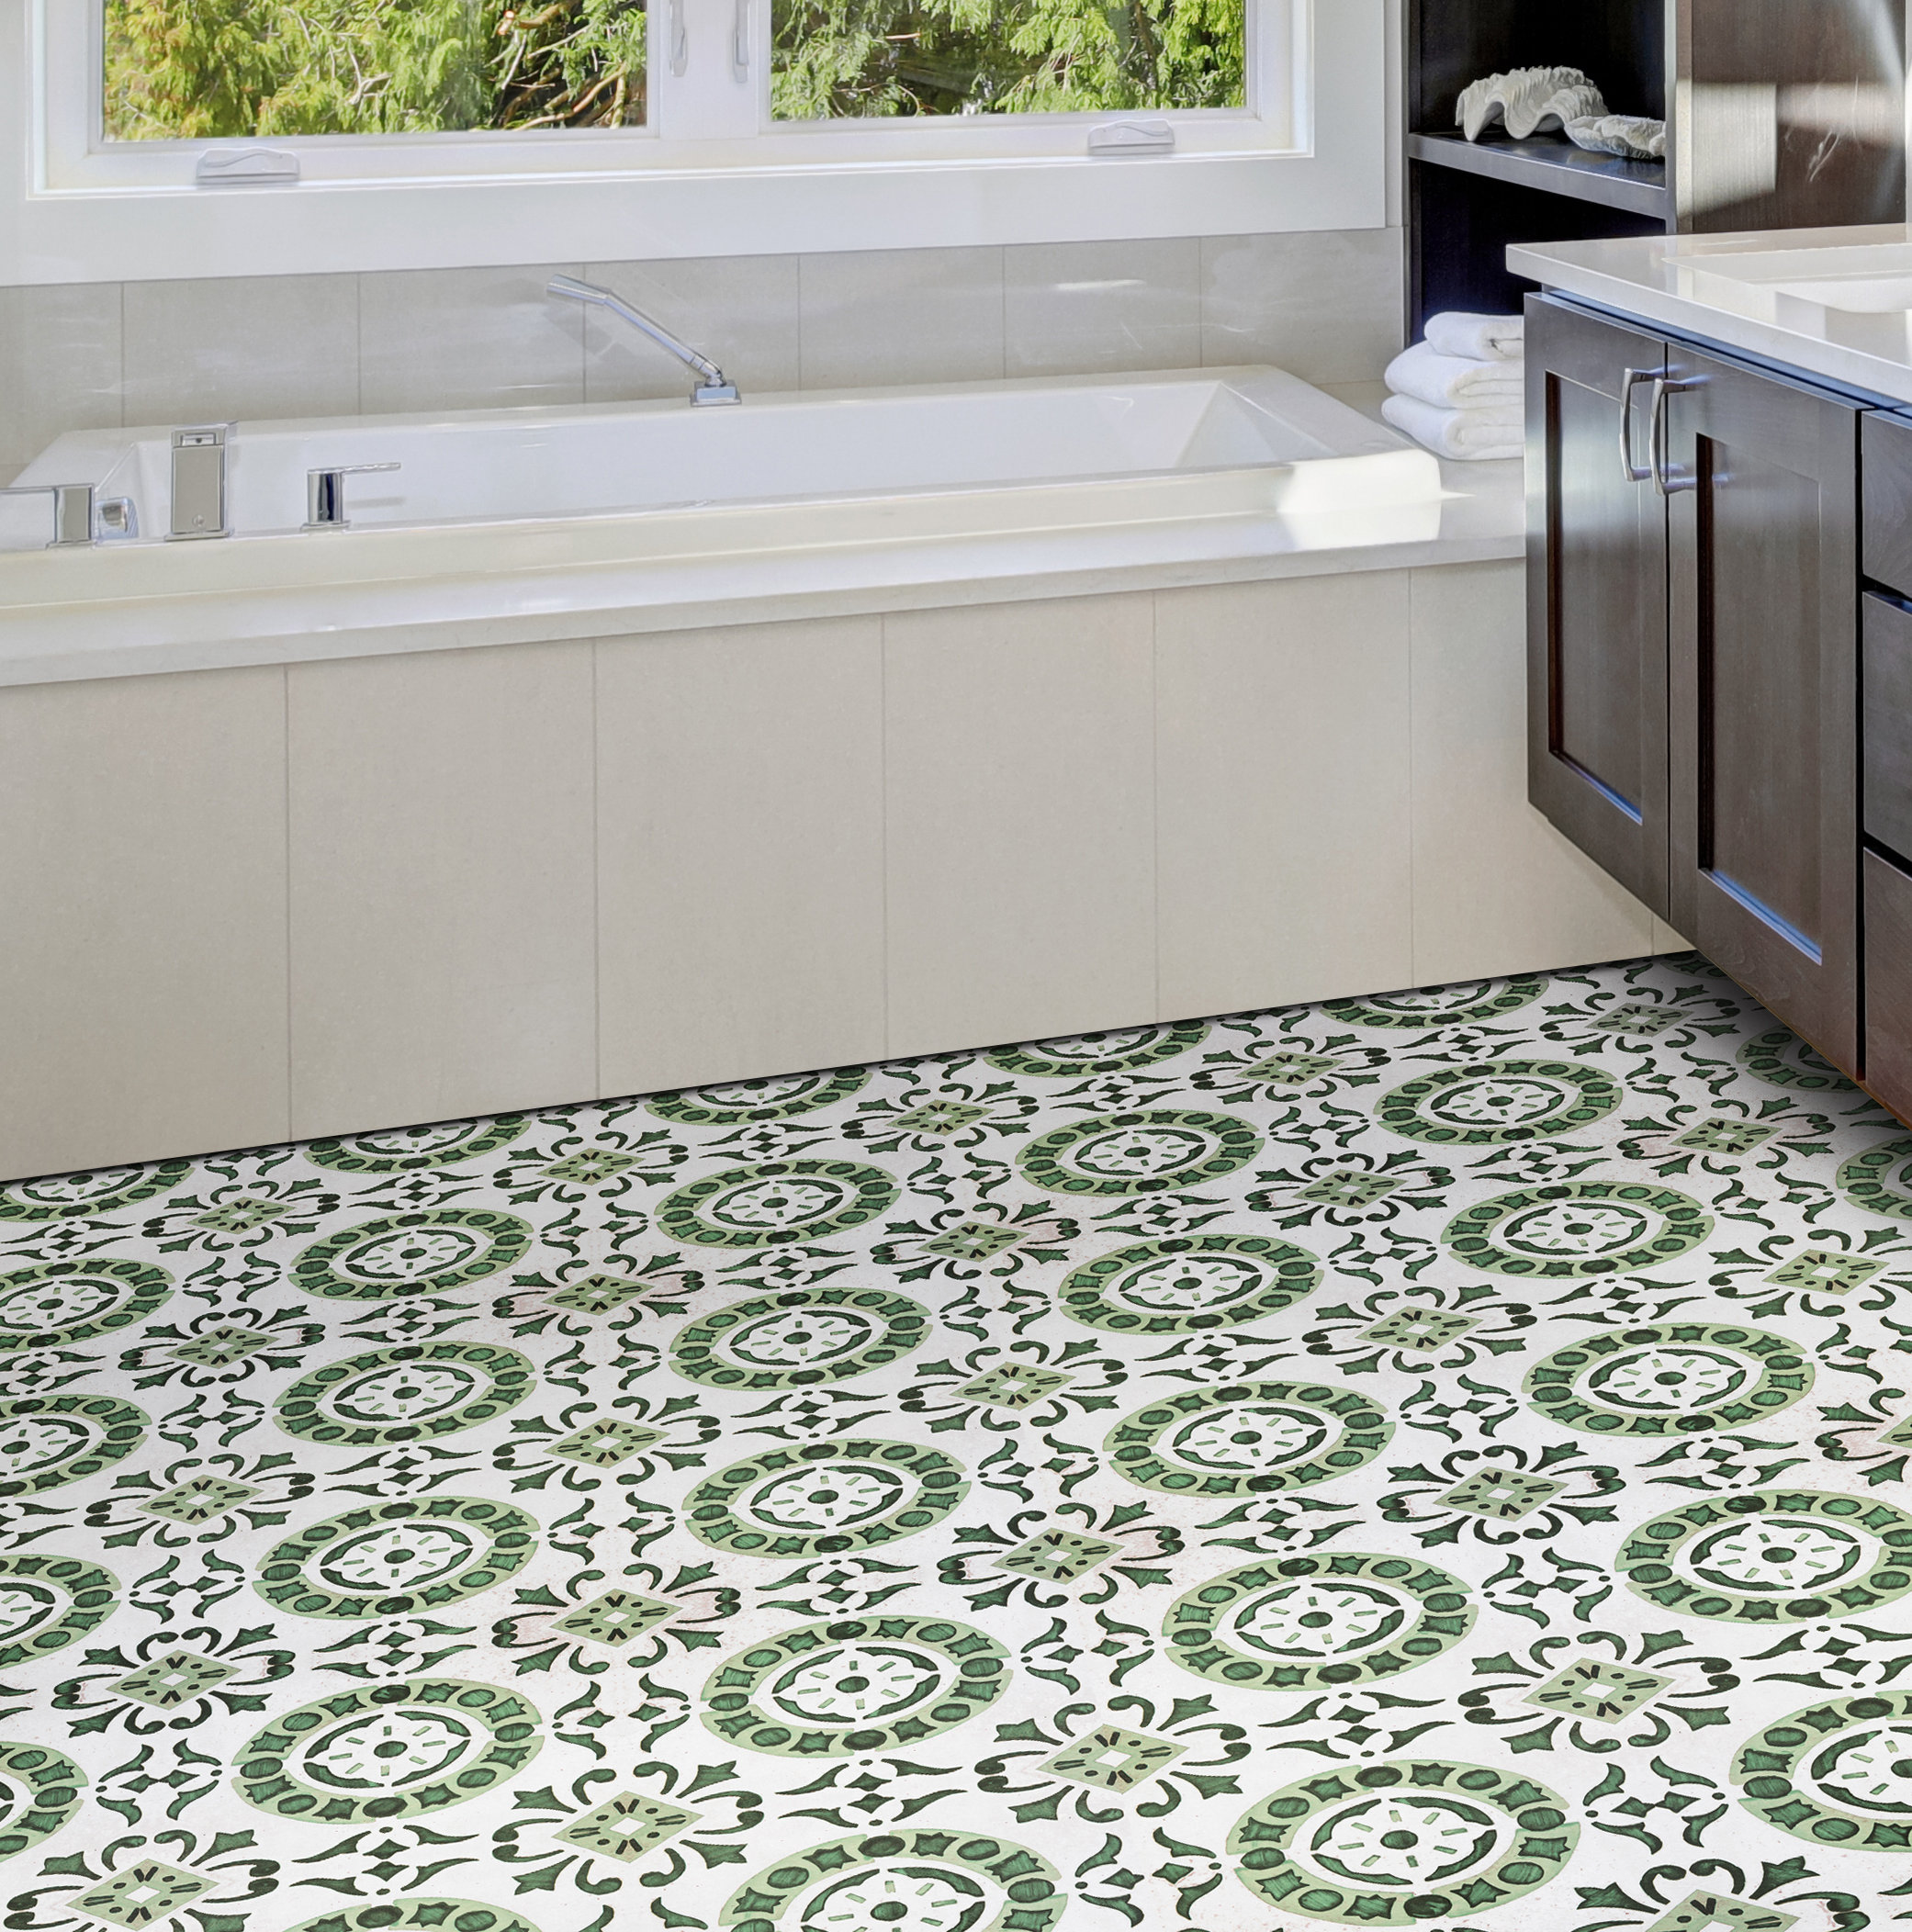
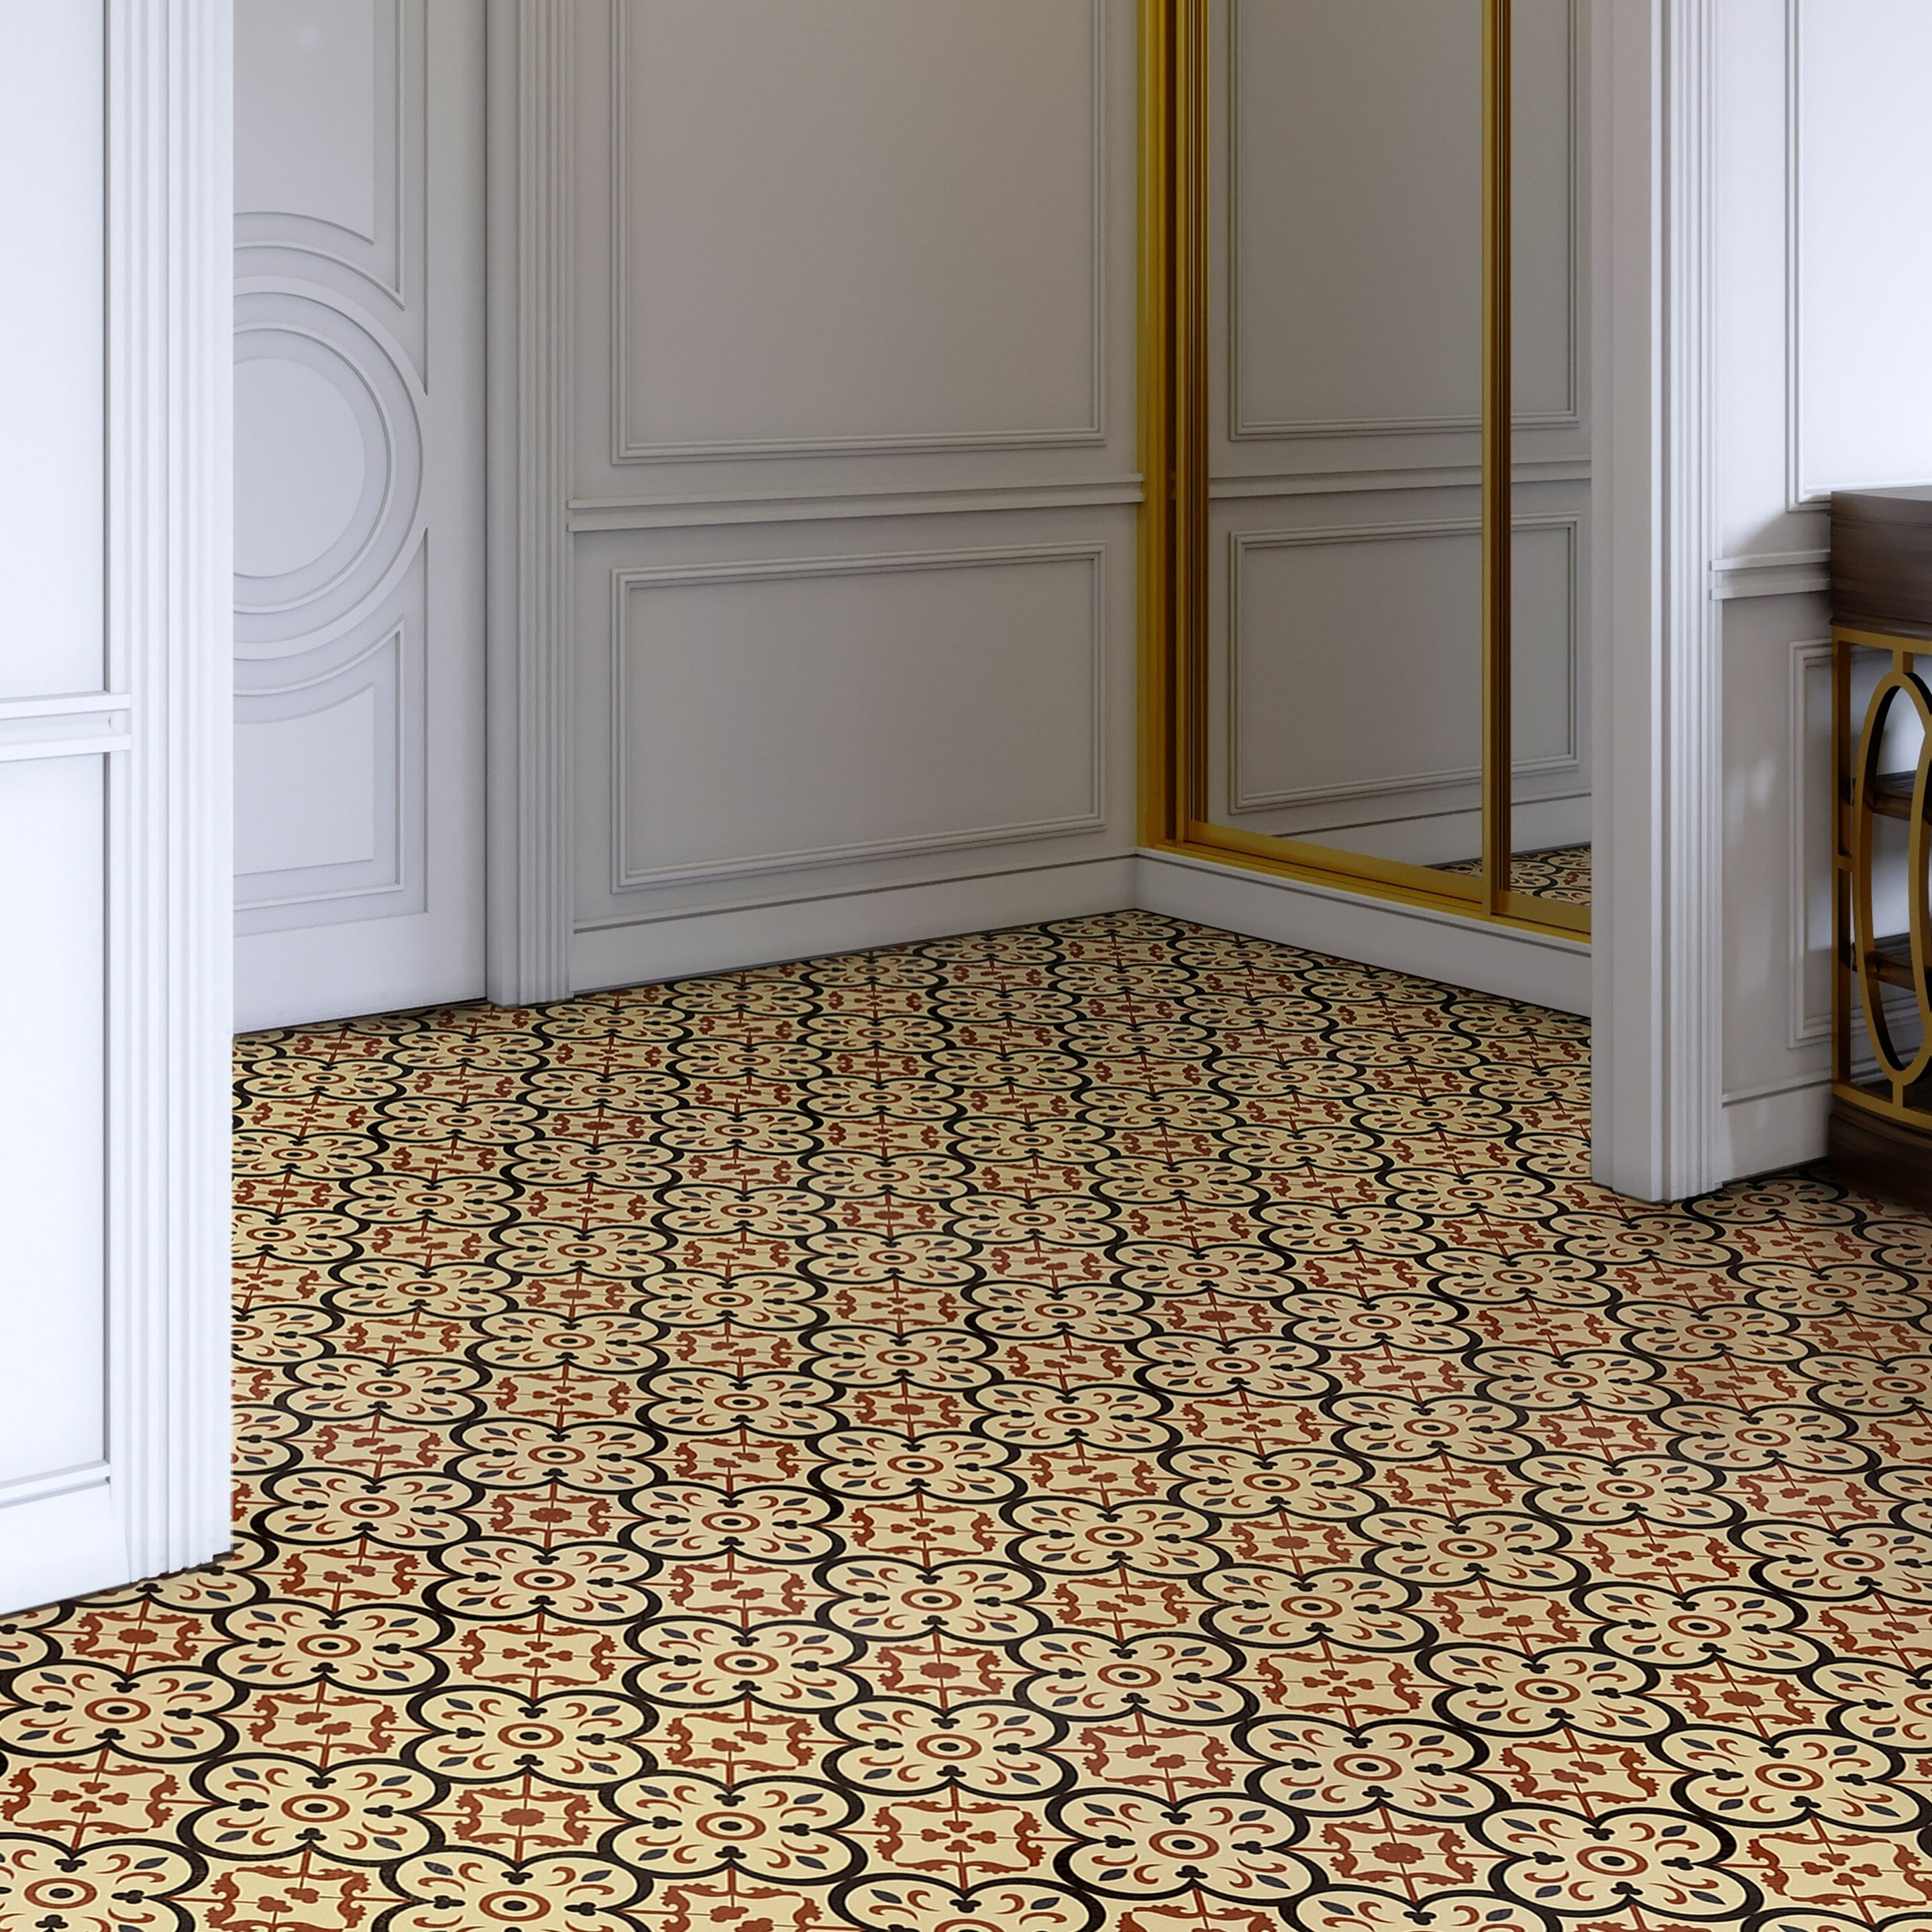
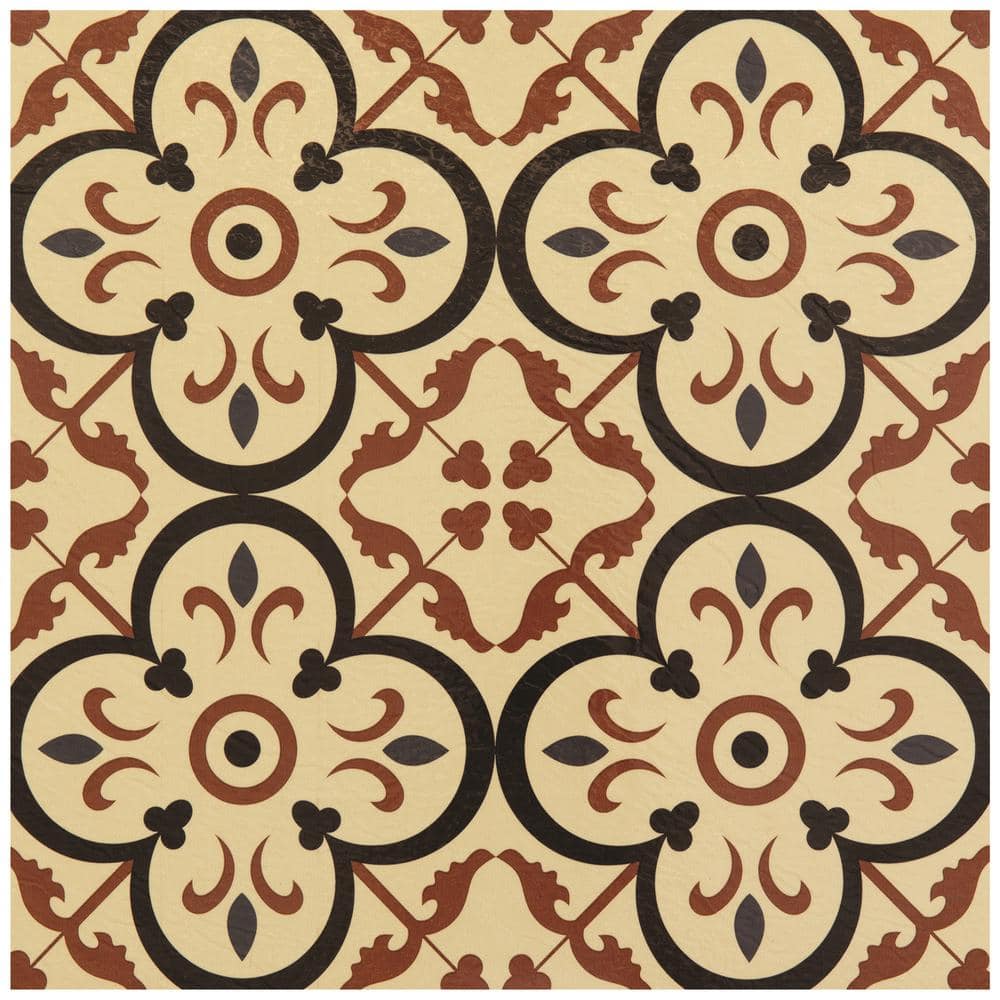
Floral and Botanical Prints: Floral and botanical prints bring a touch of nature indoors, creating a fresh and lively atmosphere. These retro-inspired designs often feature stylized flowers, leaves, and vines in a variety of colors and sizes. Floral vinyl flooring can add a whimsical and feminine touch to kitchens, bathrooms, and sunrooms.
Terrazzo Patterns: Terrazzo patterns have made a comeback in recent years, and retro vinyl flooring offers an easy way to achieve this trendy look. Terrazzo designs feature a mix of colorful chips and fragments embedded in a solid background, mimicking the appearance of traditional terrazzo flooring. This versatile style can be used to create a modern or vintage look, depending on the color scheme.
Retro Wood-Look Vinyl: For those who love the warmth and charm of vintage wood floors, retro wood-look vinyl is an excellent option. This type of vinyl flooring replicates the appearance of aged or distressed wood, complete with realistic grain patterns and textures. Retro wood-look vinyl adds a touch of nostalgia and elegance to any room without the maintenance requirements of real wood.
The Installation Process of Retro Vinyl Floor Covering
Preparation: Before installing retro vinyl flooring, it’s essential to prepare the subfloor properly. Ensure the subfloor is clean, dry, and level. Remove any existing flooring, debris, or adhesive residue. If necessary, use a leveling compound to smooth out any uneven areas and allow it to dry completely.
Measuring and Planning: Accurate measurements are crucial for a successful installation. Measure the dimensions of the room to determine the amount of vinyl needed. Plan the layout by starting from the center of the room and working your way outwards. This will help create a balanced and symmetrical design.
Cutting the Vinyl: Cut the vinyl flooring to fit the dimensions of the room, leaving a small gap around the edges for expansion. Use a utility knife or vinyl cutter to make precise cuts. For intricate patterns, take extra care to align the design correctly and make any necessary adjustments.
Applying Adhesive: Depending on the type of vinyl flooring, you may need to apply adhesive to the subfloor. Follow the manufacturer’s instructions for the specific adhesive recommended for your vinyl. Spread the adhesive evenly using a notched trowel, working in small sections to prevent it from drying out before laying the vinyl.
Laying the Vinyl: Carefully lay the vinyl flooring onto the adhesive, starting from the center of the room and working your way outwards. Press the vinyl firmly into place, smoothing out any air bubbles or wrinkles. Use a roller to ensure proper adhesion and a smooth finish. Allow the adhesive to set for the recommended time before walking on the floor.
Caring for Retro Vinyl Floor Covering
Regular Cleaning: To keep your retro vinyl flooring looking its best, establish a regular cleaning routine. Sweep or vacuum the floor regularly to remove dust and debris. Mop the floor with a damp mop and a mild cleaning solution to maintain its shine. Avoid using harsh chemicals or abrasive cleaners that can damage the surface.
Stain Removal: In case of spills or stains, it’s important to address them promptly. Wipe up any spills immediately using a clean cloth or paper towel. For stubborn stains, use a vinyl floor cleaner or a mixture of baking soda and water. Gently scrub the stained area with a soft brush and rinse thoroughly.
Protective Measures: To prevent scratches and scuffs, place mats or rugs in high-traffic areas and under heavy furniture. Use furniture pads or coasters under furniture legs to distribute the weight and reduce the risk of indentations. Avoid dragging heavy objects across the floor to prevent damage.
Periodic Inspections: Regularly inspect the vinyl flooring for any signs of wear, damage, or loose edges. Replace any damaged tiles or sections promptly to maintain the integrity and appearance of the floor. Periodic inspections will help you identify and address potential issues before they become more significant problems.
Preventive Care: Taking preventive measures can extend the lifespan of your retro vinyl flooring. Avoid exposing the flooring to extreme temperatures or direct sunlight for prolonged periods, as this can cause fading or warping. Additionally, keep the room well-ventilated to prevent moisture buildup, which can affect the adhesive and the overall condition of the flooring.
Design Inspiration for Retro Vinyl Floor Covering
Vintage Kitchen: Create a vintage-inspired kitchen with retro vinyl flooring in classic checkerboard or geometric patterns. Pair the flooring with pastel-colored cabinets, chrome accents, and retro appliances to complete the look. Add vintage-inspired decor, such as retro diner stools and vintage signage, for an authentic touch.
Funky Living Room: Transform your living room into a vibrant and playful space with bold geometric vinyl flooring. Choose bright colors and dynamic patterns to create a lively atmosphere. Complement the flooring with mid-century modern furniture, colorful throw pillows, and funky artwork to achieve a cohesive retro look.
Whimsical Playroom: Design a whimsical playroom with floral or botanical vinyl flooring. The playful patterns and colors will create a cheerful environment for children. Add vintage toys, colorful storage solutions, and retro-inspired wall art to enhance the nostalgic feel of the space.
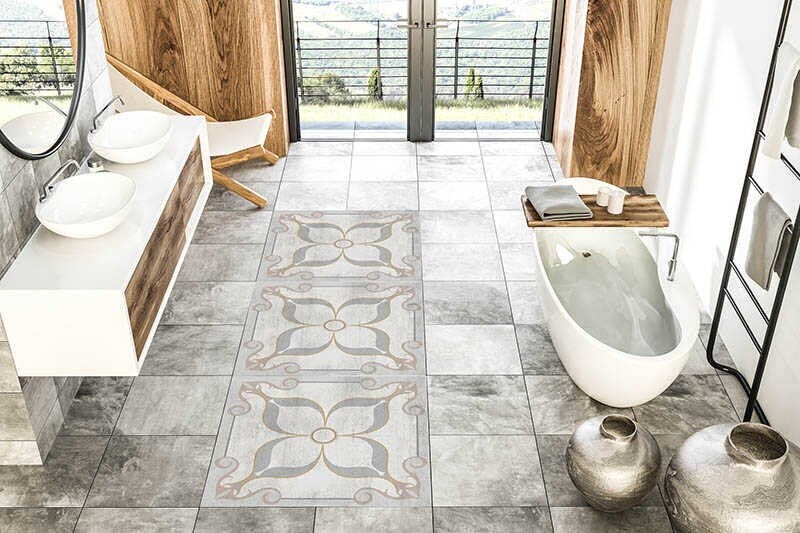
Retro Bathroom: Elevate your bathroom with retro vinyl flooring in a terrazzo or checkerboard pattern. Pair the flooring with vintage-style fixtures, such as clawfoot tubs and pedestal sinks. Add retro accessories, such as patterned shower curtains and vintage mirrors, to complete the look.
Charming Sunroom: Create a charming sunroom with retro wood-look vinyl flooring. The warm, aged appearance of the flooring will add a cozy and inviting touch to the space. Decorate with vintage wicker furniture, colorful cushions, and potted plants to enhance the nostalgic vibe.
Retro vinyl floor covering is a versatile and stylish choice that can bring a touch of nostalgia and charm to any room in your home. By exploring the benefits, styles, installation process, and maintenance tips, you can create a beautiful and functional space that reflects your unique taste and style. Embrace the vintage charm of retro vinyl flooring and transform your home into a timeless haven.

Retro Self Adhesive 12″ x 12″ x 1.5mm Vinyl Tile
Achim Retro Burch 12 in. x 12 in. Self-Adhesive Vinyl Floor Tile (20 Tiles/20 sq. ft.) RTFTV60320
Retro 12″ x 12″ x 1.5mm Luxury Vinyl Tile
ACHIM Retro 12 in. W x 12 in. L Affinity Black Marble Water
Retro Vinyl Flooring Sheet Linoleum Flooring Luxury Vinyl Etsy
Vintage home style: 1950s vinyl floor tiles in square patterns

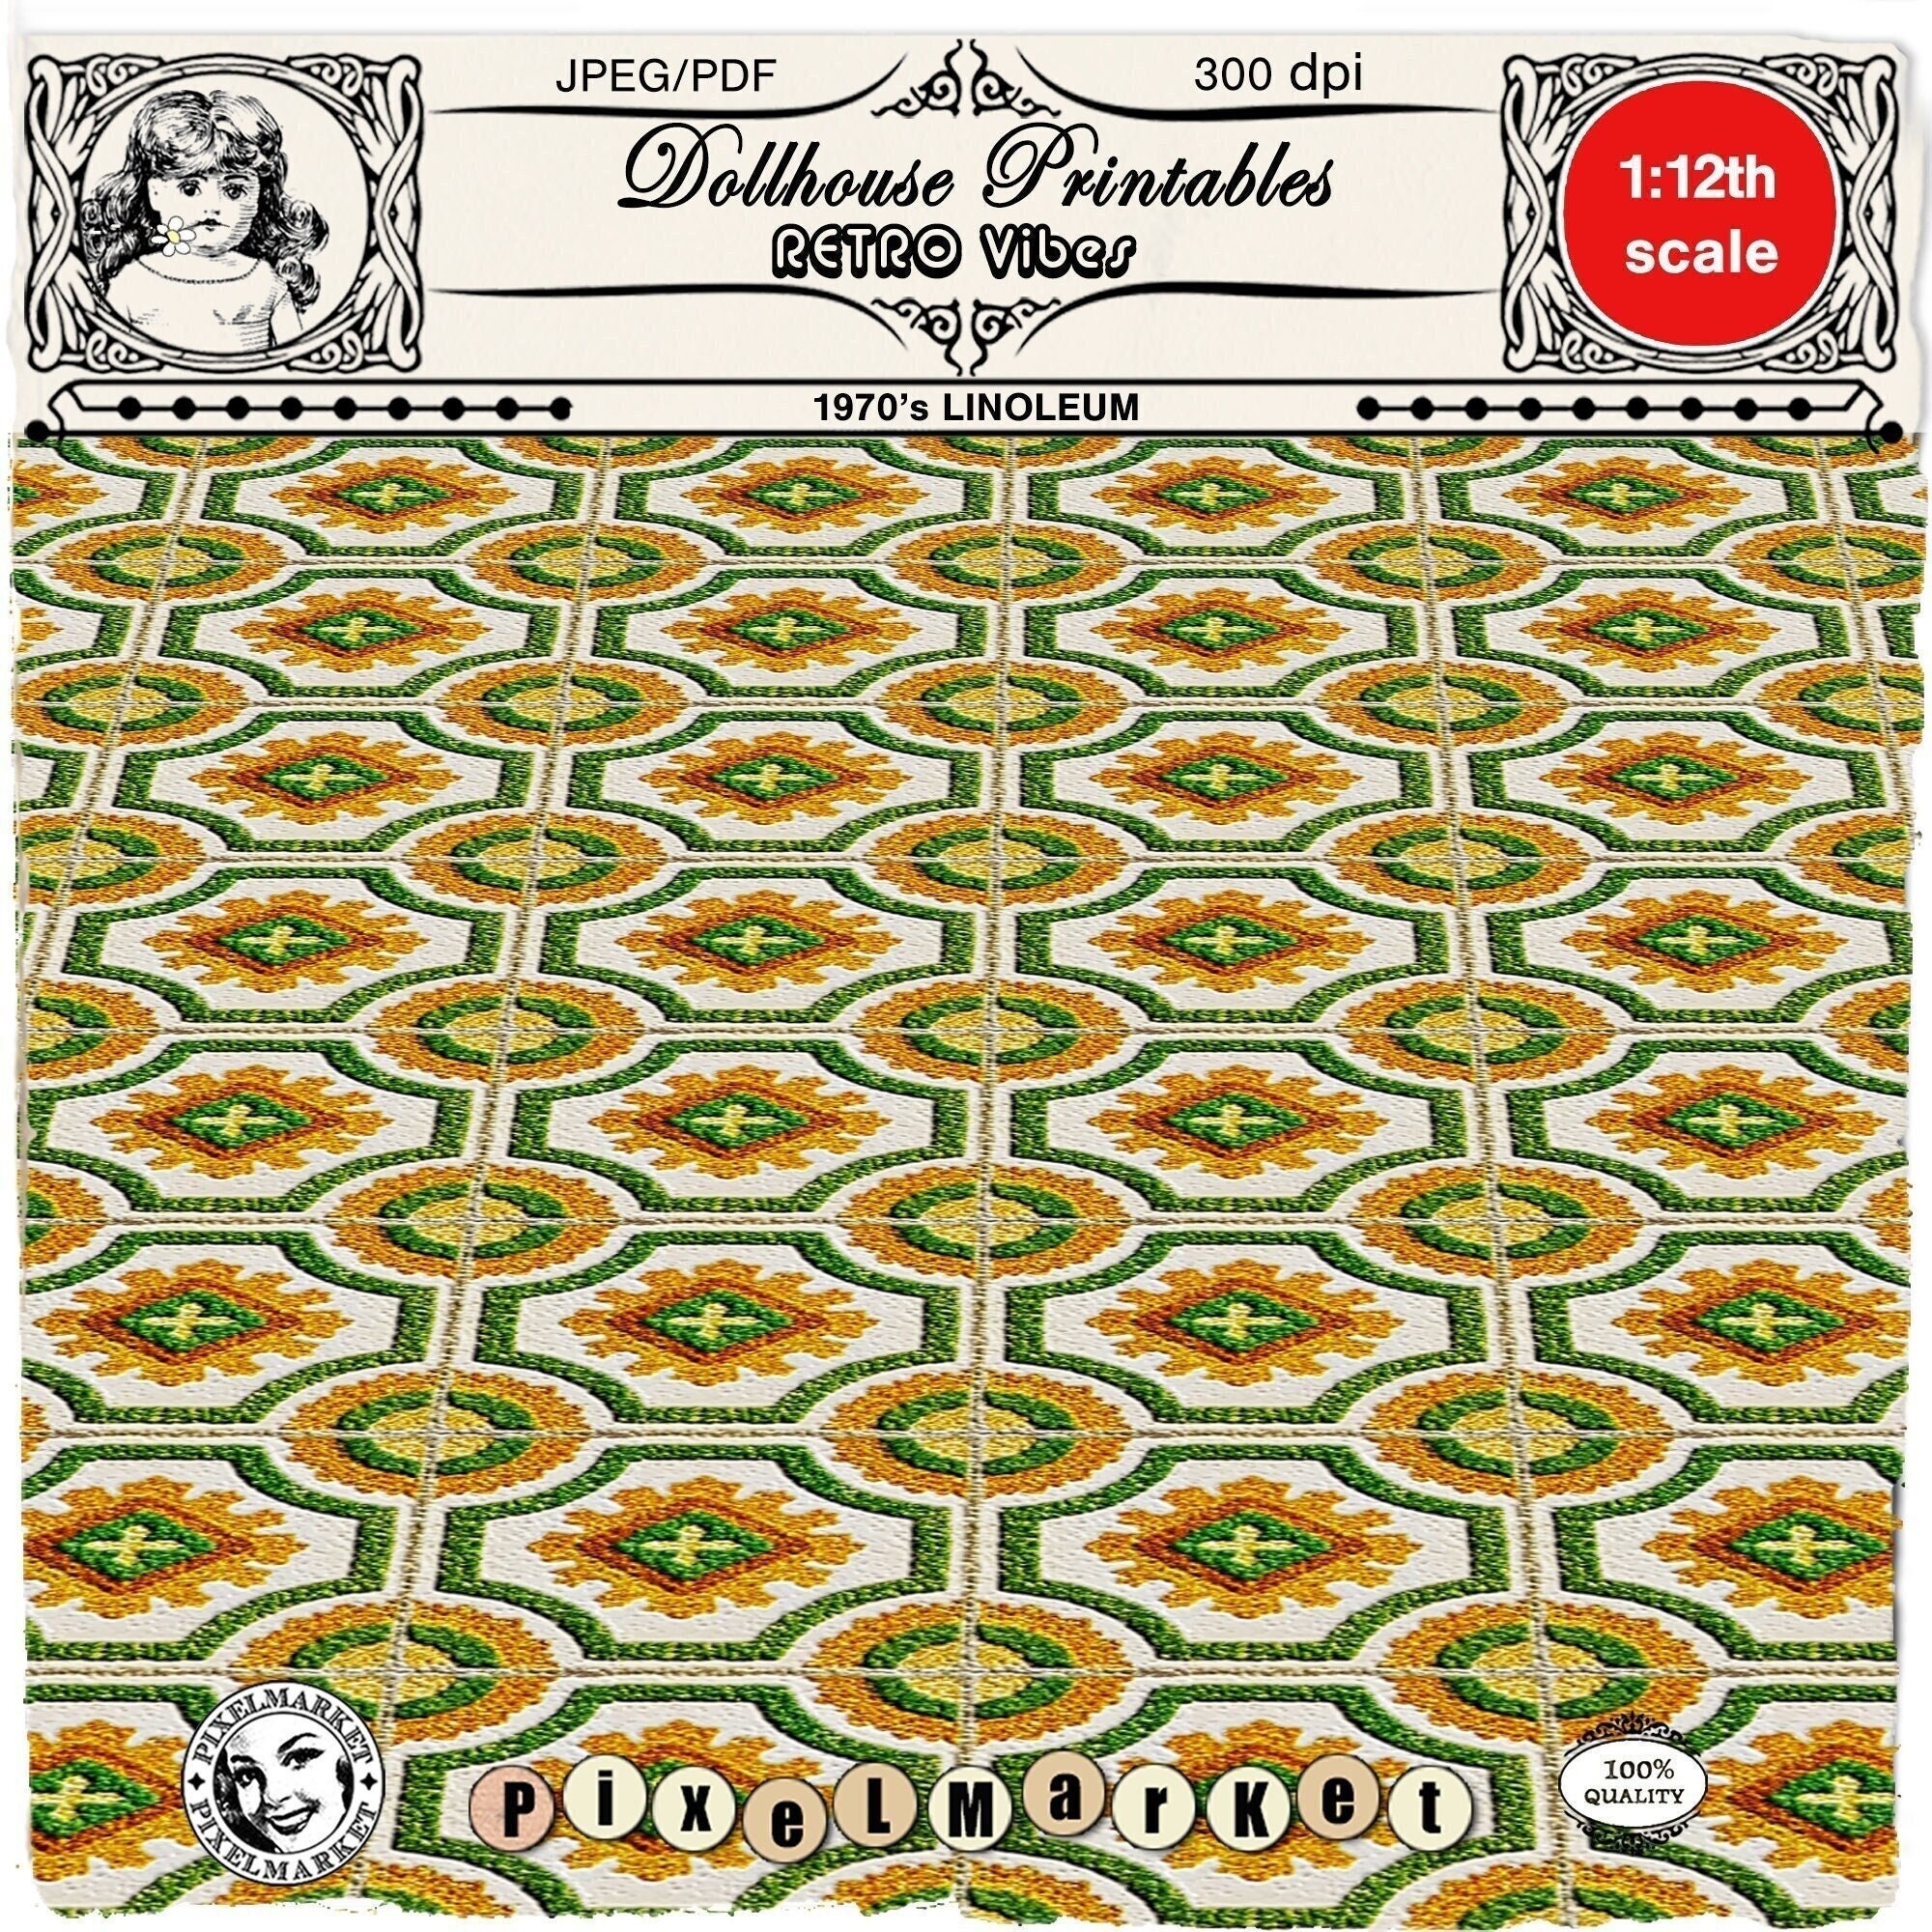
Miniature 1970s LINOLEUM KITCHEN FLOOR Retro Vinyl Flooring
Related Posts: