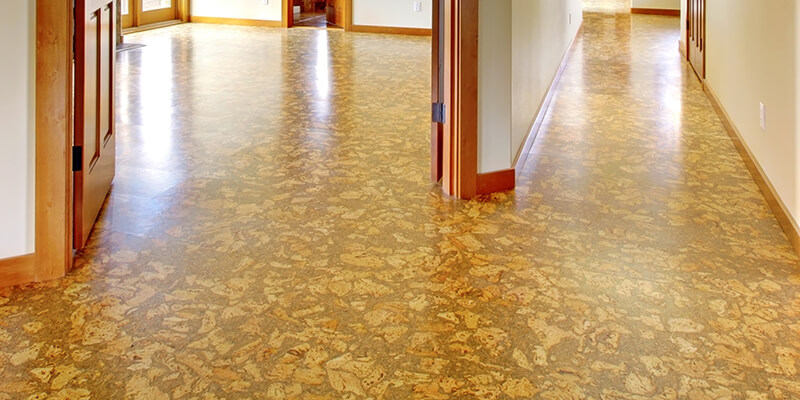
Introduction to Cork Flooring
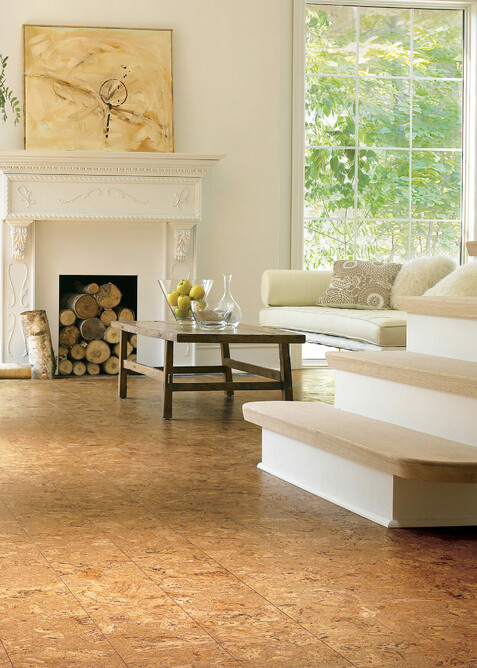
Cork flooring has gained popularity in recent years due to its unique blend of style, comfort, and environmental benefits. Cork, derived from the bark of the cork oak tree, is a renewable resource, making it an eco-friendly option for homeowners. It offers a warm, resilient surface underfoot and a distinct aesthetic that can enhance any room’s decor. Its natural insulating properties also contribute to energy efficiency, making it a practical choice for both comfort and sustainability.
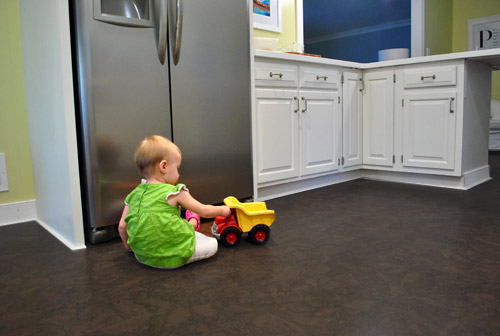
One of the notable benefits of cork flooring is its ability to resist mold, mildew, and allergens, making it an excellent choice for those with allergies or asthma. The cellular structure of cork, which contains millions of tiny air pockets, provides a cushioning effect that reduces noise and vibration. This unique feature makes cork an ideal flooring option for areas where noise reduction is desired, such as bedrooms, libraries, or home offices.
Despite its many advantages, cork flooring requires proper maintenance to ensure its longevity and preserve its appearance. Sealing cork flooring is a crucial step in this maintenance process. Sealing helps protect the surface from moisture, stains, and wear, prolonging the life of the flooring and maintaining its beauty. Understanding the correct procedures and products for sealing cork flooring is essential for any homeowner or DIY enthusiast looking to keep their cork floors in pristine condition.
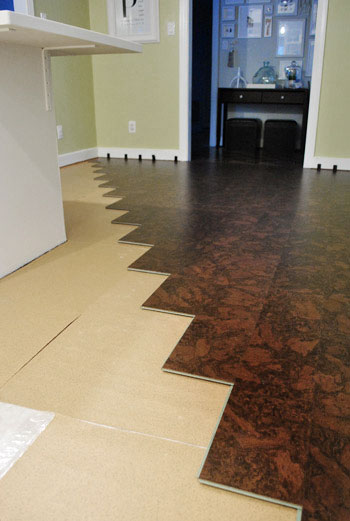
Before diving into the sealing process, it’s important to note that cork flooring comes in various forms, including tiles and planks, which can be glued down or installed as a floating floor. Each type may have specific sealing requirements, and the choice of sealant can depend on the finish and usage of the flooring. Proper preparation and the right materials are key to a successful sealing project, ensuring that your cork flooring remains a durable and attractive feature of your home for years to come.
Choosing the Right Sealant
Selecting the appropriate sealant for your cork flooring is a critical first step in the sealing process. The right sealant will not only protect your floor but also enhance its natural beauty. There are several types of sealants available, each with its advantages and disadvantages. Understanding these options will help you make an informed decision that suits your flooring needs.
Water-based polyurethane is a popular choice for sealing cork flooring. This type of sealant is favored for its durability and ease of application. It dries quickly, has a low odor, and provides a clear, non-yellowing finish that preserves the natural look of cork. Water-based polyurethanes are also environmentally friendly, emitting fewer volatile organic compounds (VOCs) compared to oil-based options. However, they may require more frequent reapplication in high-traffic areas.
Oil-based polyurethane is another option, known for its robust protective qualities and long-lasting finish. While it tends to yellow over time, which can alter the appearance of lighter cork flooring, it offers excellent resistance to wear and tear. Oil-based polyurethane is slower to dry and has a stronger odor during application, which requires adequate ventilation. Despite these drawbacks, its durability makes it a suitable choice for areas subjected to heavy foot traffic.
Wax sealants provide a natural finish that enhances the warm, soft feel of cork flooring. Wax penetrates the cork, offering protection against moisture and stains while maintaining the material’s natural flexibility. However, wax finishes require regular maintenance, including periodic reapplication and buffing, to keep the floor looking its best. This type of sealant is less durable than polyurethane and may not be ideal for high-traffic or moisture-prone areas.
Acrylic sealants are another option, combining some of the benefits of both polyurethane and wax. They offer a clear finish that protects against moisture and stains, while also enhancing the appearance of the cork. Acrylic sealants are relatively easy to apply and maintain, making them a convenient choice for many homeowners. However, like wax, they may not be as durable as polyurethane and might require more frequent upkeep in high-traffic zones.
Preparing the Floor for Sealing
Proper preparation of the cork flooring is essential to ensure a smooth and effective sealing process. Skipping or rushing through the preparation steps can lead to subpar results, reducing the longevity and appearance of your sealed floor. Taking the time to thoroughly prepare the floor will help the sealant adhere better and provide optimal protection.
The first step in preparing your cork floor is to clean it thoroughly. Remove all furniture and objects from the room to ensure you have unobstructed access to the entire floor surface. Sweep or vacuum the floor to remove any dust, dirt, and debris. It’s important to use a vacuum cleaner with a soft brush attachment to avoid scratching the cork. After vacuuming, mop the floor with a damp cloth or mop and a mild pH-neutral cleaner to remove any remaining residues. Allow the floor to dry completely before proceeding to the next step.
Inspect the cork flooring for any damage, such as cracks, chips, or dents. Small imperfections can be repaired using a cork filler or wood putty that matches the color of your flooring. Apply the filler to the damaged areas, smoothing it out with a putty knife, and let it dry according to the manufacturer’s instructions. Once dry, sand the repaired spots lightly to ensure they are level with the rest of the floor. This step is crucial for achieving a smooth and even sealed surface.
Sanding the entire floor is a necessary step to prepare it for sealing. Use a fine-grit sandpaper (around 120-150 grit) to lightly sand the surface of the cork flooring. This process helps to remove any existing finish, smooth out minor imperfections, and create a slightly rough texture that will improve the adhesion of the new sealant. Be sure to sand in the direction of the cork grain to avoid damaging the material. After sanding, thoroughly vacuum and wipe down the floor to remove all sanding dust and particles.
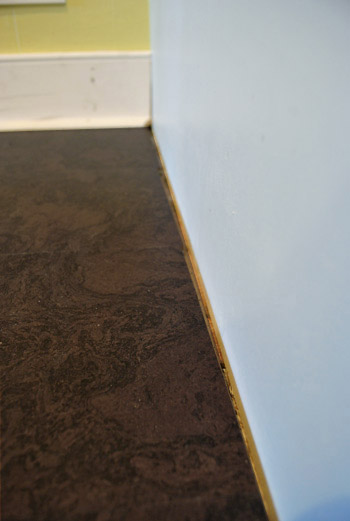
Taping off the edges of the room with painter’s tape is the final preparation step. This will protect your walls and baseboards from accidental splashes or drips of sealant. If your cork flooring is adjacent to other types of flooring, use the tape to create a clean edge and prevent the sealant from spreading onto those surfaces. Once the floor is clean, repaired, sanded, and taped off, you’re ready to begin the sealing process.
Applying the Sealant
Applying the sealant to your cork flooring is a meticulous process that requires patience and attention to detail. Proper application ensures that the sealant forms an even, protective layer that will enhance the durability and appearance of your floor. Follow these steps to achieve the best results when sealing your cork flooring.
Start by reading the manufacturer’s instructions on the sealant product you’ve chosen. Different sealants may have specific application techniques and drying times. It’s important to follow these guidelines closely to avoid any issues during the sealing process. Before you begin, ensure the room is well-ventilated by opening windows and doors or using fans to circulate air. This will help the sealant dry more quickly and reduce the buildup of fumes.
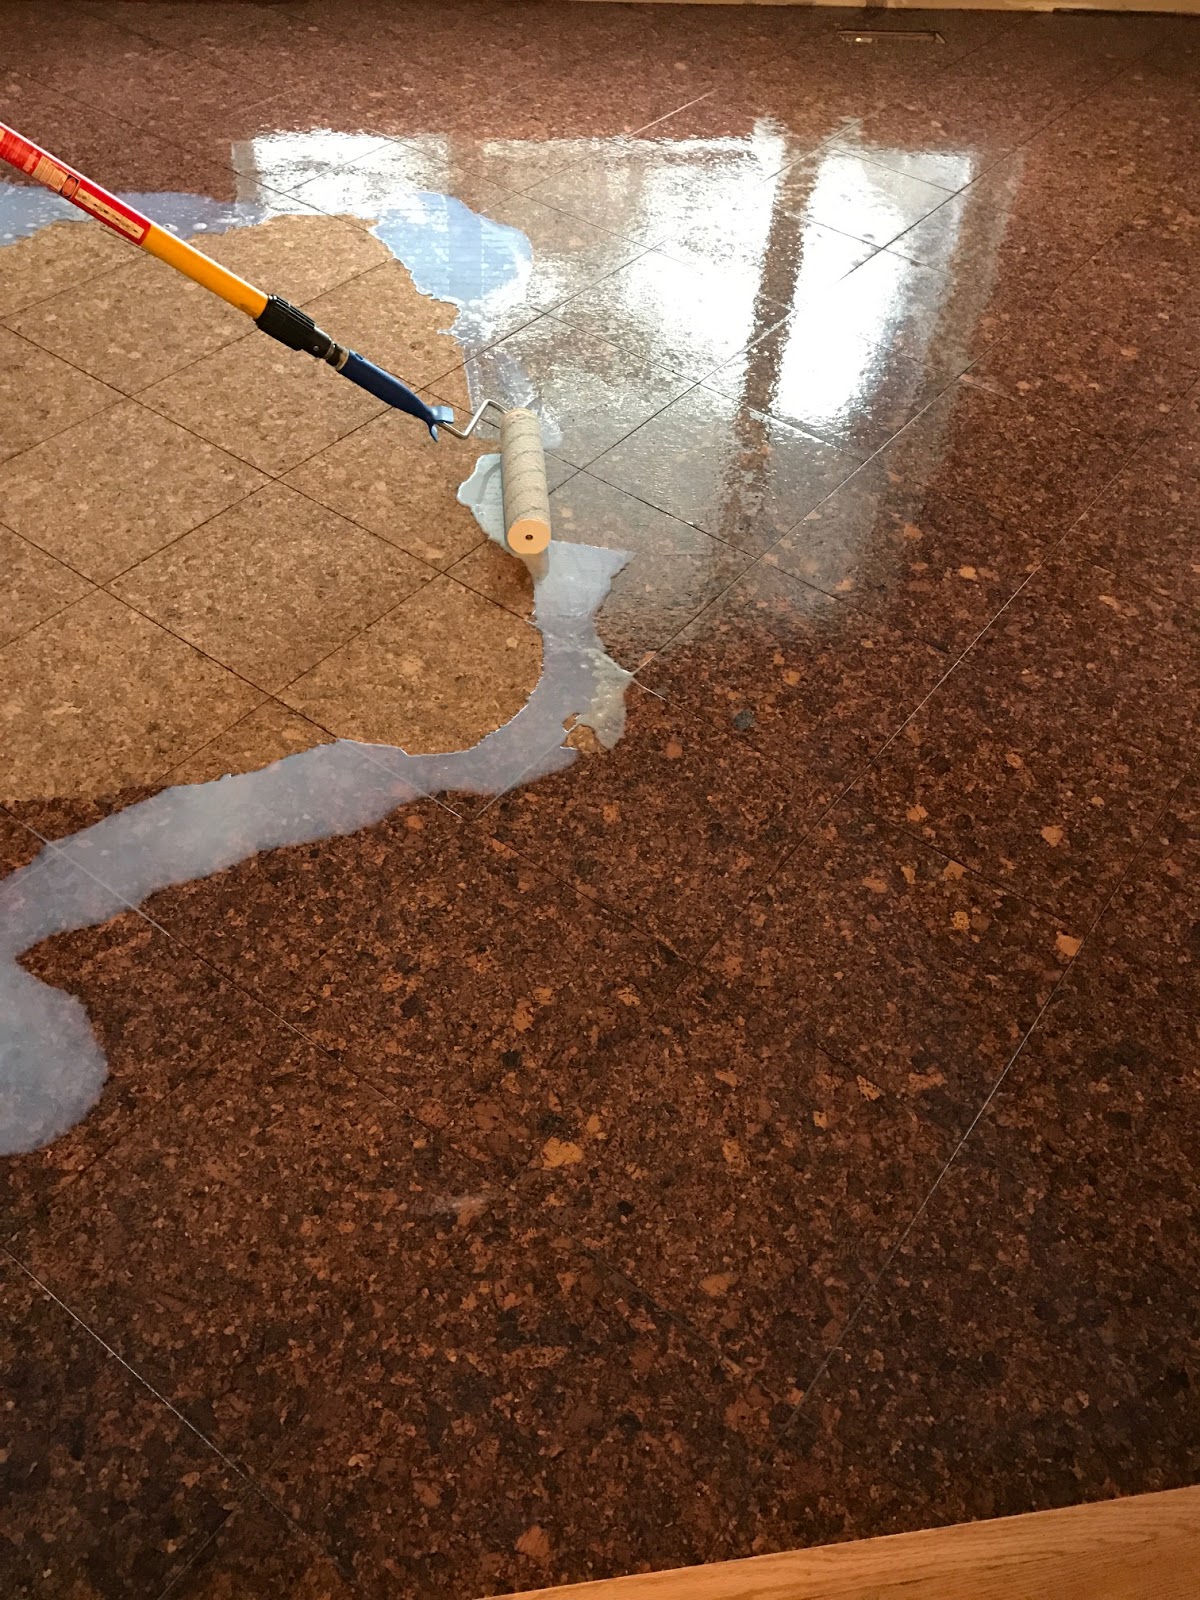
Pour a small amount of sealant into a paint tray or a similar container. Using a high-quality paint roller with a low-nap or foam cover, dip the roller into the sealant and remove any excess by rolling it on the tray’s ridged surface. This will help you apply a thin, even coat of sealant. Start at one corner of the room and work your way towards the exit, applying the sealant in smooth, even strokes. Be sure to maintain a wet edge to prevent visible lines or streaks from forming as the sealant dries.
Apply the sealant in thin coats rather than a thick layer. Thin coats dry more evenly and are less likely to develop bubbles or imperfections. Allow the first coat to dry completely before applying additional coats. The drying time can vary depending on the type of sealant and environmental conditions, so refer to the manufacturer’s instructions for specific guidance. In most cases, you should wait at least 4-6 hours before applying a second coat.
Once the first coat is dry, lightly sand the surface with fine-grit sandpaper (around 220 grit) to remove any raised grain or imperfections. This step helps ensure a smooth final finish. After sanding, vacuum and wipe down the floor to remove all dust and debris before applying the second coat. Repeat the process of applying the sealant, ensuring each coat is thin and even. Typically, two to three coats of sealant are sufficient for most cork flooring, but heavily used areas may benefit from an additional coat for extra protection.

Drying and Curing
After applying the final coat of sealant, the drying and curing process is crucial to achieve a durable and long-lasting finish. This stage requires patience, as rushing can compromise the effectiveness of the sealant. Understanding the difference between drying and curing is key to ensuring your cork flooring is ready for use.
Drying refers to the initial phase where the solvent in the sealant evaporates, leaving the protective coating on the surface. This process usually takes several hours, depending on the type of sealant and environmental factors such as temperature and humidity. It’s essential to avoid any foot traffic or placing objects on the floor during this time to prevent disturbing the wet sealant and causing imperfections.
Curing, on the other hand, is the process where the sealant fully hardens and reaches its maximum durability. This can take several days to a week or more, again depending on the sealant type and environmental conditions. During the curing period, it’s important to minimize heavy use of the floor. Light foot traffic is typically permissible after the initial drying period, but placing heavy furniture or rugs should be avoided until the sealant has fully cured.
To expedite the drying and curing process, maintain a stable room temperature and good ventilation. Using fans or an air conditioning system can help circulate air and reduce humidity levels, aiding in the sealant’s hardening. However, avoid using heaters or exposing the floor to direct sunlight, as extreme temperatures can cause the sealant to dry unevenly or crack.
Once the sealant has fully cured, you can begin to enjoy your newly sealed cork flooring. Reintroduce furniture carefully, using felt pads or coasters under heavy pieces to protect the floor from scratches. Regular maintenance, such as sweeping or vacuuming with a soft brush attachment and occasional damp mopping, will help preserve the sealant and keep your cork flooring looking beautiful for years to come.

Maintaining Sealed Cork Flooring
Proper maintenance of sealed cork flooring is essential to ensure its longevity and appearance. While sealed cork is more resistant to moisture, stains, and wear, it still requires regular care to maintain its protective layer and natural beauty. Following these maintenance tips will help you keep your cork flooring in top condition.
Regular cleaning is the cornerstone of maintaining sealed cork flooring. Sweep or vacuum the floor frequently to remove dust, dirt, and debris that can scratch the surface. Use a vacuum cleaner with a soft brush attachment to avoid damaging the sealant. For more thorough cleaning, mop the floor with a damp cloth or mop and a mild pH-neutral cleaner. Avoid using harsh chemicals, abrasive scrubbers, or excessive water, as these can damage the sealant and the cork underneath.
Protecting the floor from scratches and dents is another important aspect of maintenance. Place felt pads or coasters under furniture legs to prevent scratches when moving items. Use area rugs or mats in high-traffic areas and at entryways to reduce wear and tear. Avoid wearing high heels or shoes with sharp points on cork flooring, as these can cause dents and punctures. If you have pets, keep their nails trimmed to minimize scratching.
Monitor the humidity levels in your home to protect your cork flooring. Cork is a natural material that can expand and contract with changes in humidity. Maintaining a consistent indoor humidity level between 40-60% helps prevent the flooring from warping or cracking. Use a humidifier or dehumidifier as needed to achieve the optimal humidity range, especially during extreme weather conditions.
Over time, the sealant on your cork flooring may begin to wear down, particularly in high-traffic areas. Periodically inspect the floor for signs of wear, such as dullness or reduced water resistance. When necessary, reapply the sealant to restore its protective qualities. Lightly sand the worn areas, clean the floor thoroughly, and apply a fresh coat of sealant following the same steps used during the initial sealing process. Regular maintenance and timely resealing will keep your cork flooring looking and performing its best.
Common Mistakes to Avoid
Sealing cork flooring requires attention to detail and adherence to proper techniques. Avoiding common mistakes will help ensure a successful outcome and extend the life of your flooring. Here are some pitfalls to watch out for during the sealing process.
One common mistake is neglecting thorough cleaning before sealing. Any dirt, dust, or debris left on the floor can become trapped under the sealant, leading to an uneven finish and potential damage over time. Always ensure the floor is completely clean and dry before applying the sealant. Skipping the sanding step is another frequent error. Sanding helps remove the existing finish and creates a rough surface for the new sealant to adhere to. Without this step, the sealant may not bond properly, resulting in a less durable finish.
Applying too thick a coat of sealant is another mistake to avoid. Thick layers can take longer to dry, leading to uneven curing and a higher likelihood of bubbles or streaks. Always apply thin, even coats, allowing each layer to dry completely before adding the next. Additionally, failing to follow the manufacturer’s instructions can result in suboptimal results. Each sealant product may have specific guidelines regarding application techniques, drying times, and the number of coats required. Always read and adhere to these instructions for the best outcome.
Rushing the drying and curing process is a mistake that can compromise the durability of the sealant. Allow ample time for the sealant to dry and cure fully, as recommended by the manufacturer. Avoid heavy foot traffic and place furniture on the floor until the sealant has hardened completely. Lastly, ignoring regular maintenance can shorten the lifespan of your sealed cork flooring. Regular cleaning, protecting the floor from scratches, and reapplying sealant as needed are crucial steps to preserve the floor’s appearance and functionality.

How often should I reseal my cork flooring?
The frequency of resealing cork flooring depends on the level of foot traffic and wear it experiences. In low-traffic areas, resealing every 3-5 years may be sufficient. However, in high-traffic areas such as kitchens or entryways, you might need to reseal every 1-3 years. Regularly inspect your floor for signs of wear, such as dullness or reduced water resistance, and reseal as needed to maintain its protective qualities.
Can I use any type of sealant on cork flooring?
No, not all sealants are suitable for cork flooring. It’s important to choose a sealant specifically designed for use on cork. Water-based polyurethane, oil-based polyurethane, wax, and acrylic sealants are commonly used options, each with its advantages. Water-based polyurethane is popular for its clear finish and low VOC emissions, while oil-based polyurethane offers robust protection but may yellow over time. Wax provides a natural finish but requires regular maintenance and acrylic sealants offer a balance of protection and ease of application.
How can I repair scratches or dents in my cork flooring?
Small scratches and dents in cork flooring can often be repaired with a cork filler or wood putty that matches the color of your floor. Clean the damaged area, apply the filler, and smooth it out with a putty knife. Once it dries, lightly sand the area to ensure it’s level with the surrounding floor. For deeper scratches or extensive damage, it might be necessary to replace the affected tiles or planks. Preventing scratches by using furniture pads and area rugs can help minimize damage over time.
Is cork flooring suitable for all areas of the house?
Cork flooring is versatile and can be used in many areas of the house, including living rooms, bedrooms, and kitchens. However, it’s not recommended for high-moisture areas such as bathrooms or basements, as excessive moisture can damage the cork. If you choose to install cork in a moisture-prone area, ensure it’s properly sealed and take extra precautions to protect it from water exposure. Using mats or rugs in areas where water is likely to be splashed, such as near sinks, can help protect the flooring.
How do I maintain the sealant on my cork flooring?
Maintaining the sealant on cork flooring involves regular cleaning and protecting the floor from damage. Sweep or vacuum frequently to remove dirt and debris, and mop with a damp cloth or mop and a mild pH-neutral cleaner. Avoid harsh chemicals and excessive water, which can damage the sealant. Use felt pads under furniture and place rugs in high-traffic areas to minimize wear. Periodically inspect the sealant for signs of wear and reapply as needed, following the same steps used during the initial sealing process. Regular maintenance will help preserve the floor’s appearance and extend its lifespan.

Sealing and Trimming Out Cork Floors

How To Install A Floating Cork Floor Young House Love
Rubber & Cork Floor Maintenance Eco Interior Maintenance
How to Clean Cork Floors

Sealing and Trimming Out Our Kitchen’s Cork Floors
Related Posts: