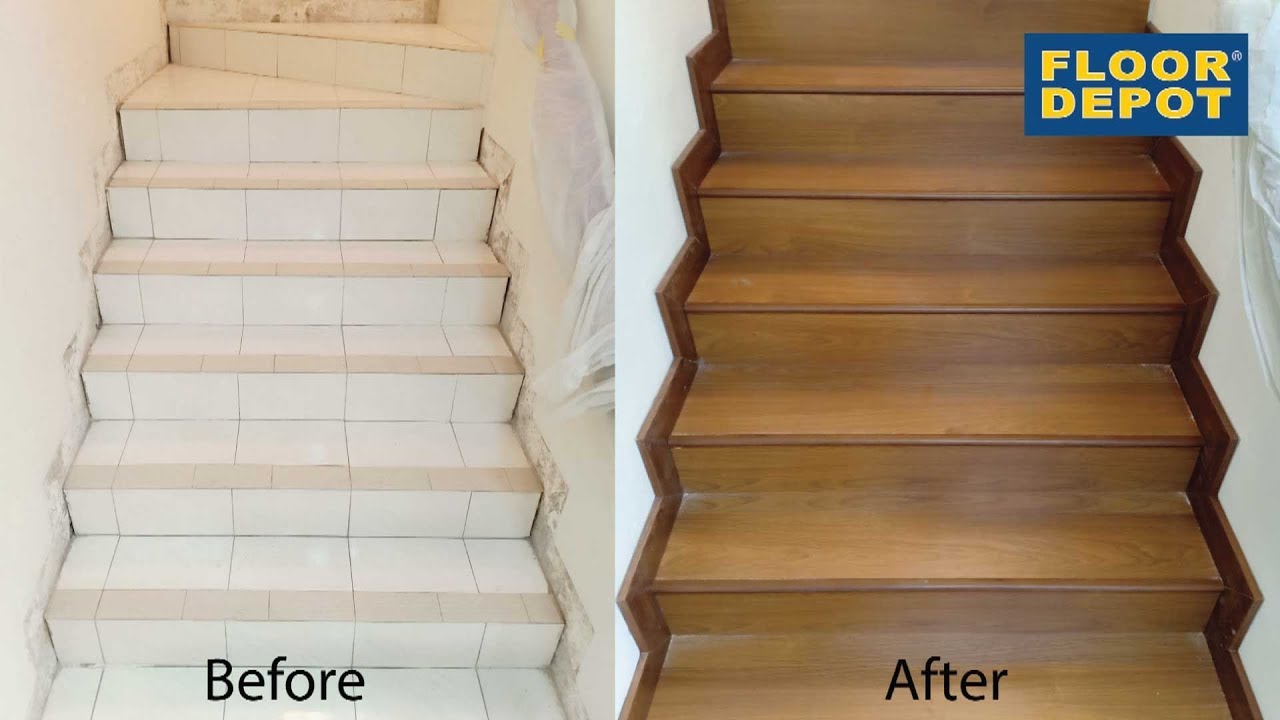
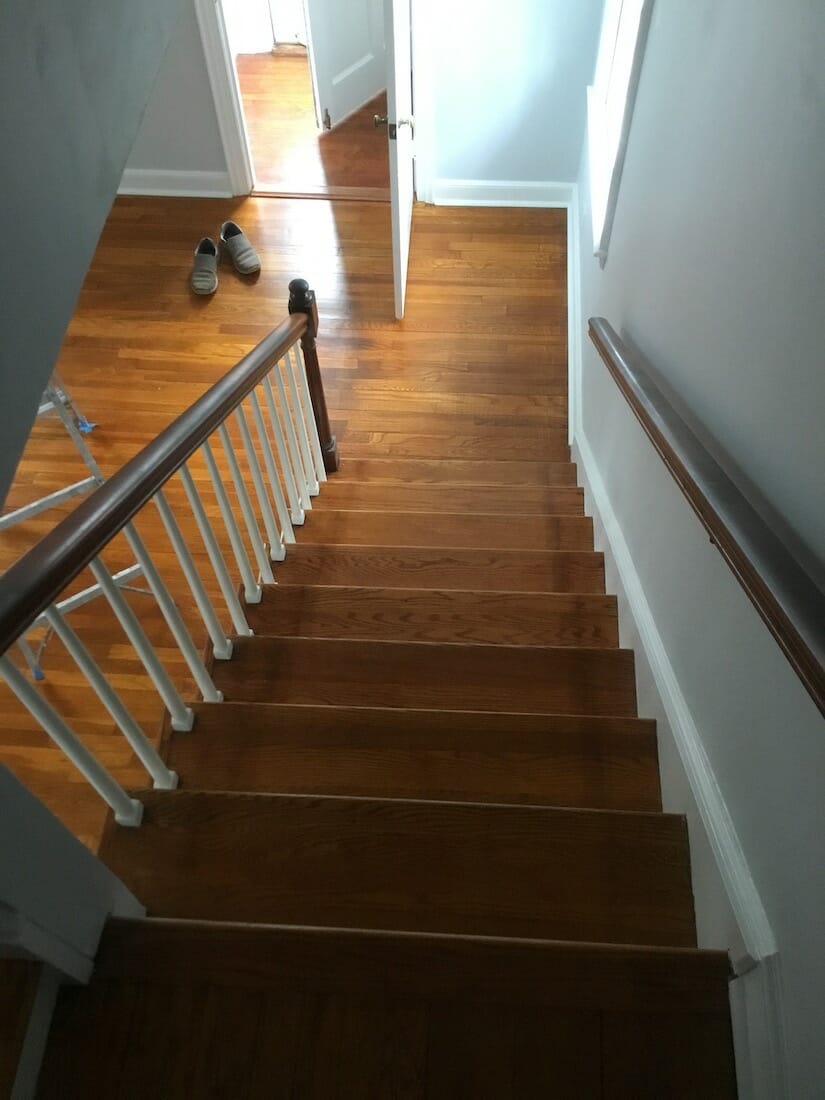
Transforming your staircase with hardwood flooring can enhance the aesthetic appeal and value of your home. Whether you’re looking to update the look or improve durability, installing hardwood flooring on stairs can be a rewarding DIY project. This article covers the steps and considerations for a successful installation.
Choosing the Right Hardwood
Selecting the right hardwood is crucial for your stair project. Consider factors such as wood species, grain patterns, and color to match your home’s decor. Hardwoods like oak, maple, and hickory are popular choices due to their durability and timeless appeal. Ensure the wood is of high quality and suitable for high-traffic areas. The right hardwood will not only enhance the beauty of your stairs but also provide long-lasting performance.
Preparing the Stairs
Proper preparation of the stairs is essential for a smooth installation. Start by removing any existing carpet, nails, or tacks. Sand the surface to ensure it is smooth and free of debris. Check for any loose or damaged steps and repair them as needed. A well-prepared surface ensures that the hardwood adheres properly, preventing future issues. Taking the time to prepare the stairs thoroughly sets the foundation for a successful project.
Measuring and Cutting
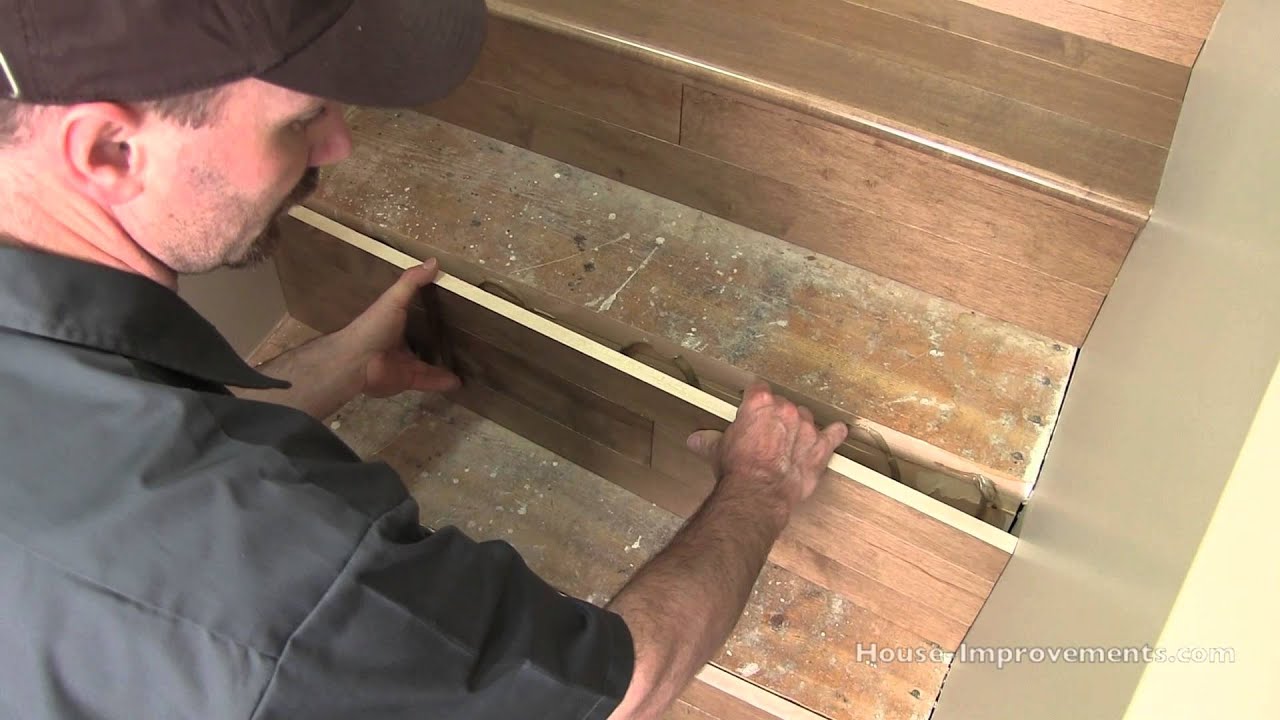
Accurate measurement and cutting are vital for a professional-looking finish. Measure each stair individually, as dimensions can vary. Use a miter saw to cut the hardwood planks to the correct size, including treads and risers. Ensure the cuts are precise to avoid gaps and misalignments. Label each piece to keep track of their placement. Careful measuring and cutting ensure that each plank fits perfectly, creating a seamless and attractive staircase.
Installing the Hardwood
Begin the installation process by applying adhesive to the back of each hardwood plank. Press the planks firmly onto the stair treads and risers, ensuring they are aligned correctly. Use finishing nails to secure the planks in place, countersinking the nails for a clean appearance. Work from the bottom step to the top, taking your time to ensure each piece is securely attached. This methodical approach results in a sturdy and visually appealing staircase.
Finishing Touches
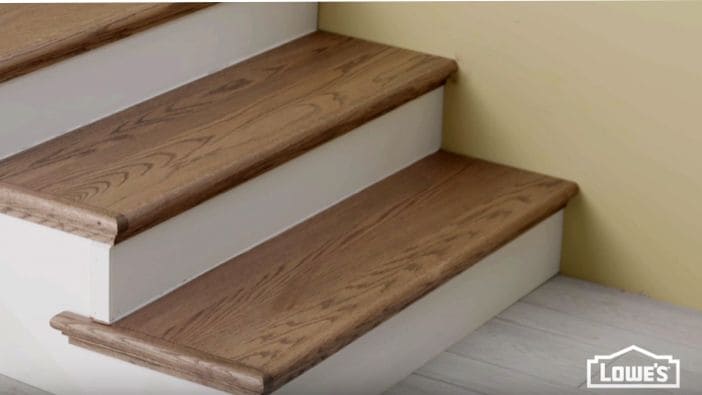
Once all the hardwood planks are installed, add the finishing touches to complete the project. Fill any nail holes with wood filler and sand the surface to create a smooth finish. Apply a stain or sealant to protect the wood and enhance its natural beauty. Allow the finish to dry completely before using the stairs. The finishing touches not only improve the appearance but also add a layer of protection, ensuring the hardwood lasts for years.
Maintenance and Care
Proper maintenance and care are essential to keep your hardwood stairs looking their best. Regularly sweep and vacuum to remove dust and dirt. Use a damp cloth for spot cleaning and avoid harsh chemicals that can damage the finish. Periodically inspect the stairs for any signs of wear or damage and address them promptly. With the right care, your hardwood stairs will remain beautiful and functional, enhancing your home for years to come.
Images about DIY Hardwood Flooring Stairs
DIY Hardwood Flooring Stairs

DIY Hardwood Staircase Makeover: Replacing Carpet With Wood Treads

Laminate Flooring Staircase Installation
How To Make Stairs With Prefinished Flooring – The Masteru0027s Craft

DIY Stairs Makeover: From Carpet to Wood – Everyday Shortcuts

How to Make Hardwood Stairs Less Slippery (4 Simple Methods

How To Install Hardwood on Stairs
DIY Stairs Makeover: How To Install Wood Treads u0026 Risers Over Old

Refinishing Hardwood Stairs u2013 Before u0026 After Stair Remodel Ideas
How to Convert Carpeted Stairs to Hardwood Loweu0027s
DIY Wood Plank Stairs Diy stairs, Flooring for stairs, Diy staircase

5 Tips: Adding Hardwood to Curved Staircase – thetarnishedjewelblog

Related Posts: