Marble floor cleaner is a significant ingredient of a successful method to clean marble. Chemically, marble is extremely sensitive to lots of liquids such as vinegar, orange juice and so on. In the event that you would like your marble flooring surfaces to have that added glow you will need to mop it again utilizing the same solution but with plain water this time.
Images about Repair Cracked Marble Floor Tile
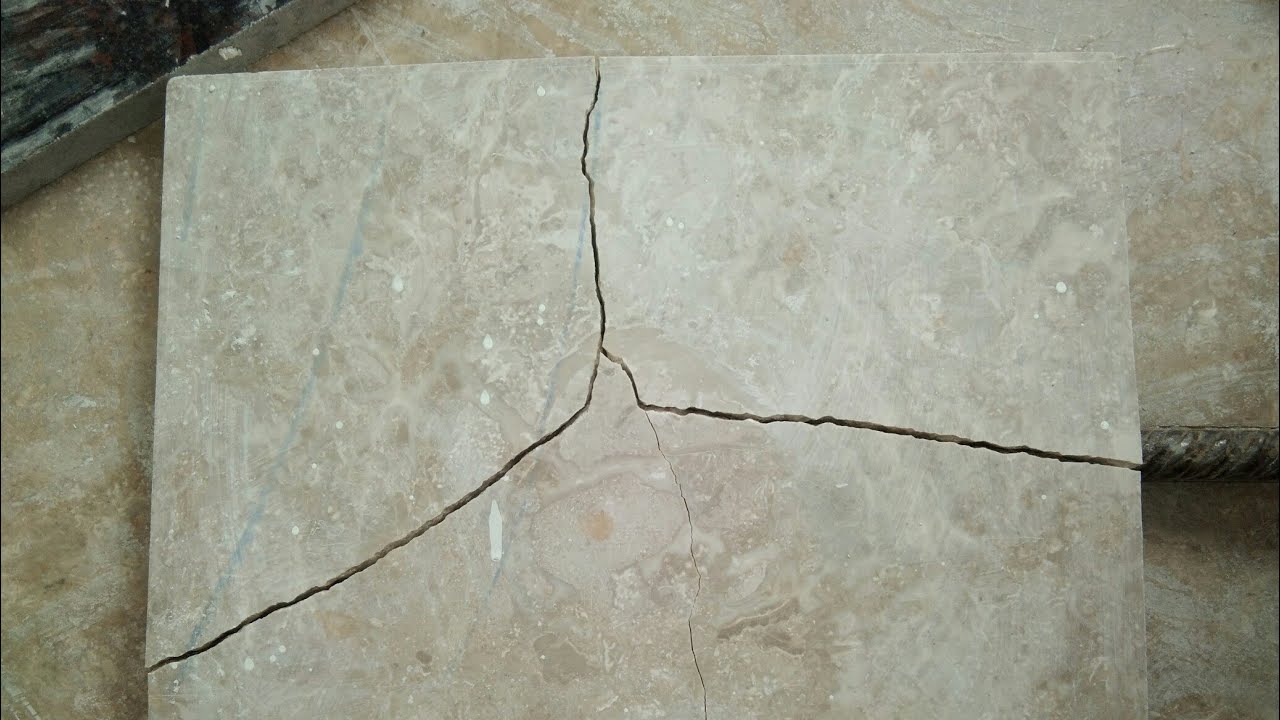
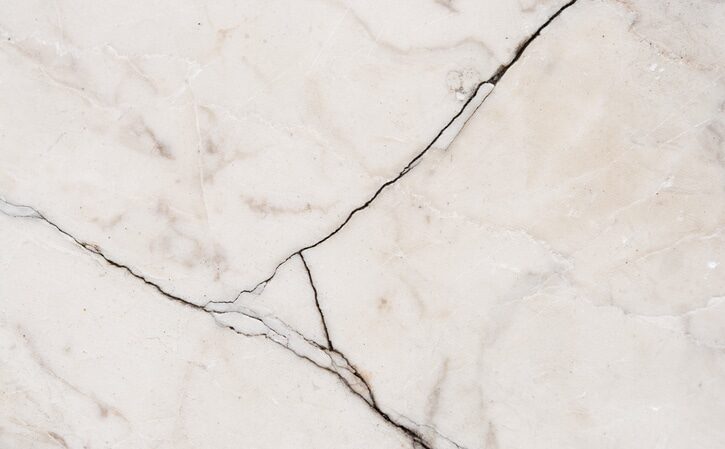
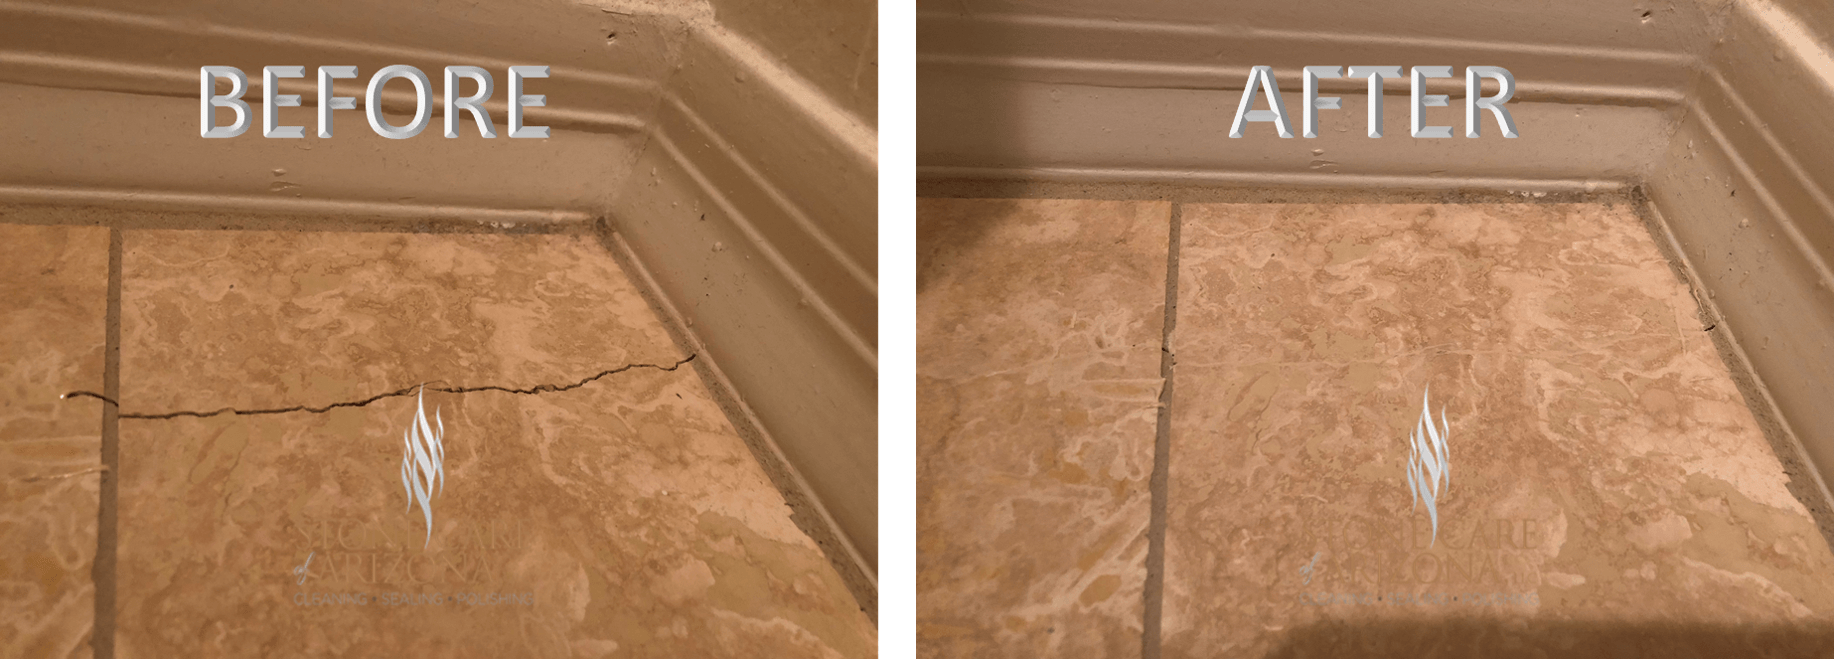
Repair Cracked Marble Floor Tile
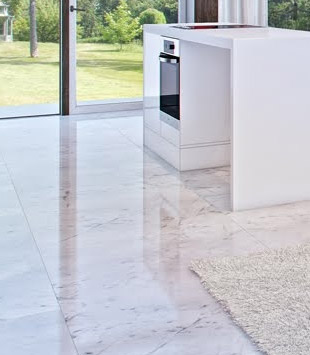
If you truly want your marble flooring to stick out, you might want to combine it with a countertop to match. Cultured marble is a bit of tougher as compared to natural marble. If you have the primary DIY skills, you may well discover that using the marble tiles isn't likely to end up that much more complicated than installing the travertine or ceramic flooring. You are able to easily and quickly find matching patterns to suit the home decor of yours.
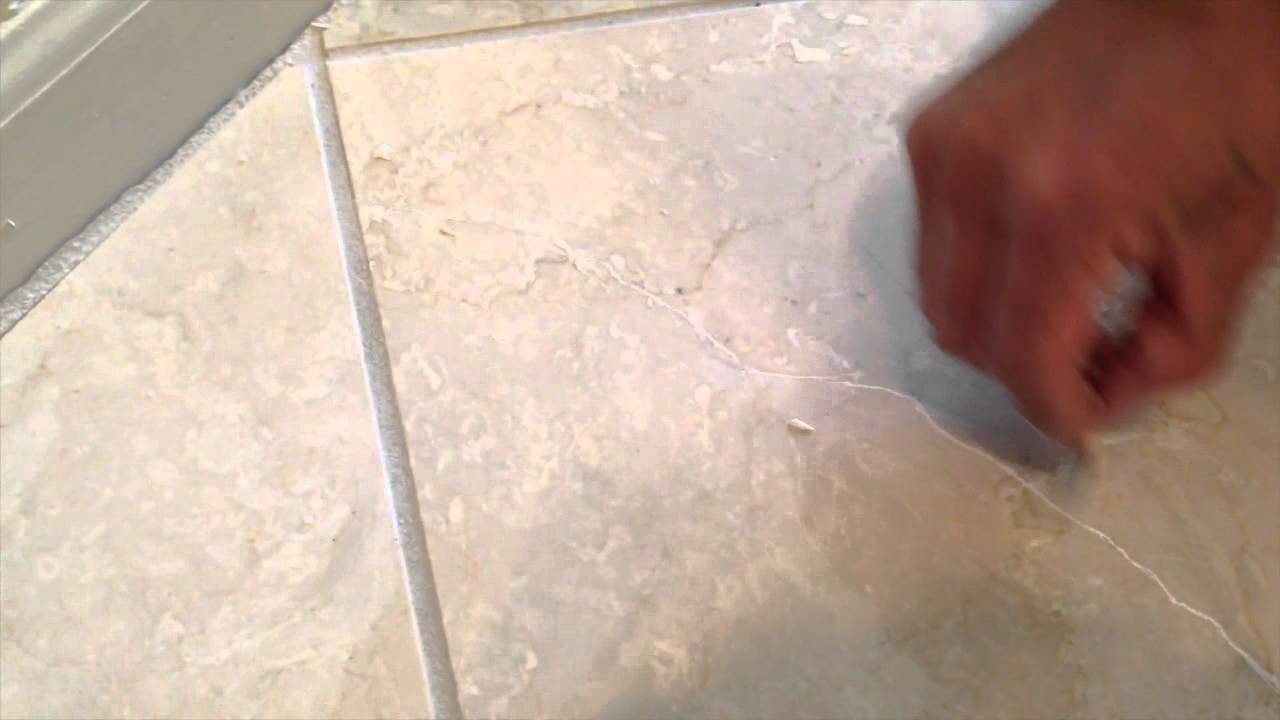
fixing crack u0026 holes in a marble floor – YouTube
Marble tiles are among the best flooring components that anyone can employ to make their homes attractive & stylish. Actually the industry for marble flooring in houses in warmer climates is very massive and the quality as well as finish of this flooring is quite high. Marble has been used for flooring as it's both durable and strong. There is a lot of demand for eco-friendly marble tiles.
Marble Floor Crack Repair / NY / NJ / CT Rockland Stone Restoration
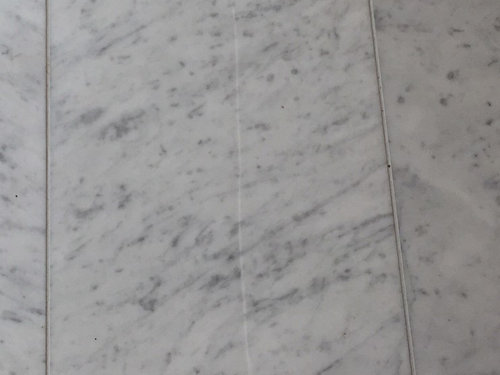
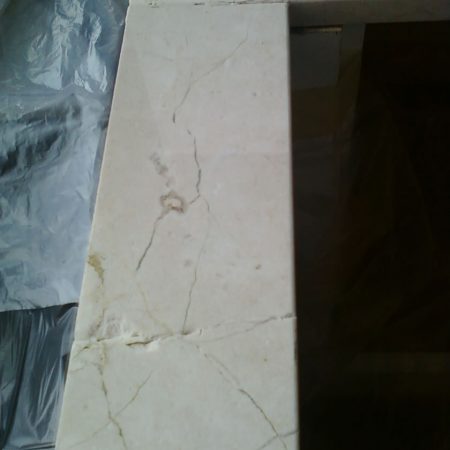
Marble tiles — Repairing of chipped and cracked floor
How to Fix Damaged Marble Floors and Other Marble Surfaces
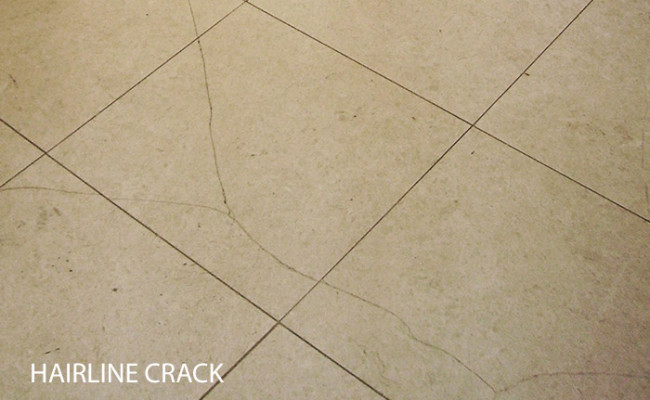
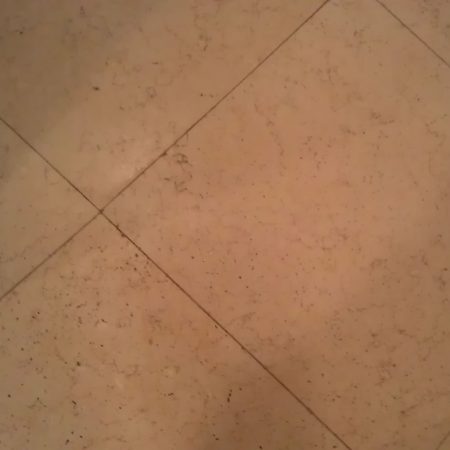
Marble Tile Cracking
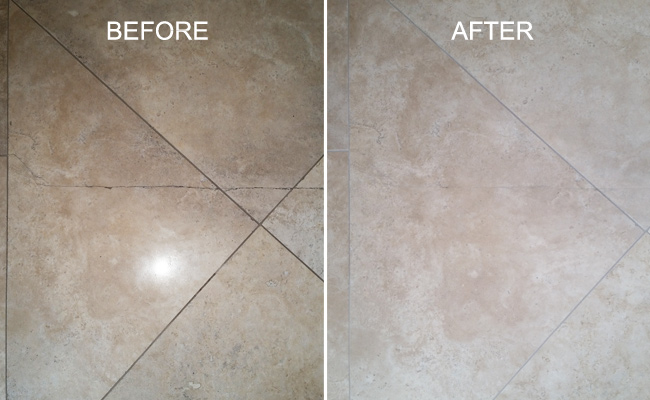
Travertine Floor Crack Repaired – Set In Stone Restoration
How to Repair Cracks in Marble Floor Tile – Sentura
Travertine, Marble and Limestone Repairs
How to Replace a Cracked Marble Floor Tile
/2-56a2fc863df78cf7727b6a65.jpg)
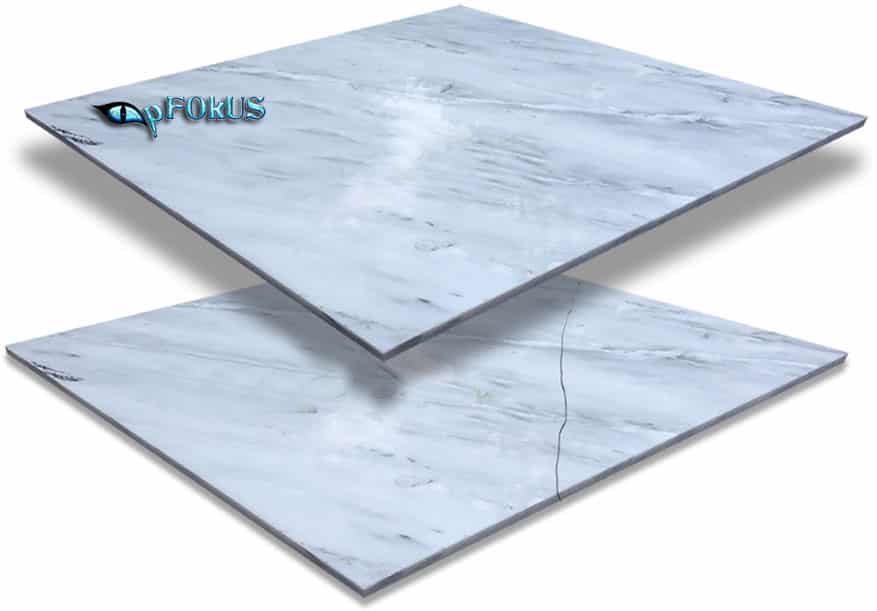
Crack repairs to marble and natural stone tiles

Marble Floor Crack Repair / NY / NJ / CT Rockland Stone Restoration

Cracks, Splits or Breakages on Stone Restoration (Order Here)
Cracks, Splits or Breakages on Stone Restoration (Order Here)
Related Posts:
- Marble Flooring Border
- Home Marble Floor Design
- Beige Marble Flooring
- Black White Marble Floor
- White Carrara Marble Floor
- Marble Floor Design Ideas
- How To Clean White Marble Floors
- Marble Floor Entrance
- Yellow Marble Floor Tiles
- Luxury Marble Flooring Design
How to Repair Cracked Marble Floor Tile
Marble is a timeless and luxurious material that is used for many applications in the home, from countertops to flooring. Unfortunately, marble is also prone to cracking due to its naturally occurring crystalline structure. This makes it vulnerable to stress and wear and tear, resulting in cracks. Fortunately, repairing cracked marble floor tiles is not an insurmountable task. With the right tools and materials, you can have your marble floor looking like new in no time.
What You Will Need
In order to repair cracked marble floor tiles, you will need the following materials:
– Tile adhesive
– A putty knife
– Sandpaper
– A damp cloth
– Grout
– Grout sealer
– A grout float
– A sealant
– A vacuum cleaner
– Protective gloves
– Safety goggles
Steps for Repairing Cracked Marble Floor Tiles
The following steps will help you repair cracked marble floor tiles quickly and easily:
1. Prepare the Area
The first step in repairing cracked marble floor tiles is to prepare the area. Make sure that the area surrounding the cracked tile is free of debris and dust. Use a vacuum cleaner if necessary. Once the area is clean, you can start repairing the tile.
2. Remove the Cracked Tile
To remove the cracked tile, use a putty knife to loosen the edges of the tile and then carefully lift it off of the floor. Wear protective gloves and safety goggles during this step to protect yourself from sharp pieces of tile. Once the tile has been removed, use a damp cloth to clean up any residual debris or dust.
3. Apply Tile Adhesive
Once the area has been cleaned, you can begin applying tile adhesive to the back of the new tile. Use a putty knife to spread an even layer of adhesive on the back of the tile and then carefully place it in its original position on the floor. Make sure that it is level and that all edges are lined up correctly. Allow the adhesive to dry completely before continuing with the next step.
4. Sand Down Excess Adhesive
Once the adhesive has dried, use sandpaper to sand down any excess adhesive that may have seeped out from between the new tile and its neighboring tiles. Make sure that all edges are even and that there are no visible gaps or ridges before continuing with the next step.
5. Apply Grout
Now it’s time to apply grout between the tiles. Use a grout float to spread an even layer of grout between each tile and make sure that all gaps are filled completely. Allow the grout to dry completely before continuing with the next step.
6. Apply Grout Sealer
Once the grout has dried, you can apply grout sealer to protect it from dirt and moisture buildup. Use a damp cloth to wipe down the grout lines before applying sealant for best results. Allow the sealant to dry completely before continuing with the next step.
7. Apply Sealant
Finally, it’s time to apply sealant over your newly repaired marble floor tiles. This will help protect them from future wear and tear as well as stains and dirt buildup. Use a damp cloth or sponge to apply a thin layer of sealant over each tile and then allow it to dry completely before using your repaired marble floor tiles again.
FAQs About Repairing Cracked Marble Floor Tile
Below are some frequently asked questions about repairing cracked marble floor tiles:
Q: What kind of tile adhesive should I use?
A: It is best to use a waterproof tile adhesive designed specifically for marble tile when repairing cracked marble floor tiles. This will ensure that your repair job lasts for many years without any issues or problems arising from water damage or other issues related to moisture buildup in between tiles or at their edges.
Q: How do I make sure my repair job lasts?
A: To ensure that your repair job lasts