Choosing the Right Type of Wood for Bathroom Flooring
When I first considered wood flooring for my bathroom, I realized that not all types of wood could withstand moisture and humidity well. Here’s what I learned about choosing the right wood type for a bathroom setting.
- Engineered Wood vs. Solid Wood: Solid wood is gorgeous but highly moisture-sensitive. On the other hand, engineered wood has a plywood core with a thin veneer of natural wood, making it more resistant to warping in a humid environment.
- Go for Hardwoods: If you opt for natural wood, hardwoods like teak, oak, and maple are fantastic choices. They’re dense, which makes them better at resisting water damage, and they come in beautiful finishes that bring warmth and character to the bathroom.
- Consider Bamboo: Bamboo isn’t a true wood, but it’s highly water-resistant and sustainable. Plus, it has the unique look of wood with a bit more resilience, and some varieties, like strand-woven bamboo, are surprisingly durable in a bathroom setting.
- Stay Away from Softwoods: Woods like pine and cedar may look beautiful, but they’re too soft for a moisture-prone bathroom. Over time, they might dent, warp, or even start absorbing moisture, which could lead to mold or rot.
- Think About Color and Grain: I found that wood color and grain matter, especially since bathrooms often have varied lighting. Lighter woods or matte finishes may work better as they hide water spots and scratches better than dark, glossy finishes.
- Check for Certified Water-Resistant Options: Some wood flooring brands offer certifications for moisture resistance. Going for these can give you peace of mind that your floor will stand up better to water exposure, which is crucial for bathroom use.

How to Waterproof Wood Floors for Bathroom Use
Once I decided on wood flooring, waterproofing became a priority. Here’s how I went about ensuring my wood floors could withstand bathroom moisture.
Start with a Waterproof Sealant: The first layer of protection was a waterproof sealant. Applying a high-quality sealant creates a barrier that prevents water from soaking into the wood and causing it to swell or warp.
Use Underlayment: Before installing the wood, I placed a moisture-resistant underlayment. This underlayment helps shield the wood from moisture coming up from the subfloor, which can be especially beneficial in older homes with potential leaks.
Seal the Joints and Edges: Water can seep into gaps between planks, so I took extra care to seal these areas with a flexible, waterproof adhesive or caulk. This small step added significant protection, especially around the perimeter where splashes are common.
Apply Multiple Coats of Finish: After sealing, I applied multiple coats of a high-quality, waterproof finish. Finishes like polyurethane or even an oil-based finish create a hardened top layer that blocks out moisture.
Regular Maintenance for Waterproofing: Over time, the finish will wear, so reapplying the sealant every few years is crucial. I set a reminder to check for any dull areas or peeling and redo the finish as needed.
Use Rugs in High-Moisture Areas: Rugs help reduce water splashes directly on the floor. I placed one in front of the sink and another near the shower to keep my waterproofing job intact for longer.
Pros and Cons of Wood Floors in Bathrooms
While I love the look of wood floors in my bathroom, there are clear pros and cons I encountered.
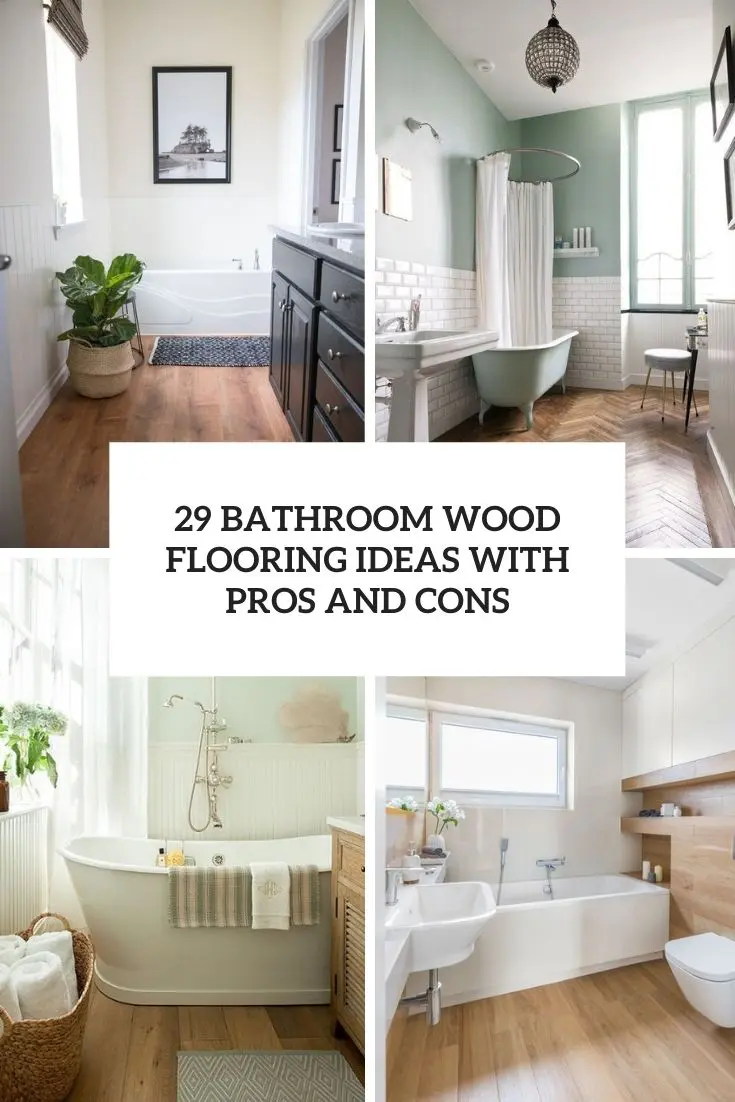
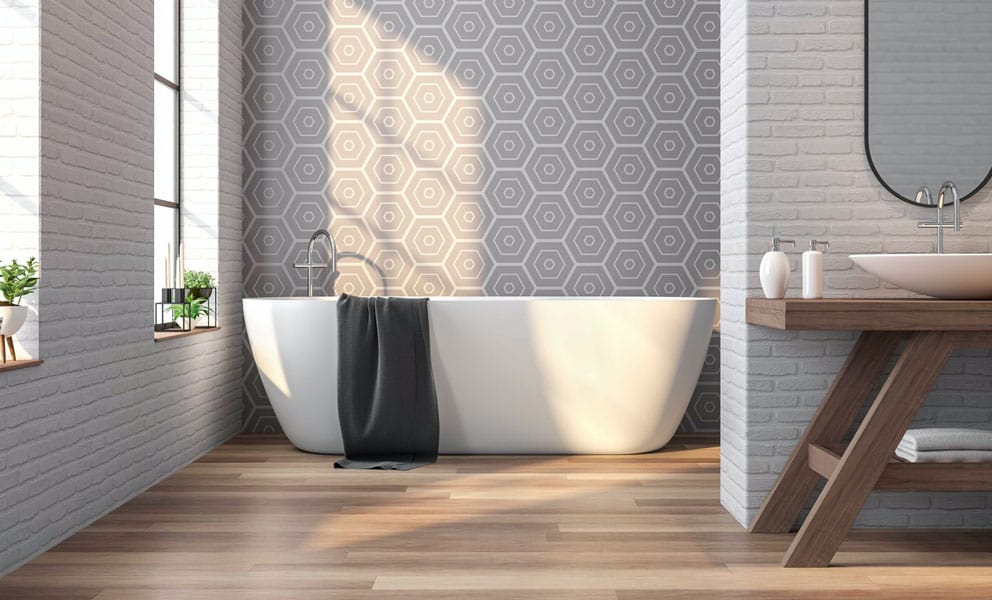
Pro: Warm and Cozy Aesthetic: Wood brings a warmth that tile can’t match. It makes my bathroom feel less like a sterile space and more like a relaxing retreat.
Con: Vulnerability to Water Damage: Wood is inherently more susceptible to water damage than tile or stone. Even with waterproofing, there’s still a risk of warping, especially if water seeps into the seams or edges over time.
Pro: Unique and Elegant Look: There’s a unique charm to wood that’s hard to replicate with other materials. I love how it brings character, and I find that it creates a spa-like vibe in the space.
Con: Higher Maintenance Needs: With wood, regular maintenance is a must. I have to be careful with cleaning products, avoid excessive water, and periodically reapply finishes to keep the floor in good shape.
Pro: Soft Underfoot Feel: Unlike cold tile, wood feels warmer and softer underfoot, which is a big plus on chilly mornings. I don’t miss that cold shock from tile at all!
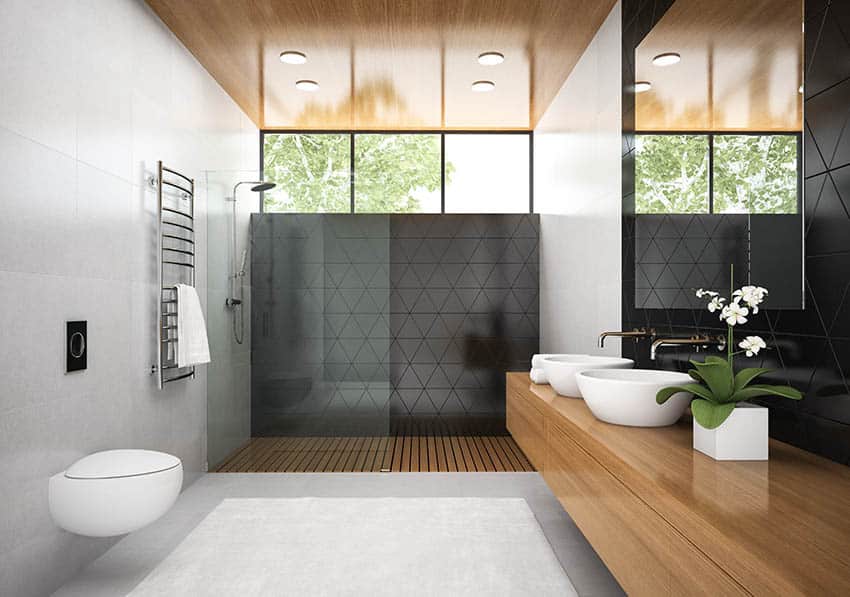
Con: Limited Design Options for Wet Areas: The shower area, for example, isn’t ideal for wood, which limits my design flexibility. I had to use tiles around the shower, which slightly breaks up the wood’s flow.
Best Wood Floor Finishes for High Moisture Areas
Finishing is everything when it comes to wood floors in the bathroom. Here’s what I found out about the best finishes for high-moisture spaces.
Polyurethane Finish: This finish forms a hard, durable layer that resists water and scratches. I chose an oil-based polyurethane for my bathroom, as it tends to be more durable than water-based options.
Water-Based Polyurethane for Eco-Friendly Choice: Water-based polyurethane has a faster drying time and is a more eco-friendly option, though it may require more coats. It’s great if you prefer low VOCs in your home.
Hardwax Oil Finish: This natural finish penetrates the wood and gives it a matte look, which is great for hiding small scratches. However, it’s less waterproof, so it might need more frequent reapplication.
UV-Cured Finishes: Some prefinished wood options come with UV-cured finishes that are highly durable and scratch-resistant. These are applied in controlled conditions at the factory, so you get a near-perfect seal.
Wax Finish for Added Layer of Protection: Adding a wax layer over a polyurethane finish can provide an extra moisture barrier. I found this particularly helpful for high-traffic areas.
Regular Maintenance and Refinishing: No matter the finish, wood floors in bathrooms need re-sealing. I make sure to check the finish every year and touch it up as needed to keep that protective layer intact
Maintenance Tips for Long-Lasting Wood Bathroom Floors
Maintaining wood floors in a bathroom requires some commitment, but it’s worth it. Here’s my routine for keeping them looking great.
Quick Cleanups After Splashes: I wipe up any water splashes around the sink and tub as soon as possible. Leaving water to sit can cause spots or seepage, so a quick wipe-down goes a long way.
Use a Gentle Cleaner: For regular cleaning, I use a mild wood floor cleaner. Harsh chemicals or excessive water can strip the finish or cause warping, so I stick with gentle, pH-balanced products.
Re-Seal Periodically: Over time, the sealant wears off, especially in a bathroom. I plan to reseal the floor every few years to maintain its waterproof layer and keep it looking new.
Place Mats in High-Water Zones: Rugs or mats can catch excess water in splash-prone areas. They also add comfort underfoot, which is a bonus.
Avoid Steamy Showers with Poor Ventilation: Moisture control is vital, so I always use a fan or open a window after a shower. This prevents excess humidity from seeping into the wood.
Inspect for Damage Regularly: Every so often, I inspect for signs of damage, like lifting or discoloration. Catching these early means I can address issues before they become major problems.
Alternatives to Real Wood Floors: Wood-Look Options for Bathrooms
If real wood isn’t practical, there are still ways to get that wood-look charm in a bathroom. Here’s what I found works well.
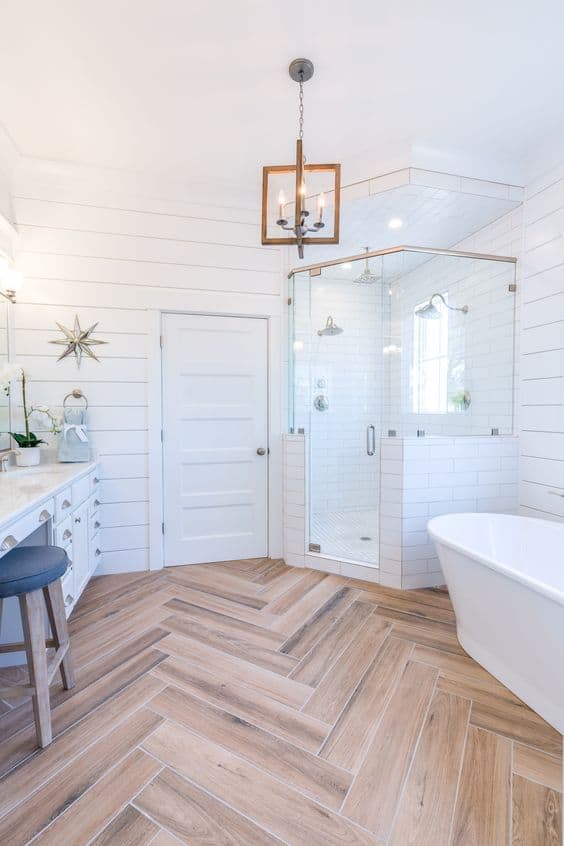
Wood-Look Tile: Made from ceramic or porcelain, wood-look tiles mimic real wood without any of the water worries. They come in various shades and finishes, making it easy to find something that suits my style.
Vinyl Plank Flooring: This option is water-resistant and budget-friendly. Modern vinyl planks have a surprisingly realistic wood look, and they’re far easier to maintain in a bathroom than actual wood.
Laminate Flooring: Laminate is another good choice. With water-resistant varieties available, it’s become a popular option for bathrooms. I love that it has a wood grain look and feels softer underfoot.
Bamboo as an Eco-Friendly Alternative: Bamboo has a similar look to wood and is more resilient to moisture. Strand-woven bamboo is particularly strong and has the added benefit of being eco-friendly.
Engineered Wood with Water-Resistant Core: Some engineered wood options are designed specifically for moisture resistance. These products have a water-resistant core that makes them more suited to bathroom use.
Cork Flooring with Wood Look: Cork is another resilient, eco-friendly choice, and it’s often available in wood grain finishes. Cork resists mold and mildew naturally, making it a great option for a bathroom space.
Common Problems and Solutions for Wood Floors in Bathrooms
Despite all the precautions, wood floors in bathrooms can still face unique challenges. Over time, I’ve encountered a few common issues, and here’s how I’ve addressed them.
Problem: Warping and Buckling
Solution: Warping usually happens when water seeps into the wood, causing it to expand. To minimize this, I ensure that any spills or splashes are wiped up immediately and that the room is well-ventilated. I also check for areas where water might be pooling and apply extra sealant to these spots annually.
Problem: Mold and Mildew Growth
Solution: Mold loves damp areas, especially in hidden cracks and seams. To prevent this, I use a dehumidifier or keep the bathroom fan running for a while after showers. I also treat any suspicious spots with a mild vinegar solution, which helps kill mold spores without damaging the wood finish.
Problem: Scratches and Scuffs
Solution: Wood floors are prone to scratches, especially in high-traffic areas. I use rugs in these spots and periodically apply a protective wax or finish. For smaller scratches, a wood touch-up pen works wonders to disguise them, keeping the floor looking flawless.
Problem: Discoloration from Water Exposure
Solution: Prolonged water contact can cause discoloration. In my experience, quickly drying off any wet spots and using area rugs prevent discoloration. If I do notice any fading, I gently sand and refinish the affected area to restore the wood’s original look.
Problem: Gaps Between Planks
Solution: Wood naturally expands and contracts with humidity, which can lead to small gaps between planks. I use a wood filler that matches my floor’s color to keep these gaps from becoming too noticeable. Additionally, maintaining consistent humidity levels in the bathroom helps minimize this issue.
Problem: Peeling or Fading Finish
Solution: When the finish starts to fade, it’s a sign that the wood needs to be re-sealed. I make it a habit to reapply a waterproof sealant every couple of years, focusing on areas near the sink, tub, and toilet. Regular refinishing keeps the floor looking fresh and shields it from moisture damage.
Related Posts:


