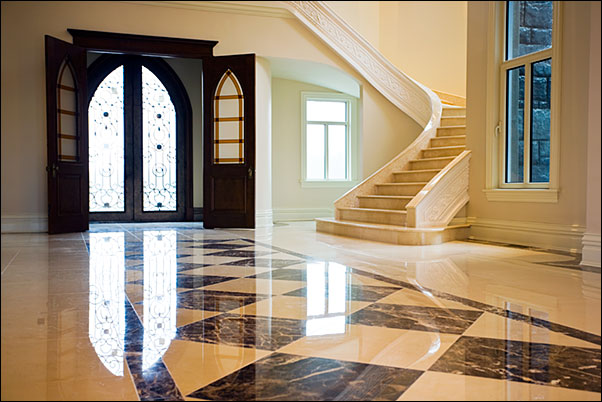
Marble floors add timeless elegance to any space but require regular maintenance to preserve their luminous beauty. DIY polishing allows homeowners to refresh their marble surfaces without professional expense, using techniques that range from simple buffing to more advanced crystallization. Proper polishing not only enhances marble’s natural veining and shine but also helps protect the porous stone from stains and etching. With the right materials and methods, even beginners can achieve impressive results that extend their marble floors’ lifespan while maintaining that coveted high-end appearance.
Understanding Marble’s Composition and Needs
Marble is a metamorphic stone composed primarily of calcite, making it softer and more porous than granite or quartzite. This calcium carbonate base reacts with acids, causing etching when exposed to common household substances like citrus juice or vinegar. The stone’s crystalline structure gives it natural luminosity but also makes it prone to scratching from abrasive materials. These characteristics demand careful polishing approaches that clean and protect without damaging the delicate surface.
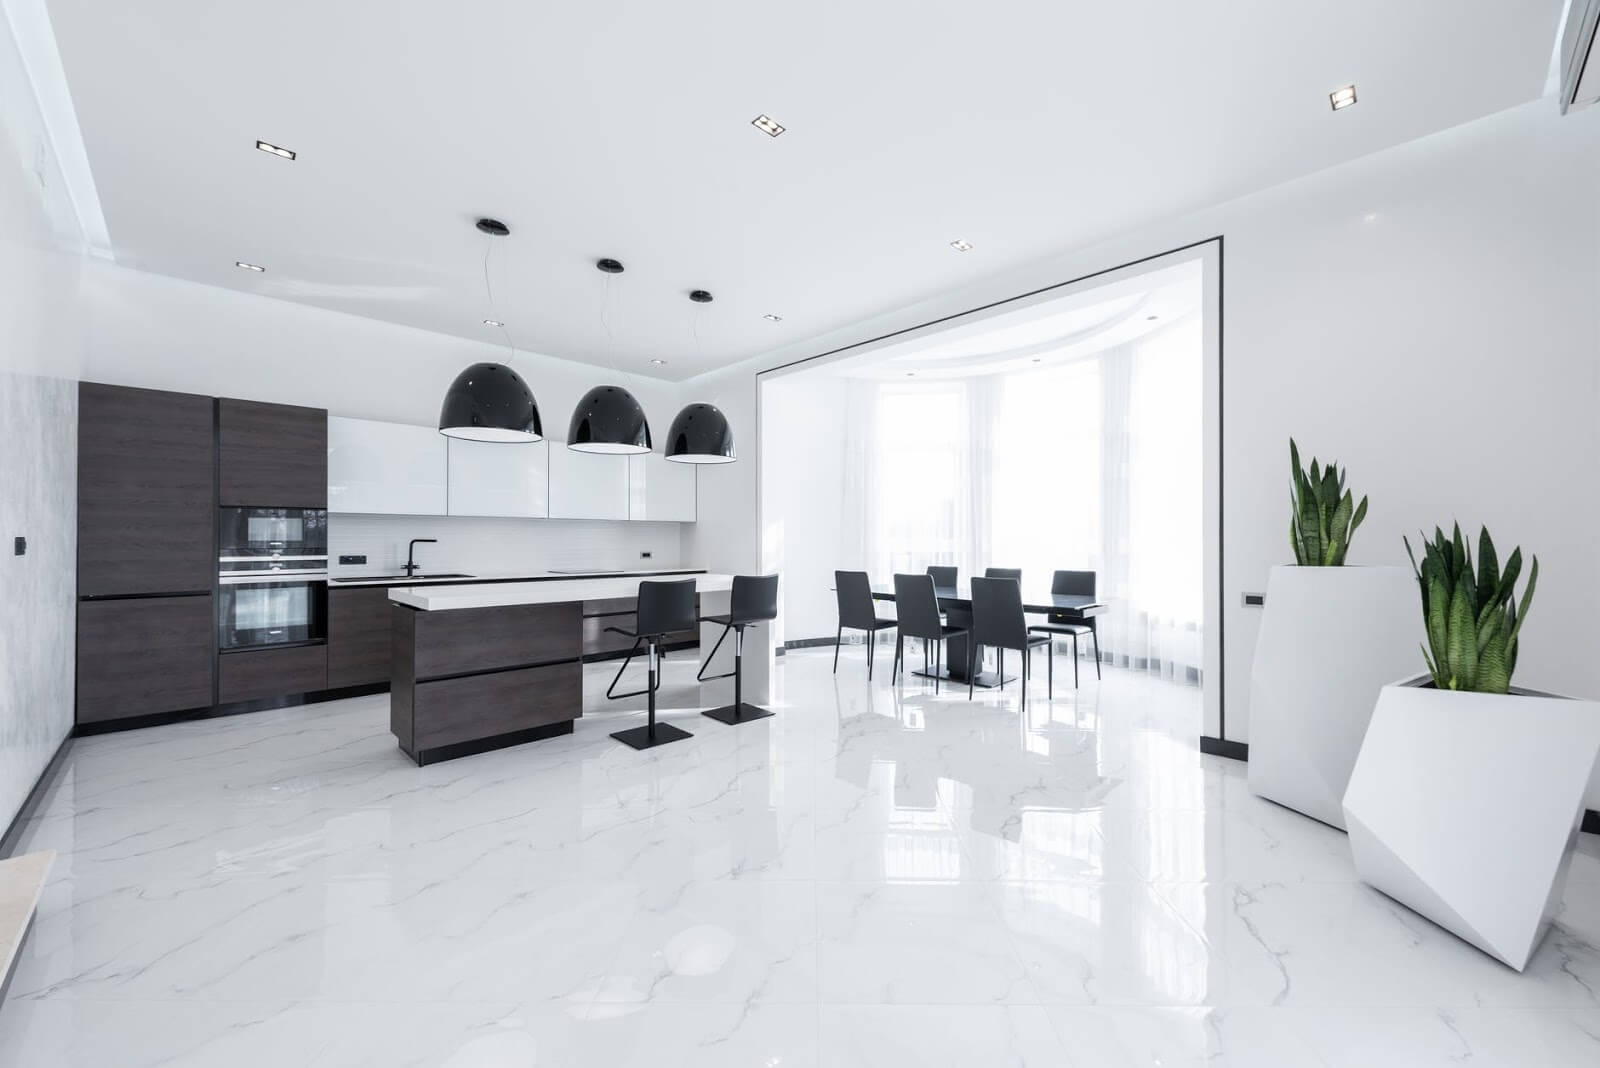
Polishing works by smoothing the microscopic peaks and valleys in marble’s surface, allowing light to reflect evenly rather than scattering. Over time, foot traffic and cleaning wear down this polished layer, resulting in a dull appearance. DIY polishing methods aim to restore this smooth surface either mechanically or chemically. The stone’s porosity also requires sealing after polishing to prevent liquid penetration that could cause stains or internal damage.
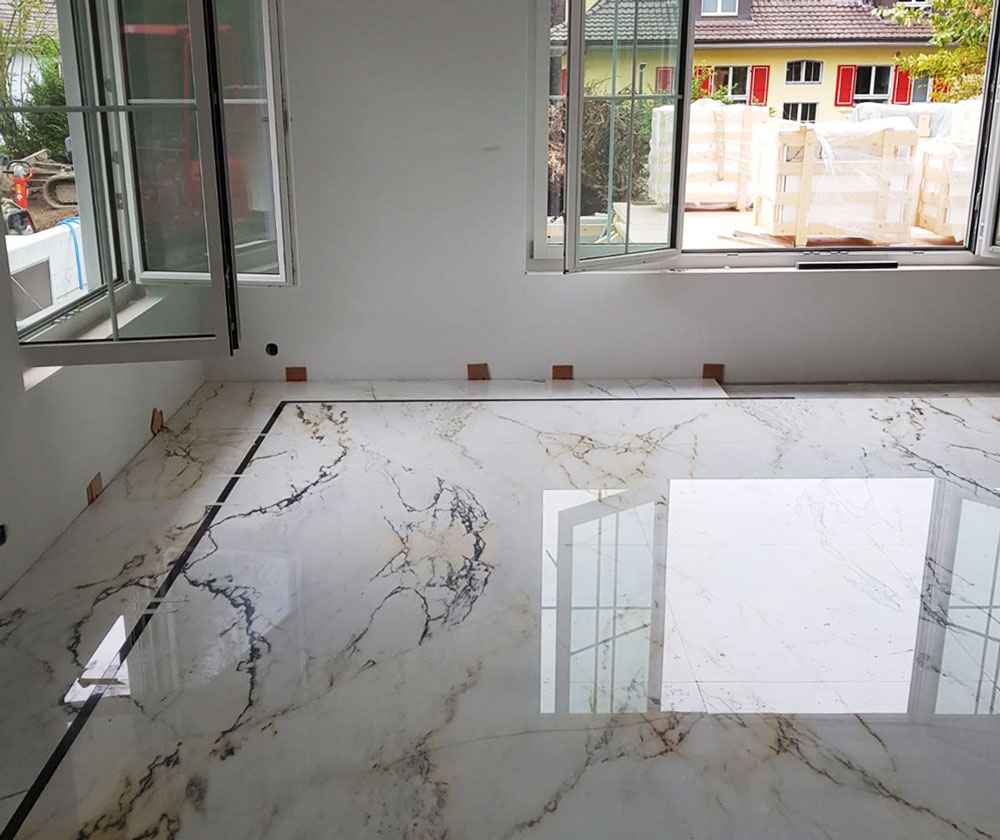
Different marble types respond uniquely to polishing. White Carrara marble shows etching more visibly but polishes to a brilliant shine. Darker marbles like Nero Marquina better conceal minor imperfections but may show swirl marks if polished improperly. Honed (matte) marble requires different polishing techniques than glossy finishes. Recognizing your specific marble’s characteristics ensures choosing the appropriate polishing method.
Essential Supplies for DIY Marble Polishing
Quality diamond polishing pads form the core of mechanical polishing systems. These flexible discs, available in grits from 50 to 3000, attach to floor buffers or handheld polishers. Starting with coarse grits (200-400) removes deep scratches before progressing to finer grits (800-3000) for shine. Dry polishing systems minimize mess, but wet methods using water as a lubricant often produce better results for beginners.
Chemical polishing powders offer an alternative for those without heavy equipment. These marble-specific compounds contain mild abrasives and oxalic acid that react with calcium carbonate to restore shine. Mixed with water to a paste consistency, they’re applied with microfiber pads or low-speed buffers. Ideal for maintenance polishing between deeper treatments, these powders effectively remove light etching and surface dullness.
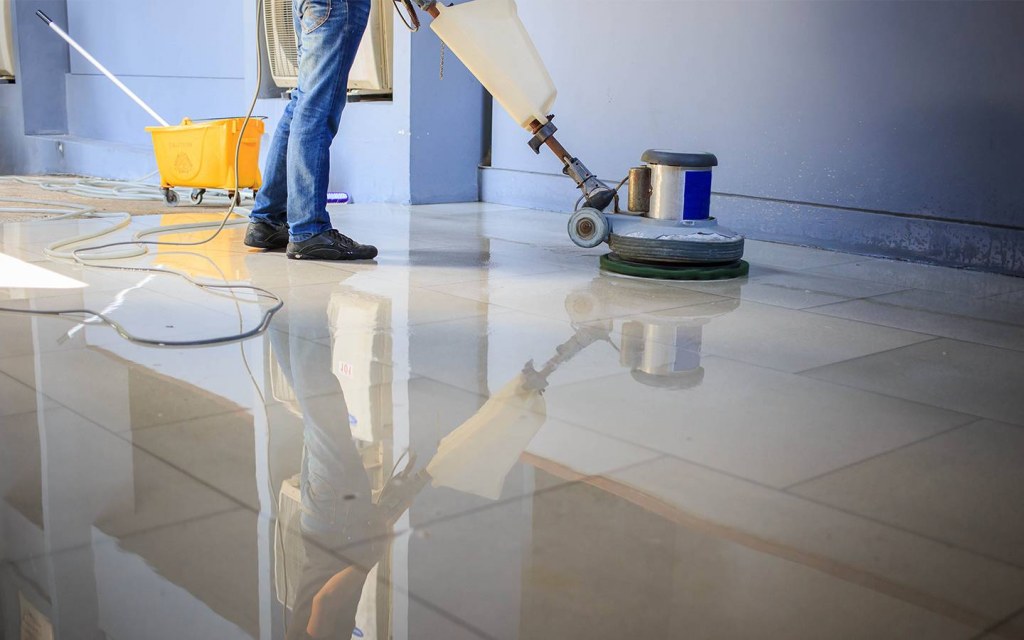
Additional supplies include clean microfiber cloths, neutral pH stone cleaner, and high-quality sealers. A dust mop removes abrasive particles before polishing, while painter’s tape protects baseboards. For large areas, a weighted floor buffer (15-20 lbs) ensures even pressure distribution. Always have clean water available for rinsing between polishing stages or for wet method lubrication.

Step-by-Step Mechanical Polishing Process
Begin with a thorough cleaning to remove all dirt and residues that could scratch during polishing. Use a neutral pH stone cleaner and microfiber mop, rinsing thoroughly. Allow the floor to dry completely before assessing surface condition under bright light to identify scratched or dull areas needing attention. Tape off adjacent surfaces and remove any furniture or rugs from the work area.
Start dry polishing with 200-400 grit diamond pads for heavily worn areas, moving the buffer in overlapping arcs. Clean the surface between grit changes using a vacuum or damp mop to remove polishing dust. Progress through increasingly finer grits (800, 1500, 3000), spending more time with each successive stage. The marble should appear uniformly matte before the final polishing stages begin restoring gloss.
For wet polishing, lightly mist water on small sections before working each grit. The water acts as a lubricant and helps carry away particles. After the final polish, rinse the floor thoroughly and allow 24 hours to dry before applying sealant. Buff the sealed floor with clean microfiber pads to maximize shine. This mechanical approach works best for floors with significant wear or deep scratches.

Chemical Polishing Techniques
Chemical polishing suits marble with light etching or overall dullness rather than deep scratches. Mix the polishing powder with water according to package instructions, typically achieving a pancake batter consistency. Test on an inconspicuous area first to confirm desired results and check for any adverse reactions with your specific marble.
Apply the paste to small 3×3 foot sections using a microfiber applicator or low-speed buffer with a white pad. Work in circular motions, maintaining even pressure across the surface. The powder will change color as it reacts with the marble—continue polishing until achieving a uniform appearance. Immediately remove residue with clean water and a dry cloth to prevent over-processing any areas.
After completing the entire floor, allow 24 hours to dry before applying penetrating sealer. Some chemical polishes leave protective coatings that eliminate separate sealing steps—check product specifications. This method requires less physical effort than mechanical polishing but may need more frequent repetition to maintain results.

Maintaining Polished Marble Floors
Regular dry dust mopping prevents abrasive grit from scratching the polished surface. Damp mop weekly with pH-neutral stone cleaner, avoiding vinegar or lemon-based products that could etch the marble. Immediately wipe spills, especially acidic substances like wine or tomato sauce, to prevent damage to both polish and sealant.
Place walk-off mats at exterior entrances to reduce dirt tracked onto marble floors. Felt pads under furniture legs prevent scratches when items are moved. Reapply high-quality impregnating sealers every 6-12 months depending on traffic—perform water droplet tests to check when resealing is needed (if water absorbs rather than beads, reseal).
Address minor scratches promptly with targeted polishing rather than waiting for full-floor refinishing. Keep leftover polishing materials for spot treatments between major polishing sessions. Avoid steam mops that can degrade sealants and drive moisture into marble’s pores. With proper care, professionally polished results can last several years before needing rework.
Troubleshooting Common Marble Issues
Etching appears as dull spots where acids have reacted with the calcium carbonate. Light etching often improves with chemical polishing, while deeper marks may require mechanical polishing starting with coarser grits. Preventing future etching involves using coasters under drinks and quickly cleaning spills.
Stains require different approaches based on their source. Oil-based stains may need poultice treatments with acetone and baking soda. Organic stains (coffee, tea) often respond to hydrogen peroxide poultices. Rust stains require specialized rust removers formulated for marble. Always test stain treatments in hidden areas first.
Hazing occurs when polishing residues or improper cleaners leave cloudy films. Neutral pH cleaners and thorough rinsing usually resolve this. Persistent haze may indicate sealant buildup requiring professional stripping. Never use vinegar or ammonia-based cleaners that could worsen the problem by etching the marble beneath.
How often should marble floors be polished?
Most marble floors benefit from light polishing every 12-18 months to maintain shine, with deeper polishing every 3-5 years depending on traffic. High-use areas may need annual attention, while lightly used formal spaces can go longer between polishing. Watch for visible dullness, increased staining, or loss of water beading as indicators it’s time to polish. Regular maintenance extends intervals between major polishing sessions.
Can you use regular floor polish on marble?
Traditional floor waxes and acrylic polishes should never be used on marble. These products create surface films that yellow over time and trap moisture against the stone. Marble requires specialized polishing compounds that either physically smooth the stone (diamond abrasives) or chemically interact with its calcium carbonate content. Always choose products specifically labeled for natural marble to avoid damaging this sensitive material.

Is it possible to over-polish marble floors?
Excessive polishing can eventually wear down marble’s surface, especially with aggressive mechanical methods. Limit full polishing sessions to when truly needed, focusing instead on proper maintenance between sessions. Signs of over-polishing include noticeable surface depression around tiles or slabs, increased porosity, and exaggerated lippage between pieces. Using progressively finer grits and avoiding extended polishing with coarse abrasives prevents over-removal of material.
What’s the difference between polishing and honing marble?
Polishing creates a glossy reflective surface by smoothing the marble to microscopic flatness. Honing stops at an intermediate grit (usually 400-800) to produce a matte finish that better hides scratches and etching. Honed marble requires different polishing approaches if gloss is desired—starting with too fine a grit won’t effectively alter the matte surface. Some homeowners prefer honed marble’s casual elegance and lower maintenance needs.
Can DIY polishing fix deep scratches in marble?
Moderate scratches often improve with 200-400 grit diamond polishing, but extremely deep gouges may require professional attention. Attempting to remove severe scratches can create uneven surfaces or dish-shaped depressions. For isolated deep scratches, consider spot polishing rather than treating the entire floor. Some scratches may need filling with color-matched epoxy before polishing for seamless results.
How soon after polishing can marble floors be used?
After mechanical polishing, wait at least 24 hours before light foot traffic to allow sealants to fully cure. Avoid replacing heavy furniture for 72 hours. Chemically polished floors can typically handle light use after 12 hours if no additional sealant was applied. Always follow product-specific recommendations, as cure times vary between sealants. Use walk-off mats during initial re-entry to protect the fresh polish from abrasive dirt.

Crash Course: How To Clean, Polish and Maintain Marble Floors
How to Polish Marble Floor? All you need to know! – Wipeout
Mistakes to avoid when polishing your marble floor

Marble polishing – How to polish marble – Dedalo Stone

Cost of Polishing Marble Floors: DIY vs Professional Zameen Blog
Related Posts: