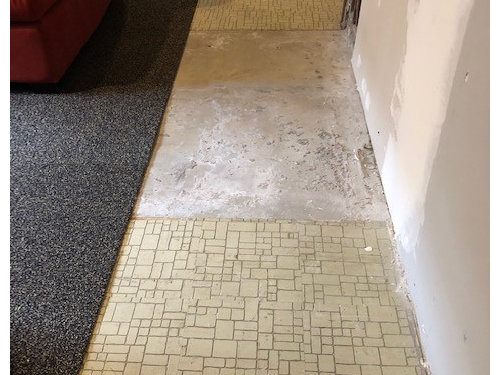
When I inherited my grandmother’s house with its outdated 1970s ceramic tile throughout the main floor, I faced a dilemma. The tiles were firmly attached but hideously dated, and removal would have been expensive and messy. After researching alternatives, I discovered the possibility of applying cement directly over existing tile. This journey taught me valuable lessons about surface preparation, material selection, and the satisfaction of transforming a space through creative problem-solving rather than costly demolition.
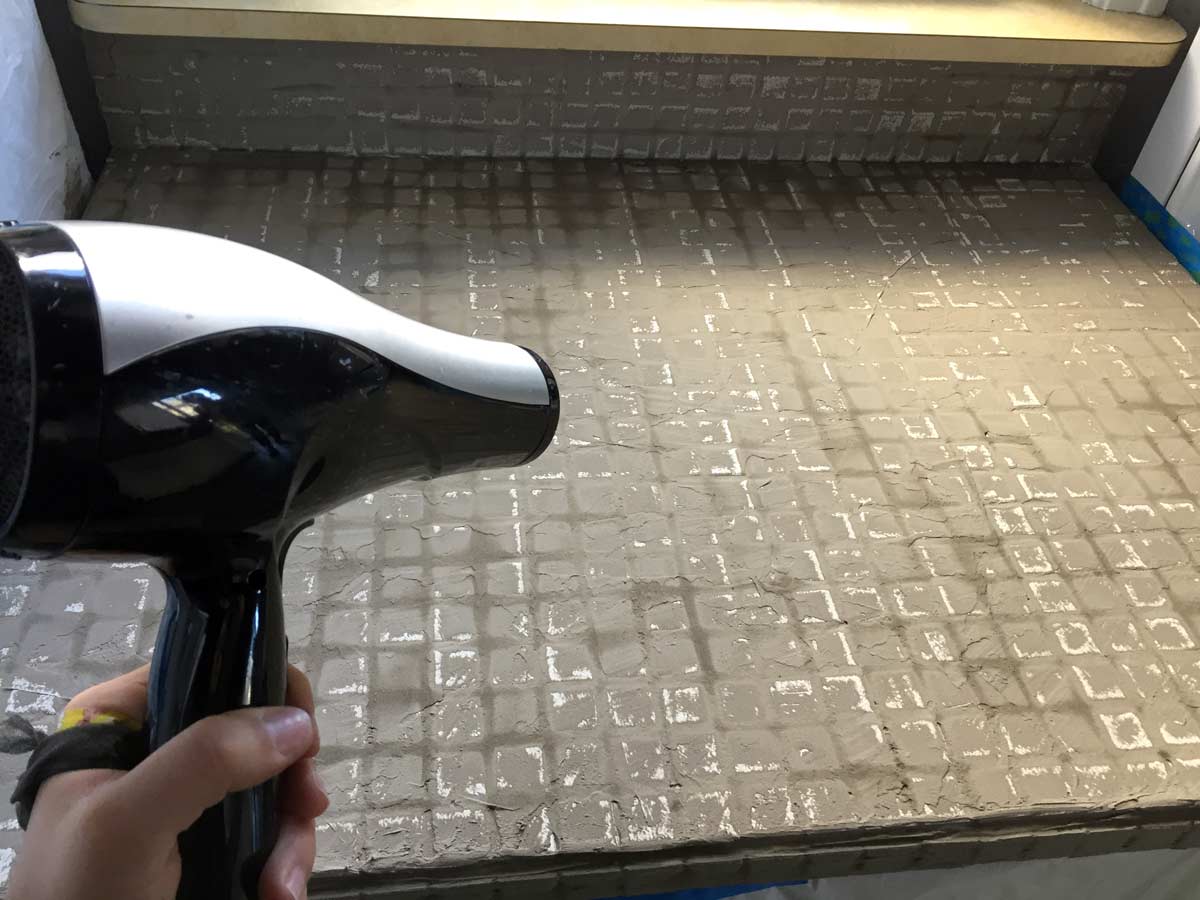
Preparing the Existing Tile Surface
My first step involved thoroughly cleaning every square inch of the existing tile to remove years of accumulated grime and wax buildup. I used a degreasing agent and scrubbed each tile individually, paying special attention to grout lines where dirt had settled. This tedious process took three full days but proved essential for proper adhesion of the cement overlay.
Testing tile adhesion became crucial after reading about potential bonding failures that could occur later. I performed pull tests using a small section of cement to ensure the existing tiles wouldn’t lift under the new surface weight. Several loose tiles required re-securing with construction adhesive before I could proceed with confidence.
Grinding down high spots and filling low areas created the level surface necessary for a professional-looking result. I rented a concrete grinder to smooth protruding tile edges and used self-leveling compound in depressed areas. This preparation phase consumed more time than expected but prevented visible imperfections in the final cement surface.
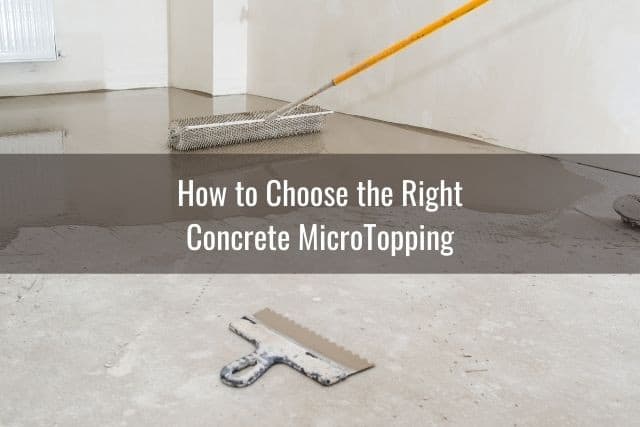
Choosing the Right Cement Mix
Standard concrete proved too thick and difficult to work with for this application, as I discovered during my initial test patch. The mixture cracked as it dried and created an uneven surface that looked unprofessional. I realized I needed a specialized overlay product designed specifically for thin applications over existing surfaces.
Polymer-modified cement became my solution after consulting with professionals at the concrete supply store who understood my project goals. This product contained additives that improved flexibility and adhesion while allowing thinner application than traditional concrete. The higher cost seemed justified given the improved workability and results.
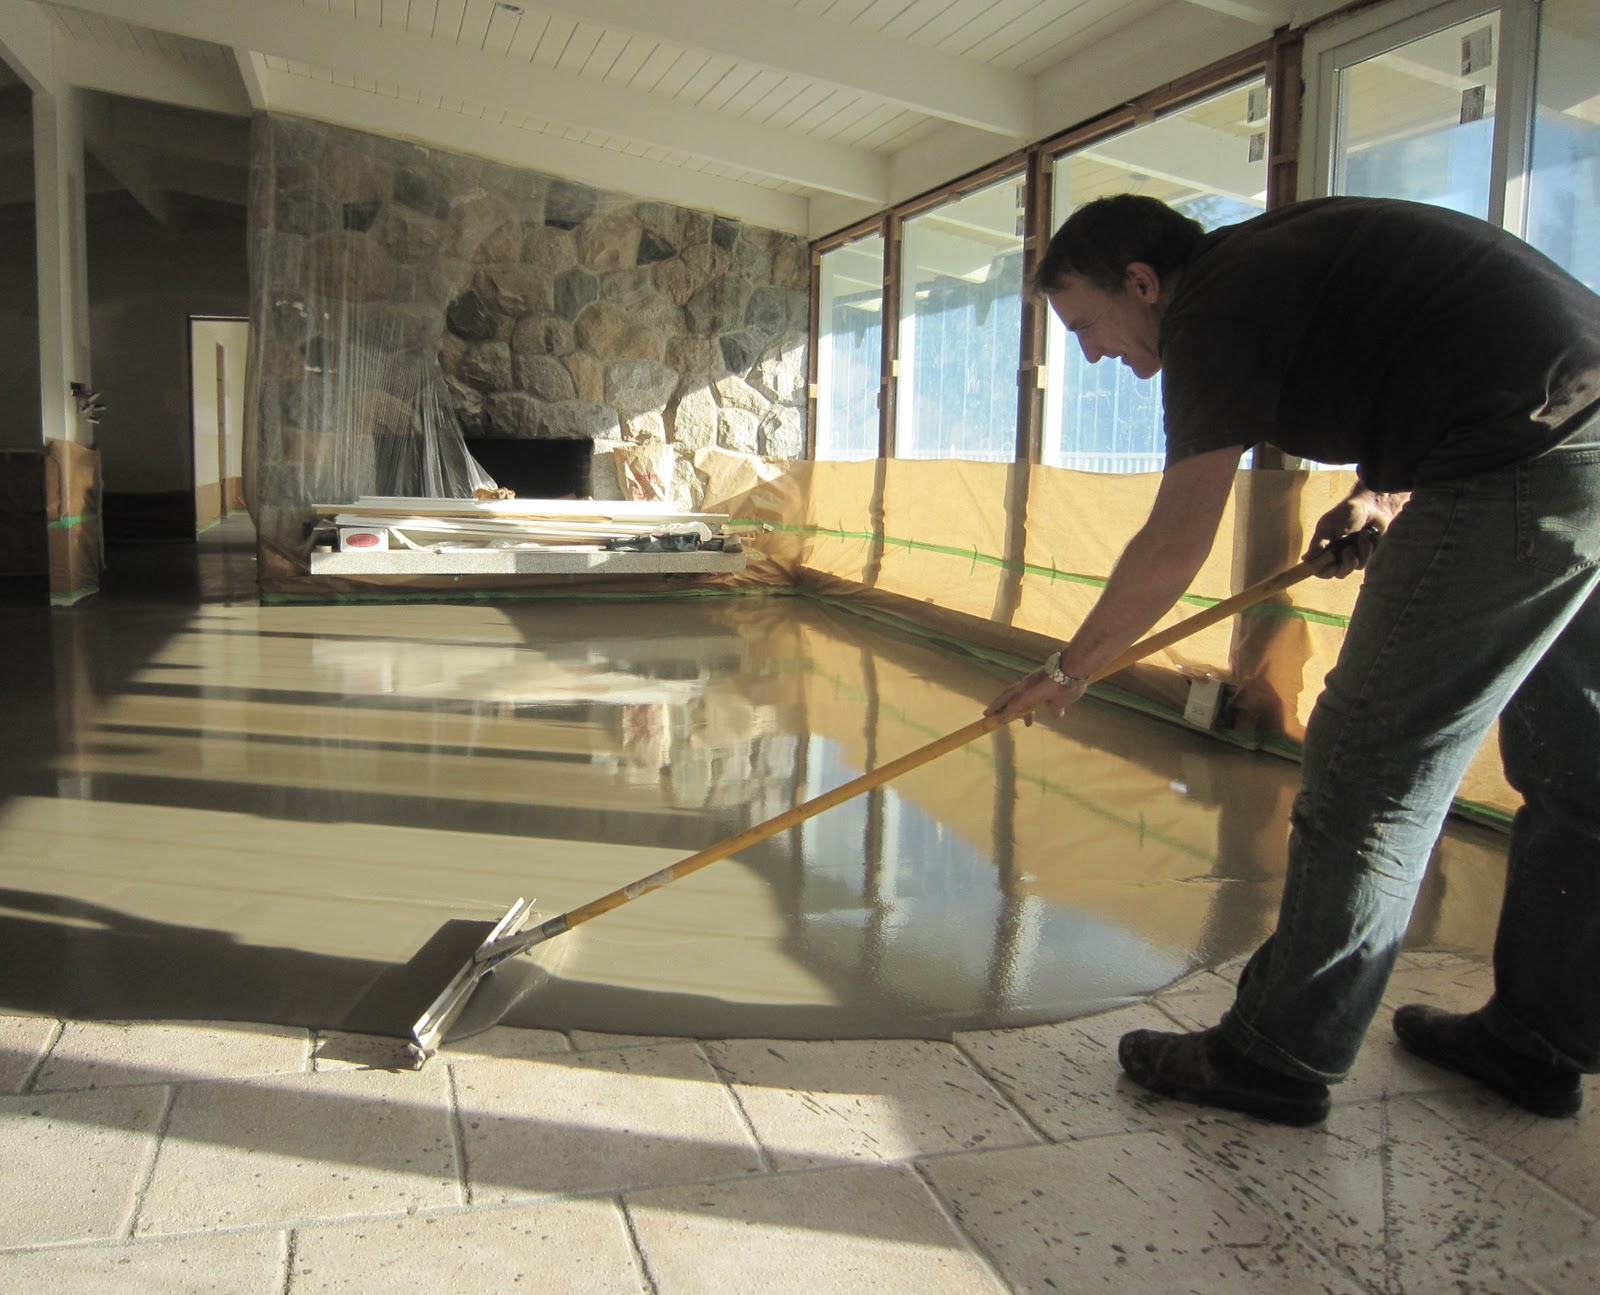
Self-leveling properties in my chosen mix eliminated much of the manual smoothing work I had anticipated originally. The cement flowed evenly and settled into a smooth surface with minimal intervention from me. However, I learned that working time was limited, requiring careful planning and quick execution during application.
Application Techniques I Learned
Working in manageable sections prevented the cement from setting before I could achieve the desired finish quality. I divided the floor into approximately four-foot squares and completed each section fully before moving on. This systematic approach ensured consistent texture and prevented visible seam lines between working areas.
Temperature and humidity significantly affected working time and final results more than I had anticipated initially. Hot, dry days caused the cement to set too quickly, while humid conditions prolonged drying time excessively. I learned to plan application during moderate weather conditions and adjust my working pace accordingly.
Tool selection made an enormous difference in achieving professional-looking results that I could be proud of showing. A long-handled squeegee worked better than a trowel for spreading the cement evenly across large areas. I also discovered that spiked shoes allowed me to walk on wet cement without leaving footprints during application.

Dealing with Common Problems
Air bubbles appeared in my first section despite careful mixing, creating an unsightly pitted surface that required repair. I learned to work the cement more thoroughly with a paddle mixer and use a spiked roller to release trapped air. These techniques eliminated bubble problems in subsequent sections and improved the overall finish quality.
Cracking occurred in areas where I applied the cement too thickly, trying to level significant height differences in single applications. I discovered that multiple thin coats work better than one thick application for major leveling needs. Patience with the process prevented structural problems and created a more durable surface.
Color variations between batches became noticeable as the cement dried, creating an uneven appearance I hadn’t expected. Consistent mixing ratios and water amounts proved crucial for uniform color throughout the project. I started keeping detailed notes on mixing proportions to ensure consistency across all sections.

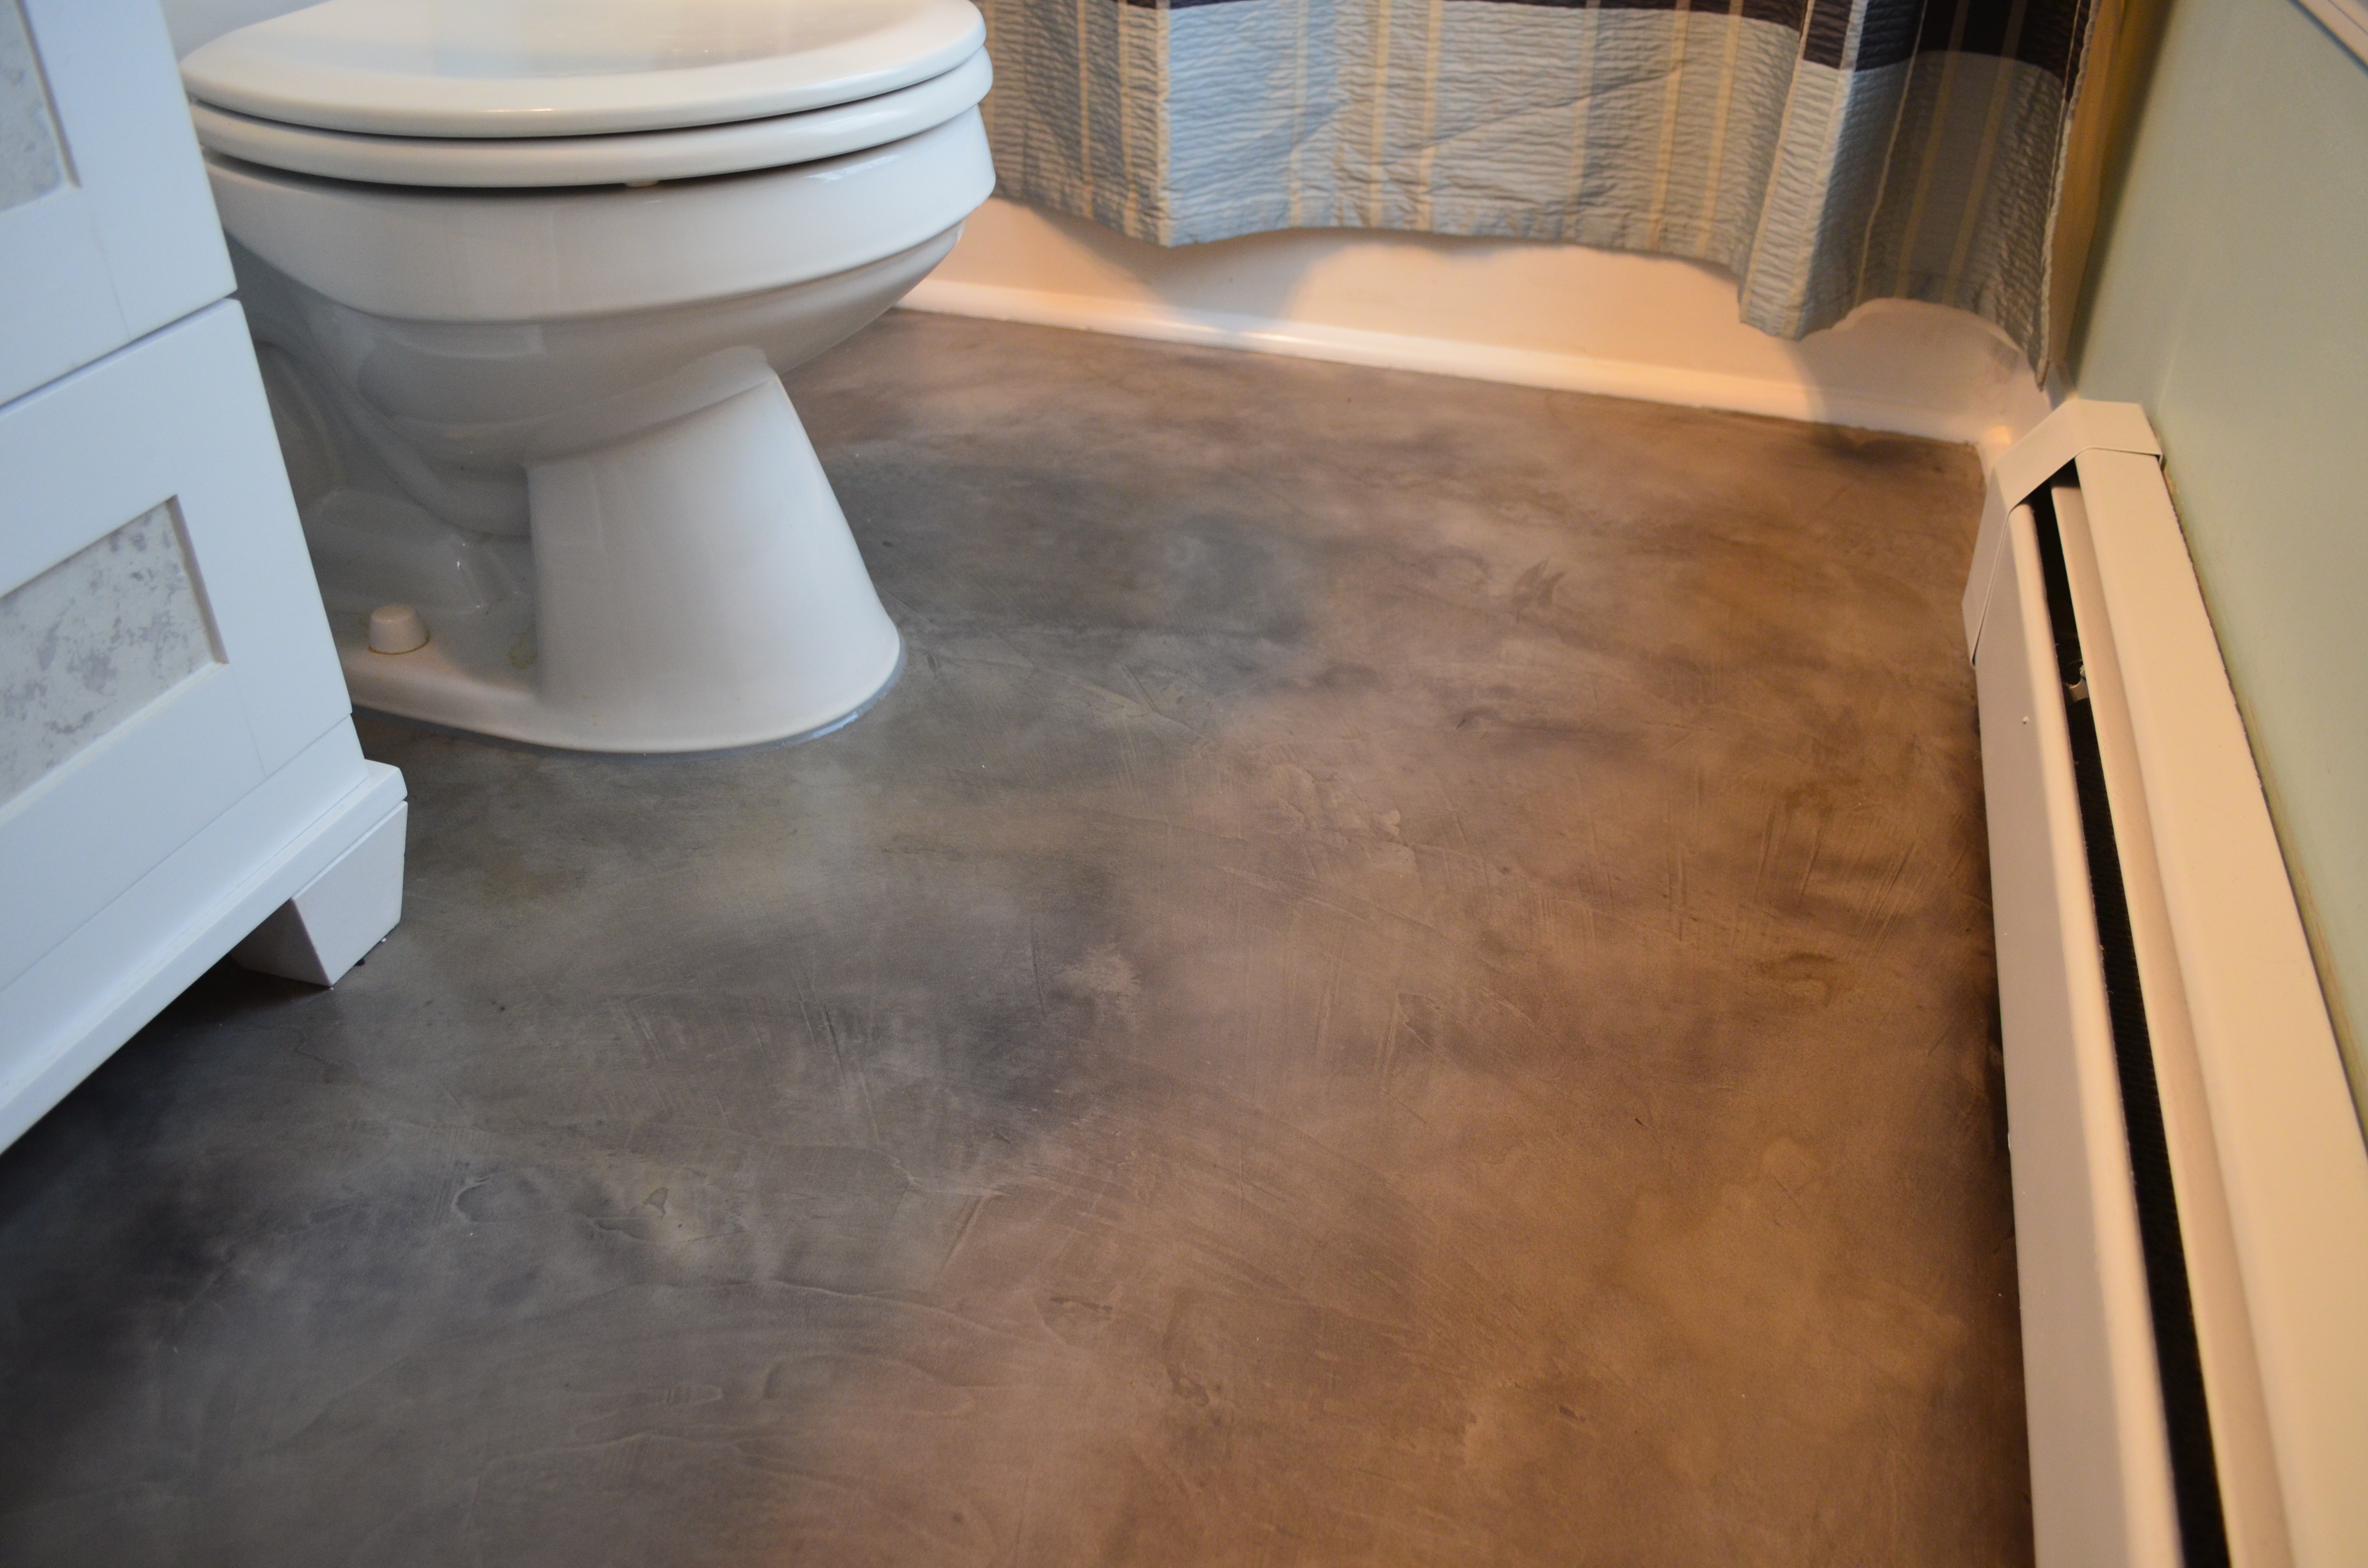
Finishing and Sealing Options
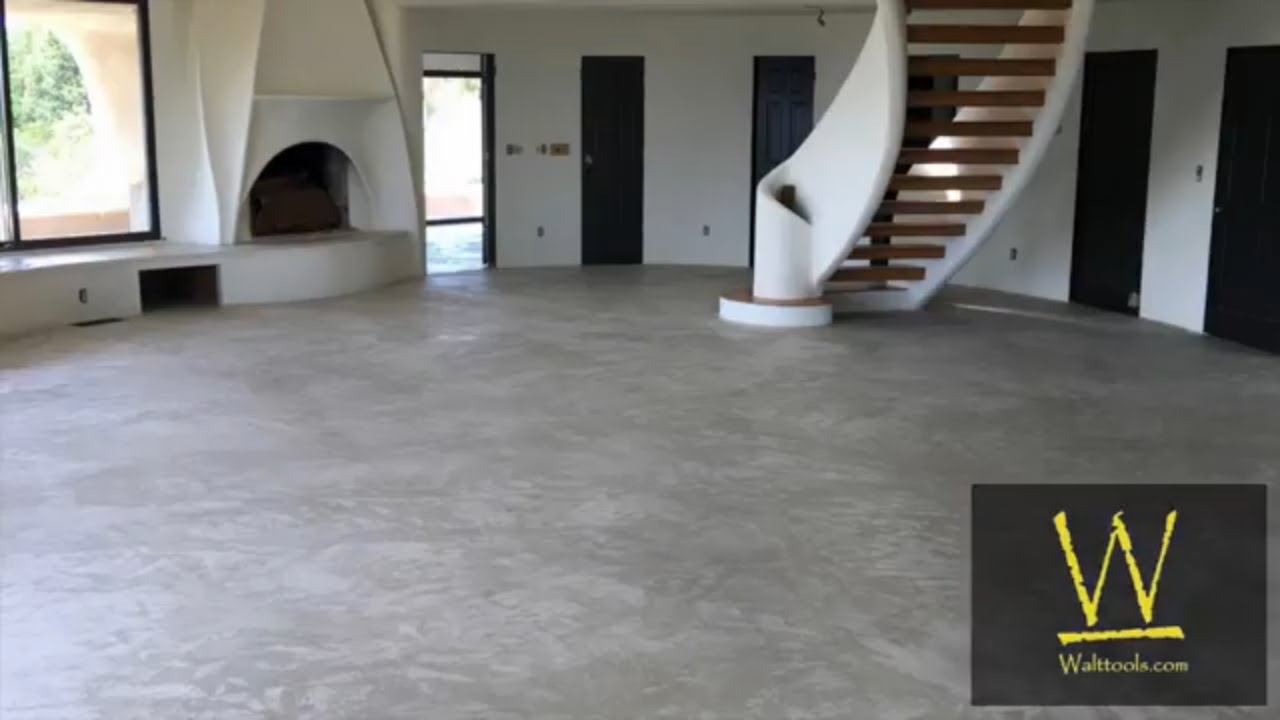
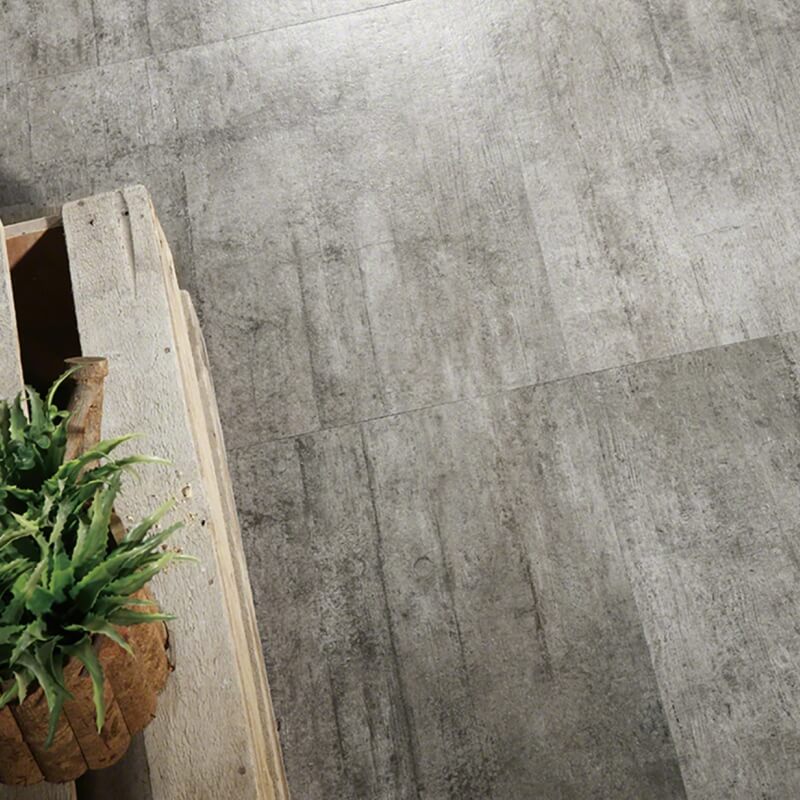
Acid staining opened up creative possibilities I hadn’t considered when starting this project originally. The chemical reaction created beautiful, natural-looking color variations that transformed the plain cement into something resembling expensive stone. Multiple stain colors allowed me to create custom patterns and designs that reflected my personal style.
Polishing the surface after curing gave it a sophisticated appearance that impressed visitors and added value to my home. I rented a planetary grinder with progressively finer pads to achieve a smooth, glossy finish. The polishing process was labor-intensive but created a surface that rivaled expensive terrazzo or polished concrete floors.
Sealing became essential for protecting my investment and ensuring long-term durability in high-traffic areas. I applied two coats of penetrating sealer followed by a topical sealer for maximum protection. The sealed surface resists stains and water damage while maintaining the attractive appearance I worked hard to achieve.
Long-Term Performance and Maintenance
After three years, my cement overlay floor continues to perform excellently with minimal maintenance required for upkeep. Regular sweeping and occasional mopping keep it looking fresh and clean. The surface has developed a beautiful patina over time that adds character rather than detracting from its appearance.
Minor hairline cracks appeared in high-stress areas near doorways, but they haven’t affected structural integrity or overall appearance significantly. I’ve learned to embrace these small imperfections as part of the floor’s character rather than viewing them as defects. Touch-up repairs are possible but rarely necessary.
Resealing every two years maintains protection and keeps the surface looking its best for continued enjoyment. This maintenance requirement is minimal compared to other flooring options and the cost is reasonable. The investment in time and materials continues to pay dividends through increased home value and personal satisfaction.

Can cement overlay be applied over any type of existing tile?
Most ceramic and porcelain tiles work well as substrates, but natural stone and certain specialty tiles may present challenges. I test adhesion in inconspicuous areas first to ensure proper bonding. Loose or damaged tiles must be repaired before application. Highly glazed surfaces may need etching for better adhesion. Always check manufacturer recommendations for your specific tile type.
How thick should the cement overlay be for best results?
I typically apply overlays between 1/8 inch and 1/4 inch thick for optimal performance and appearance. Thinner applications may not hide tile lines completely, while thicker applications increase cracking risk. Multiple thin coats work better than single thick applications for leveling purposes. The existing tile condition and desired final appearance determine optimal thickness for each project.
What tools and equipment do I need for this project?
Essential tools include a paddle mixer, long squeegee, spiked roller, and spiked shoes for walking on wet cement. I also needed buckets, measuring tools, and cleaning supplies for preparation work. Renting professional equipment like grinders often produces better results than using basic hand tools. Quality tools make the job easier and improve final appearance significantly.
How long does the cement need to cure before normal use?
Light foot traffic is possible after 24-48 hours, but I wait at least one week before heavy use or furniture placement. Full cure takes 28 days for maximum strength and durability. Sealing should wait until curing is complete for best results. Rushing the process can compromise long-term performance, so patience pays off with better durability.
What are the main advantages over removing existing tile?
Overlaying eliminates demolition mess, disposal costs, and potential asbestos concerns with older tiles that could be hazardous. The process is faster and less disruptive to daily life than complete removal. Cost savings are substantial compared to full replacement projects. However, slight height increase may require door adjustments and transitions to adjacent flooring.
Can I add color or patterns to the cement overlay?
Integral color mixing, acid stains, and decorative techniques offer numerous design possibilities for customization. I’ve used stencils for patterns and multiple stain colors for complex designs. Stamping tools can create texture that mimics other materials effectively. The key is planning designs before application since changes become difficult after curing begins.
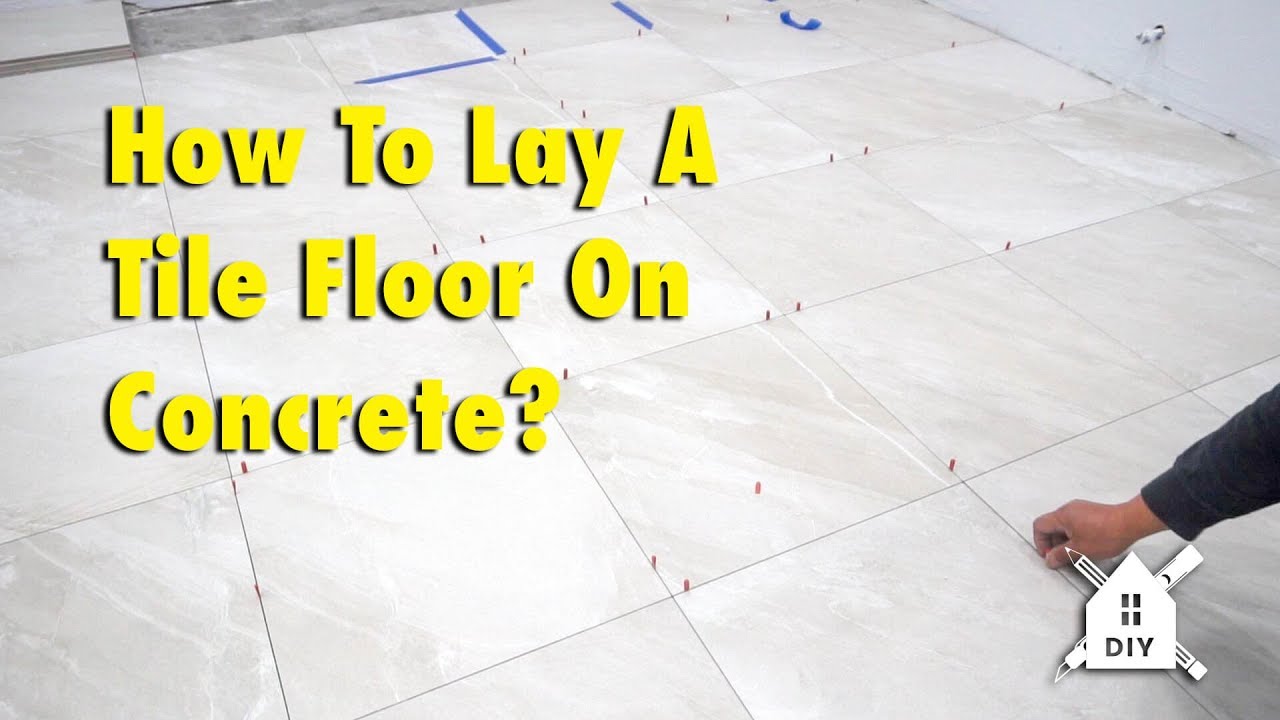
How To Lay A Tile Floor On Concrete #DIY #Homeimprovement
Decorative Concrete Experts

Skimstone (Portland cement) used over 1962 tile floor in my guest

Can concrete be poured over old tiles and marmoleum in a basement?
Concrete floors: more than 50 shades of grey! Canadian Contractor
Related Posts: