When I first walked into my outdated kitchen three years ago, I knew the old linoleum had to go. I’d been dreaming of hardwood floors, but my budget and the reality of potential water damage had me exploring alternatives. That’s when I discovered tile wood flooring, and honestly, it changed everything. The combination of wood’s warmth with tile’s practicality seemed almost too good to be true, but after living with it for years now, I can say it’s been one of my best home improvement decisions.
Understanding What Tile Wood Flooring Offers
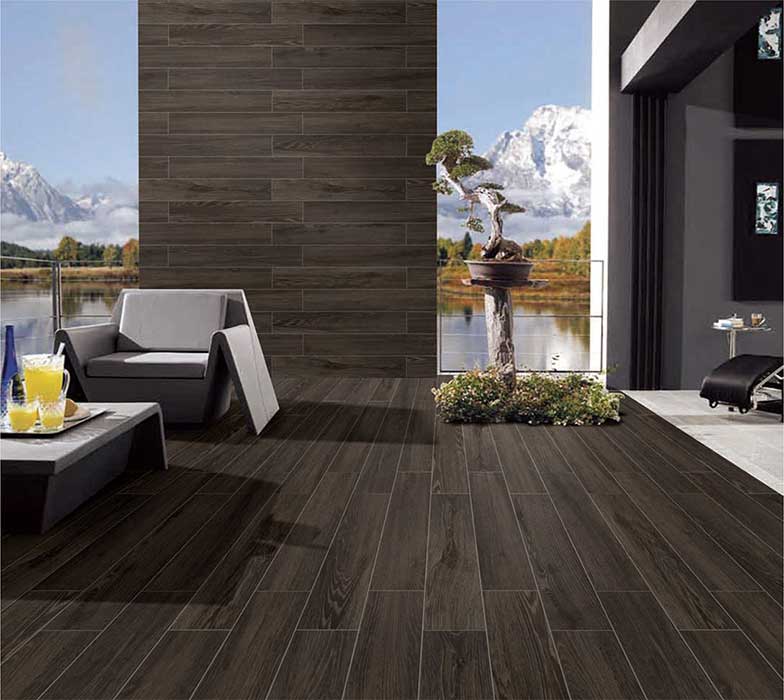
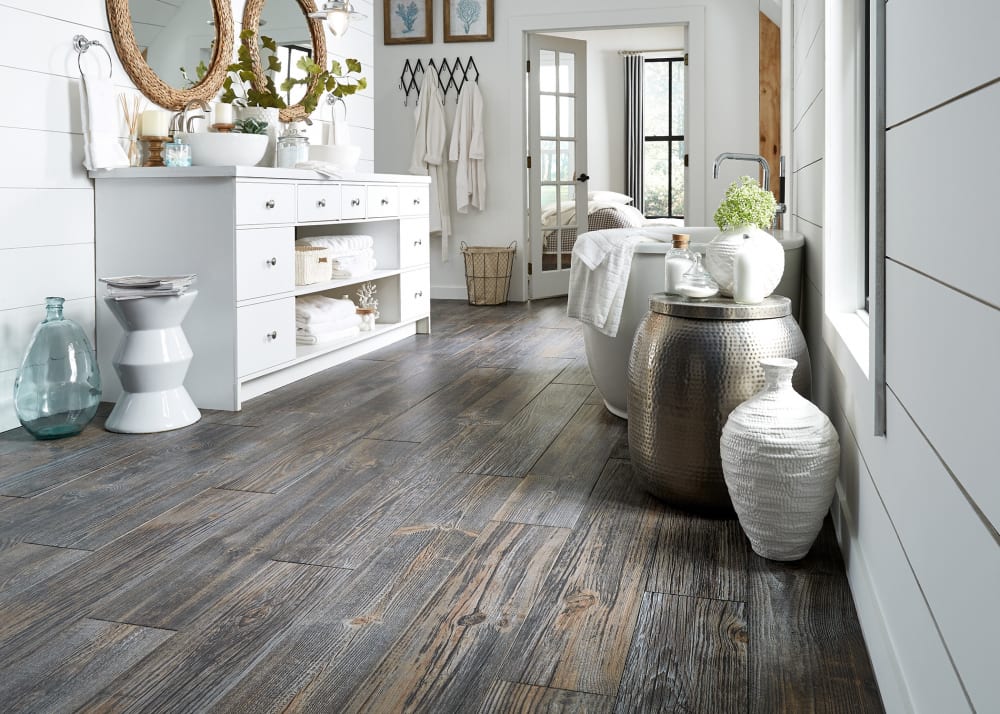
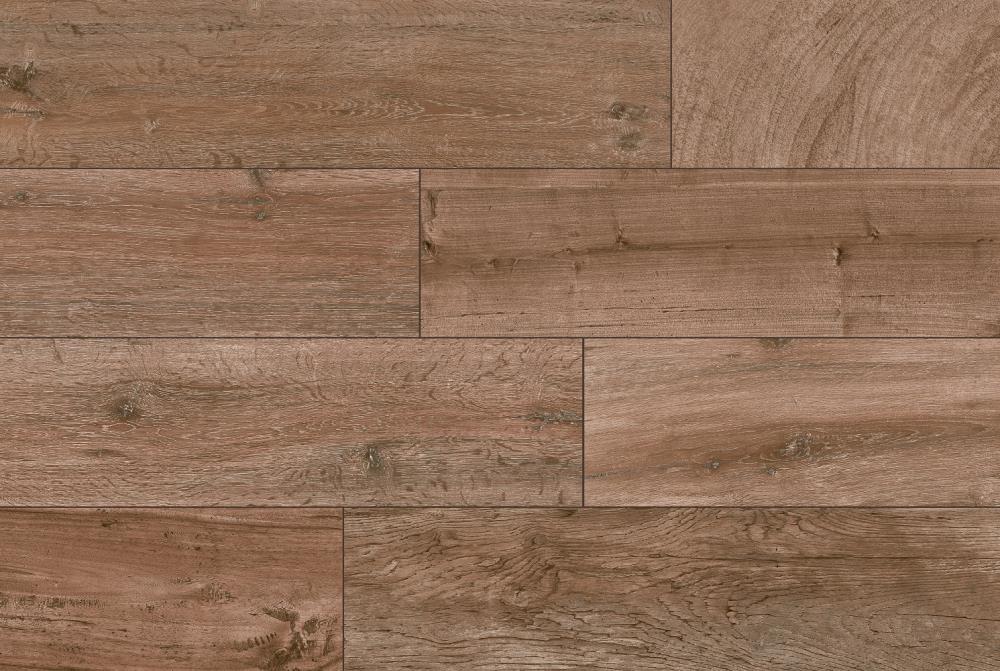
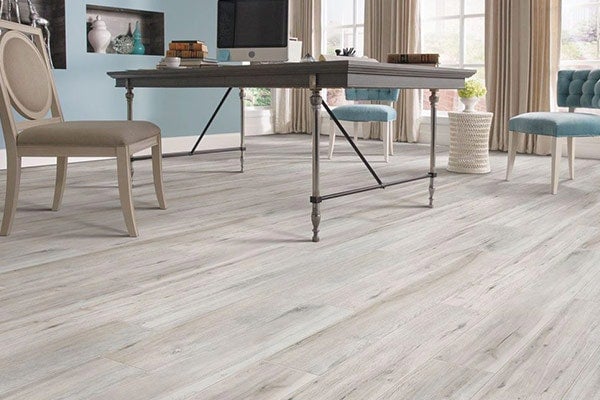
I’ll admit, I was skeptical at first about how realistic tile wood flooring could look. My neighbor had warned me about “fake-looking” floors she’d seen in some homes. But when I visited the showroom and saw the latest wood-look porcelain tiles, I was genuinely impressed. The grain patterns, color variations, and even the texture felt authentic under my fingers. Some tiles even had that slightly worn, reclaimed wood appearance I’d been coveting.
What sold me wasn’t just the appearance, though; it was learning about the technology behind these tiles. The high-definition printing and embossing techniques create depth and variation that make each tile unique. I spent time comparing different brands and found that investing in higher-quality tiles made a significant difference in realism. The cheaper options did look fake, but the mid to premium ranges were convincing enough that guests regularly complimented my “beautiful hardwood floors.”
The durability factor became clear when I researched the technical specifications. These tiles can handle moisture, scratches, and heavy foot traffic in ways that real wood simply can’t. For someone like me who loves to cook and occasionally spills things, knowing that a wine spill or dropped pot wouldn’t permanently damage my floors gave me incredible peace of mind.
Choosing the Right Style for Your Space
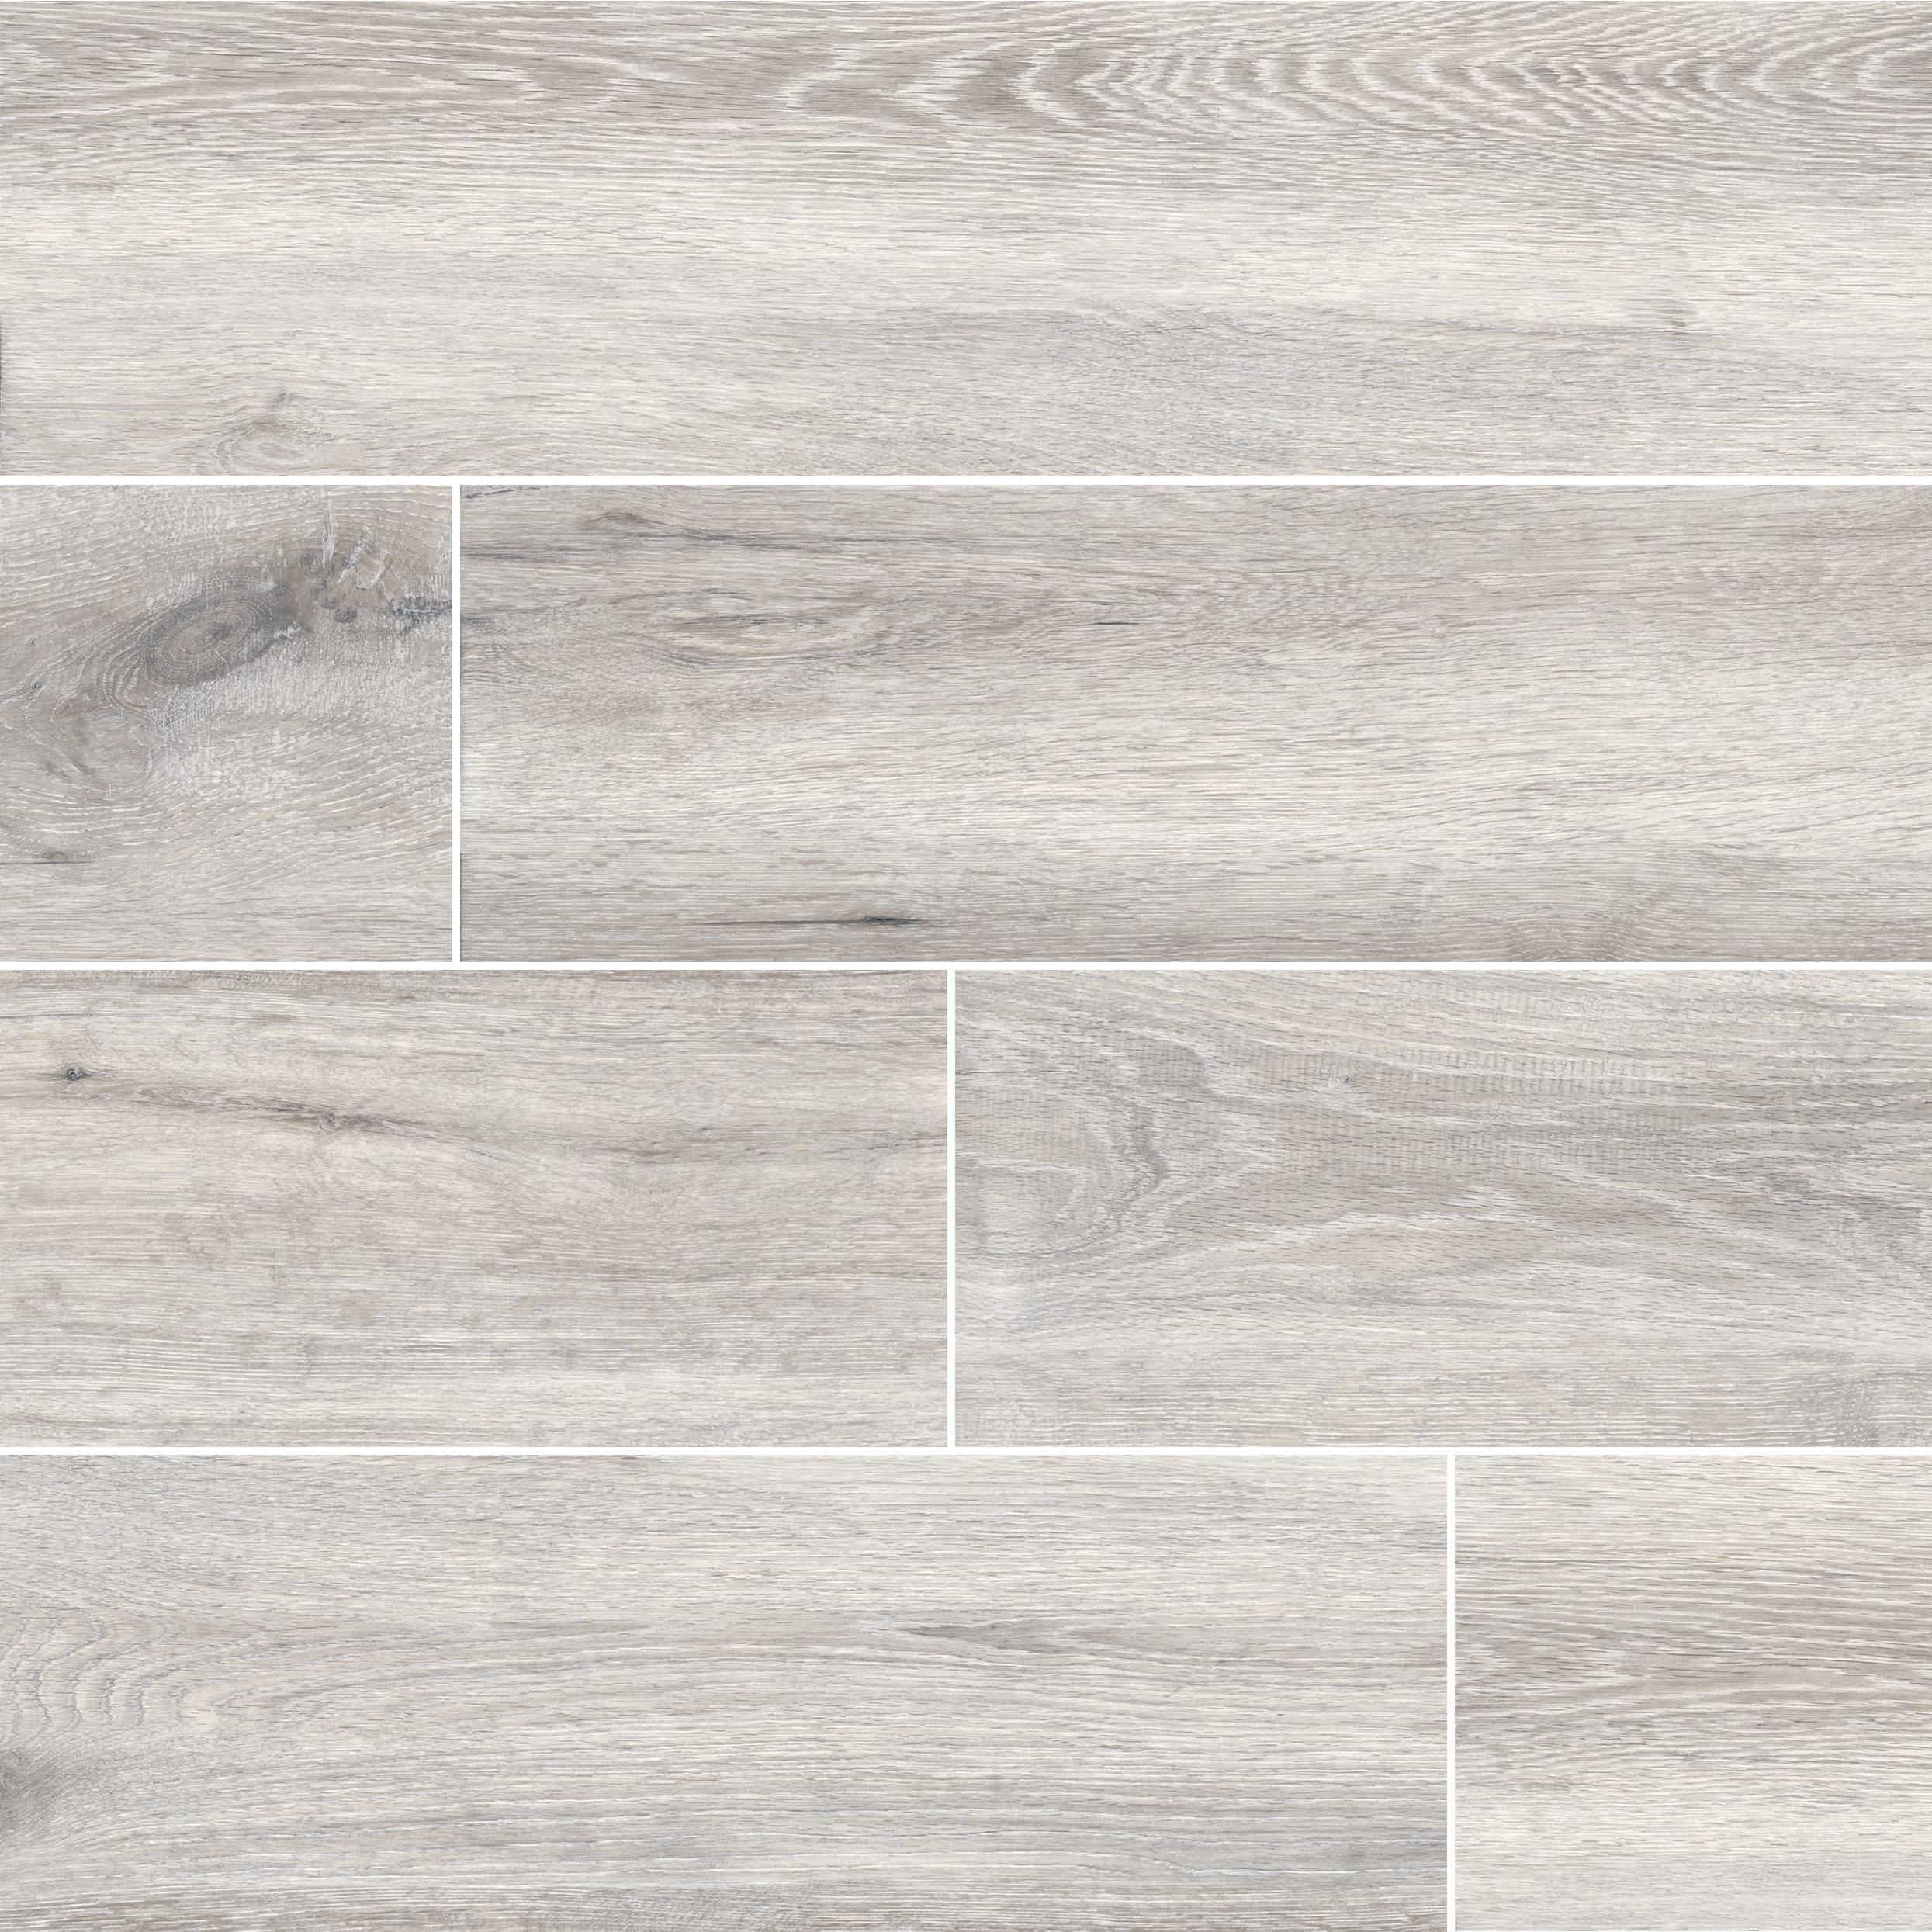
Selecting the perfect wood-look tile style felt overwhelming at first, given the endless options available. I made the mistake initially of falling in love with a dramatic, dark walnut pattern that looked stunning in the showroom. However, when I brought samples home and placed them in my actual kitchen lighting, they made the space feel much smaller and darker than I wanted. This taught me the importance of testing samples in your specific environment.
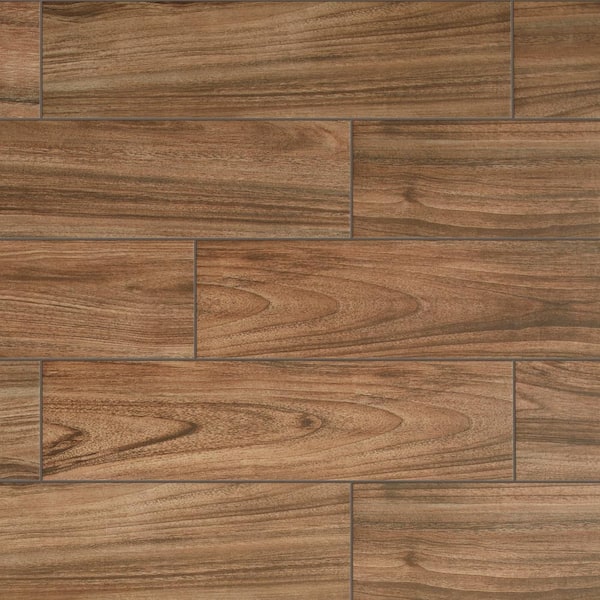
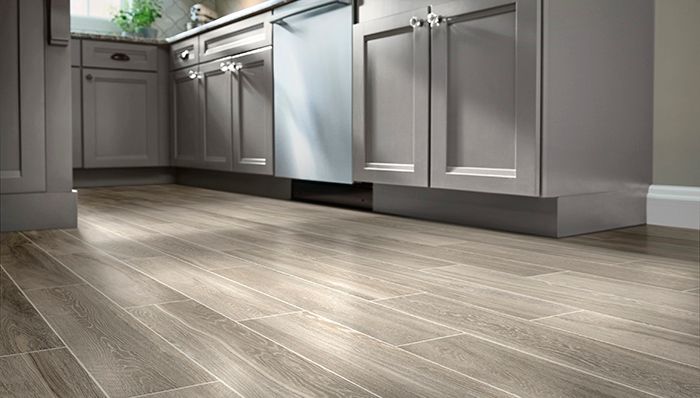
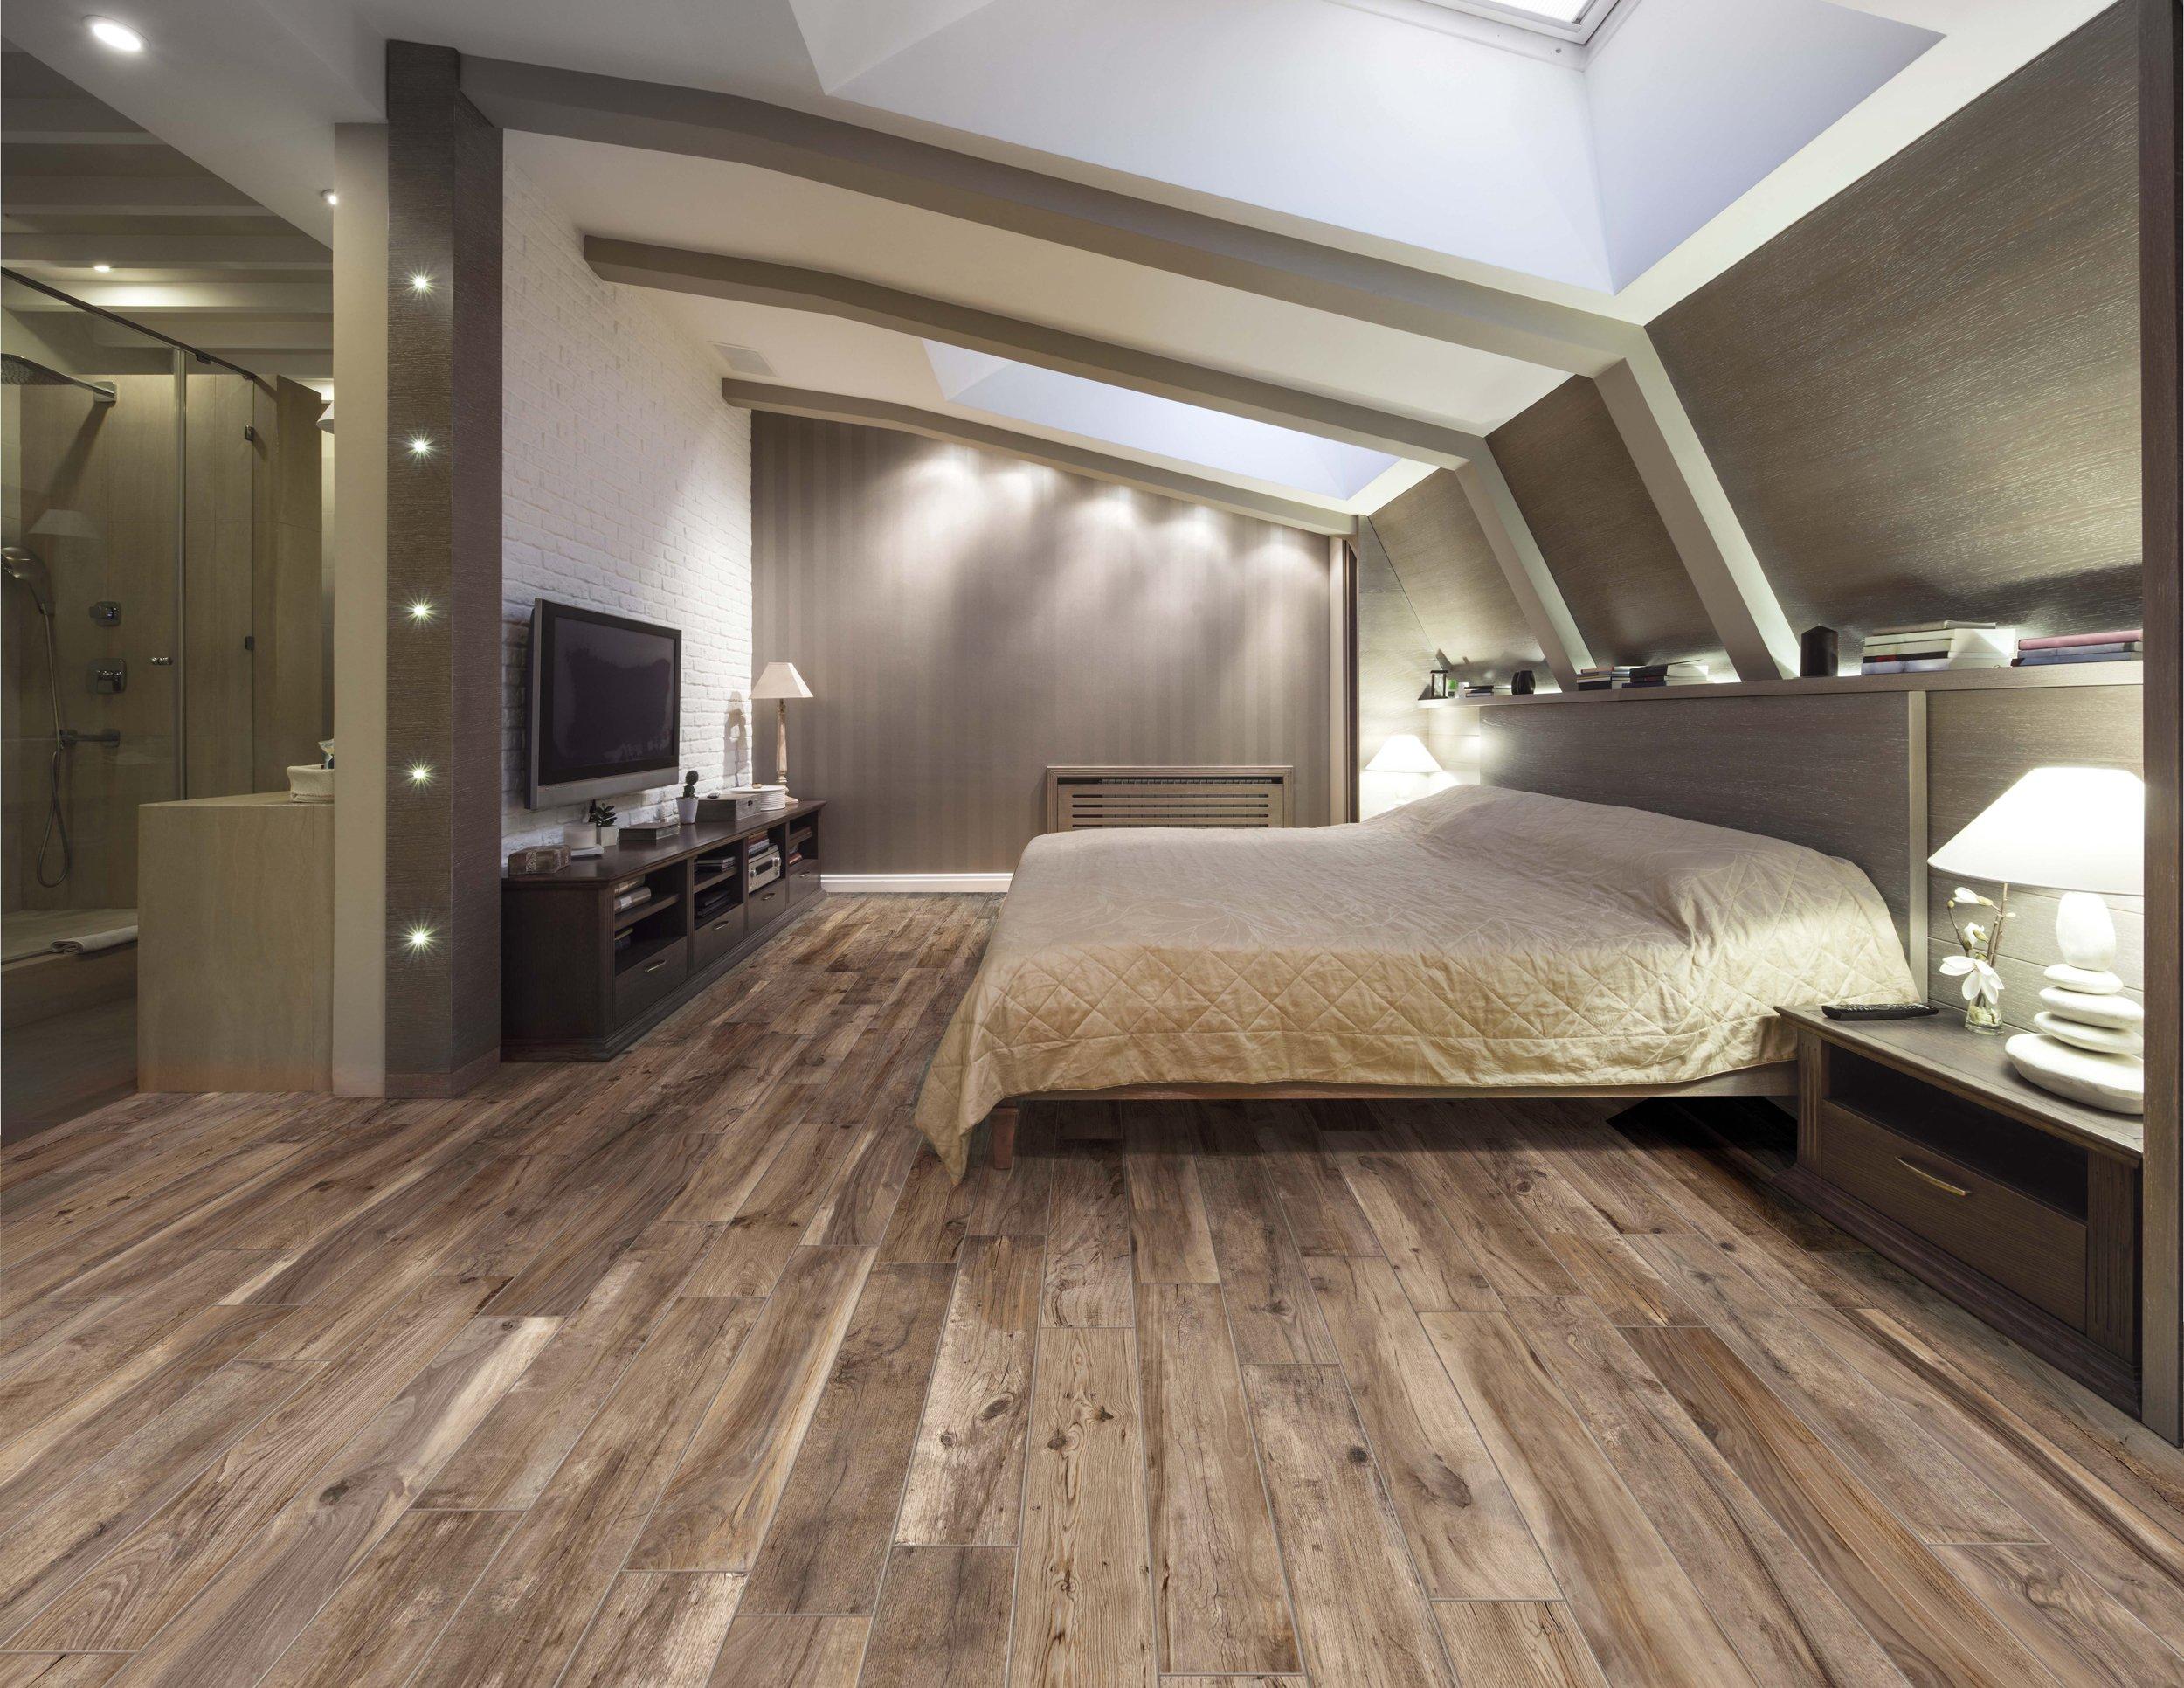
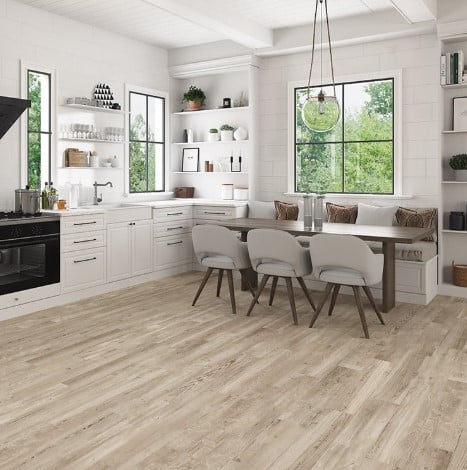
I eventually settled on a medium-toned oak pattern with subtle color variation. The key was finding tiles that complemented my existing cabinetry and the amount of natural light in my space. I learned that wider planks tend to make rooms feel larger, while narrower planks can add a more traditional, classic feel. The length of the tiles also matters; I discovered that longer tiles created cleaner sight lines and fewer grout lines, which enhanced the wood illusion.
Color undertones became crucial in my decision-making process. I noticed that some wood-look tiles had cool gray undertones while others leaned warm with golden or reddish hues. Since my kitchen has warm-toned granite countertops and honey-colored cabinets, I chose tiles with complementary warm undertones. This created a cohesive flow that made my kitchen feel intentionally designed rather than randomly assembled.
Installation Lessons I Learned the Hard Way
I initially planned to install the tiles myself to save money, confident in my DIY abilities after completing other home projects. However, after researching the process thoroughly and talking to professionals, I realized that proper installation was critical for both appearance and longevity. The substrate preparation alone seemed more complex than I’d anticipated, requiring perfect level surfaces and proper moisture barriers.
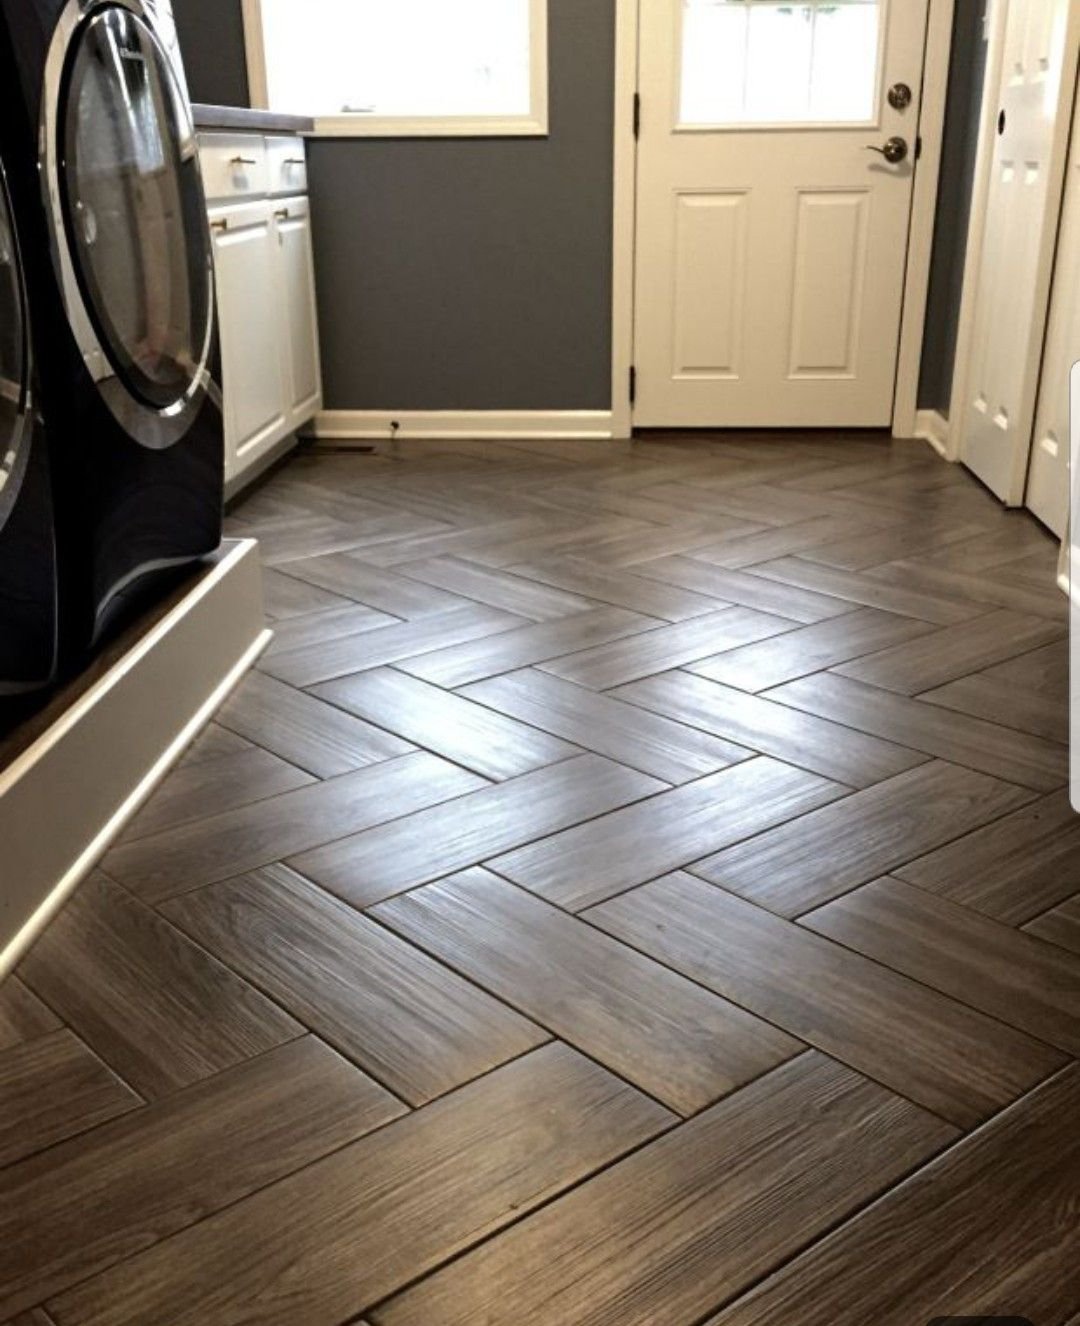
When I hired professionals, I learned valuable lessons by watching their process. The importance of proper layout planning became evident when they spent nearly half a day just measuring and marking lines before laying a single tile. They explained how starting from the center point and working outward ensures balanced borders and the most visually appealing result. I was grateful I hadn’t attempted this myself when I saw how precise the cuts needed to be around my kitchen island and appliances.
The grout selection process was more important than I’d realized. My installer explained that grout color dramatically affects the overall appearance, with matching grout creating a seamless wood look, while contrasting grout emphasizes the tile pattern. I chose a grout color that closely matched the lighter tones in my tiles, which helped maintain the hardwood illusion while still being practical for cleaning and maintenance.

Maintenance Reality Check After Three Years
Living with tile wood flooring has been surprisingly low-maintenance compared to what I expected. Daily cleaning involves simple sweeping or vacuuming, just like real hardwood, but without worrying about water damage from my mop. I use a standard tile cleaner once a week, and the floors look as good as the day they were installed. There’s no refinishing, no scratches that penetrate the surface, and no warping from humidity changes.
The grout lines did require some learning curve in terms of cleaning. Initially, I worried they would be difficult to maintain, but I found that regular cleaning prevents most issues. I do give them a deeper clean every few months using a grout brush and specialized cleaner, which keeps them looking fresh. Sealing the grout annually has prevented staining and makes regular maintenance even easier.
One unexpected benefit has been how well these floors handle my pets. My dog’s nails don’t scratch the surface like they did on my previous laminate flooring, and accidents clean up completely without leaving stains or odors. The tile surface is also cooler in summer, which my dog appreciates, and it doesn’t hold onto pet hair the way some flooring materials do.
Cost Considerations and Long-term Value
The upfront cost of quality tile wood flooring surprised me initially, falling somewhere between mid-grade laminate and solid hardwood. When I calculated the total project cost, including professional installation, it was comparable to engineered hardwood but significantly less than solid hardwood floors. However, I’ve come to appreciate that this was an investment in long-term value rather than just an immediate expense.
Over the past three years, I’ve saved money on maintenance compared to real hardwood floors. There’s no need for refinishing, professional cleaning services, or repairs from water damage. When I accidentally dropped a cast-iron pan that would have dented hardwood, my tile floors remained unmarked. These avoided costs have already begun offsetting the initial investment.
The impact on my home’s value became apparent during a recent appraisal. The appraiser noted the quality flooring as a positive feature, particularly appreciating the durability and style consistency throughout my main living areas. While the value increase may not equal the installation cost immediately, the floors should maintain their appearance and functionality for decades, making them a sound long-term investment.

Making the Final Decision That’s Right for You
Choosing tile wood flooring ultimately came down to weighing my specific needs against the available options. I needed something beautiful enough for entertaining, durable enough for daily family life, and practical enough for a busy kitchen environment. Real hardwood couldn’t handle the moisture and activity level, while laminate didn’t offer the longevity I wanted. Tile wood flooring checked all my boxes.
I recommend visiting multiple showrooms and bringing home several samples to live with for at least a week. Look at them in different lighting conditions, at different times of day, and against your existing finishes. Don’t rush this decision. The samples helped me avoid a costly mistake with that dark walnut pattern I initially loved but wouldn’t have worked in my space.
Consider your lifestyle honestly when making this choice. If you have pets, small children, or frequently entertain, tile wood flooring offers practical benefits that might outweigh any minor aesthetic differences from real hardwood. For me, the peace of mind knowing that spills, scratches, and daily wear won’t damage my floors has been invaluable. I can focus on enjoying my beautiful kitchen rather than constantly worrying about protecting my floors.
How realistic does tile wood flooring look compared to real hardwood?
In my experience, high-quality wood-look tiles are remarkably convincing. Guests regularly compliment my “hardwood floors” without realizing they’re tiles. The key is investing in better quality options with varied patterns and realistic textures. While there’s still a subtle difference up close, the overall effect is very convincing, especially from normal viewing distances in everyday use.
Is tile wood flooring suitable for bathrooms and wet areas?
Absolutely, and this is where it shines compared to real wood. I installed it in my powder room, and it handles moisture perfectly without warping or damage. The waterproof nature makes it ideal for bathrooms, laundry rooms, and kitchens where spills are common. Just ensure proper installation with appropriate moisture barriers and sealed grout lines for best results.
How does the comfort and warmth compare to real hardwood underfoot?
Tile does feel cooler and harder than real wood, which can be noticeable when walking barefoot. However, I found this less bothersome than expected, and it’s pleasant during the hot summer months. Adding area rugs in key spots addresses any comfort concerns while maintaining the beautiful wood appearance throughout most of the space.
What’s the realistic lifespan of tile wood flooring?
Based on my research and experience so far, these floors should last 20-30 years or more with proper installation and basic maintenance. Unlike real hardwood that may need refinishing every 7-10 years, tile wood flooring maintains its appearance without major maintenance. The durability means it’s likely to outlast many other flooring options while keeping its original beauty.
Can tile wood flooring be installed over existing floors?
In many cases, yes, which was a huge advantage for my renovation. My installer was able to go directly over my old linoleum after ensuring the subfloor was level and sound. This saved time and money compared to complete floor removal. However, each situation is different, so professional assessment is important to ensure proper installation and avoid future issues.
How does the cost compare to other flooring options over time?
While the upfront cost is moderate, the long-term value has been excellent. When I factor in no refinishing costs, no repair expenses from water damage, and minimal maintenance requirements, it’s been more economical than hardwood. The durability means I won’t need replacement anytime soon, making the cost per year of use very reasonable compared to cheaper options that need frequent replacement.
Style Selections Woods Natural 6-in x 24-in Glazed Porcelain Wood Look Floor Tile
Antoni 6″ x 36″ Porcelain Wood look Wall & Floor Tile
Complete Guide to Wood Look Tile Empire Today
How to Choose the Right Wood-Look Tile Color
Related Posts: