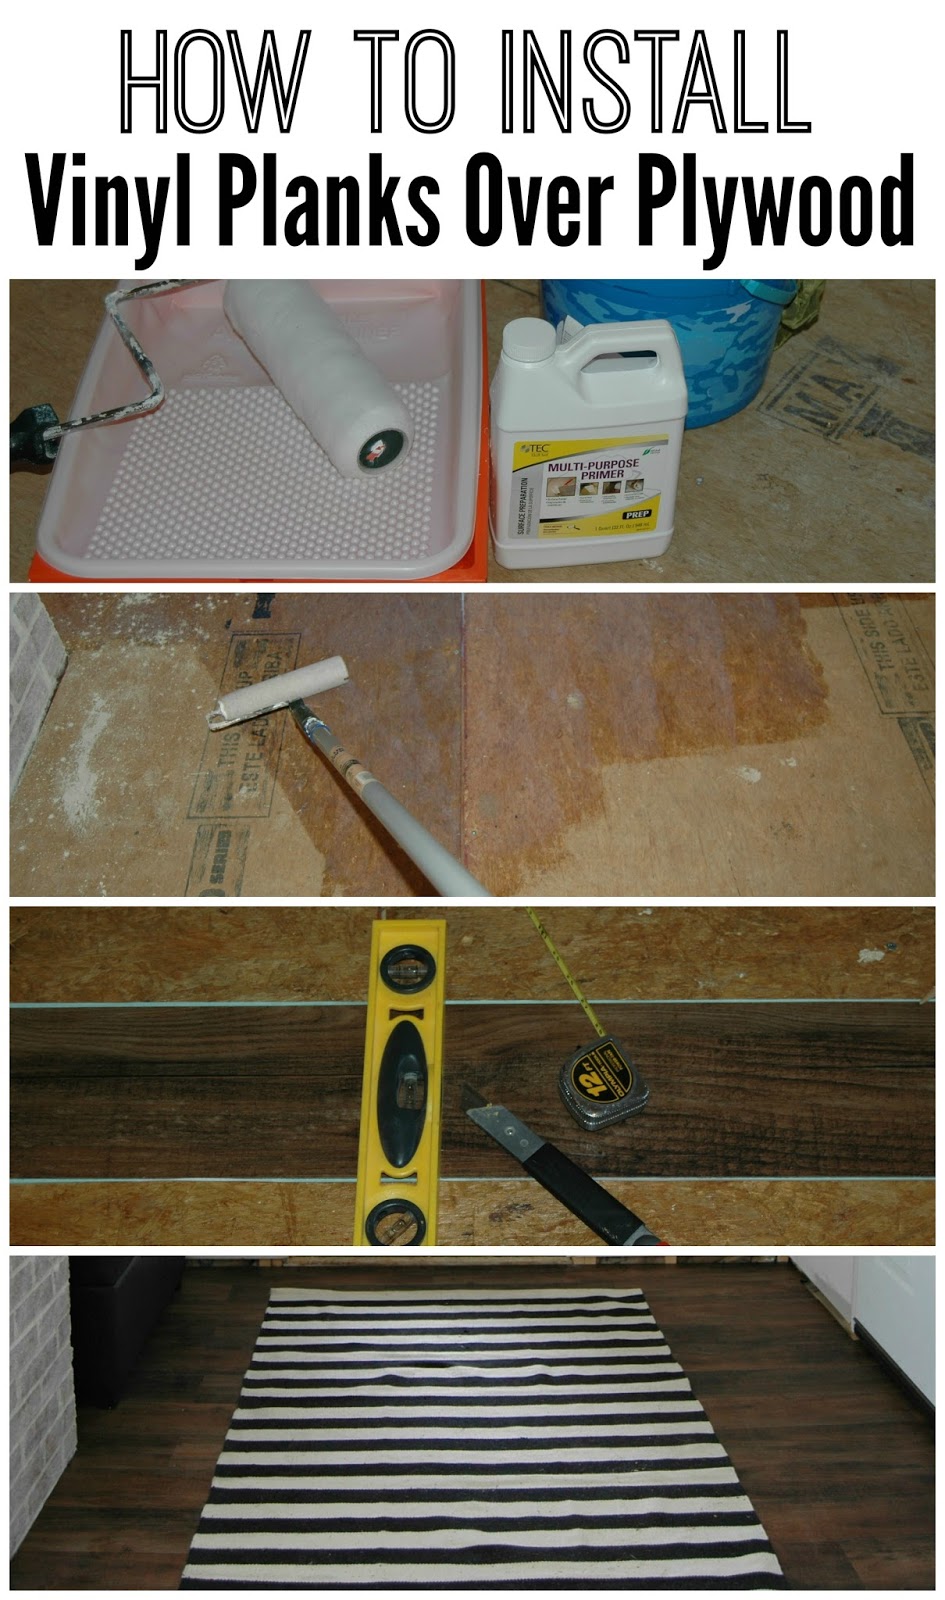
Preparing the Plywood: Steps to Ensure a Smooth Surface
Before installing vinyl flooring over plywood, it’s crucial to prepare the surface properly. Let me guide you through the necessary steps to ensure a smooth and stable foundation for your vinyl flooring.
- Clean the Plywood: Start by thoroughly cleaning the plywood surface. Remove any dust, dirt, or debris using a broom or vacuum cleaner. This step is essential to create a clean and even surface for the vinyl flooring.
- Repair Damaged Areas: Inspect the plywood for any cracks, dents, or holes. Use a wood filler to repair these imperfections. Make sure to follow the manufacturer’s instructions for the wood filler and allow it to dry completely before moving on to the next step.
- Sand the Plywood: To create a smooth surface, it’s important to sand the plywood. Use medium-grit sandpaper and sand the entire surface in the direction of the wood grain. This step will remove any rough edges or imperfections and provide a better bonding surface for the vinyl flooring.
- Remove Dust: After sanding, clean the surface again to remove any dust or debris. Use a damp cloth or mop to wipe down the plywood thoroughly. Let it dry completely before proceeding with the installation.
- Apply a Primer: To enhance the bond between the plywood and the vinyl flooring, apply a primer. Choose a primer specifically designed for plywood and follow the manufacturer’s instructions. Apply an even coat of primer using a paintbrush or roller. Allow the primer to dry completely before moving forward.
Choosing the Right Vinyl Flooring
When it comes to vinyl flooring, choosing the right type and style is essential for achieving the desired look and functionality. Let’s discuss the key considerations and options to help you make an informed decision.
- Type of Vinyl Flooring: There are two main types of vinyl flooring: sheet vinyl and luxury vinyl tiles (LVT). Sheet vinyl comes in large rolls, while LVT consists of individual tiles or planks. Consider the advantages and disadvantages of each type to determine which one suits your needs and preferences.
- Design and Style: Vinyl flooring offers a wide range of design options, including various colors, patterns, and textures. Consider the overall aesthetic of your space and choose a design that complements your interior décor. Additionally, think about the durability and maintenance requirements of different designs when making your selection.
- Thickness and Wear Layer: The thickness of the vinyl flooring and the wear layer are important factors to consider. Thicker flooring provides better durability and insulation, while a thicker wear layer protects against scratches and stains. Assess the level of foot traffic in your space and choose a thickness and wear layer that can withstand the expected usage.
- Waterproof and Slip Resistance: For areas prone to moisture, such as bathrooms or kitchens, opt for vinyl flooring that is waterproof or has high water resistance. Additionally, consider the slip resistance of the flooring, especially for areas where there may be a risk of slipping, such as entryways or hallways.
- Budget and Installation: Lastly, consider your budget and the installation process. Vinyl flooring is available at various price points, so determine your budget and explore options within that range. Additionally, evaluate whether you prefer a DIY installation or hiring a professional for the job.
Installation Techniques: Tips and Tricks for a Professional Finish
Proper installation techniques are crucial for achieving a professional finish when installing vinyl flooring over plywood. Below are some tips and tricks to help you achieve a flawless installation.
Acclimate the Vinyl Flooring:
Before installation, it’s important to acclimate the vinyl flooring to the room’s temperature and humidity levels. Follow the manufacturer’s instructions regarding the recommended acclimation period. This step ensures that the flooring adjusts to the environment, minimizing the risk of expansion or contraction after installation.
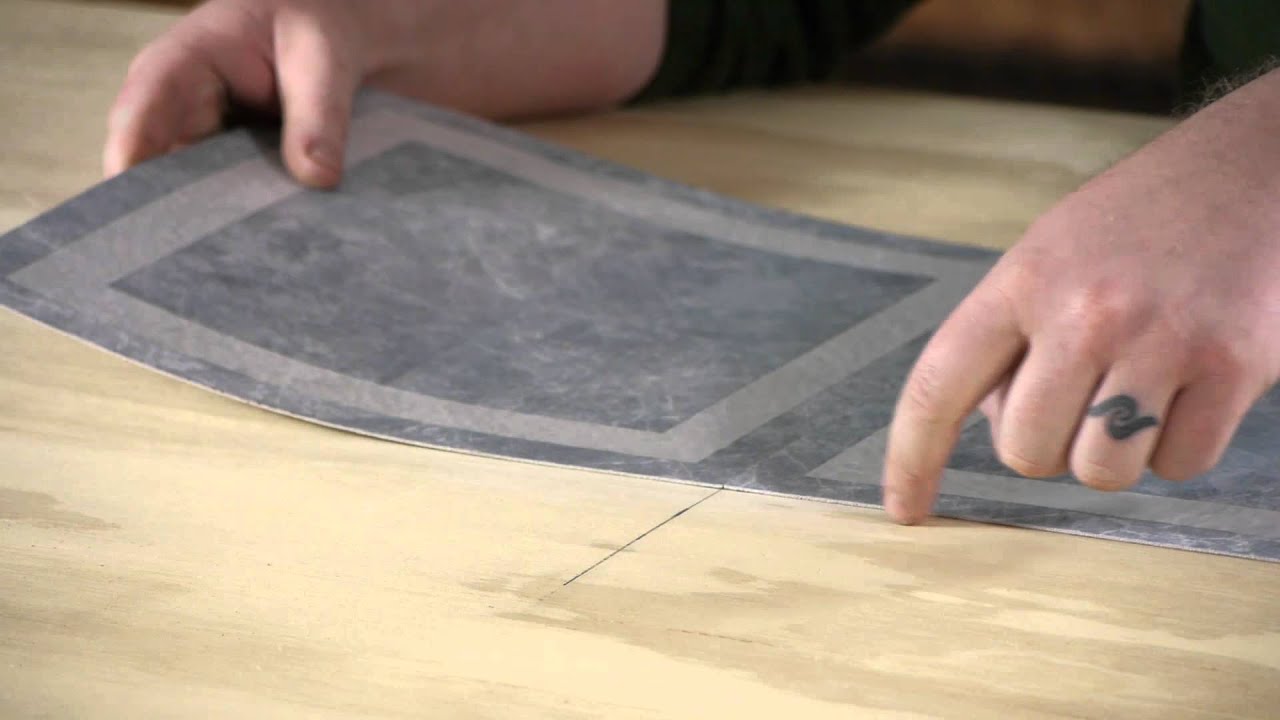
Measure and Plan:
Careful measurement and planning are key to a successful installation. Measure the room accurately and calculate the amount of vinyl flooring needed, allowing for extra material for cuts and waste. Create a layout plan, considering the direction of the planks or tiles and any patterns or transitions required.
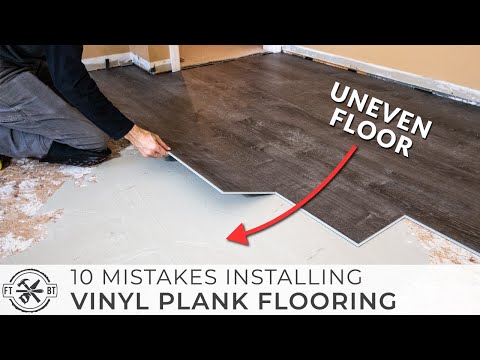
Start with a Smooth Subfloor:
Ensure that your plywood subfloor is smooth and level before installation. Use a leveling compound or self-leveling underlayment if necessary to correct any uneven areas. A smooth subfloor provides a sturdy foundation for the vinyl flooring and prevents any imperfections from showing through.
Use the Right Adhesive:
Select the appropriate adhesive for your vinyl flooring and plywood. Follow the manufacturer’s instructions for the adhesive application, including the recommended trowel size and drying time. Applying the adhesive evenly and allowing it to dry properly is crucial for a secure and long-lasting installation.
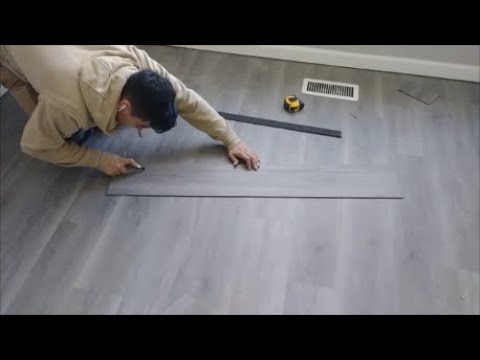
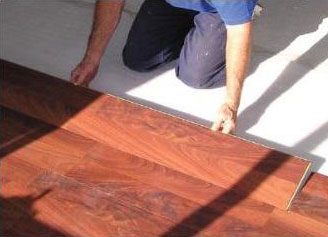
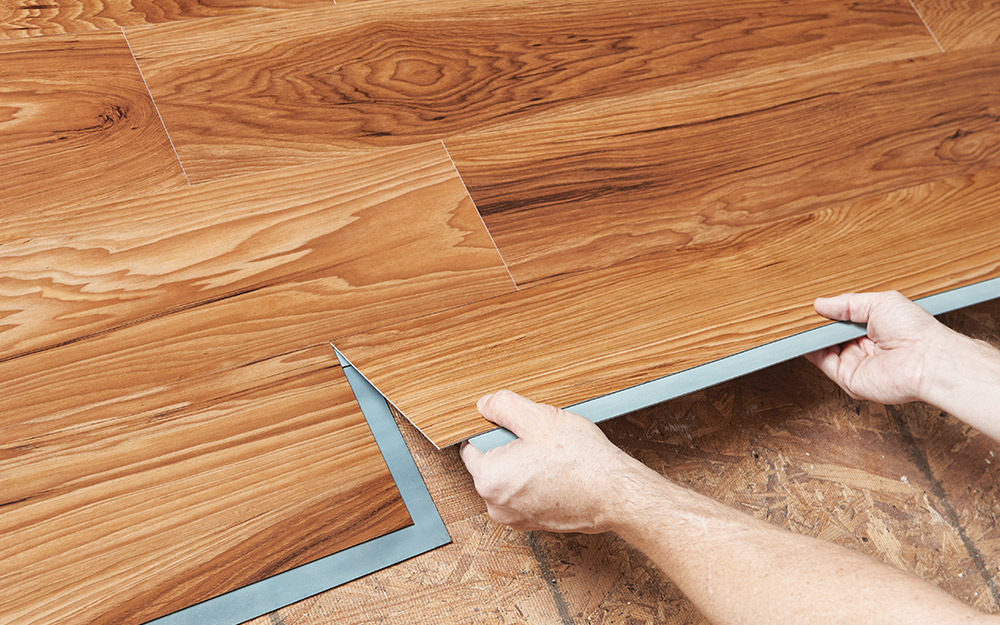
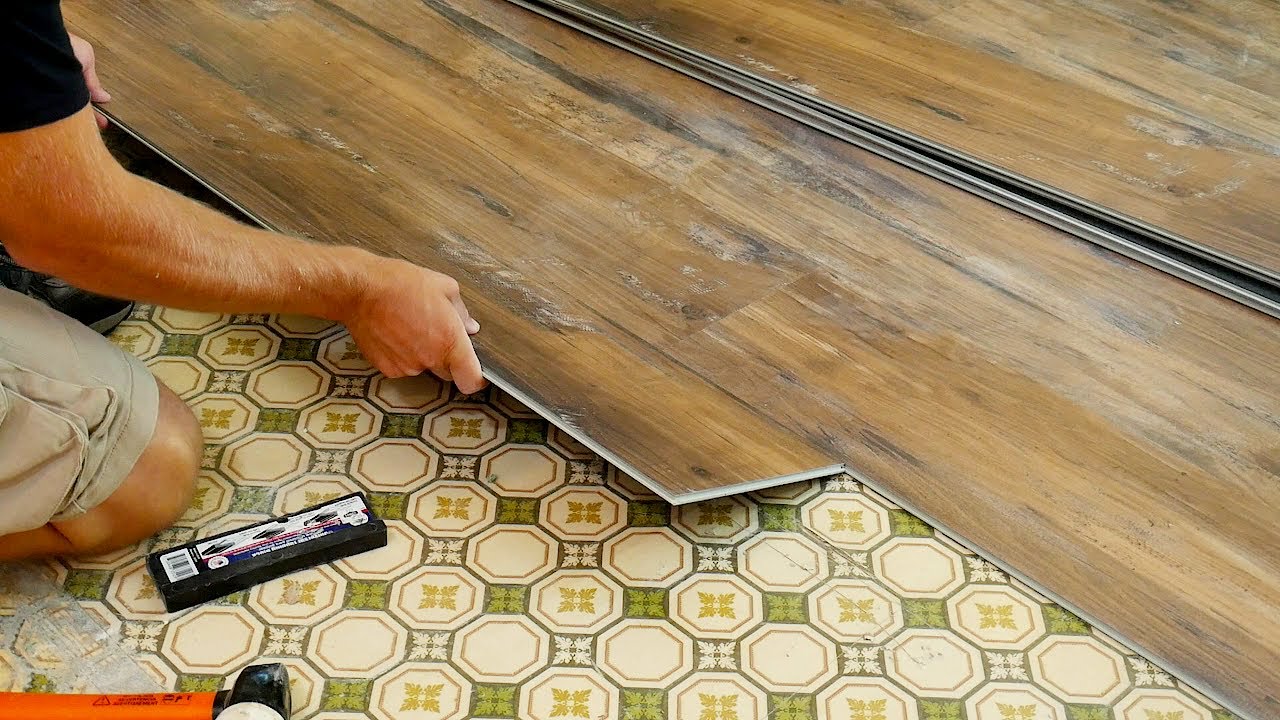
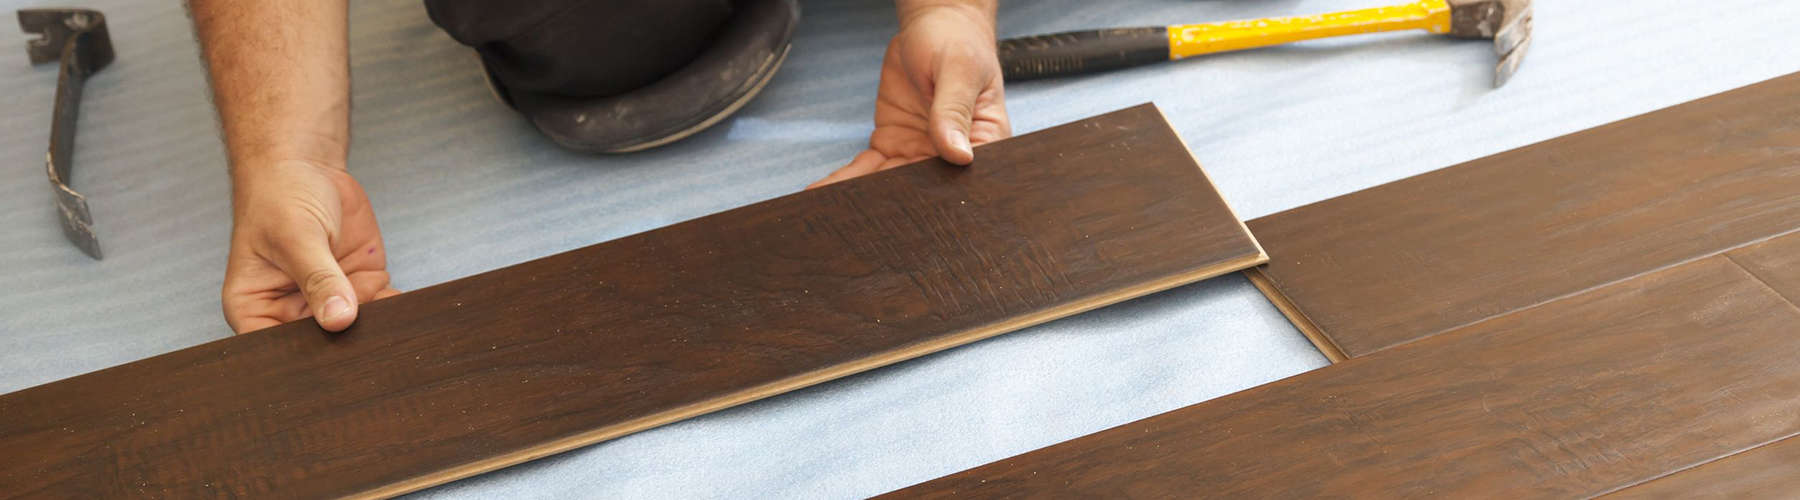
Install with Care:
When laying the vinyl flooring, take your time and work systematically. Start in one corner of the room and work your way across, using a tapping block or rubber mallet to ensure tight seams. Trim the flooring as needed to fit around obstacles, using a utility knife or vinyl cutter. Pay attention to any patterns or designs to maintain consistency throughout the installation.
Preventing Common Issues: Troubleshooting and Solutions
Even with proper installation, issues may arise when installing vinyl flooring over plywood. Below we address some common problems and provide troubleshooting tips and solutions to help you overcome these challenges.
Bubbling or Lifting:
If you notice bubbling or lifting of the vinyl flooring, it may be due to inadequate adhesive application or trapped air beneath the flooring. To resolve this issue, carefully lift the affected area, apply additional adhesive, and use a roller or hand pressure to ensure proper adhesion and eliminate any trapped air.
Seam Separation:
Seam separation can occur when the vinyl planks or tiles are not tightly connected. To fix this issue, gently lift the edges of the separated seams, apply adhesive to the subfloor, and press the seams back together firmly. Use a roller to ensure a secure bond.
Gapping or Buckling:
Gapping or buckling may occur if the vinyl flooring expands or contracts due to temperature or humidity changes. To prevent this, ensure proper acclimation before installation. If gapping or buckling does occur, consider using expansion joints or transition strips to allow for movement. In extreme cases, professional assistance may be required.
Scratches or Scuffs:
To prevent scratches or scuffs on your vinyl flooring, use protective felt pads on furniture legs and avoid dragging heavy objects across the floor. If scratches or scuffs do occur, use a vinyl flooring repair kit or apply a manufacturer-approved touch-up product to conceal the damage.
Stains or Discoloration:
To prevent stains or discoloration, clean up spills promptly and avoid using harsh chemicals or abrasive cleaners. If stains or discoloration occur, try using a mild vinyl floor cleaner or a manufacturer-approved stain remover. Test any cleaning products in a small, inconspicuous area before applying them to the entire floor.

Maintenance and Care: Keeping Your Vinyl Flooring Looking Great
Proper maintenance and care are essential for keeping your vinyl flooring looking great and prolonging its lifespan. here we provide you with tips and guidelines on how to maintain and care for your vinyl flooring effectively.
Regular Cleaning:
Regularly sweep or vacuum your vinyl flooring to remove dirt and debris that can scratch the surface. For more thorough cleaning, use a damp mop with a mild vinyl floor cleaner. Avoid using abrasive cleaners or excessive water, as they can damage the flooring.
Preventive Measures:
To protect your vinyl flooring from scratches and dents, place doormats at entryways to trap dirt and grit. Use protective felt pads on furniture legs to prevent scratching when moving or rearranging furniture. Additionally, avoid wearing high heels or sharp footwear on the vinyl flooring, as they can cause indentations.
Spill Cleanup:
Clean up spills promptly to prevent staining or damage to the vinyl flooring. Use a soft cloth or paper towel to blot away the spill, then clean the area with a mild vinyl floor cleaner. Avoid using excessive water, as it can seep into the seams and cause damage.
Avoid Direct Sunlight:
Prolonged exposure to direct sunlight can cause fading or discoloration of your vinyl flooring. Use curtains, blinds, or UV-protective window films to reduce the amount of sunlight that reaches the floor. Alternatively, consider using area rugs or furniture to cover areas that receive direct sunlight.
Periodic Maintenance:
Periodically inspect your vinyl flooring for any signs of wear or damage. If you notice any loose edges, seams, or damaged areas, repair them promptly to prevent further issues. Follow the manufacturer’s guidelines for any recommended maintenance procedures, such as applying a protective coating or polish to enhance the flooring’s durability and appearance.
Mudroom Progress} Installing Vinyl Plank Flooring Little House
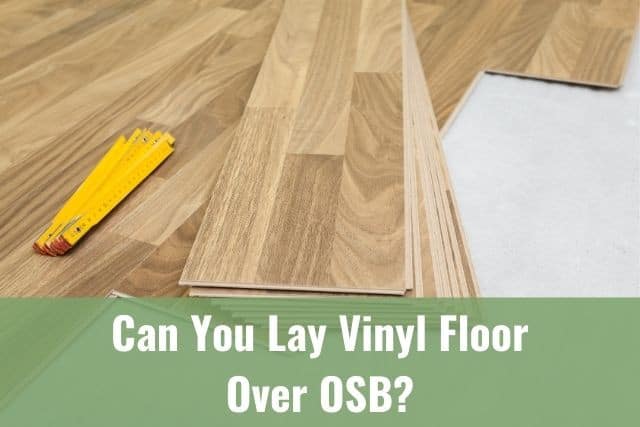
Can You Lay Vinyl Floor Over OSB? – Ready To DIY
Before you Begin your Vinyl Flooring Project (FAQs) » Windsor Plywood®
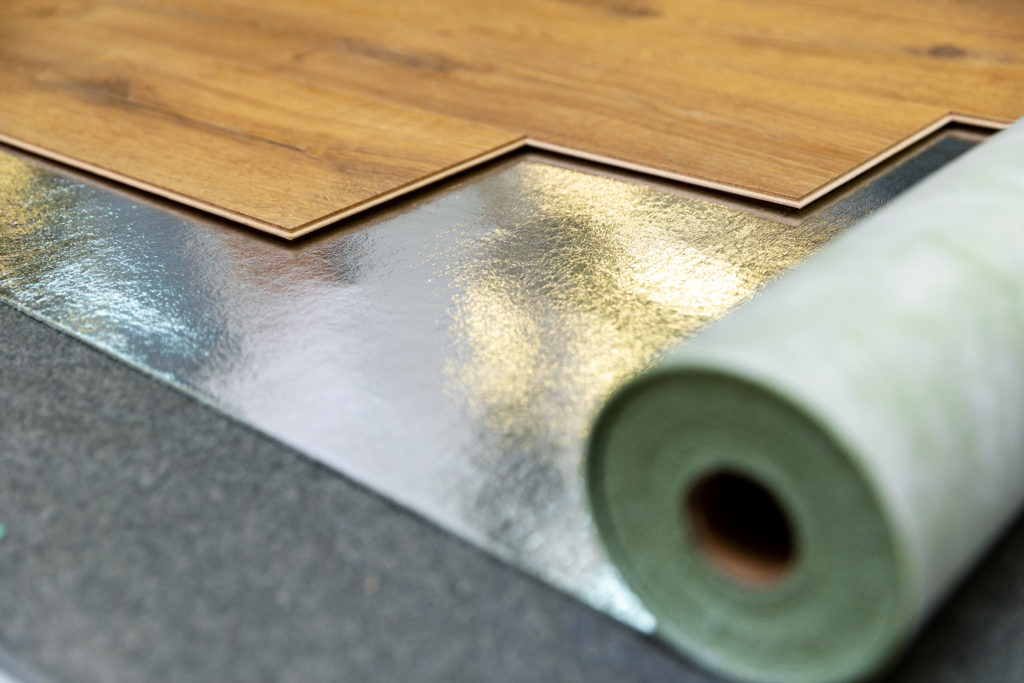
Underlayment for Vinyl Flooring: Your Total Guide FlooringStores
How to Install Vinyl Plank Flooring
Vinyl Floor Installation How to install a floating click together floor
How To Install Vinyl Plank Flooring – Norfolk Hardware u0026 Home Center
Related Posts: