When I decided to finish my basement, the flooring choice felt like the most stressful part of the whole project. Basements are notoriously tricky spaces, prone to moisture, temperature swings, and the occasional water intrusion, and I had already heard horror stories from neighbors who had installed the wrong material and regretted it. After a lot of research and one very helpful conversation with a flooring specialist, I landed on vinyl, and it has exceeded every expectation I had. If you’re weighing your basement flooring options, let me share everything I learned along the way.
Why Vinyl Is Uniquely Suited for Basement Conditions
The core reason vinyl works so well in basements comes down to one thing: it is genuinely waterproof. Not water-resistant, not moisture-tolerant, but fully waterproof through the entire thickness of the plank or tile. When I learned this distinction, it changed how I thought about the choice. Other materials resist moisture up to a point, but vinyl simply doesn’t absorb it at all.
Basements live below grade, which means they’re surrounded by soil and naturally experience higher humidity and the occasional seepage event. I had a minor water intrusion in my basement twice before finishing it, and knowing that my vinyl floor could handle that without swelling, warping, or developing mold underneath gave me real peace of mind. It’s a level of confidence I wouldn’t have had with laminate or engineered hardwood.
Vinyl also handles temperature fluctuations better than most flooring materials. Basements tend to run cooler in summer and can feel drafty in winter, and that cycling can cause materials like hardwood to expand and contract problematically. Vinyl stays dimensionally stable across a wide range of temperatures, which means fewer gaps, no buckling, and a floor that looks consistent year-round.
Luxury Vinyl Plank vs. Luxury Vinyl Tile: Which One I Chose
When I started shopping, I quickly realized vinyl falls into two main categories for basement use: luxury vinyl plank, which mimics wood, and luxury vinyl tile, which mimics stone or ceramic. Both are fully waterproof and durable, but they create very different looks and suit different basement purposes. Knowing which fits your vision before you shop saves a lot of time.
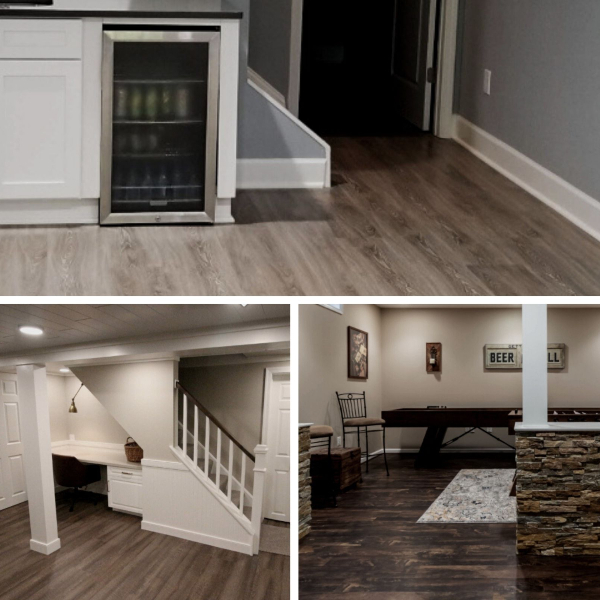
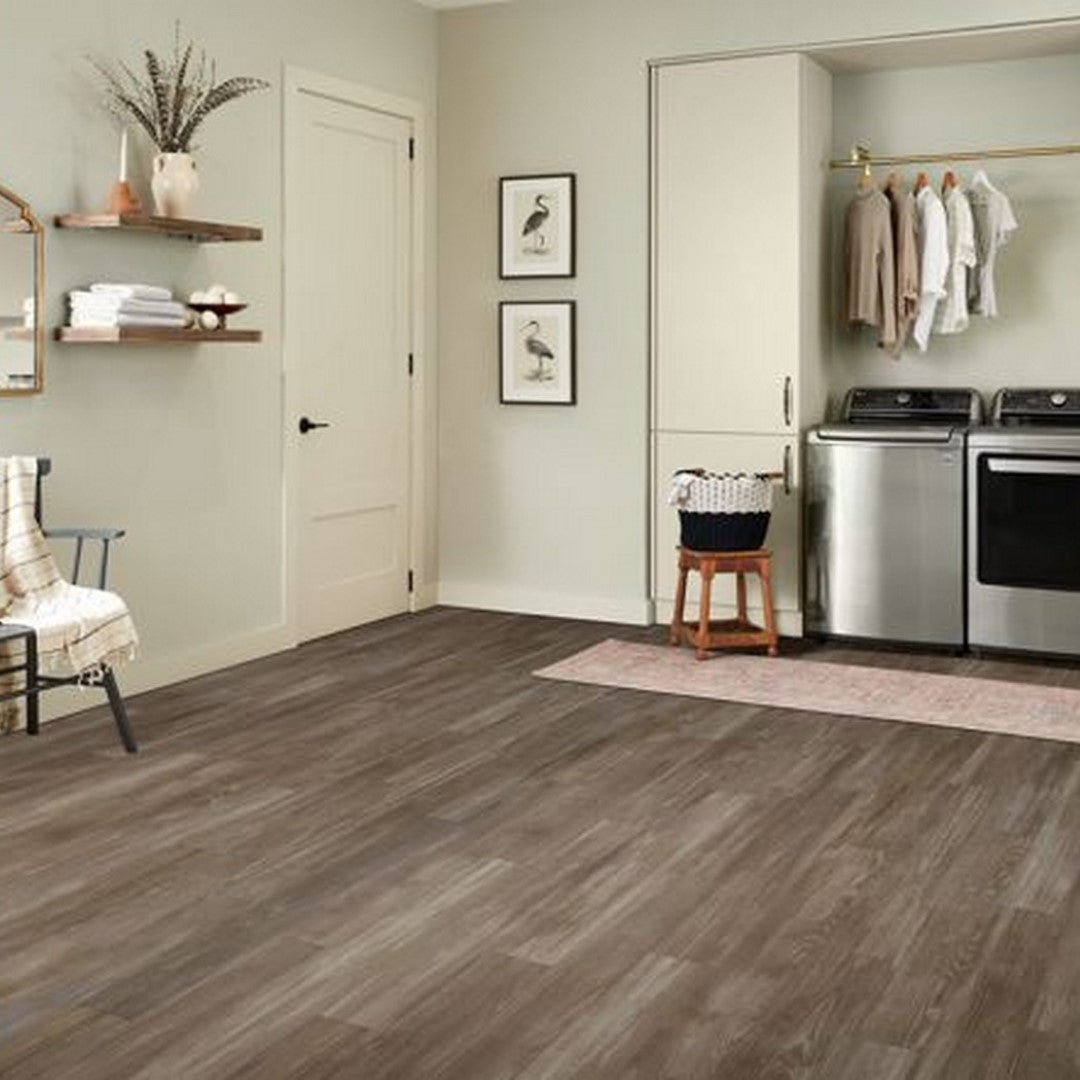
I went with luxury vinyl plank for my basement because I wanted it to feel like a natural extension of the hardwood floors upstairs rather than a utility room. The wood-look planks I chose are remarkably convincing, with realistic grain textures and color variation that reads as genuine wood from across the room. Nobody who visits my finished basement ever guesses it’s vinyl until I tell them.
Luxury vinyl tile makes more sense if you’re going for a modern, clean aesthetic or if your basement serves as a laundry room or workshop where the stone-look feels more appropriate. I’ve seen basement bathrooms done in large-format luxury vinyl tile that look genuinely high-end. Both options sit in a similar price range, so the decision really comes down to the look you want and how the space will be used.
Understanding Thickness and Wear Layer Before You Buy
One of the most useful things the flooring specialist told me was to pay close attention to two numbers: overall thickness and wear layer thickness. These specs determine how the floor feels underfoot, how well it handles subfloor imperfections, and how long it holds up under traffic. I almost bought a product without checking these and I’m glad I paused.
Overall thickness for quality basement vinyl typically ranges from 5mm to 8mm. Thicker planks feel more substantial underfoot and do a better job of bridging minor subfloor irregularities. My basement concrete had a few low spots and I chose a 6mm product specifically because my installer said it would perform better over imperfect concrete than a thinner option would.
The wear layer is the clear protective coating on top, and it’s measured in mils. For a basement that will see regular foot traffic, I’d recommend nothing less than 12 mils, and 20 mils if you have pets or kids. My floor has an 20-mil wear layer and after two years of heavy use it still looks pristine. Don’t let a lower price point tempt you into a thinner wear layer, because that’s where you’ll feel the difference over time.
Preparing Your Basement Subfloor for Vinyl Installation
I can’t overstate how important subfloor prep is for a successful vinyl installation. I spent almost a full weekend on this step before a single plank went down, and my installer told me it was the single most important thing I could do for the long-term performance of the floor. Vinyl is forgiving, but it still needs a reasonably flat and clean surface to perform its best.
Start by checking for moisture. I taped plastic sheeting to several spots on my concrete floor and left it for 48 hours. When I lifted it, there was condensation underneath, which told me I had active moisture to address before installing anything. I applied a concrete moisture barrier sealer and let it cure fully before moving forward. This step is non-negotiable in most basements.
Flatness matters too. Vinyl manufacturers typically specify that the subfloor should be flat within a certain tolerance, often 3/16 of an inch over a 10-foot span. I used a long straightedge to identify high and low spots, then used a concrete leveling compound to fill the dips. It took a few hours but made the installation much smoother and the finished floor feels completely solid with no flex or hollow spots.
DIY Installation Tips That Saved Me Time and Frustration
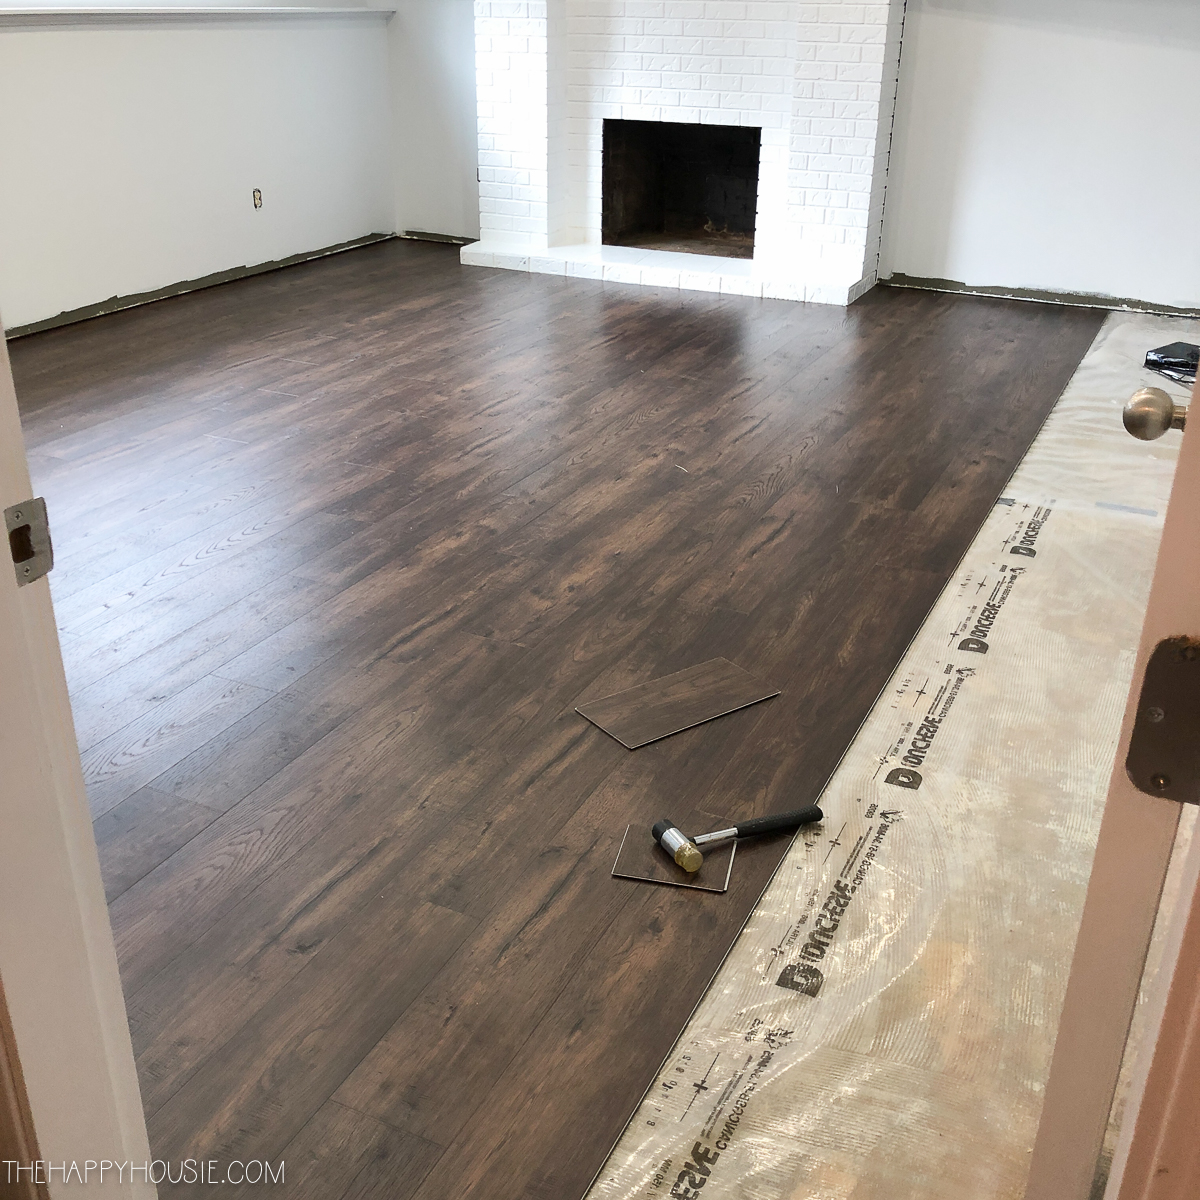
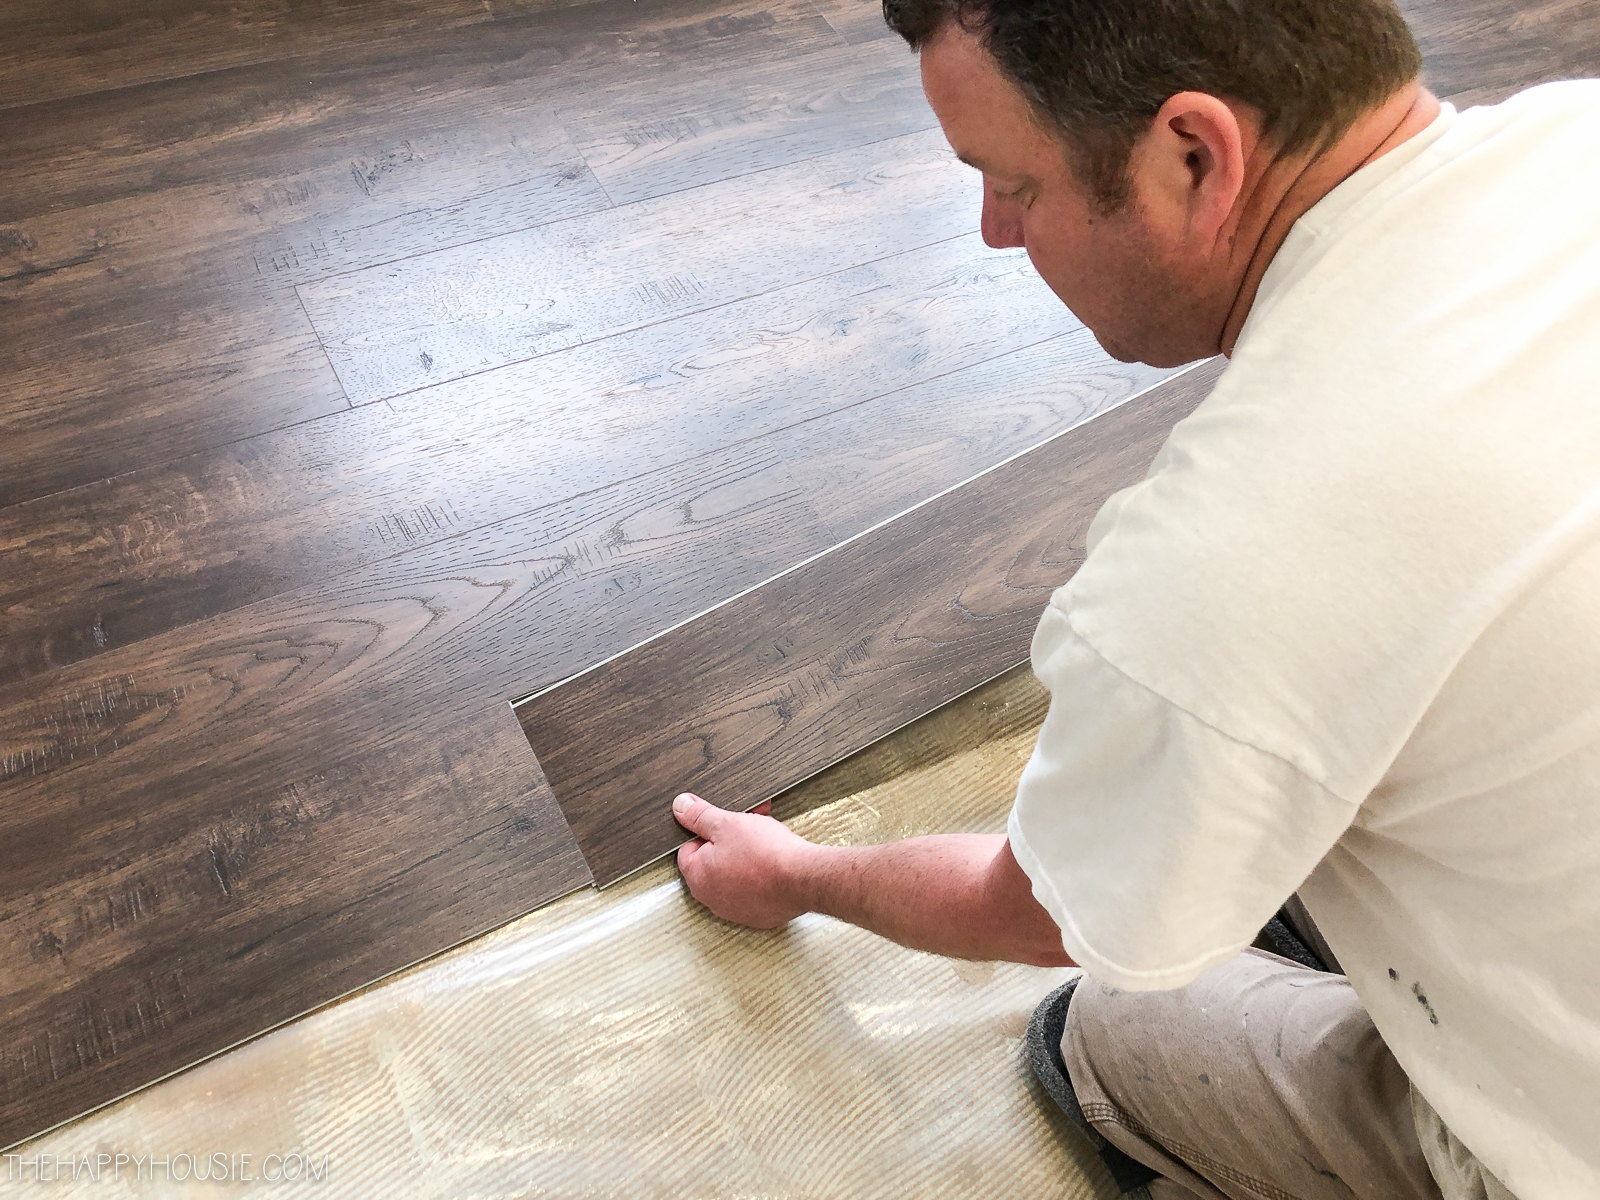
I installed my basement vinyl plank myself, and while it wasn’t without challenges, it was absolutely manageable as a first-timer. Click-lock vinyl plank is designed for DIY installation, and the floating floor system means you don’t need adhesive over most of the floor. Having the right tools and understanding a few key techniques makes the process go much more smoothly.
Start by acclimating your planks to the basement environment for at least 48 hours before installation. I laid the boxes flat in the basement and let them sit for two full days. This lets the material adjust to your specific temperature and humidity conditions before it’s locked together, reducing the chance of expansion or contraction issues after installation.
Leave an expansion gap around the perimeter of the room, typically about a quarter inch, to allow the floor to move naturally with temperature changes. I used small spacers along every wall to maintain consistent gaps and then covered them with baseboards and quarter-round molding after the floor was down. Take your time on the first row because everything else follows from it, and a slightly crooked first row will haunt you all the way across the room.

Style and Design Options That Surprised Me
Before I started shopping for basement vinyl, I expected a fairly limited range of looks. What I found was the opposite. The variety in today’s luxury vinyl market is genuinely impressive, and I spent several enjoyable hours going through samples before narrowing down my choices. The realism of the wood and stone visuals has improved dramatically in recent years.
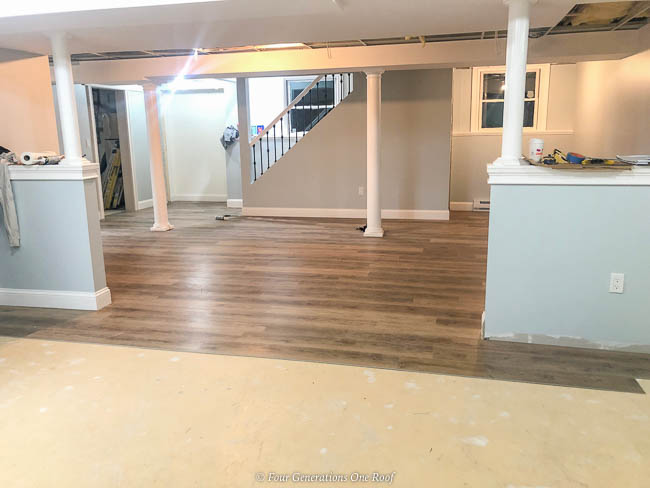
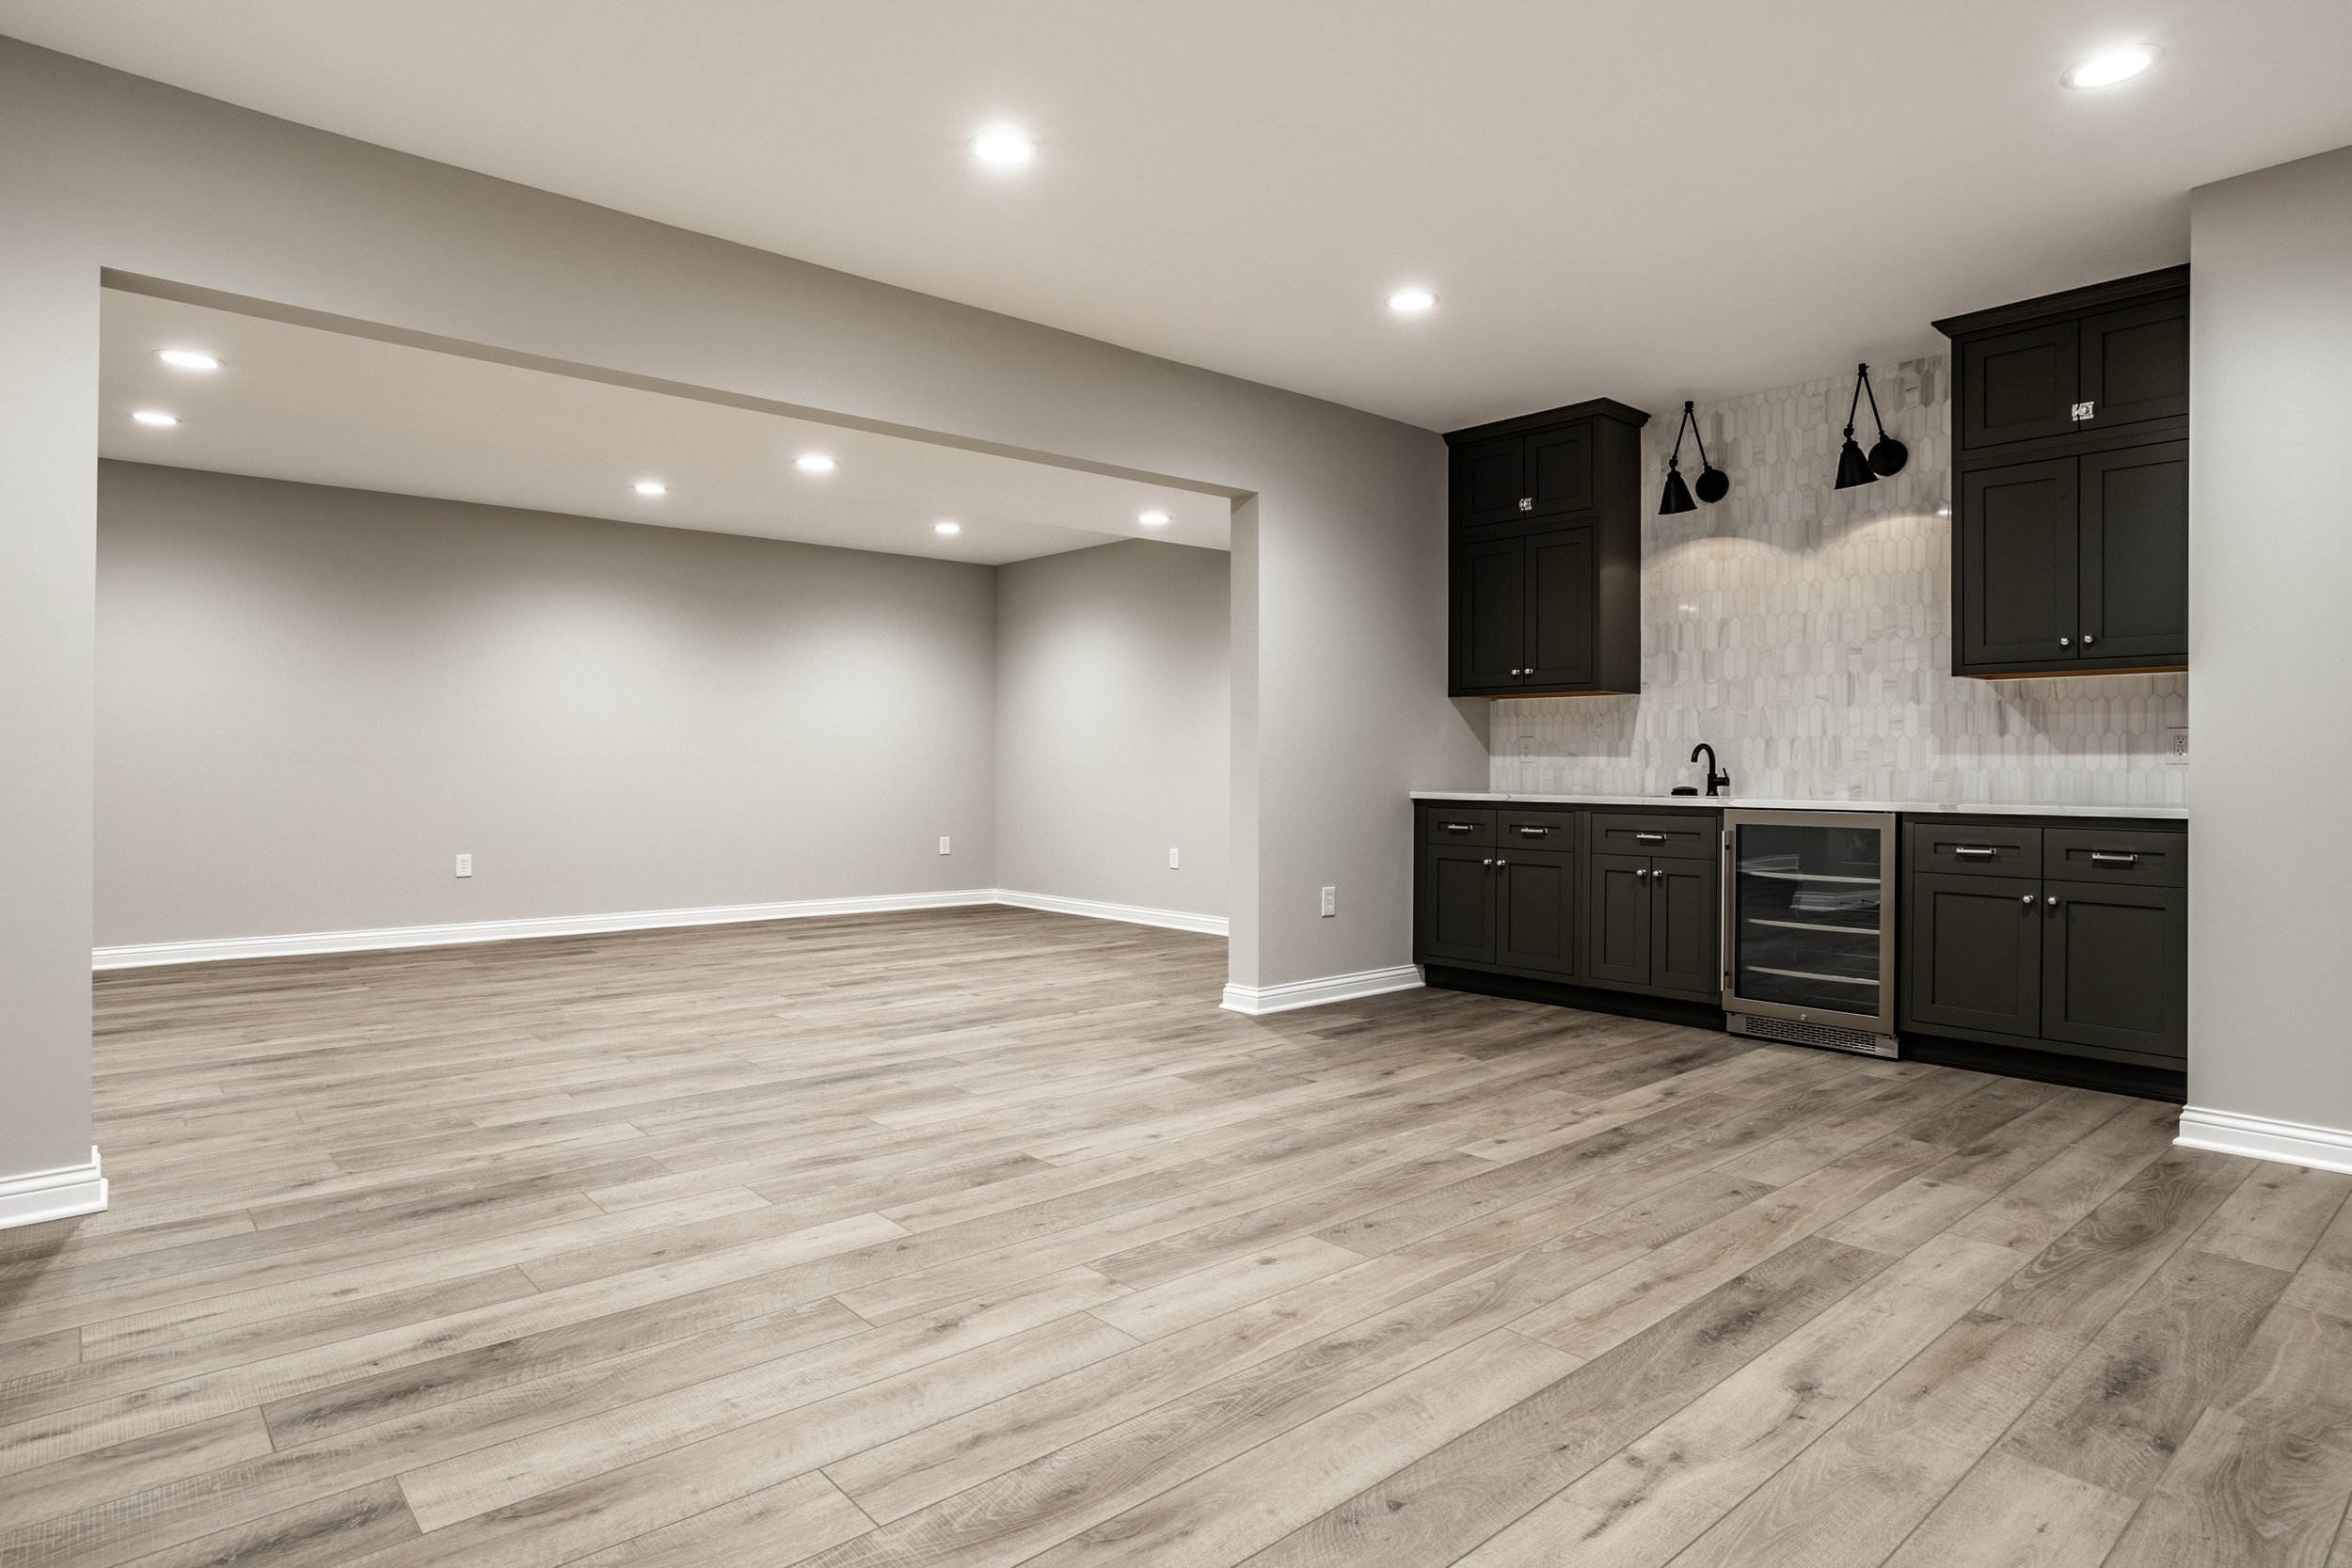
Wide plank options have become my personal favorite for basements because they make the space feel larger. I chose a 7-inch wide plank in a warm medium-oak tone, and it visually expanded my basement considerably compared to the narrow plank samples I had initially considered. Wider planks also mean fewer seams, which contributes to the realistic wood-look effect.
Color plays a huge role in how a basement feels, and vinyl gives you every option. I went with a warm tone specifically because basements can feel cool and cave-like, and the amber undertones in my floor color counteract that tendency beautifully. Cooler gray tones work wonderfully in modern basement designs, but for a cozy family room feel, I’d lean warm every time. Bring samples home and look at them in your actual basement lighting before committing.
Is vinyl flooring truly waterproof, or just water-resistant?
Luxury vinyl plank and tile are genuinely waterproof through their full thickness, which is different from water-resistant materials that can still absorb moisture over time. I tested this confidence when my basement had a minor seepage event and the floor came through without any damage. Just ensure the seams are properly installed, as standing water can still work its way underneath if seams aren’t tight.
How long will vinyl flooring last in a basement?
With proper installation and reasonable care, quality luxury vinyl can last 15 to 25 years in a basement setting. My floor is two years old and shows no signs of wear despite heavy use. Wear layer thickness is the biggest factor in longevity. Choose at least 12 mils for regular use and 20 mils for high-traffic areas or homes with pets and kids.
Can I install vinyl flooring over existing basement tile or concrete?
In most cases, yes. I installed directly over my concrete after proper prep and it worked beautifully. Existing tile can work as a subfloor if it’s fully adhered with no loose or cracked pieces. The key is surface flatness and moisture control. If your existing surface is uneven or has significant moisture issues, address those before laying vinyl on top.
Is vinyl flooring comfortable enough for a basement family room?
I was pleasantly surprised by how comfortable mine feels. Thicker planks with an attached underlayment pad make a real difference in cushion and warmth underfoot. Adding an area rug in seating areas adds another layer of comfort and sound absorption. For a family room where kids will play on the floor, I’d recommend the thicker, softer underlayment options specifically for that cozy, livable feel.

How do I clean and maintain vinyl basement floors?
Vinyl is one of the easiest floors to maintain, which is part of why I love it. I sweep or dust mop every few days and damp mop weekly with a pH-neutral vinyl floor cleaner. Avoid harsh chemicals or abrasive scrubbers, as these can dull the wear layer over time. Wipe spills promptly, though with vinyl you have more time than with other materials before any real damage can occur.
What is the cost difference between DIY and professional vinyl installation?
When I priced my project, professional installation added roughly two to three dollars per square foot on top of material costs. For my 600-square-foot basement, doing it myself saved close to two thousand dollars. The DIY process is genuinely manageable for someone comfortable with basic home projects. If your subfloor needs significant prep work or you have complex room shapes, professional installation may be worth the investment.
Related Posts: