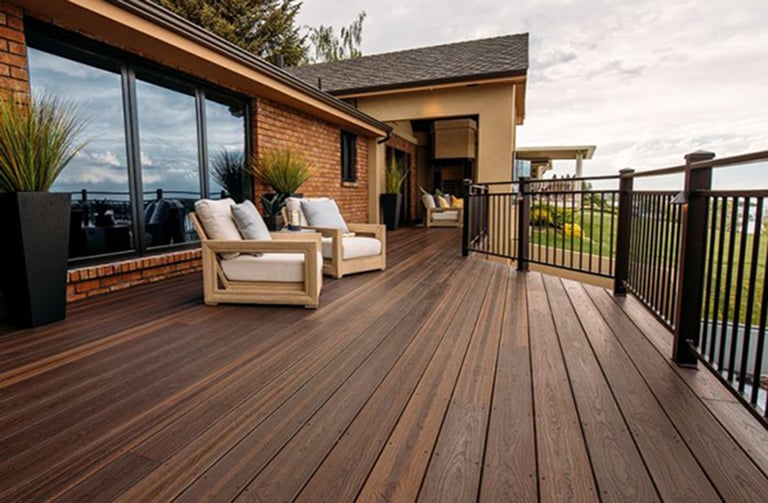
My backyard transformation began with a vision of hosting summer barbecues on a beautiful wooden deck. The concrete patio that came with my house was functional but lacked the warmth and character I craved for outdoor entertaining. After researching countless options, I decided that outdoor wood plank flooring would provide the perfect foundation for my dream outdoor space. This decision launched me into a comprehensive learning experience about wood species, installation techniques, and the unique challenges of creating durable outdoor surfaces that could withstand Mother Nature’s extremes.
Choosing the Right Wood Species for My Climate
My research revealed that wood selection makes or breaks outdoor flooring projects. I live in a humid subtropical climate with intense summer heat and occasional freezing winters. Cedar emerged as my top choice due to its natural resistance to moisture, insects, and decay. The aromatic oils in cedar provide built-in protection against rot and pest damage. I learned that paying more upfront for quality wood saves money long-term through reduced maintenance and replacement costs.
Pressure-treated pine offered a budget-friendly alternative that I seriously considered. The chemical treatment process makes ordinary pine resistant to moisture and insect damage. However, I discovered that pressure-treated lumber requires careful handling due to chemical content and needs regular sealing to maintain protection. The greenish tint from copper-based treatments also clashed with my aesthetic vision for the space.
Exotic hardwoods like ipe and mahogany represented the premium option with exceptional durability and stunning appearance. These dense woods naturally resist moisture, insects, and UV damage without chemical treatments. The cost was prohibitive for my budget, but I learned that these materials can last decades with minimal maintenance. I ultimately chose cedar as the perfect balance of performance, appearance, and affordability for my specific needs.
Planning and Preparing for Installation Success
My deck project required careful planning to ensure proper drainage and structural support. I spent weeks researching local building codes and permit requirements before beginning work. The foundation needed to slope away from the house to prevent water accumulation under the planks. I learned that proper ventilation underneath prevents moisture problems that can destroy wood flooring quickly. This preparation phase proved crucial for long-term success.
Site preparation involved removing existing concrete and grading the area for optimal drainage. I installed a gravel base with landscape fabric to prevent weed growth while allowing water to drain freely. The support structure required pressure-treated lumber rated for ground contact. I spaced joists 16 inches on center to provide adequate support for foot traffic and furniture. This foundation work was tedious but essential for stability.
Tool selection became important for achieving professional results. I invested in a circular saw with a fine-tooth blade for clean cuts and a drill with adjustable torque settings for consistent screw depth. A chalk line helped maintain straight rows, while a speed square ensured accurate angles. Quality tools made the installation process more efficient and produced better results than cheaper alternatives would have achieved.

Installation Techniques I Learned Through Experience
My installation began with establishing a perfectly straight starting line using a chalk line and measuring from multiple reference points. I learned that small errors in the first few rows multiply dramatically across the entire deck surface. Working from the house outward provided better control over the final appearance. I left 1/4-inch gaps between planks for expansion and contraction, using spacers to maintain consistency throughout the installation process.
Pre-drilling holes prevented splitting, especially near plank ends where stress concentrates. I used stainless steel screws rather than nails for superior holding power and corrosion resistance. Counter-sinking screws slightly below the surface allowed for smooth foot traffic while maintaining structural integrity. Working methodically across each row before moving to the next prevented alignment issues that are difficult to correct later.
Weather timing proved crucial for successful installation. I learned to avoid working during high humidity or temperature extremes when wood expansion affects fit and finish. Morning installation sessions provided cooler temperatures and better working conditions. I covered materials overnight to prevent moisture absorption that could cause warping or dimensional changes. This attention to environmental factors produced professional-quality results despite my amateur status.

Weatherproofing and Protection Strategies
Sealing my cedar planks became essential for long-term protection against UV rays and moisture damage. I applied penetrating oil-based sealers that soaked into the wood rather than forming a surface film. This approach allowed the wood to breathe while protecting against water penetration. I learned that reapplication every 18-24 months maintains optimal protection levels and preserves the wood’s natural beauty.
Staining offered additional protection while enhancing the wood’s appearance. I chose semi-transparent stains that highlighted cedar’s natural grain patterns while providing UV protection. The stain penetrated deeply into the wood fibers, creating lasting protection that wouldn’t peel or flake like paint. I applied multiple thin coats rather than one thick application for better penetration and more even coverage.
Maintenance scheduling became crucial for preserving my investment. I perform quarterly inspections to identify potential problems early. Annual power washing removes accumulated dirt and mildew before they can cause permanent damage. I keep extra planks stored in a dry location for quick repairs when needed. This proactive approach has kept my deck looking beautiful for five years with minimal major maintenance requirements.

Dealing with Weather Challenges and Seasonal Changes
My first winter taught me about wood movement and the importance of proper gap spacing. The planks contracted significantly in cold, dry conditions, making the spacing gaps more noticeable. I learned this is normal behavior that prevents buckling when the wood expands during humid summer months. Understanding these natural cycles helped me appreciate the engineering behind successful outdoor wood installations.
Summer heat and humidity created different challenges. The intense sun caused some planks to cup slightly, creating uneven surfaces that trapped water. I addressed this by improving ventilation underneath the deck and ensuring proper drainage. Installing shade structures reduced direct UV exposure and helped moderate temperature extremes. These modifications significantly improved the deck’s performance during harsh weather conditions.
Seasonal maintenance routines evolved through experience. Spring cleaning involves thorough inspection and minor repairs after winter damage. Summer requires frequent sweeping to remove organic debris that can stain or promote mold growth. Fall preparation includes clearing leaves and ensuring drainage systems function properly. Winter monitoring helps identify ice damage or pest intrusion that needs immediate attention.
Long-Term Performance and Lessons Learned
Five years after installation, my cedar deck continues to perform admirably with proper care. The initial investment in quality materials and careful installation has paid dividends through minimal repair needs and maintained appearance. Friends consistently compliment the deck’s beauty and durability. I’ve hosted countless gatherings on the surface without significant wear or damage. This success validates my original material choices and installation techniques.
The learning curve was steep but rewarding. My first project took three times longer than anticipated due to inexperience and perfectionist tendencies. Subsequent repairs and small additions proceed much faster with accumulated knowledge. I’ve helped neighbors with similar projects, sharing hard-won expertise. The skills developed through this project have proven valuable for other home improvement endeavors.
Cost analysis shows excellent return on investment through increased home value and personal enjoyment. Professional installation quotes were double my DIY costs, making the project financially attractive. The deck has become our family’s favorite gathering space, providing countless hours of enjoyment that justify every dollar spent. I would confidently undertake similar projects again with the knowledge gained through this experience.
What’s the best wood species for outdoor flooring in different climates?
Cedar and redwood excel in humid climates due to natural rot resistance and insect protection. Pressure-treated pine works well in moderate climates but requires regular maintenance. Exotic hardwoods like ipe perform exceptionally in harsh conditions but cost significantly more. Consider your budget, climate, and maintenance preferences when selecting materials. Local lumber yards can provide climate-specific recommendations based on regional performance data.
How much gap should I leave between outdoor wood planks?
Leave 1/4-inch gaps between planks for expansion and contraction during seasonal changes. Closer spacing causes buckling in humid conditions, while wider gaps collect debris and look unprofessional. Use consistent spacers throughout installation to maintain a uniform appearance. End-to-end joints need 1/8-inch gaps minimum. These gaps allow natural wood movement without structural damage or aesthetic problems.
What’s the most important factor for long-term outdoor wood flooring success?
Proper drainage and ventilation underneath the planks prevent moisture-related problems that destroy outdoor wood flooring. Ensure adequate slope away from structures and install ventilation gaps for air circulation. Poor drainage causes rot, warping, and premature failure regardless of wood quality. Invest in proper foundation work and drainage systems for lasting results. This foundation work matters more than expensive materials.
How often should I seal or stain my outdoor wood planks?
Reapply penetrating sealers every 18-24 months for optimal protection against moisture and UV damage. Stains may last 2-3 years, depending on exposure and quality. Monitor the wood’s appearance and water absorption to determine timing. Neglecting regular maintenance leads to expensive repairs or replacement. Keep detailed records of application dates and products used for consistent maintenance scheduling.

Can I install outdoor wood planks directly over concrete?
Never install wood planks directly on concrete without proper moisture barriers and ventilation. Create a raised framework with pressure-treated lumber to allow air circulation. Install moisture barriers between concrete and wood to prevent condensation damage. Direct contact with concrete causes rapid rot and structural failure. The investment in proper substructure prevents costly problems and ensures long-term success.
What tools do I need for DIY outdoor wood plank installation?
Essential tools include a circular saw, a drill with adjustable torque, a chalk line, a speed square, and a measuring tape. A miter saw improves cut quality and efficiency for larger projects. Rent specialty tools like nail guns rather than purchasing them for one-time use. Quality tools produce better results and make installation more enjoyable. Safety equipment, including eye protection and hearing protection, is absolutely essential for all cutting operations.
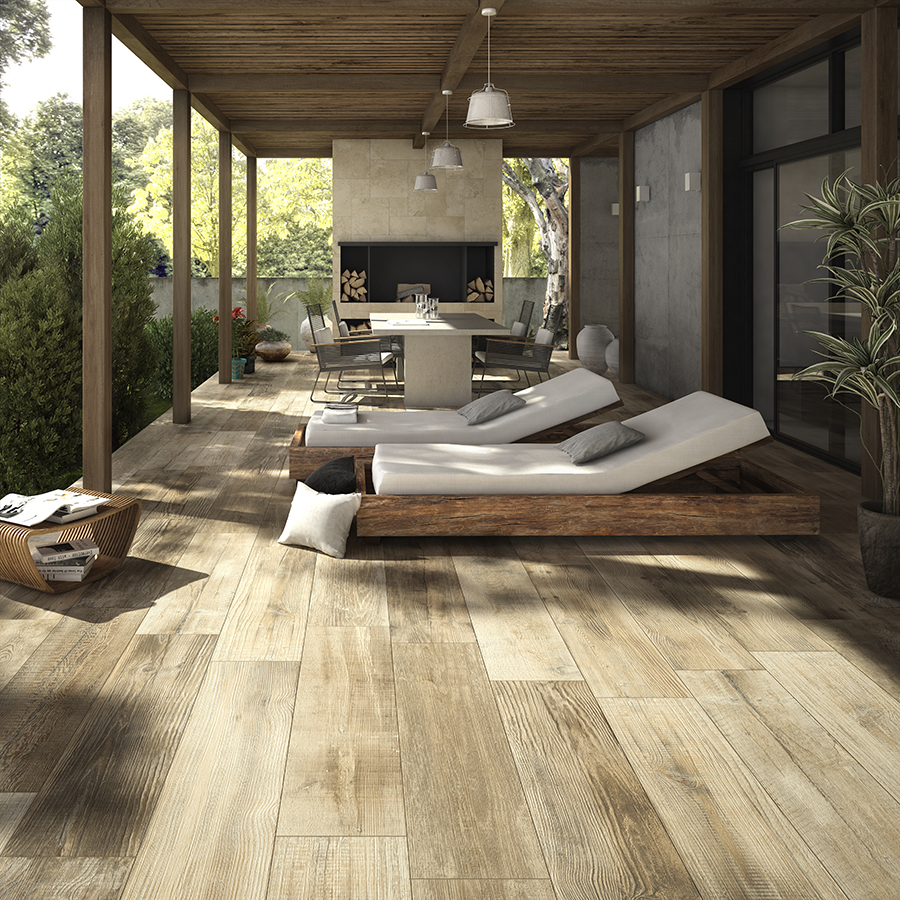
Synthetic Composite Wood Floor for Outdoor Flooring

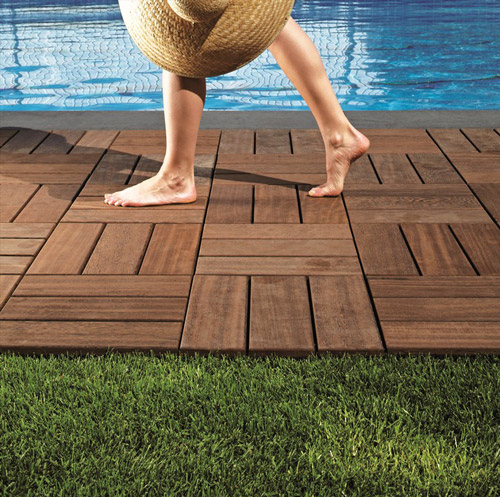
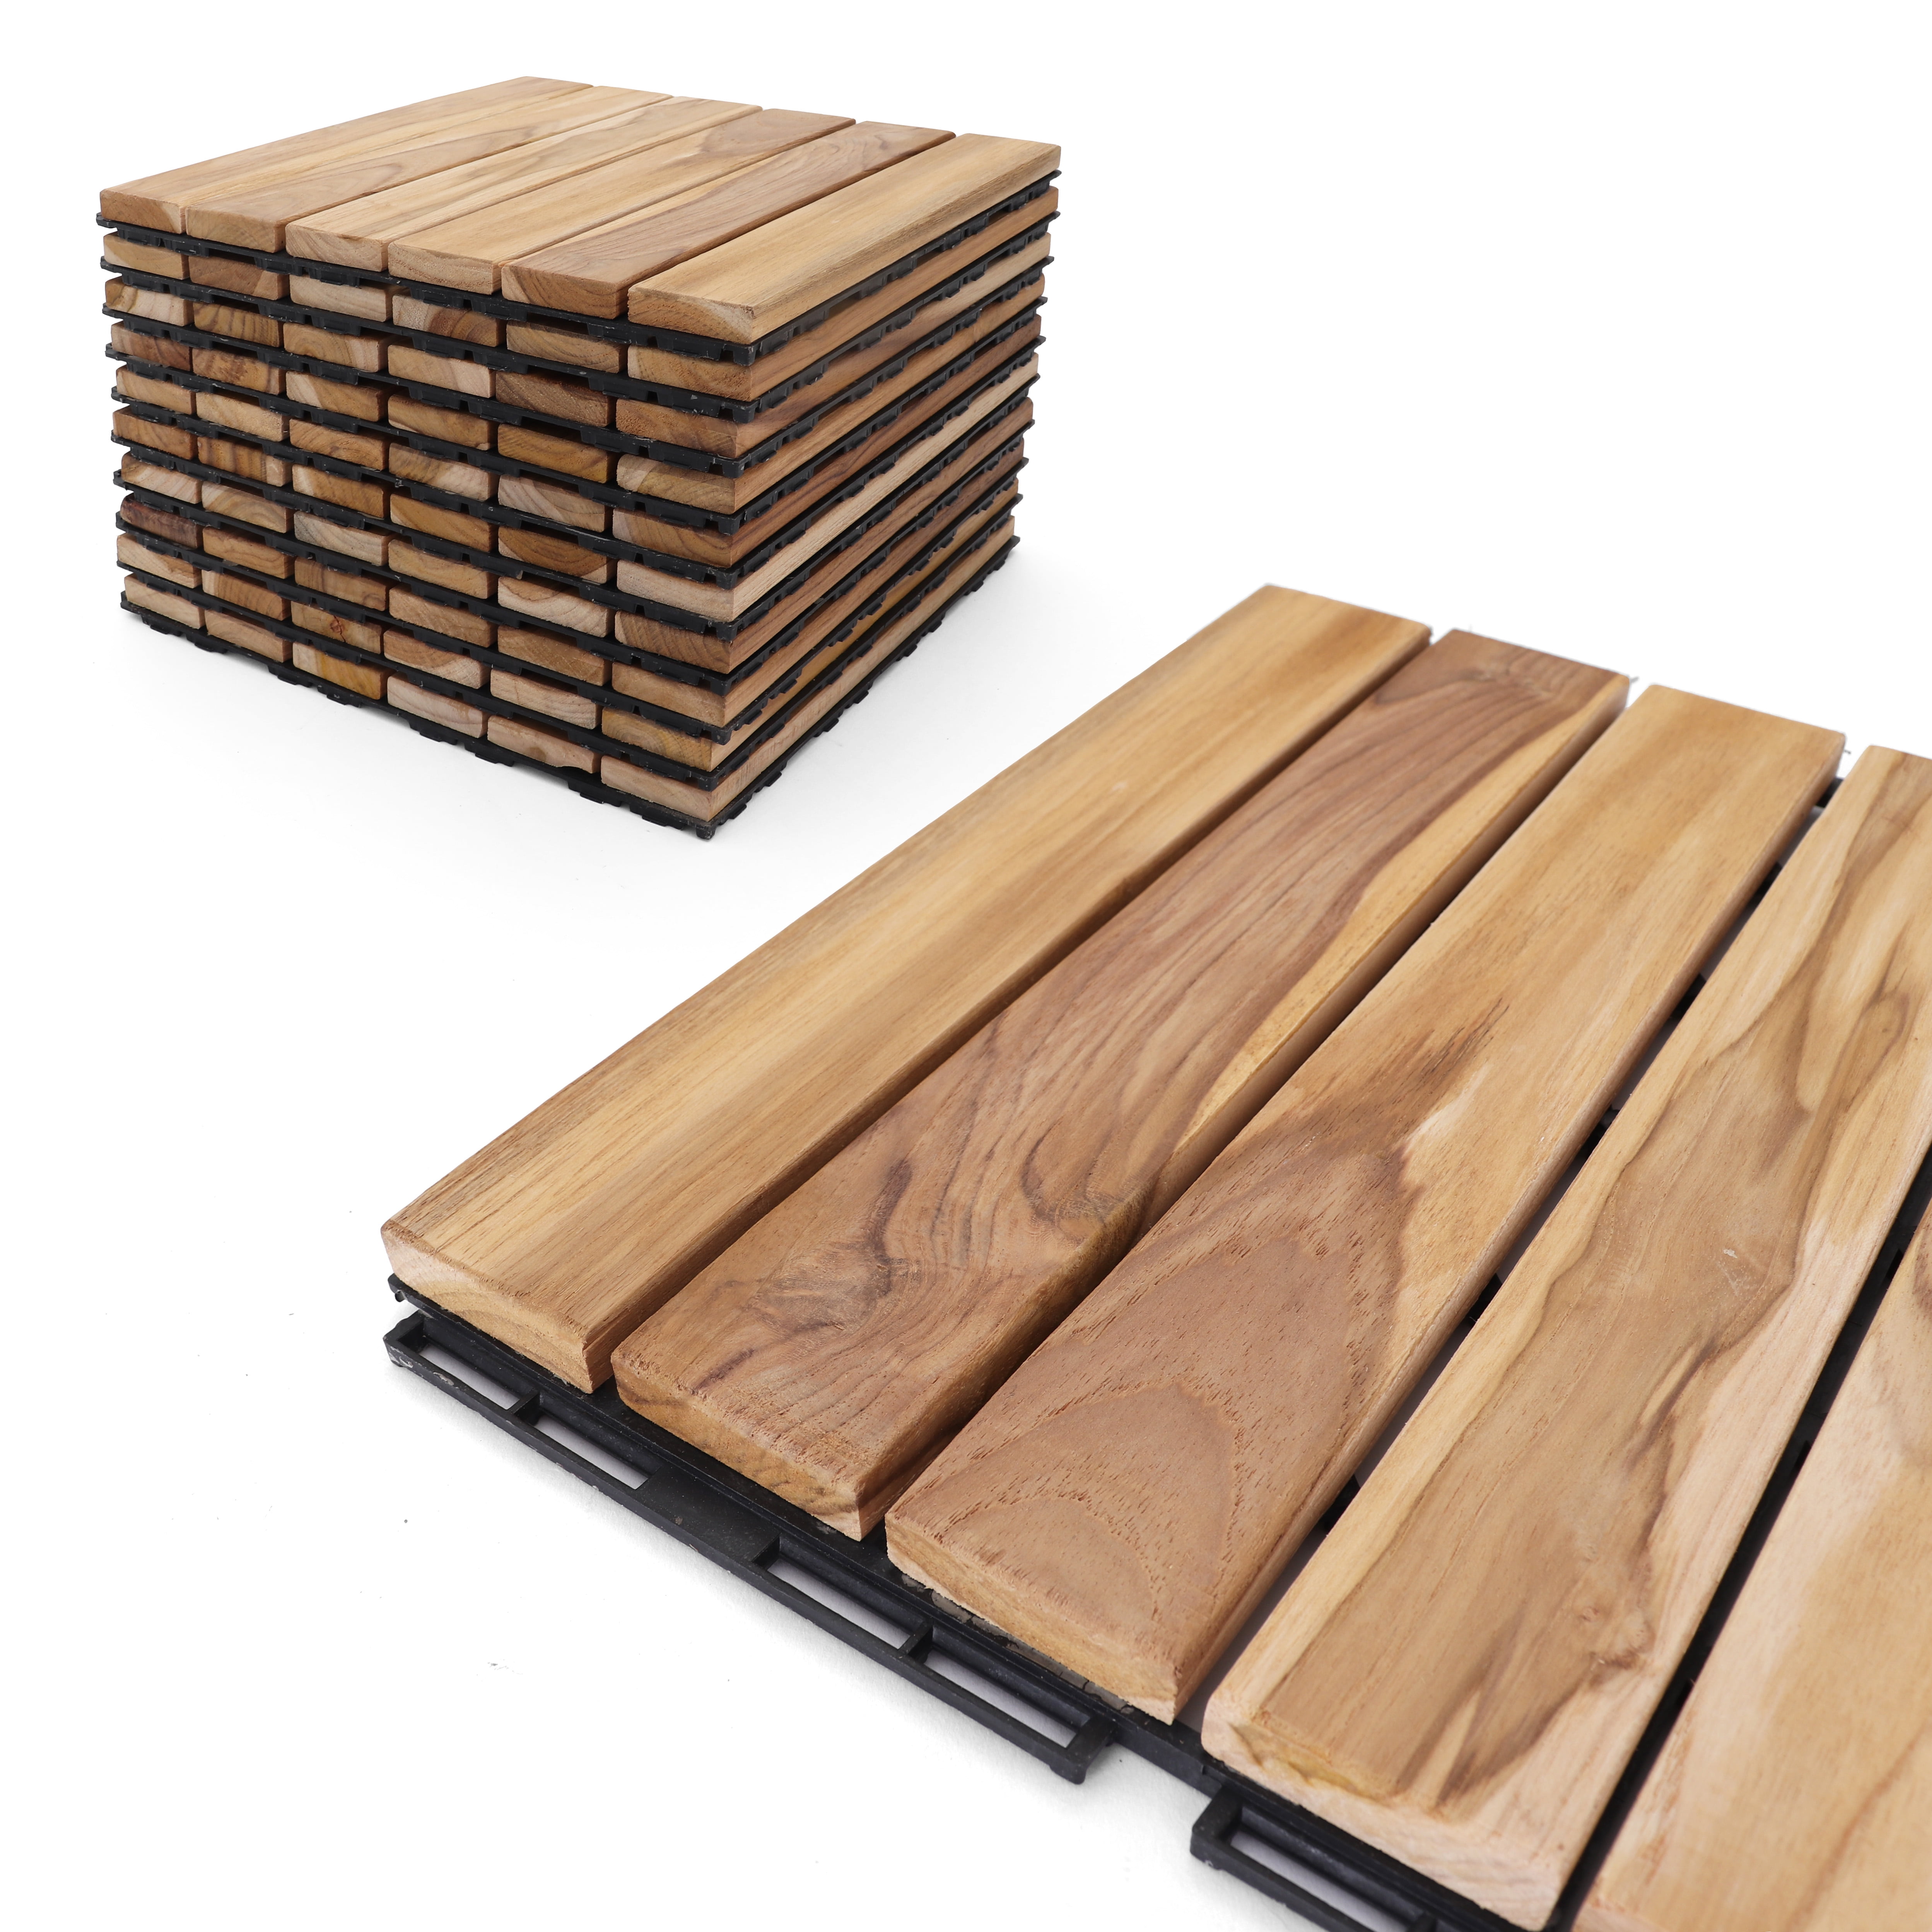
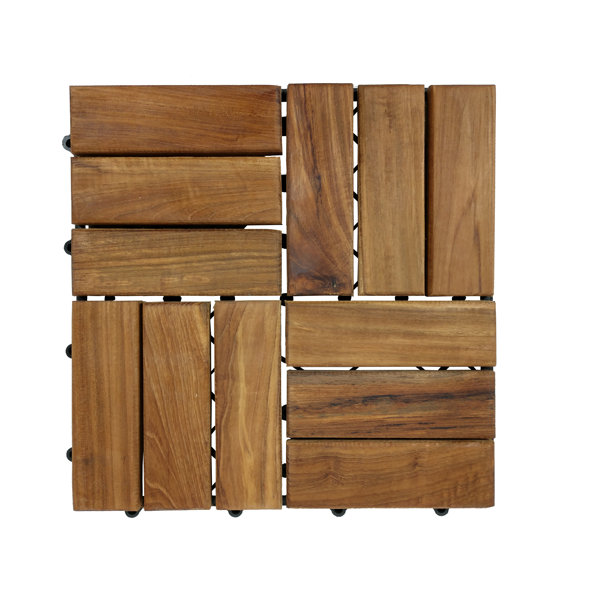
Deck Tiles
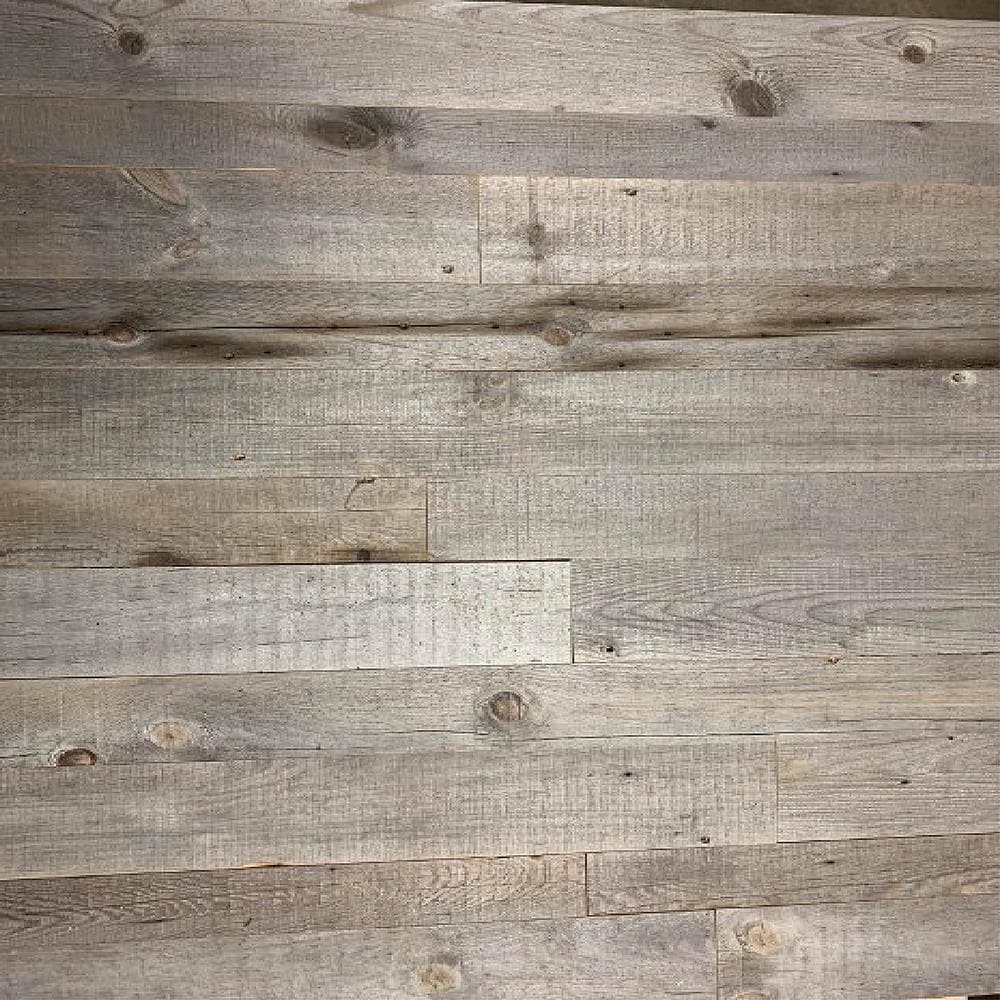
Four Seasons Outdoor Product Barnwood 3-in Variable Length 4-ft Gray Brown Pine Wall Plank
Pin on Backyard

Related Posts: