As a homeowner who takes great pride in maintaining the beauty and integrity of my living space, I understand the frustration of discovering scratches, dents, or gaps in my beloved wood floors. Thankfully, there are effective solutions available to address these imperfections and restore the floors to their former glory. One such solution is using wood floor repair filler, a versatile and easy-to-use product that can seamlessly repair various wood floor damages. I will share my personal experiences and insights on wood floor repair filler, its benefits, application techniques, and essential considerations to achieve professional-looking results.
Understanding Wood Floor Repair Filler
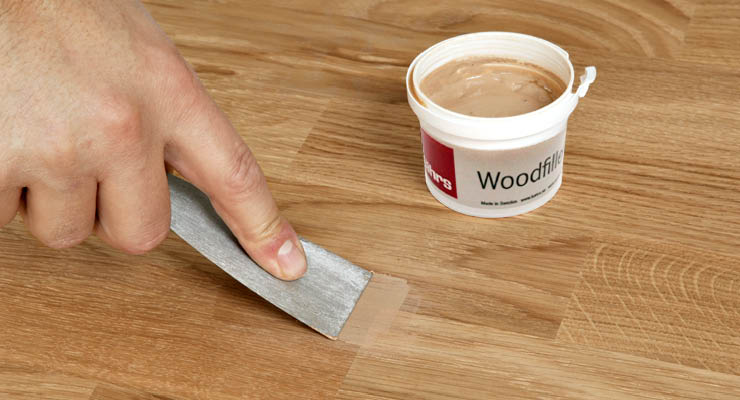
Wood floor repair filler, also known as wood putty or wood filler, is a material designed to repair small to moderate imperfections in wood surfaces. It comes in a paste-like consistency, formulated with a blend of wood fibers, resins, and binders. Wood fillers are available in various shades to match different wood types, making it easier to achieve a seamless and natural-looking repair.
Advantages of Wood Floor Repair Filler:
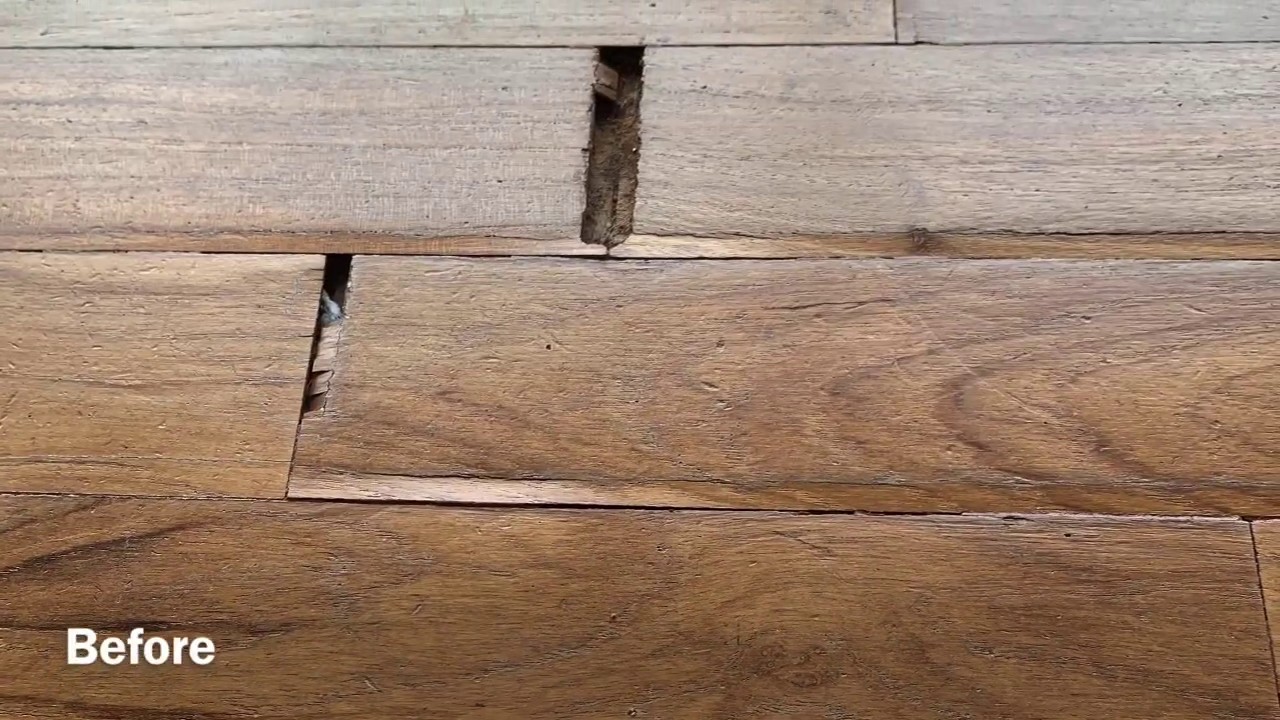
- Hides Imperfections: Fills in scratches, dents, gouges, and gaps on wood floors, restoring a smooth surface.
- Cost-Effective Solution: Repairing minor damages with wood filler is more budget-friendly compared to replacing entire floorboards.
- Enhances Aesthetics: Once applied and properly blended, wood filler seamlessly integrates with the surrounding wood, improving the floor’s overall appearance.
Identifying Suitable Wood Floor Repair Filler
Choosing the right wood floor repair filler is crucial for achieving optimal results. Consider the following factors when selecting a suitable filler for your wood floors:
Compatibility:
- Ensure the wood filler is compatible with the type of wood used in your flooring. Some fillers are specifically designed for hardwood, softwood, or specific wood species.
Color Matching:
- Look for a wood filler that closely matches the color and grain pattern of your wood floors. Many fillers come in a range of colors to accommodate different wood shades.
Drying Time:
- Check the drying time mentioned on the product label. Faster-drying fillers are ideal for quick repairs while slower-drying ones offer more working time for extensive repairs.

Preparing the Wood Floor for Filler Application
Properly preparing the wood floor before applying the filler is crucial to ensure a smooth and long-lasting repair. Follow these steps for effective preparation:
Cleaning:
- Thoroughly clean the damaged areas to remove dust, debris, and any residues using a soft cloth or a mild wood cleaner.
Sanding:
- For scratches and uneven surfaces, gently sand the damaged areas using fine-grit sandpaper. Sanding creates a smooth and even surface for the filler to adhere to.
Vacuuming and Wiping:
- After sanding, vacuum the area to remove any sanding dust. Then, wipe the surface with a damp cloth to eliminate any remaining dust particles.
Applying the Wood Floor Repair Filler
Applying the wood floor repair filler requires attention to detail and precision to achieve a seamless blend with the existing wood surface. Follow these steps for a successful application:
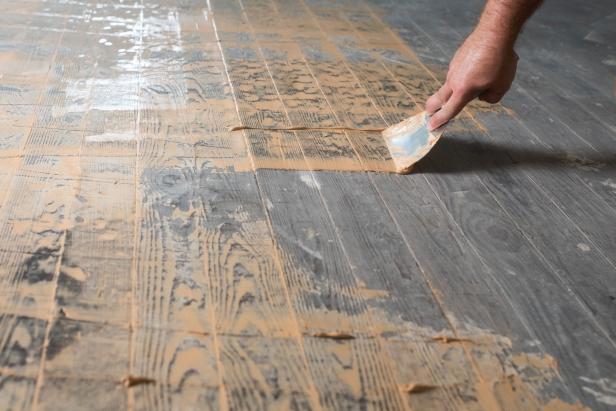
Filling the Damaged Areas:
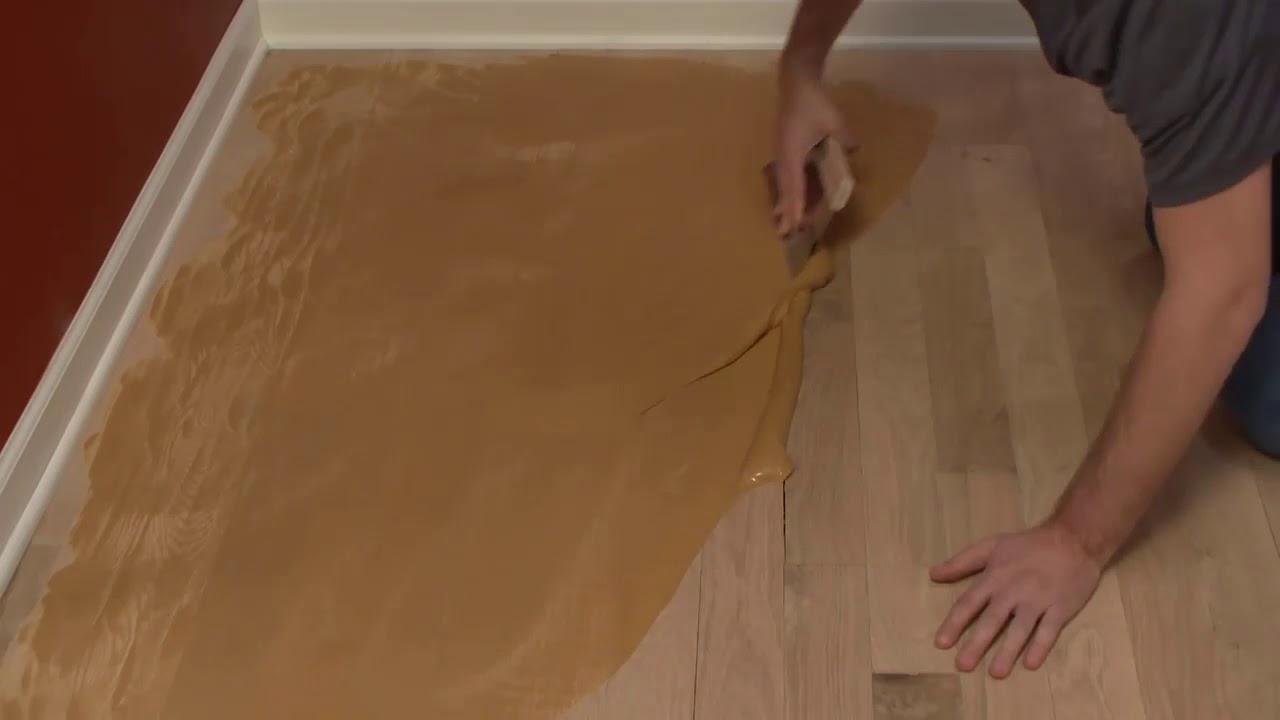
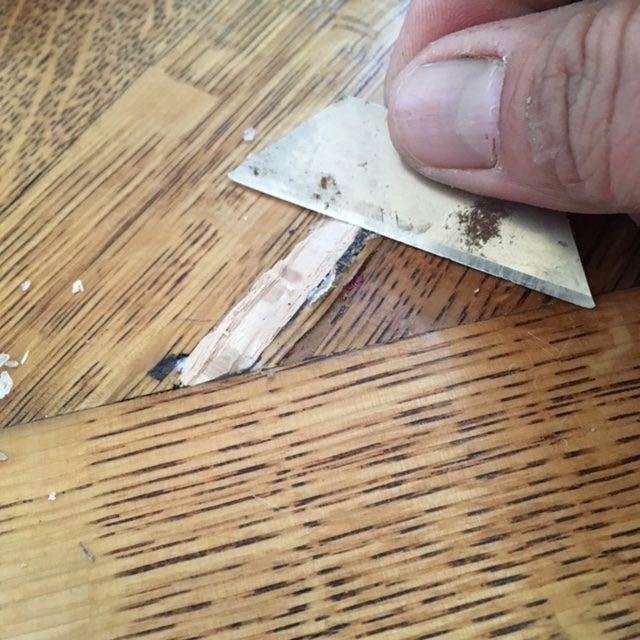
- Use a putty knife or a flexible plastic scraper to apply the wood filler to the damaged areas. Press the filler firmly into scratches and gouges.
Smoothing the Filler:
- After applying the filler, use the putty knife to smooth the surface, ensuring the filler is level with the surrounding wood.
Color Blending:
- If the filler’s color does not perfectly match the wood, consider mixing different shades or adding wood stain to achieve a closer match.
Sanding and Finishing the Repaired Area
Once the wood filler has dried, further steps are needed to ensure a seamless finish that seamlessly blends with the rest of the floor.
Sanding:
- Lightly sand the repaired areas to create a smooth and even surface. Use fine-grit sandpaper to avoid damaging the surrounding wood.
Cleaning:
- Clean the sanded areas with a soft cloth to remove any sanding dust.
Finishing:
- Apply wood finish or polyurethane over the repaired areas to protect the wood floor and provide a consistent appearance. Ensure the finish matches the existing floor finish.
Essential Considerations and Maintenance Tips
To achieve professional-looking results and ensure the longevity of the wood floor repair, keep the following considerations in mind:
- Always follow the manufacturer’s instructions when using wood floor repair filler, including mixing ratios, drying times, and application techniques.
- Test the filler on a small, inconspicuous area of the wood floor first to ensure color compatibility and proper adhesion.
- Avoid overfilling the damaged areas with filler, as excess filler can create uneven surfaces and may not dry properly.
- Regularly maintain and clean the wood floors to prevent new damages and prolong the life of the repairs.
Wood floor repair filler is a valuable tool for any homeowner seeking to revive the beauty of their wood floors and address minor damages effectively. By understanding the benefits, selecting the appropriate filler, and following proper application techniques, it is possible to achieve seamless and professional-looking repairs. Investing time and effort into using wood floor repair filler can extend the life of your wood floors, saving you money on expensive replacements and preserving the charm of your home for years to come.

How to repair a gouged wood floor – The Washington Post

How to Use Bona Pacific Filler® on Hardwood Floors
DIY Wood Floor Repair Project Cheap Quick Fix
Repair Hole in Damaged Hardwood Floor Slaughterbeck Floors, Inc.
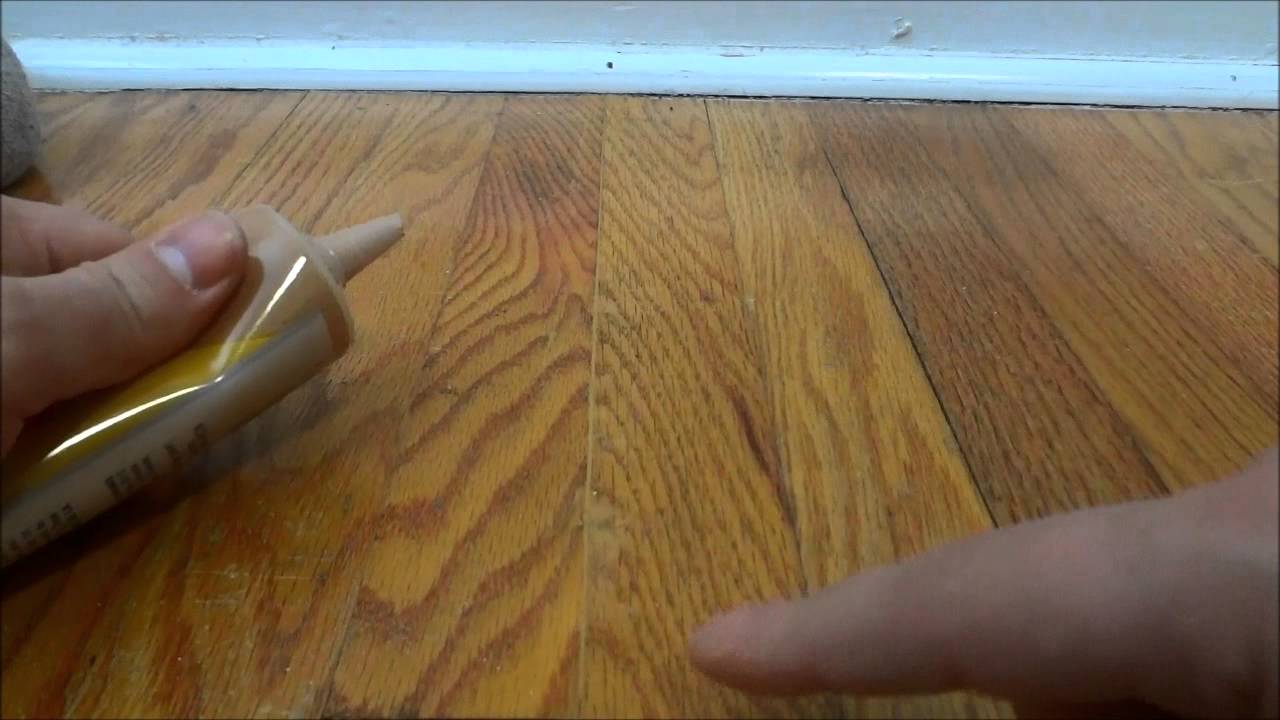
How To Fill In Gaps Between Hardwood Flooring With Wood Filler
Repair Hole in Damaged Hardwood Floor Slaughterbeck Floors, Inc.

How to Use Wood Filler for Repairing Scratches and Gouges – Bob Vila

How to repair your wood floors Kährs
Rejuvenate Wood Furniture Repair Kit Wood Marker Set and Wax Sticks (Set of 12)

Filling Gaps in Prefinished Wood Floors – Floor Central

How to fill holes in Hardwood Floor, Large, Medium, and Small

How To Refinish Hardwood Floors – DIY Home Improvement HGTV
Related Posts:
- Dark Wood Floor Pattern
- Wood Floor White Stain
- Dark Wood Floors Master Bedroom
- Grey Faux Wood Flooring
- Walnut Solid Wood Flooring
- Extra Wide Wood Flooring
- Cherry Wood Floor Bedroom
- White Oak Wood Tile Flooring
- Oak Solid Wood Flooring
- Dark Wood Floor Dining Room