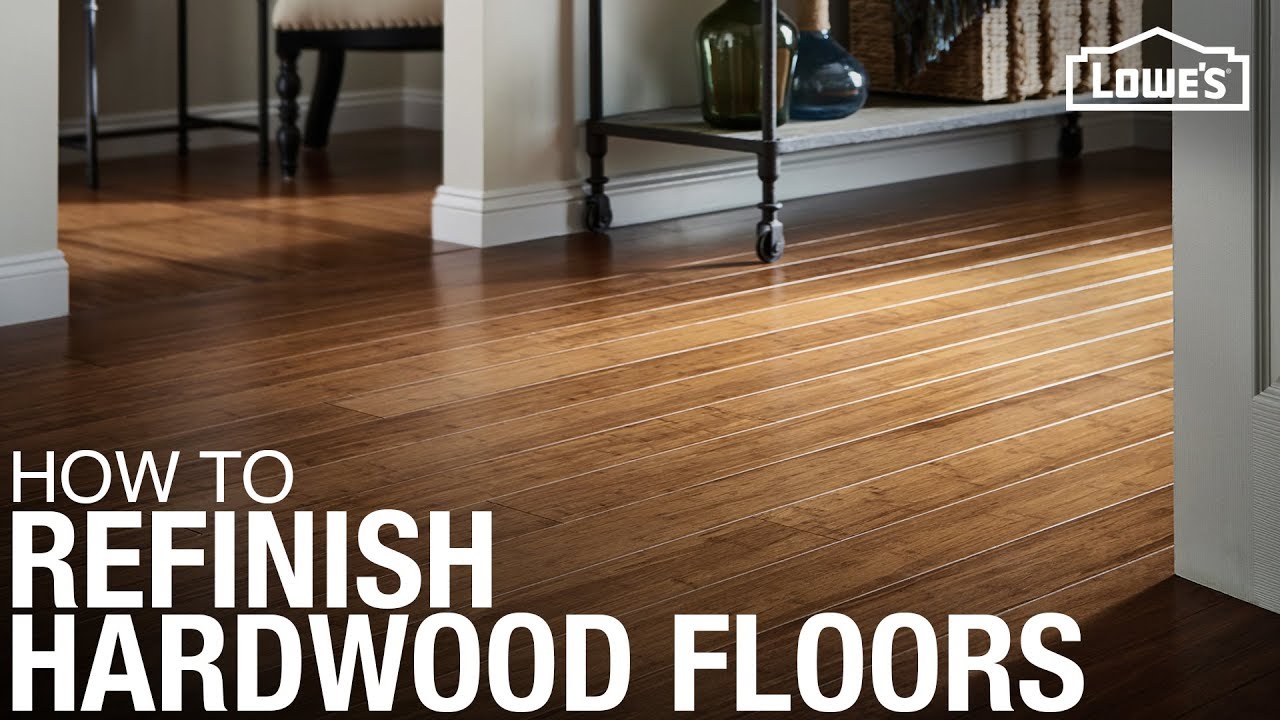
Wood floors add warmth and character to any home, but years of wear can leave them scratched, dull, or damaged. Restoring them yourself can be a rewarding project that saves money while preserving the natural beauty of your flooring. Whether your floors need a simple refresh or more extensive repairs, a DIY approach allows you to work at your own pace and achieve professional-looking results. Today, we are going to explore several aspects of wood floor restoration, providing practical guidance to help you successfully revive your floors.
Assessing Your Floor’s Condition
Before starting any restoration work, carefully evaluate the condition of your wood floors. Look for deep scratches, gouges, or areas where the finish has worn away completely. Check for loose or squeaky boards that may need reinforcement. Minor surface scratches and dullness can often be fixed with simple cleaning and refinishing, while deeper damage may require sanding or board replacement.
Pay attention to the type of wood and existing finish, as different materials require specific treatments. Solid hardwood can withstand sanding multiple times, while engineered wood has a thinner veneer that limits how much can be removed. If your floors have water damage or warping, assess whether spot repairs or full replacement of affected sections is necessary. Proper evaluation ensures you choose the right restoration method.
Consider testing a small, inconspicuous area before committing to a full restoration. This helps determine how much sanding is needed and whether stains or finishes will adhere properly. If you’re unsure about the extent of damage, consult a professional for advice. A thorough assessment prevents unnecessary work and ensures long-lasting results.
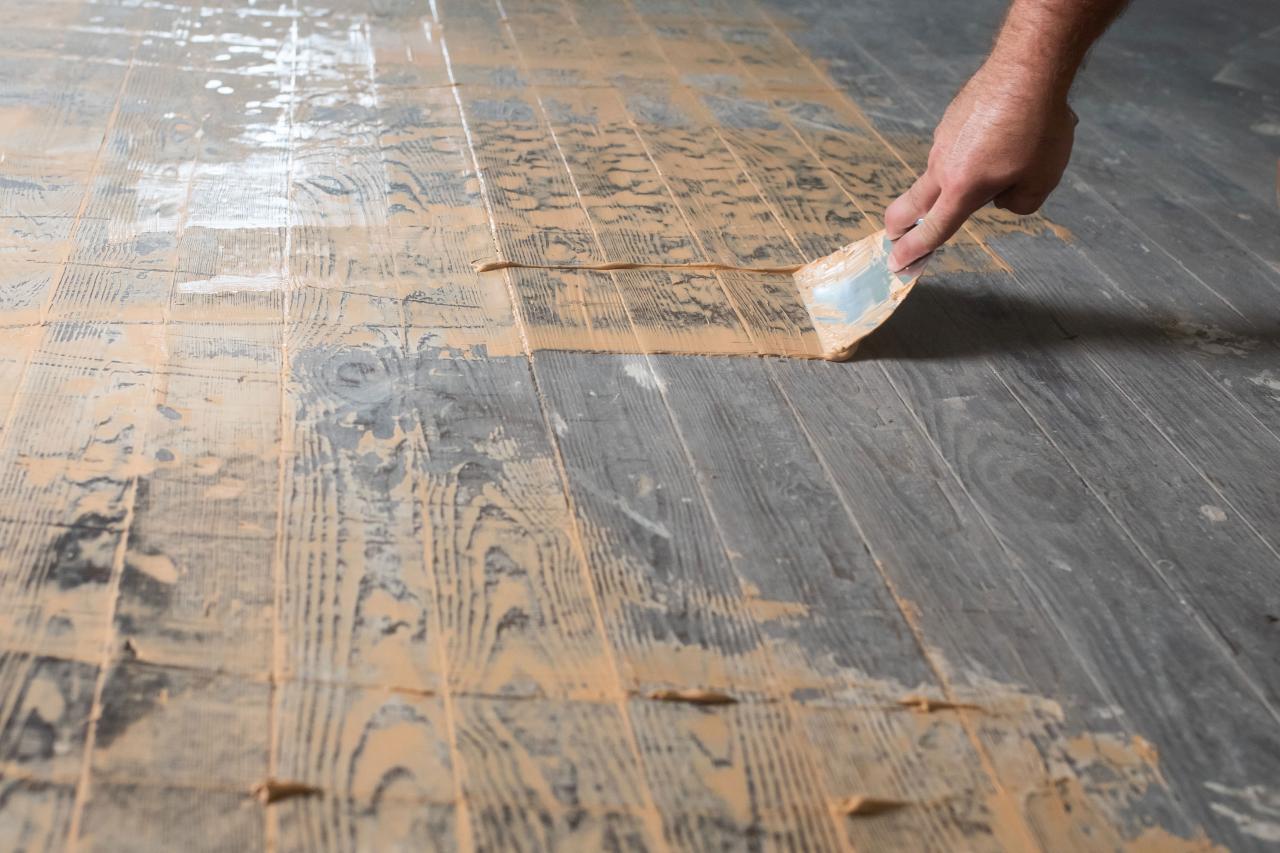
Cleaning and Preparing the Surface
Proper cleaning is crucial before refinishing wood floors. Start by removing all furniture, rugs, and debris from the room. Sweep or vacuum thoroughly to eliminate dust and dirt that could interfere with sanding or staining. For stubborn grime, use a wood floor cleaner designed for your floor’s finish—avoid excess water, which can seep into the wood and cause swelling.
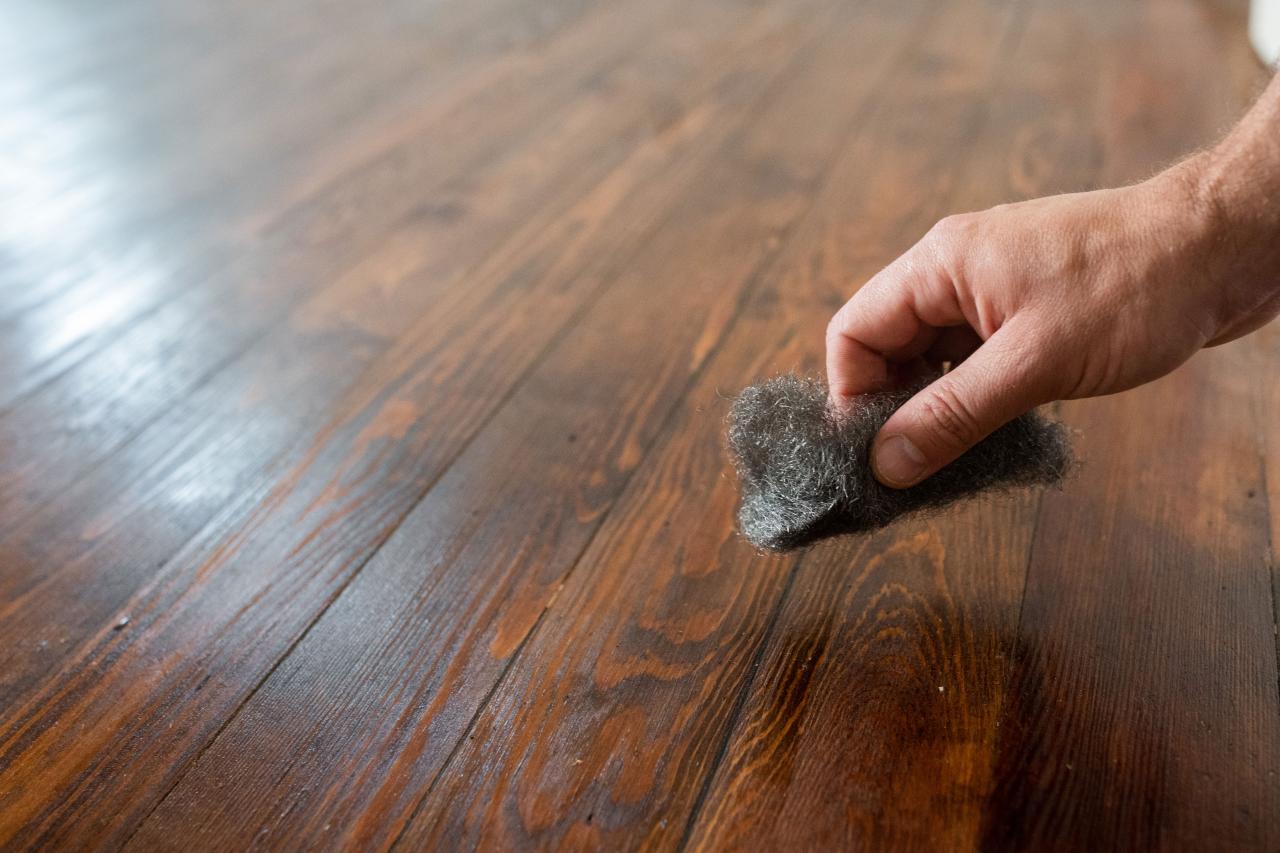
If your floors have wax buildup, strip it using a wax remover before sanding. Wax can clog sandpaper and prevent new finishes from adhering properly. For floors with polyurethane finishes, a light scrubbing with a damp mop and pH-neutral cleaner should suffice. Allow the floor to dry completely before moving to the next step to ensure optimal results.
Inspect the floor for protruding nails or staples and hammer them down or remove them. Fill small gaps between boards with wood filler that matches your floor’s color. Proper preparation ensures a smooth surface for sanding and refinishing, reducing the risk of imperfections in the final result.
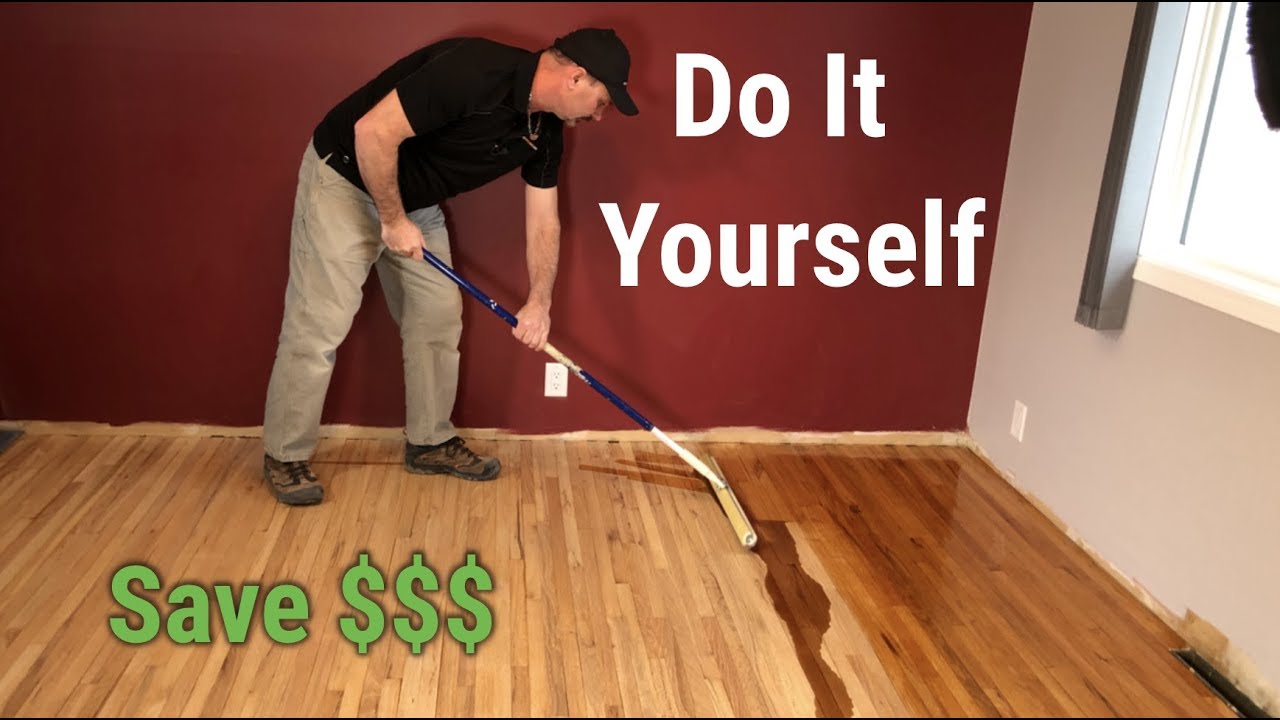
Sanding Techniques for a Smooth Finish
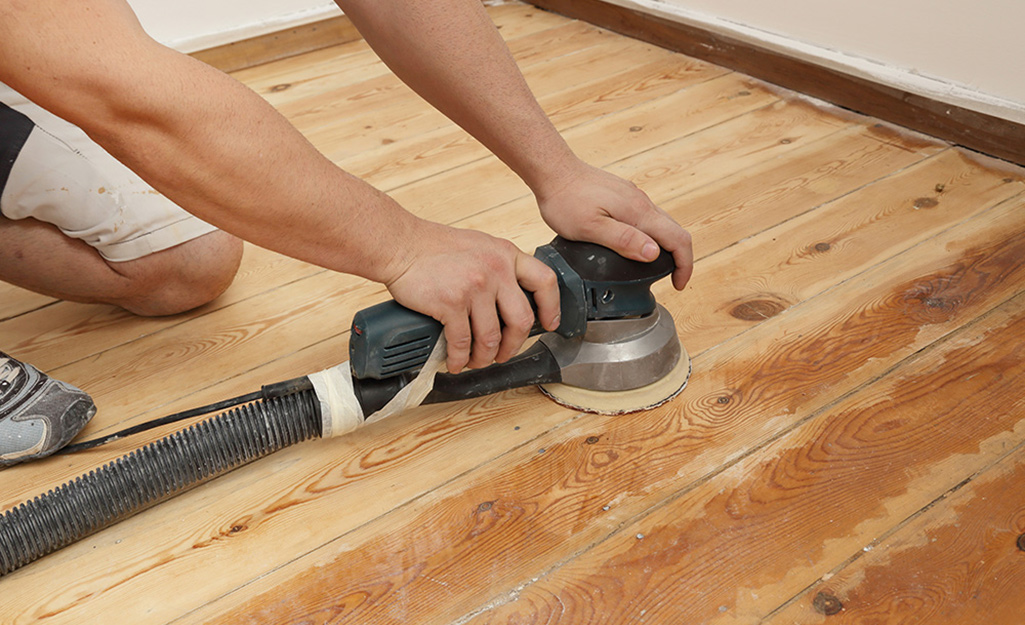
Sanding removes old finishes, scratches, and imperfections, creating a fresh surface for staining or sealing. Start with coarse-grit sandpaper (36-60 grit) to strip away the old finish and level uneven areas. Always sand with the grain to avoid cross-grain scratches that can be difficult to remove. Use an orbital sander for large areas and a detail sander for edges and corners.
After the initial sanding, switch to medium-grit (80-100 grit) to smooth the surface, followed by fine-grit (120-150 grit) for a polished finish. Vacuum between sanding stages to remove dust that could scratch the wood. Hand-sand tricky spots near baseboards or vents to ensure complete coverage. Proper sanding is the foundation of a professional-looking restoration.
Avoid over-sanding, especially with engineered wood, as excessive removal can damage the veneer. If unsure, stop and check the surface frequently. After final sanding, wipe the floor with a tack cloth or slightly damp rag to remove residual dust before applying any stains or finishes.
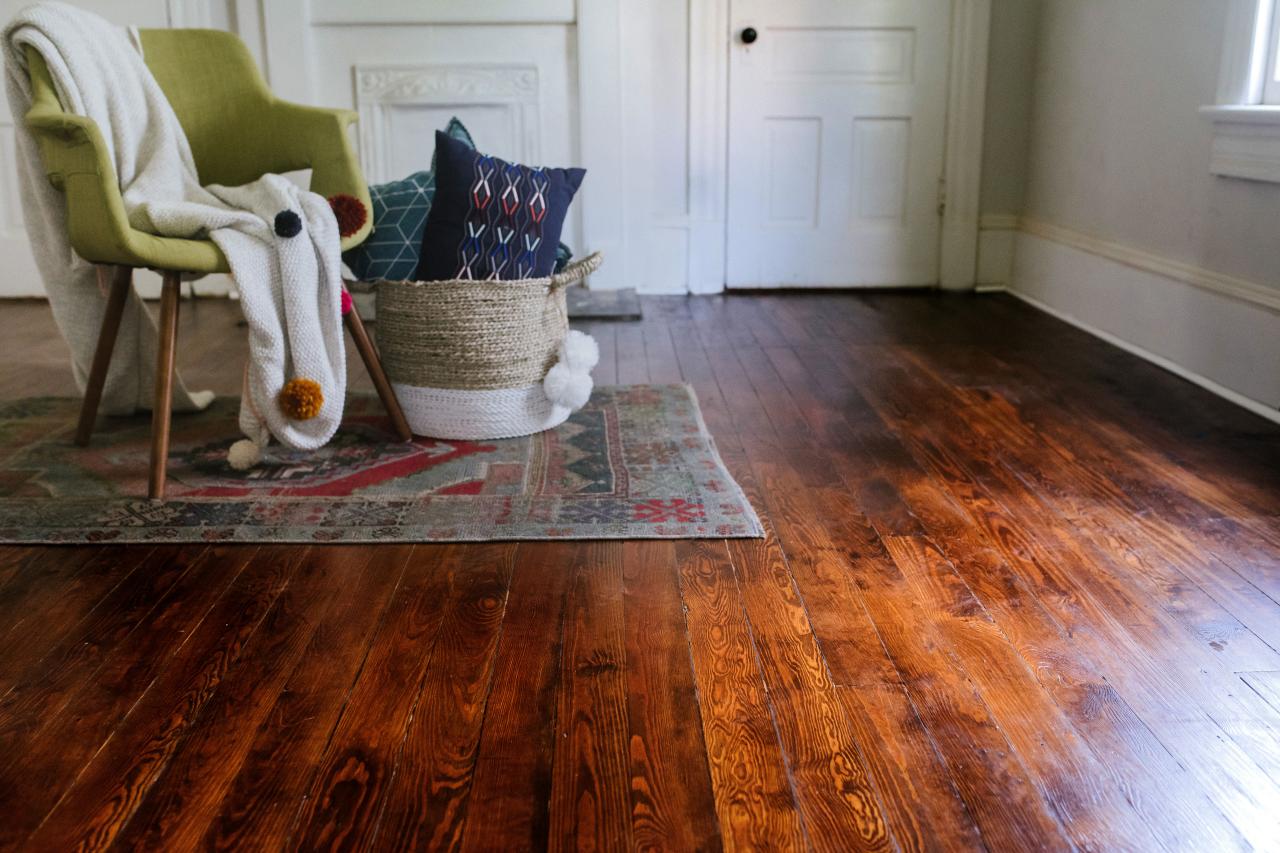
Staining for Color and Depth
Staining enhances the wood’s natural beauty while allowing you to adjust the color to match your décor. Test stains on a scrap piece or hidden area to ensure the desired shade. Apply stain with a brush, rag, or applicator pad, working in small sections and wiping away excess with a clean cloth. Multiple thin coats provide better control than one heavy application.
Allow the stain to dry completely (usually 24 hours) before applying a protective finish. If the color appears uneven, lightly sand with fine-grit paper and reapply stain. For a more natural look, consider skipping stain altogether and using a clear sealant to highlight the wood’s original tones.
Water-based stains dry faster and emit fewer fumes, while oil-based options penetrate deeper for richer color. Always work in a well-ventilated area and wear gloves to protect your skin. Proper staining technique ensures a consistent, professional appearance.
Applying a Protective Finish
A durable finish protects your restored floors from daily wear and moisture. Polyurethane is a popular choice for its toughness and variety of sheens (matte, satin, semi-gloss). Water-based polyurethane dries quickly with low odor, while oil-based versions offer deeper amber tones and longer durability. Apply with a lambswool applicator or brush, working in thin, even coats.
Allow each coat to dry fully before lightly sanding with 220-grit paper between layers. This ensures proper adhesion and a smooth finish. Typically, 2-3 coats are sufficient for high-traffic areas. For a more natural feel, consider penetrating oils or wax finishes, though these require more frequent maintenance.
Avoid walking on the floor until the finish has fully cured (usually 24-72 hours). Place protective pads under furniture legs when moving items back into the room to prevent scratches. A well-applied finish preserves your hard work and keeps floors looking new for years.
Maintaining Restored Wood Floors
Regular maintenance extends the life of your restored floors. Sweep or vacuum frequently to prevent dirt and grit from scratching the surface. Use a damp mop with a wood floor cleaner for deeper cleaning—avoid steam mops, which can damage the finish. Immediately wipe up spills to prevent water marks or warping.
Place rugs in high-traffic areas and use felt pads under furniture legs to minimize wear. Recoating the finish every few years refreshes protection without requiring full sanding. Address minor scratches promptly with touch-up markers or wax sticks to prevent further damage.
Controlling indoor humidity (30-50%) helps prevent wood from expanding or contracting. Use a humidifier in dry months and a dehumidifier in humid climates. With proper care, your DIY-restored floors will remain beautiful and durable for decades.
Frugal DIY Hardwood Floor Refinishing for Beginners – Pretty Passive

Refinishing Hardwood Floors: How to Refinish Hardwood Floors

How To Refinish Hardwood Floors – DIY Home Improvement
How to Refinish Hardwood Floors
Hardwood Floor Sanding: Do It Yourself Tips (DIY) Family Handyman

Related Posts: