When my outdated bathroom linoleum started peeling and curling at the edges, I knew it was time for a complete flooring overhaul. After researching countless options, I decided on luxury vinyl plank flooring, despite initial skepticism about vinyl in a high-moisture environment. What followed was a three-month journey of product selection, installation challenges, and surprising discoveries about modern vinyl technology. My experience completely changed my perception of vinyl flooring from a cheap substitute to a sophisticated solution perfectly suited for bathroom conditions. The transformation not only improved my bathroom’s appearance but also taught me valuable lessons about moisture management, installation techniques, and long-term maintenance.
Selecting the Right Vinyl Type
My research quickly revealed that not all vinyl flooring is created equal, especially for bathroom applications. Traditional sheet vinyl seemed outdated, while luxury vinyl tile and plank options offered superior durability and aesthetics. I spent weeks comparing waterproof versus water-resistant options, learning that truly waterproof vinyl provides complete protection against moisture penetration through joints and seams.
The thickness debate consumed considerable time as I weighed comfort versus durability factors. Thicker planks feel more substantial underfoot and provide better insulation, but thinner options offer more flexibility around fixtures and tight spaces. I ultimately chose 6mm luxury vinyl planks with attached underlayment for the best balance of comfort and practicality.
Surface texture became crucial for bathroom safety considerations. Smooth surfaces look elegant but can become slippery when wet, while heavily textured options trap dirt and become difficult to clean. I selected a subtle wood grain texture that provides adequate slip resistance without compromising cleaning efficiency or aesthetic appeal.
Installation Challenges and Solutions
Preparing my bathroom subfloor revealed more complexity than anticipated. The existing subfloor had minor moisture damage that required patching and sealing before vinyl installation could proceed. I learned that proper moisture barriers are essential, even with waterproof vinyl, to prevent subfloor issues and maintain warranty coverage.
Cutting vinyl planks around toilets, vanities, and irregular spaces tested my patience and precision skills significantly. A sharp utility knife and cardboard templates became indispensable tools for achieving professional-looking cuts. I discovered that scoring multiple times produces cleaner cuts than attempting to slice through thick planks in single passes.
The clicking mechanism of luxury vinyl planks initially frustrated me until I mastered the proper angle and pressure techniques. Starting installation from the longest straight wall and maintaining consistent expansion gaps around the perimeter prevented buckling issues. Patience during the learning curve produced much better results than rushing through the process.
Moisture Performance After Two Years
Living with vinyl flooring in my bathroom for two years has proven its excellent moisture resistance capabilities beyond my initial expectations. Standing water from shower overspray, condensation, and occasional flooding incidents have caused no visible damage or separation at seams. The waterproof core technology performs exactly as advertised in real-world conditions.
Humidity levels in my bathroom regularly exceed 80% during shower use, yet the vinyl flooring shows no signs of warping, cupping, or expansion issues. The dimensional stability impresses me daily, especially compared to previous experiences with laminate flooring that failed catastrophically in similar moisture conditions.
Cleaning water spots and soap residue has become effortless with simple mopping and occasional deeper cleaning. The non-porous surface resists staining and bacterial growth, making maintenance much easier than natural materials like stone or wood that require special treatments and constant sealing to maintain appearance and hygiene.
Comfort and Temperature Considerations
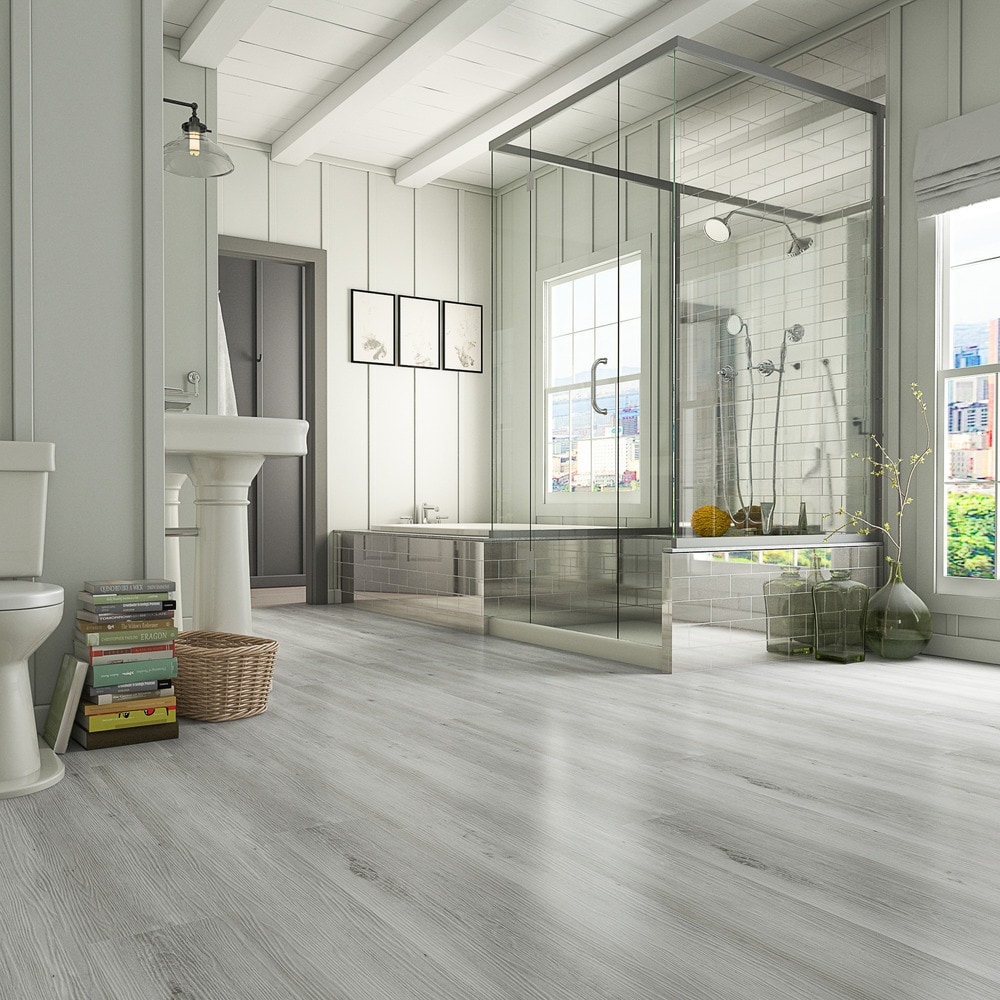
The thermal properties of vinyl flooring surprised me with their superior comfort compared to the ceramic tile options I had considered. While not as warm as carpet, vinyl doesn’t conduct cold like stone or ceramic, making barefoot walking much more pleasant during the winter months in my bathroom.
Sound absorption capabilities exceeded my expectations, significantly reducing the hollow echoing that characterizes many bathroom spaces. Footsteps, dropped items, and water sounds are noticeably dampened compared to hard surface alternatives, creating a more peaceful and private bathroom environment.
The slight cushioning effect of luxury vinyl planks provides welcome relief during long grooming sessions or bathroom cleaning tasks. This ergonomic benefit becomes particularly apparent when kneeling or standing for extended periods, making the bathroom more comfortable for users of all ages.

Aesthetic Results and Design Flexibility
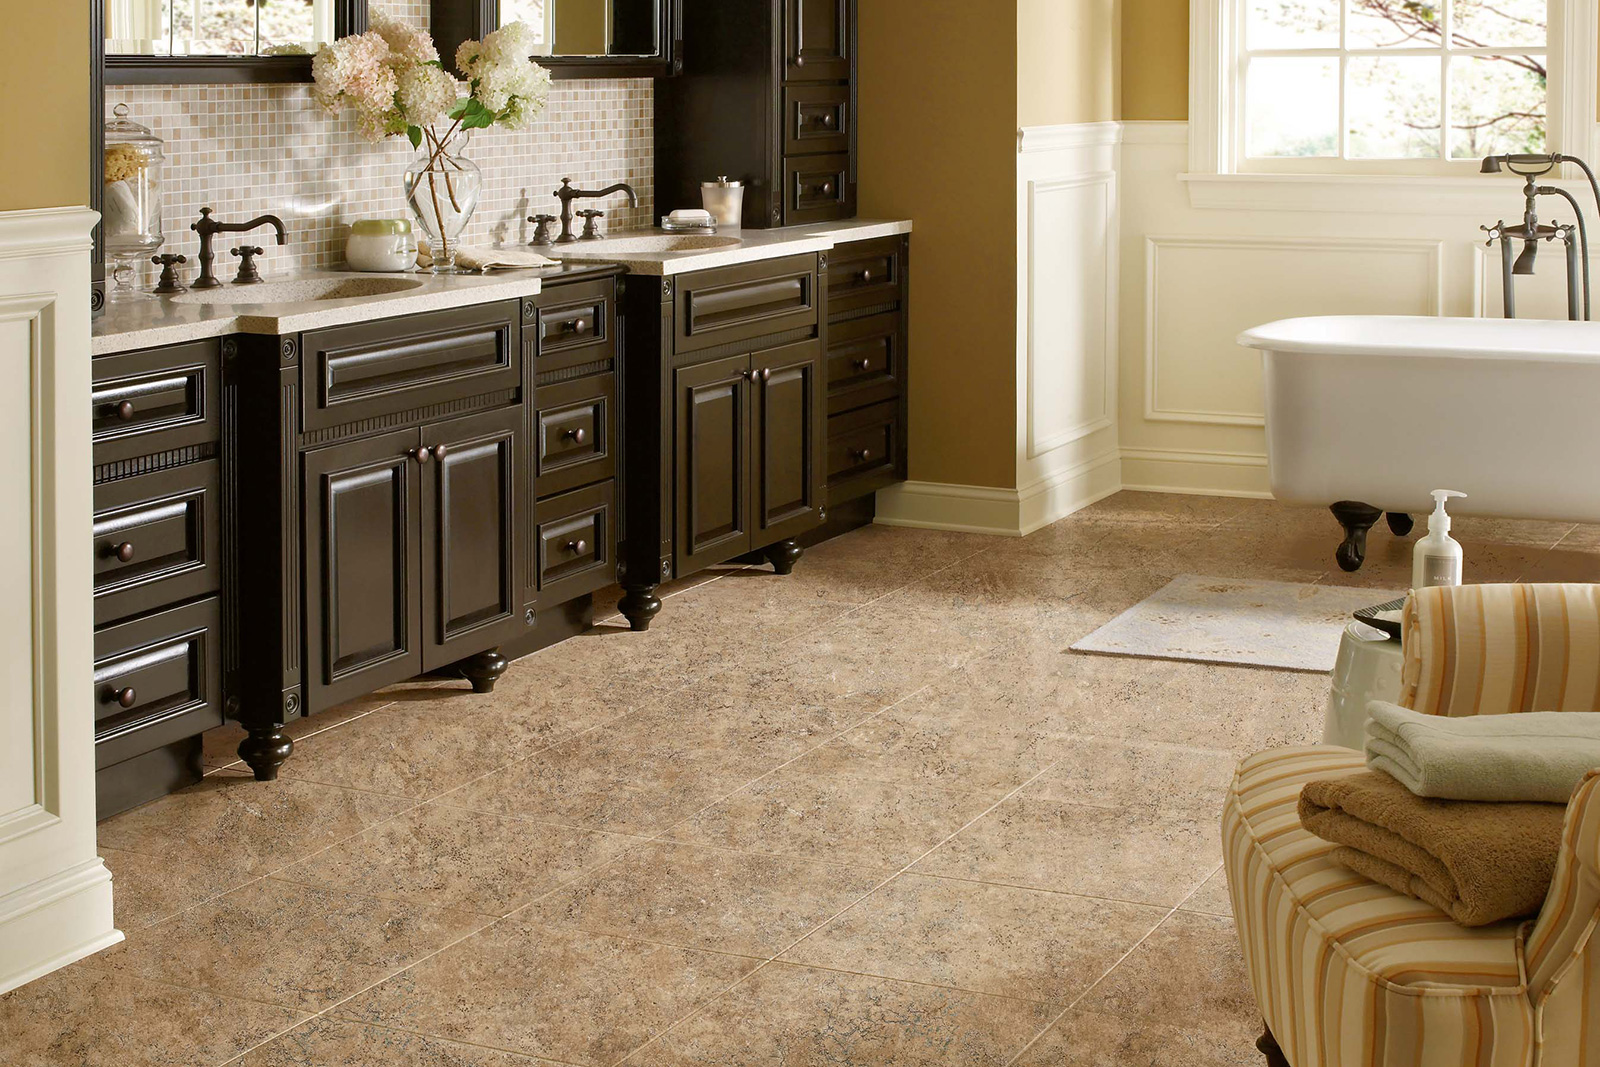
The wood-look vinyl planks I selected transformed my bathroom from dated and cramped to modern and spacious. The realistic grain patterns and color variations mimic natural hardwood so convincingly that guests often assume it’s real wood until I explain the practical benefits of vinyl in moisture-prone areas.
Pattern possibilities with vinyl planks offered creative installation options that enhanced my bathroom’s proportions. Running planks parallel to the longest wall made the narrow space appear wider, while the uniform color palette creates visual continuity with adjacent rooms throughout my home.
The ability to extend vinyl flooring seamlessly from the bathroom into adjoining spaces creates a cohesive design flow that wasn’t possible with traditional bathroom-specific materials. This continuity makes my small bathroom feel larger and more integrated with the overall home design scheme.
![]()
Long-Term Value and Maintenance
Cost-effectiveness has proven excellent over two years of use, with minimal maintenance requirements and no signs of premature wear or failure. The initial investment was significantly lower than ceramic tile or natural stone options, while performance has exceeded expectations in every measurable category.
Routine maintenance consists of weekly mopping with standard floor cleaners and occasional deeper cleaning for soap scum removal. No special treatments, sealing, or professional maintenance have been required, unlike natural materials that need ongoing care to maintain appearance and water resistance.
The warranty coverage and expected lifespan of quality vinyl flooring provide peace of mind for long-term bathroom use. Most manufacturers offer 20-year residential warranties, and proper installation should deliver decades of reliable service with minimal maintenance requirements compared to traditional bathroom flooring materials.
Is luxury vinyl flooring truly waterproof for bathroom applications?
Quality luxury vinyl flooring with waterproof cores provides excellent protection against moisture penetration, making it ideal for bathroom use. The key is selecting products specifically rated as waterproof rather than just water-resistant. Proper installation with sealed edges and appropriate expansion gaps ensures complete moisture protection. However, standing water should still be cleaned promptly to prevent potential subfloor issues and maintain warranty coverage throughout the flooring’s lifespan.
How does vinyl flooring compare to ceramic tile for bathroom installations?
Vinyl flooring offers superior comfort, warmth, and sound absorption compared to ceramic tile, while maintaining excellent moisture resistance. Installation is generally easier and more DIY-friendly than tile work. Ceramic tile provides a longer lifespan and heat resistance, but requires more maintenance with grout cleaning and sealing. Vinyl costs less initially and offers more design flexibility, while tile adds more resale value. Both perform well in bathrooms when properly installed.

Can I install vinyl flooring over existing bathroom tile?
Installing vinyl over existing tile is possible if the surface is level, well-adhered, and structurally sound. Remove any loose or damaged tiles and fill gaps with appropriate leveling compound. The additional height may require door trimming and transition adjustments. Some manufacturers void warranties for installations over existing flooring. Professional assessment is recommended to ensure proper substrate conditions and avoid future problems with the new vinyl installation.
What tools do I need for DIY bathroom vinyl flooring installation?
Essential tools include a utility knife with fresh blades, measuring tools, spacers for expansion gaps, a tapping block, a pull bar for tight spaces, and safety equipment. A jigsaw helps with curved cuts around fixtures. Quality knee pads make installation more comfortable. Most luxury vinyl installations require only basic hand tools, unlike ceramic tile, which needs wet saws and specialized equipment. Proper tools significantly improve installation quality and reduce material waste.
How do I maintain vinyl flooring in high-moisture bathroom environments?
Regular sweeping and weekly mopping with pH-neutral cleaners maintain vinyl flooring effectively. Avoid harsh chemicals, abrasive cleaners, and excessive water that might penetrate seams. Clean spills promptly and ensure good ventilation to minimize condensation. Periodic deep cleaning removes soap scum and mineral deposits. Unlike natural materials, vinyl requires no sealing or special treatments. Proper maintenance preserves appearance and extends lifespan significantly in bathroom applications.
What should I look for when selecting vinyl flooring for my bathroom?
Choose luxury vinyl planks or tiles with waterproof cores rather than just water-resistant options. Look for a thickness of 5-8mm for durability and comfort. Verify slip resistance ratings for safety in wet conditions. Consider the attached underlayment for easier installation and better sound absorption. Check warranty coverage and manufacturer reputation. Ensure the product is specifically rated for bathroom use and that installation requirements match your skill level and subfloor conditions.

Bathroom Vinyl Flooring Cheap Vinyl Bathroom Flooring
Cheap Flooring Ideas that Look Stunning!
Livelynine White Peel and Stick Floor Tile

Vinyl bathroom flooring ideas: 10 easy to clean floors Homes
Luxury Vinyl Flooring and Other Vinyl Options for Your Bathroom
Related Posts: