Last year, I decided to tackle my basement renovation project and chose snap lock tile flooring after researching various DIY-friendly options. What attracted me most was the promise of easy installation without glue, nails, or professional help. However, my journey with this innovative flooring system taught me that while it’s certainly more accessible than traditional methods, success still requires careful planning, patience, and attention to detail. Through mistakes, victories, and plenty of learning moments, I discovered both the remarkable benefits and subtle challenges of snap lock systems. My experience transformed a daunting flooring project into an achievable weekend accomplishment that I’m genuinely proud of.
Why I Chose Snap Lock Over Traditional Methods
My initial attraction to snap lock tiles stemmed from horror stories I’d heard about adhesive installations gone wrong. Friends had experienced uneven surfaces, permanent mistakes, and costly professional corrections with glued-down flooring. The ability to disassemble and reposition snap lock tiles seemed like the perfect safety net for a novice installer like myself.
The time factor played a crucial role in my decision-making process. Traditional tile installation requires days for adhesive curing, grouting, and sealing before the space becomes usable. Snap lock systems promised immediate walkability upon completion, which was essential for my basement project since it’s our main pathway to the laundry room.
Cost considerations also influenced my choice significantly. Eliminating the need for adhesives, special tools, and professional installation reduced my project budget by nearly forty percent. I could invest those savings in higher-quality tiles or other basement improvements, making the snap lock system an economically attractive option for my renovation goals.
Planning and Preparation Phase
Measuring my basement space accurately became more critical than I initially anticipated with snap lock tiles. Unlike traditional installations, where small gaps can be hidden with grout, snap lock systems require precise calculations to avoid awkward cuts and ensure proper expansion gaps around the perimeter. I remeasured three times and created detailed diagrams.
Subfloor preparation proved just as important for snap lock tiles as traditional methods. My concrete basement floor needed thorough cleaning, moisture testing, and minor leveling compounds to ensure smooth installation. Any irregularities would telegraph through the interlocking system and create gaps or instability in the finished floor.
Acclimating the tiles to room temperature for 48 hours before installation prevented expansion and contraction issues that could compromise the locking mechanism. I stored the boxes in the installation room and maintained a consistent temperature during this period. This step, often overlooked by eager DIYers, ensures long-term stability.

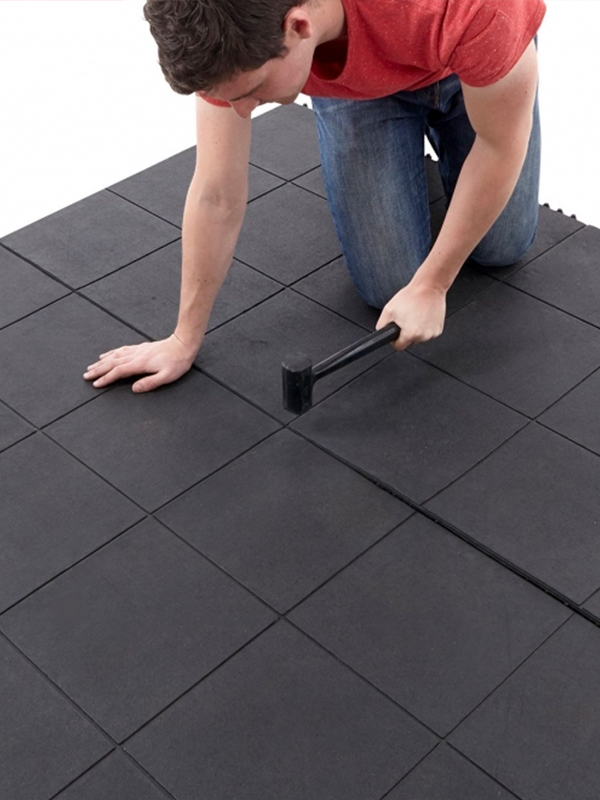
The Installation Experience
Starting my installation from the longest, straightest wall created the foundation for a successful project. I learned that snap lock tiles require careful attention to the first few rows, as any misalignment compounds throughout the installation. Using spacers along the perimeter maintained proper expansion gaps while keeping rows perfectly straight.
The actual snapping mechanism took practice to master without damaging the tiles. Initially, I was too gentle and didn’t achieve secure connections, while being too aggressive cracked several edge pieces. Finding the right pressure and angle required patience, but once mastered, the installation progressed smoothly and efficiently.
Cutting tiles around obstacles and edges challenged my problem-solving skills more than expected. A sharp utility knife worked for straight cuts, while a jigsaw handled curved cuts around pipes and corners. Measuring twice and cutting once became my mantra, though I still wasted a few tiles learning proper cutting techniques.
Performance After Six Months
Daily foot traffic, dropped items, and general basement activities have tested my snap lock floor’s durability extensively. The interlocking system remains tight and stable with no separation or movement issues. The surface shows minimal wear despite hosting workshop projects, exercise sessions, and children’s play activities regularly throughout the testing period.
Cleaning maintenance has exceeded my expectations with simple sweeping and occasional damp mopping keeping the floor looking new. Spills wipe up easily without penetrating joints or causing staining issues. The textured surface provides good traction while resisting scuffs and scratches from furniture movement and tool usage.
Temperature and humidity changes throughout the seasons haven’t affected the installation negatively. The expansion gaps I carefully maintained during installation accommodate natural movement without buckling or separation. This stability gives me confidence in the long-term performance and durability of the snap lock system.
Challenges and Solutions I Discovered
My biggest challenge involved maintaining consistent gap spacing around the room perimeter while ensuring the locking mechanism engaged properly. Tight spaces required creative solutions using pull bars and tapping blocks to achieve secure connections without damaging tile edges. Patience proved more valuable than force in these situations.
Uneven subfloor areas created installation difficulties that required additional preparation work. Minor dips and bumps prevented proper tile seating and caused instability in the locking system. I learned to address these issues immediately rather than hoping they would resolve themselves during installation.
Door transitions and room boundaries presented unexpected complications requiring careful planning and measurement. Standard transition strips didn’t always align perfectly with snap lock tile thickness, necessitating custom solutions and additional trim pieces. These details significantly impact the finished appearance and should be considered during planning.

Value and Recommendations
The overall value proposition of snap lock tiles has proven excellent for my basement renovation project. The combination of reasonable material costs, eliminated installation expenses, and professional-looking results resulted in an exceptional return on investment. I’ve received numerous compliments from visitors who assume professional installation occurred.
For future projects, I would choose snap-lock tiles again for suitable applications. Bedrooms, living areas, and basements benefit most from this installation method, while high-moisture areas like bathrooms might require more traditional approaches. Understanding application limitations prevents disappointment and ensures successful outcomes.
My recommendation for potential snap lock tile users is to invest time in proper preparation and planning rather than rushing into installation. Quality tools, accurate measurements, and patience during the learning curve produce results that rival professional installations at a fraction of the cost and time investment.
How difficult is snap lock tile installation for complete beginners?
Snap lock tile installation is very beginner-friendly compared to traditional methods, but requires patience and attention to detail. Most homeowners can complete projects with basic tools and careful planning. The learning curve involves mastering the locking mechanism and cutting techniques, which typically takes a few rows to develop. Reading instructions thoroughly and watching installation videos beforehand significantly improves success rates. Allow extra time for your first project and order 10% additional tiles for mistakes.
What tools do I need for snap lock tile installation?
Essential tools include a sharp utility knife or jigsaw for cuts, a pull bar for tight spaces, a tapping block to protect edges, spacers for expansion gaps, and measuring tape for accurate layout. A rubber mallet helps secure connections without damage. Most installations require only these basic tools, unlike traditional methods which need adhesives, trowels, and specialized equipment. Quality tools make installation easier and produce better results, so avoid cheap alternatives that might damage tiles during installation.

Can snap lock tiles be installed over existing flooring?
Many snap lock tiles can be installed over existing hard surfaces like concrete, plywood, or even existing tile, provided the surface is level, clean, and structurally sound. Carpet and cushioned vinyl must be removed first. The existing floor adds to the overall height, which may require transition adjustments and door trimming. Moisture barriers may be needed over concrete or in basements. Always check manufacturer specifications, as some products require specific subfloor preparations.
How do snap lock tiles handle moisture and humidity?
Most snap lock tiles handle normal humidity well, but performance varies by material type. Luxury vinyl snap lock tiles resist moisture better than laminate versions. Proper expansion gaps and acclimation prevent buckling from humidity changes. Avoid standing water and clean spills promptly. Bathrooms and laundry rooms may require additional moisture barriers or alternative flooring solutions. Check product specifications for moisture ratings and warranty coverage in humid environments before installation.

What’s the lifespan of snap lock tile flooring compared to traditional methods?
Quality snap lock tiles can last 15-25 years with proper installation and maintenance, comparable to traditional methods. The interlocking system actually provides advantages by allowing individual tile replacement if damage occurs. Durability depends more on material quality than installation method. Premium snap lock tiles often outperform cheaper traditional installations. Regular maintenance and avoiding excessive moisture exposure maximizes lifespan regardless of installation type.
Can I remove and reinstall snap lock tiles if I need to access subfloor?
Yes, snap lock tiles can be disassembled and reinstalled, which is a major advantage over permanent installation methods. Start removal from the most recently installed area and work backward carefully to avoid damaging the locking mechanism. Tiles can be reused if removed properly, though some edge damage may occur. This removability makes snap lock tiles excellent for basements or areas where utility access might be needed. Plan installation direction considering potential future removal needs.
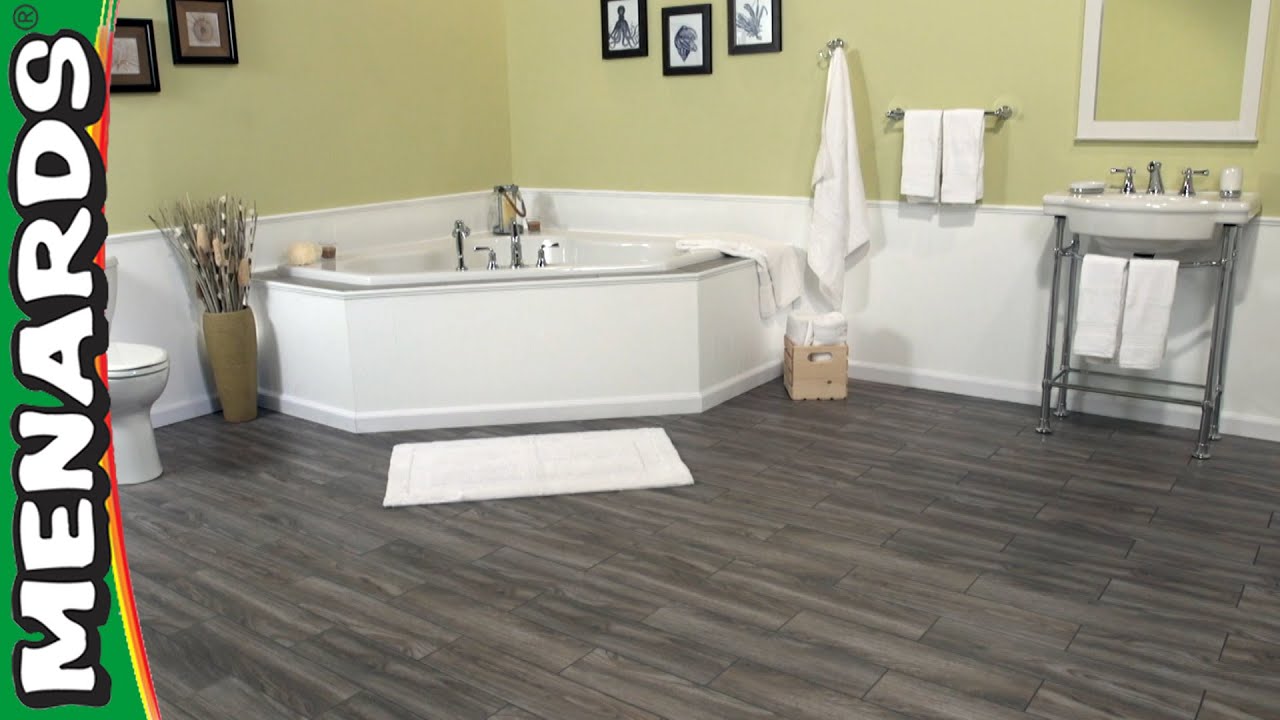
Install SnapStone Floor Tiles – Menards
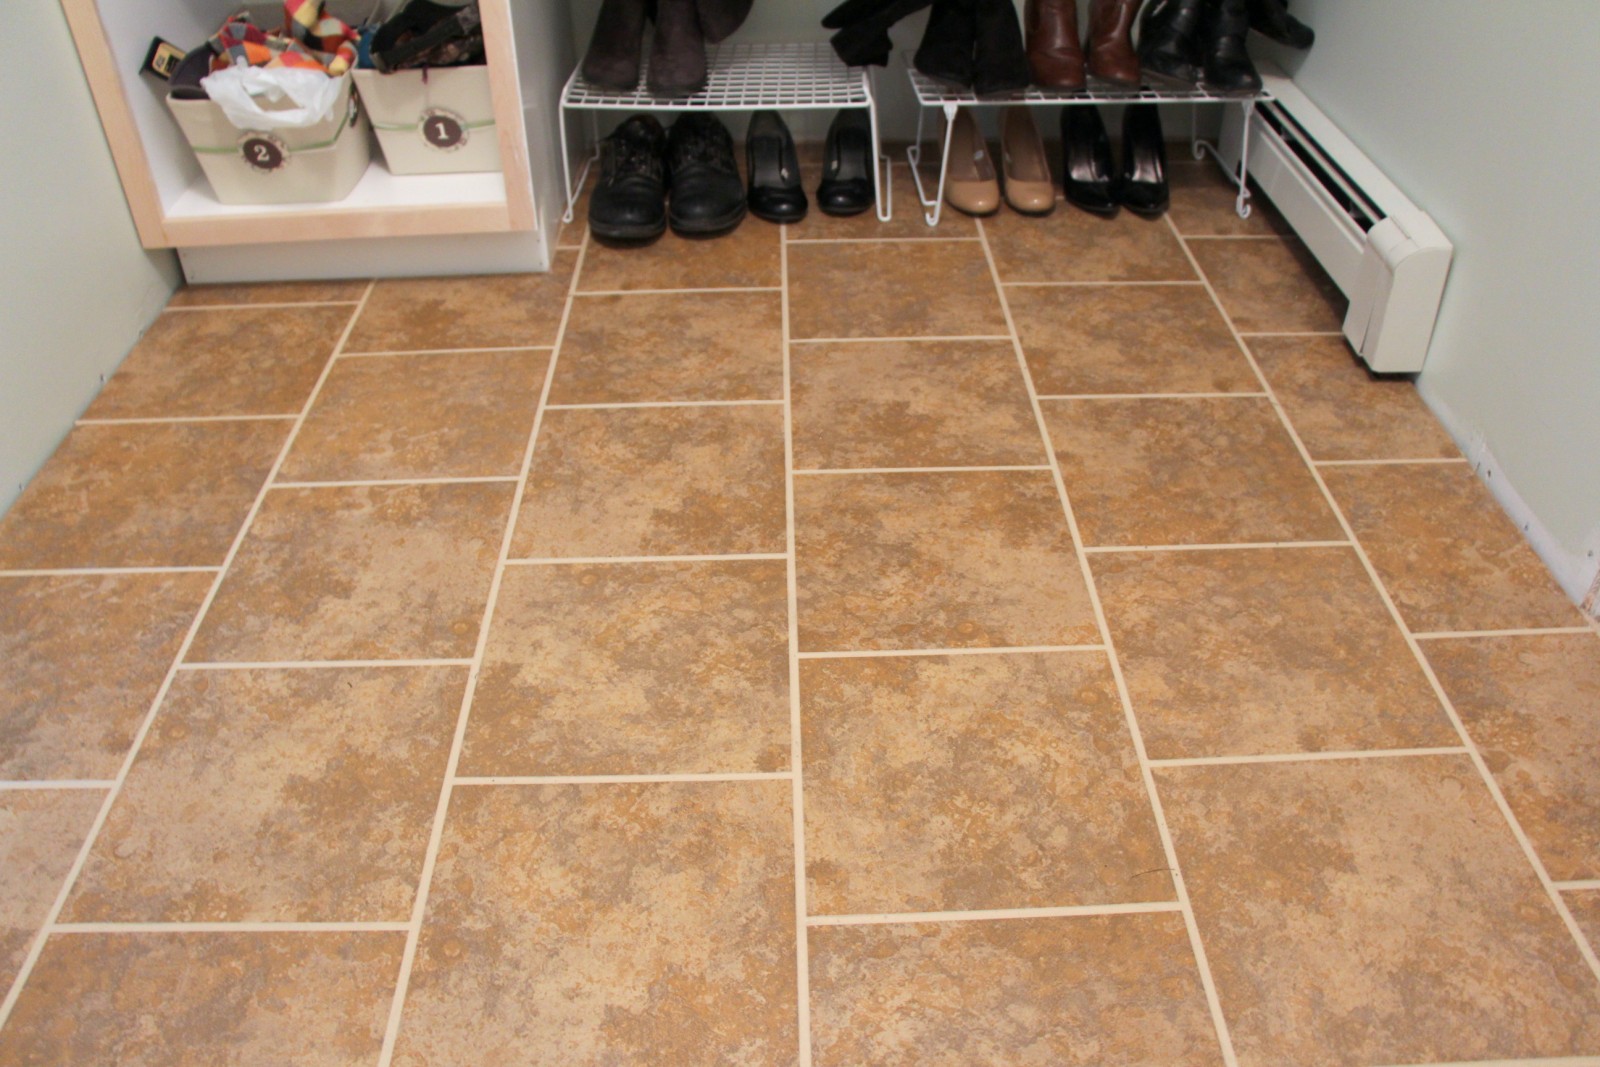
Heart Maine Home: A review of SnapStone floating tile floor
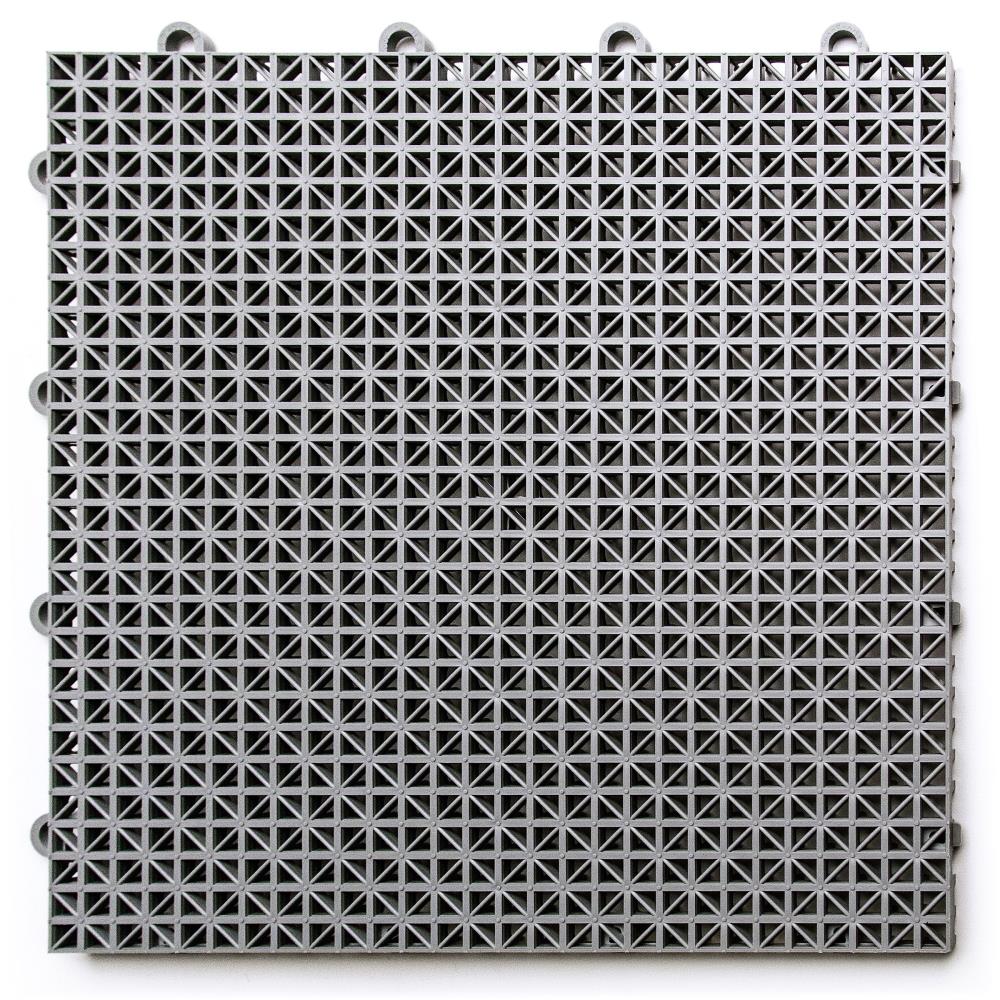
SnapLock Gray 12-in x 0.75-in Interlocking Polypropylene Plastic Tile Gym Flooring (40-sq ft) (40-Pack)
Related Posts: