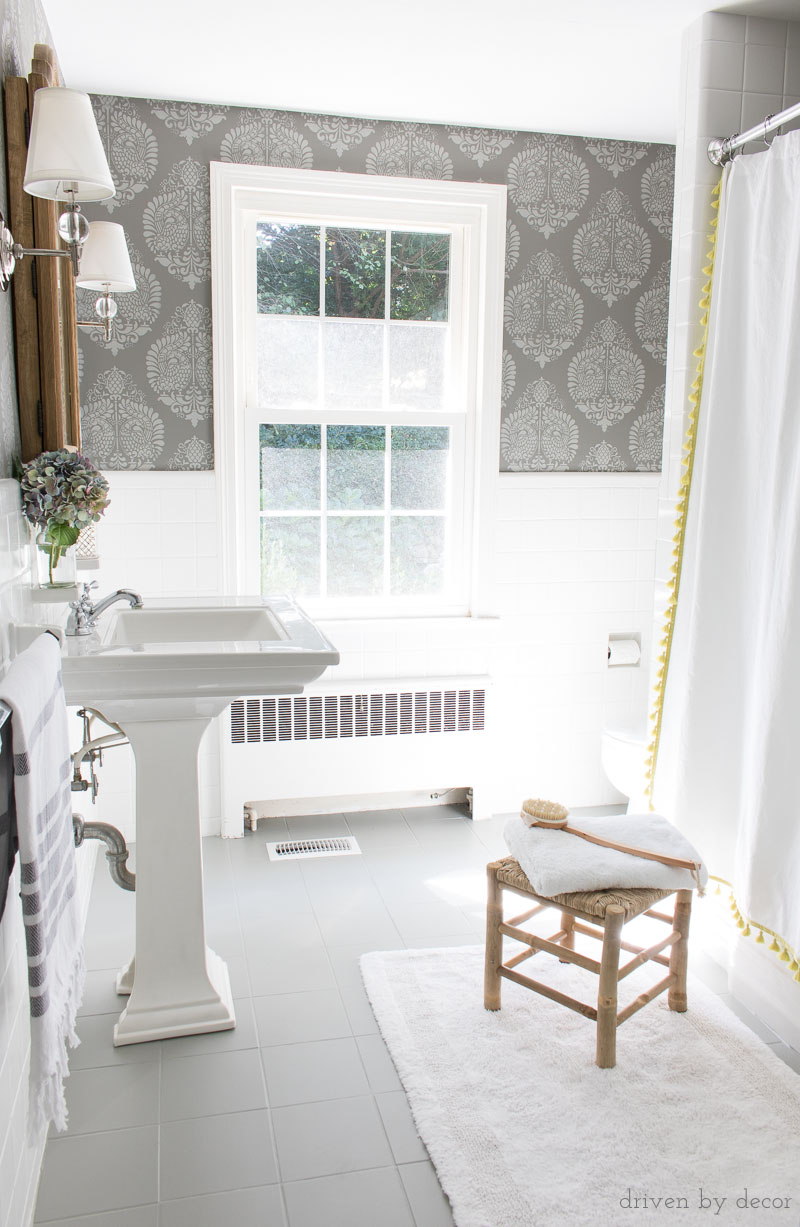
Pros and Cons of Painting Your Bathroom Floor
Painting your bathroom floor can be an exciting and cost-effective way to update the look of your bathroom. However, before diving into this DIY project, it’s important to weigh the pros and cons. Here are some factors to consider:
Pros:
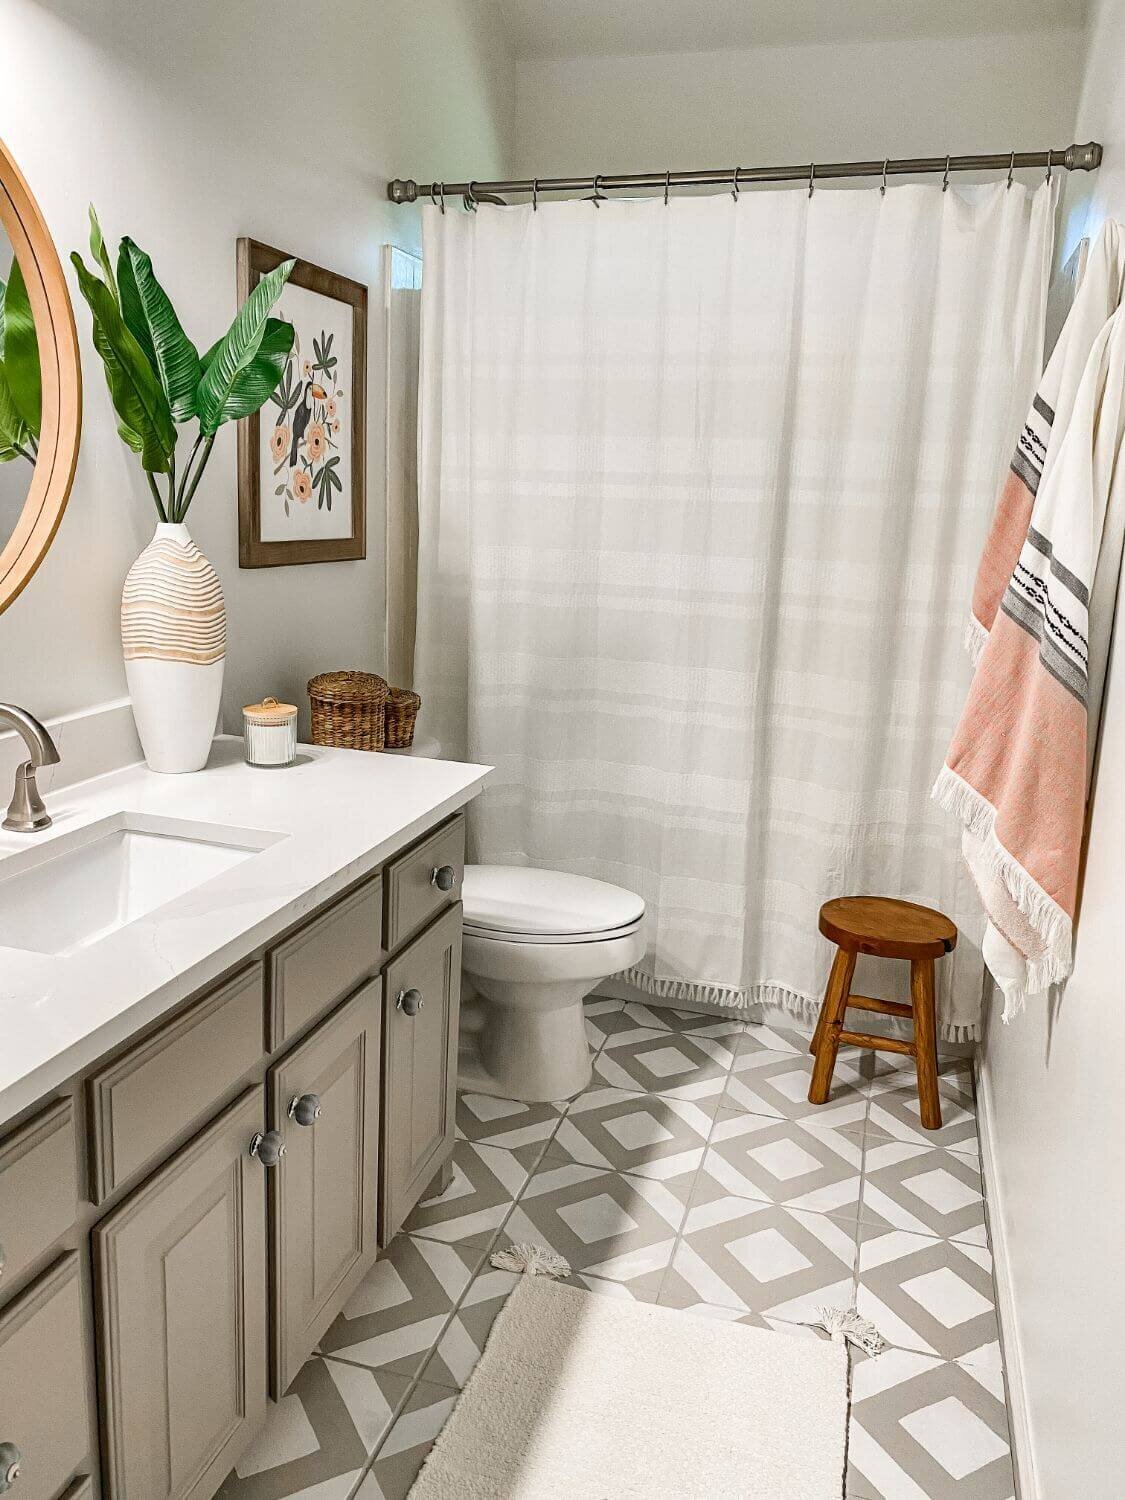
- Aesthetic Appeal: Painting your bathroom floor allows you to unleash your creativity and customize the look of your space. You can choose from a wide range of colors and patterns to match your style.
- Cost-Effective: Compared to other flooring options, painting your bathroom floor is a budget-friendly alternative. It can give your bathroom a fresh new look without breaking the bank.
- Quick and Easy: Painting your bathroom floor is a relatively simple process that can be completed over a weekend. It doesn’t require extensive renovation or the use of heavy machinery.
- Versatility: With the right paint and techniques, you can achieve various effects, such as faux tiles or a marbled appearance. This allows you to experiment with different styles without the commitment of permanent flooring.
Cons:
- Durability: While painting your bathroom floor can be a cost-effective solution, it may not be as durable as other flooring options. Constant exposure to moisture, foot traffic, and cleaning agents can cause the paint to chip or peel over time.
- Maintenance: Painted bathroom floors require regular maintenance to keep them looking their best. You may need to touch up the paint periodically or apply a protective sealant to prevent damage.
- Preparation: Properly preparing your bathroom floor for painting is crucial to ensure a long-lasting finish. This can involve thorough cleaning, sanding, and priming, which can be time-consuming and labor-intensive.
- Resale Value: If you’re considering selling your home in the future, keep in mind that painted bathroom floors may not appeal to all potential buyers. Some people prefer traditional flooring materials like tiles or vinyl.

Choosing the Right Paint and Tools
Choosing the right paint and tools is essential for a successful bathroom floor painting project. Here are some factors to consider:
Type of Paint:
- Epoxy Paint: Epoxy paint is a popular choice for bathroom floors due to its durability and water resistance. It forms a strong, protective barrier that can withstand moisture and heavy use.
- Latex Paint: Latex paint is another option for bathroom floors. It is easy to apply, dries quickly, and comes in a wide range of colors. However, it may not be as durable as epoxy paint and may require more maintenance.
Tools:
- Roller or Brush: A high-quality roller or brush is crucial for achieving a smooth and even finish. Choose a roller with a short nap for smooth surfaces and a longer nap for textured floors.
- Paint Tray and Liners: These tools will help you easily load your roller or brush with paint and keep the mess to a minimum.
- Sandpaper: Depending on the condition of your bathroom floor, you may need to sand it to create a smooth surface for painting. Choose sandpaper with a grit suitable for your floor material.
- Painter’s Tape: Use painter’s tape to protect areas you don’t want to paint, such as baseboards or fixtures.
Color and Finish:
When choosing a paint color, consider the overall style and color scheme of your bathroom. Opt for light colors to create a spacious and airy feel or go bold with vibrant hues for a statement look. Select a finish that is appropriate for your bathroom floor. A satin or semi-gloss finish is ideal for bathroom floors as it is easier to clean and more resistant to moisture.

Preparing Your Bathroom Floor for Painting
Properly preparing your bathroom floor before painting is essential for a long-lasting and flawless finish. Follow these steps to ensure the best results:
Clear the Area: Remove all items from the bathroom floor, including rugs, mats, and furniture. This will give you ample space to work and prevent any accidental damage to your belongings.
Clean the Floor: Thoroughly clean the bathroom floor to remove any dirt, grime, or soap residue. Use a mild detergent and warm water, and scrub the surface with a brush or sponge. Rinse the floor well and allow it to dry completely.
Repair Any Damage: Inspect the bathroom floor for any cracks, holes, or uneven surfaces. Fill any gaps or cracks with a suitable filler, such as epoxy or wood filler. Smooth out the surface using a putty knife and let it dry completely.
Sand the Floor: If your bathroom floor has a glossy or textured finish, lightly sand the surface to create a smooth and even base for the paint. Use sandpaper with a grit appropriate for your floor material and sand in the direction of the grain. Remove any dust or debris with a vacuum or damp cloth.
Apply Primer: Applying a primer is crucial to ensure proper adhesion of the paint and enhance its durability. Use a primer specifically designed for the type of paint you’re using and apply it evenly using a brush or roller. Allow the primer to dry completely before moving on to the next step.
Protect Surrounding Areas: Use painter’s tape to protect areas you don’t want to paint, such as baseboards, fixtures, or walls. This will ensure clean and crisp edges.

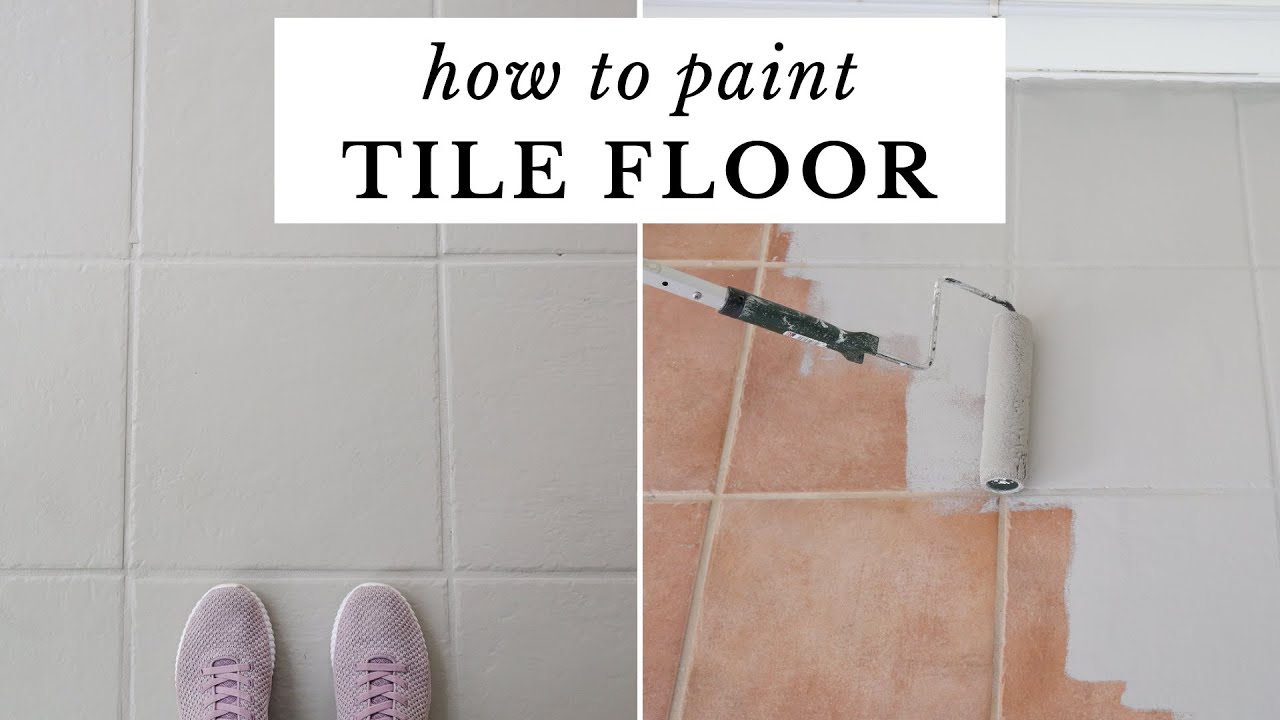
Step-by-Step Guide to Painting Your Bathroom Floor
Painting your bathroom floor can be a fun and rewarding DIY project. Follow this step-by-step guide to achieve a successful and professional-looking finish:
Gather Your Materials: Make sure you have all the necessary materials, including paint, primer, brushes or rollers, painter’s tape, and any additional tools specific to your chosen technique.
Prepare the Room: Clear the bathroom floor of any furniture, rugs, or other items. Protect surrounding areas, such as baseboards or fixtures, with painter’s tape. Lay down drop cloths or plastic sheets to protect the rest of the room from paint splatter.
Apply a Base Coat: Start by applying a base coat of paint to the floor. Use a brush or roller to cover the entire surface evenly. Work in small sections, starting from one corner and moving towards the exit. Let the base coat dry according to the manufacturer’s instructions.
Create Your Design: If you want to add decorative elements to your bathroom floor, now is the time to get creative. Use painter’s tape or stencils to create patterns, stripes, or other designs. Take your time to ensure clean and precise lines. Once you’re satisfied with your design, let it dry completely.
Apply Additional Coats: Depending on the desired color and finish, you may need to apply additional coats of paint. Allow each coat to dry completely before applying the next one. Follow the manufacturer’s instructions for drying times between coats.
Seal the Paint: Once you’re satisfied with the color and finish, apply a protective sealant to the painted floor. This will help protect the paint from moisture, foot traffic, and cleaning agents. Follow the manufacturer’s instructions for application and drying times.
Let it Cure: After sealing the paint, allow the floor to cure for the recommended time before using the bathroom. This will ensure the paint fully adheres and hardens for maximum durability.
Remove Painter’s Tape: Once the paint has fully dried and cured, carefully remove the painter’s tape to reveal clean and crisp edges.

Maintaining and Protecting Your Painted Bathroom Floor
After investing time and effort into painting your bathroom floor, it’s essential to properly maintain and protect it to ensure its longevity. Here are some tips to keep your painted floor looking its best:
Regular Cleaning: Regularly clean your painted bathroom floor to remove dirt, dust, and grime. Use a mild detergent and warm water, and avoid harsh cleaning agents that may damage the paint. Gently scrub the surface with a soft brush or sponge and rinse thoroughly.
Avoid Standing Water: Prevent standing water on your painted floor, as prolonged exposure to moisture can cause the paint to peel or bubble. Wipe up any spills or excess water immediately, and use bathmats or rugs to absorb water near the shower or sink.
Use Gentle Cleaning Products: When cleaning your painted floor, avoid abrasive or harsh cleaning products that may scratch or damage the paint. Opt for mild, non-abrasive cleaners and test them in a small, inconspicuous area before using them on the entire floor.
Touch Up as Needed: Over time, your painted floor may experience wear and tear, such as chipping or fading. Keep some extra paint on hand to touch up any areas that need attention. Follow the manufacturer’s instructions for the touch-up application.
Apply a Protective Sealant: To further protect your painted bathroom floor, consider applying a clear protective sealant. This will create an additional barrier against moisture, foot traffic, and cleaning agents. Follow the manufacturer’s instructions for application and reapplication, as sealants may require periodic maintenance.
Avoid Harsh Scrubbing: When cleaning your painted floor, avoid using abrasive scrub brushes or scouring pads, as they can damage the paint. Stick to soft brushes or sponges and gently scrub any stubborn stains or marks.
Preventative Measures: Take preventative measures to protect your painted bathroom floor. Place felt pads on the feet of furniture to prevent scratches and use rugs or mats in high-traffic areas to minimize wear and tear.
Regular Inspections: Periodically inspect your painted floor for any signs of damage or wear. Look for areas where the paint may be chipping or peeling and address them promptly. By catching and addressing any issues early on, you can prevent further damage and extend the life of your painted floor.
Avoid Harsh Chemicals: Avoid using harsh chemicals or abrasive cleaners on your painted floor, as they can strip away the paint or cause discoloration. Stick to mild cleaning agents and follow the manufacturer’s recommendations for cleaning products that are safe for painted surfaces.
Reapply Sealant: Over time, the protective sealant on your painted floor may wear off. Depending on the type of sealant used, it may need to be reapplied periodically. Follow the manufacturer’s instructions for reapplication to maintain the integrity and protection of your painted floor.
By following these maintenance and protection tips, you can ensure that your painted bathroom floor remains in good condition for years to come. Regular cleaning, preventative measures, and addressing any issues promptly will help preserve the beauty and durability of your painted floor.
How to Paint Tile Floor in a Bathroom – Angela Marie Made
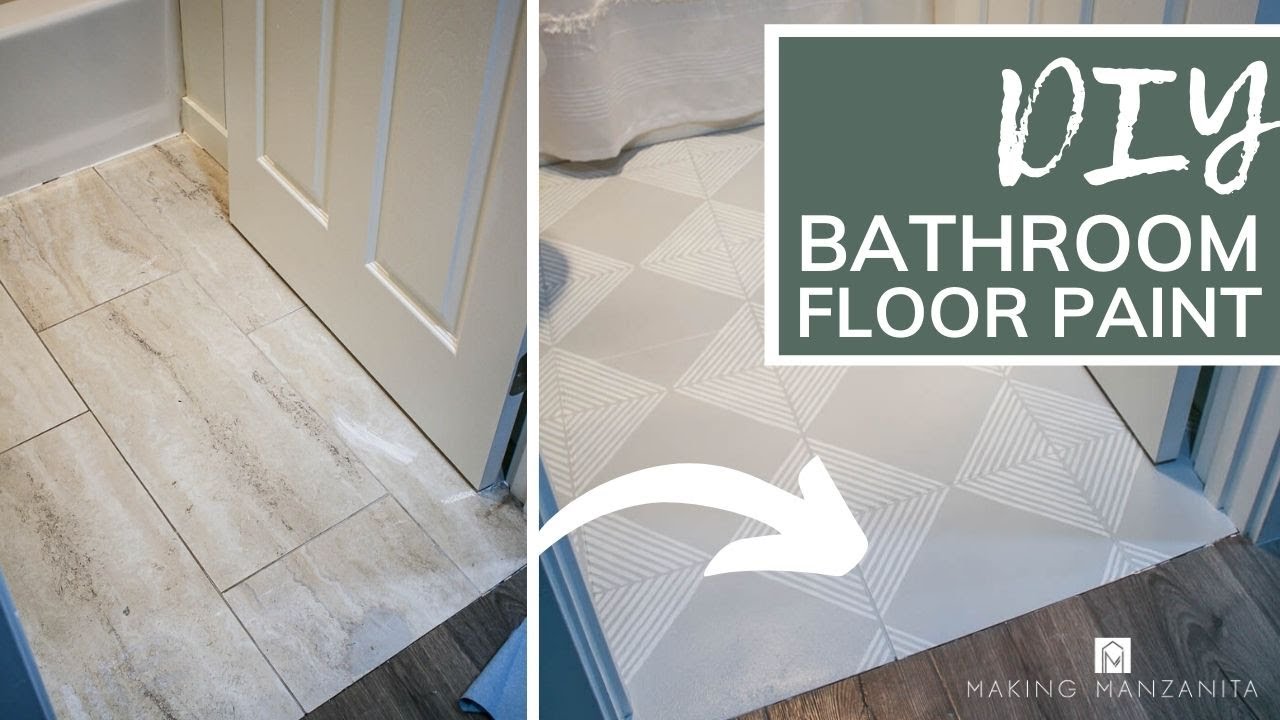
DIY Bathroom Floor Paint How To Stencil A Floor
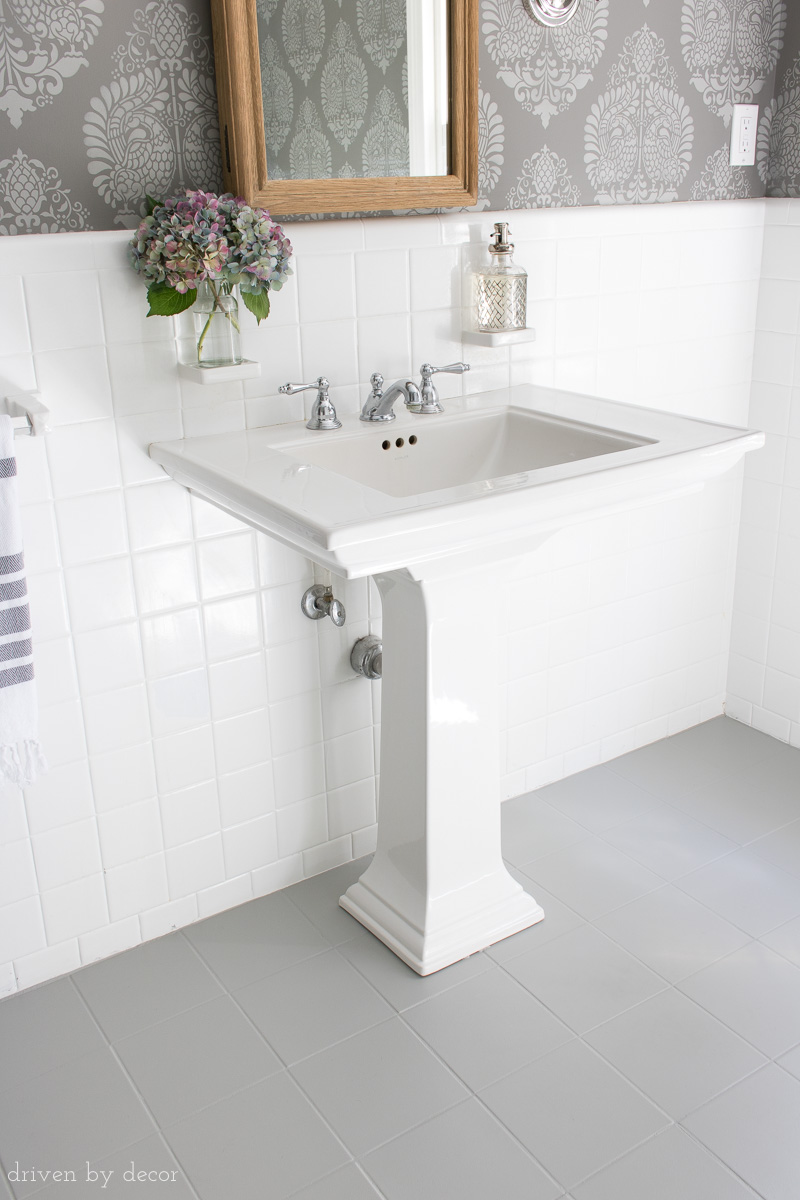
How I Painted Our Bathroomu0027s Ceramic Tile Floors: A Simple (and
Diy flooring, Bathroom floors diy, Bathroom tile diy

How to Paint Linoleum Floor – DIY Painted Bathroom Floor

How I Painted Our Bathroom’s Ceramic Tile Floors
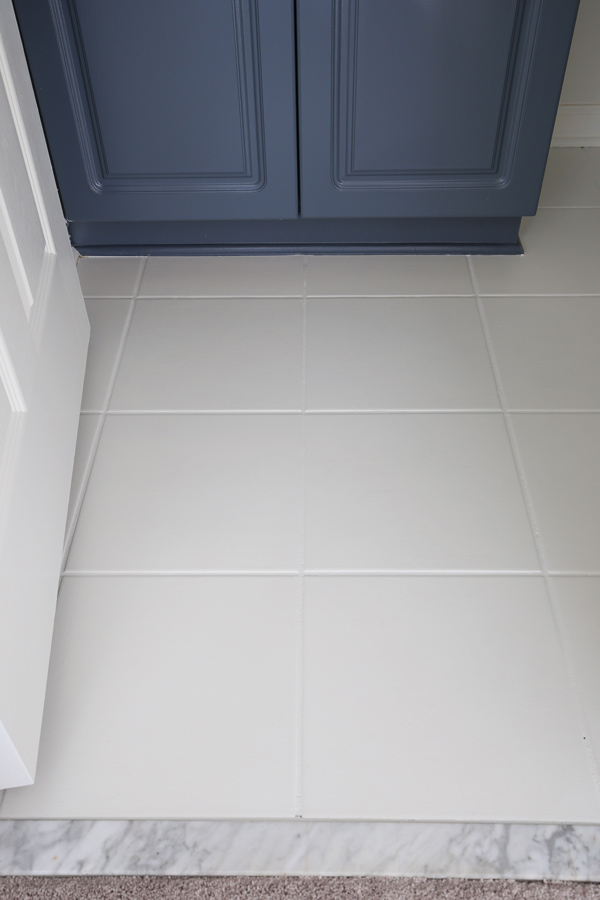
How to Paint Tile Floor Painting Tile Floors Before and After
Related Posts: