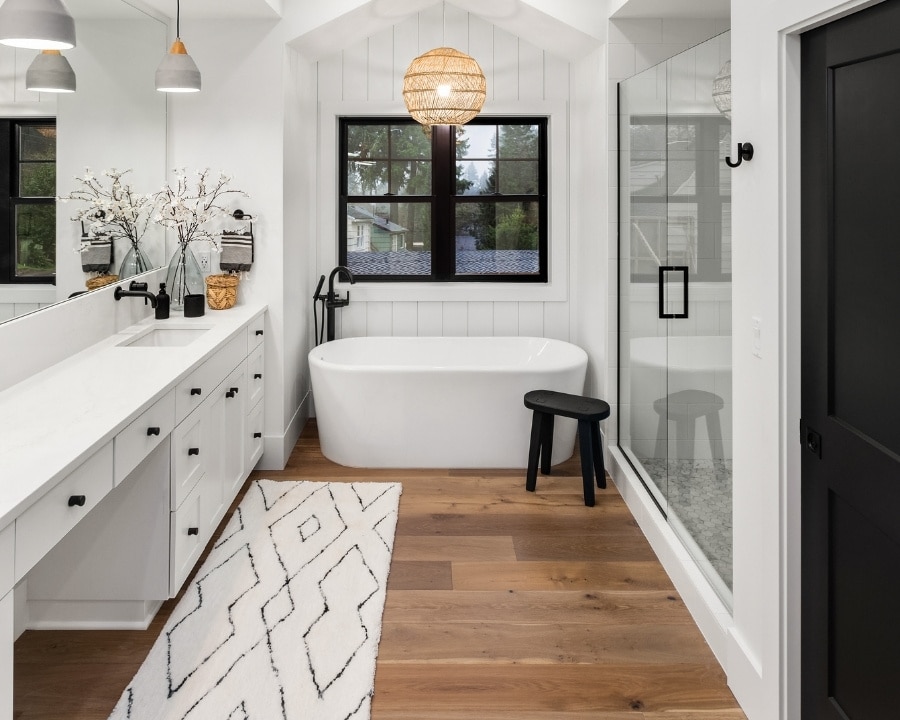
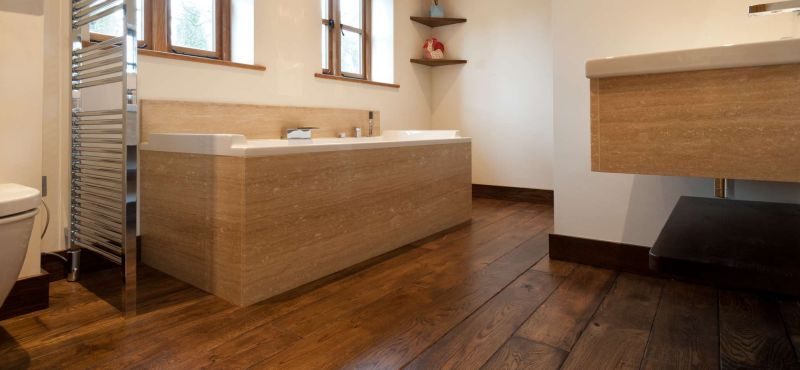
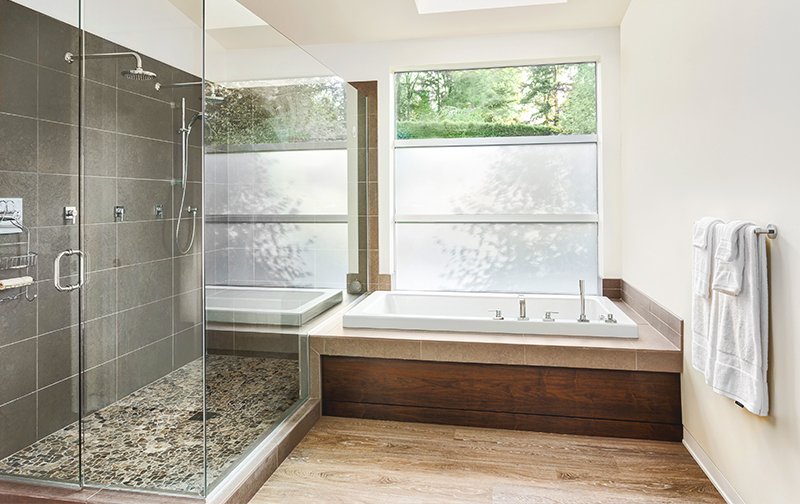
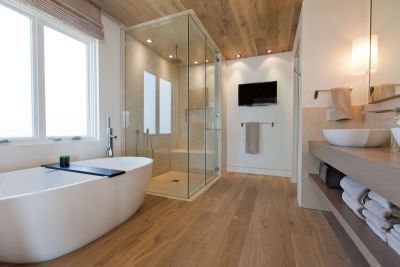
When I first considered putting wood flooring in my bathroom, everyone told me I was crazy. The moisture, the humidity, the potential for water damage, it all seemed like a recipe for disaster. But after falling in love with the warm, spa-like look of wood in bathroom design magazines, I decided to do my research and see if it could actually work. Three years later, I’m sitting in my bathroom, which features beautiful engineered hardwood floors that have held up remarkably well, although the journey wasn’t without its challenges. I learned a great deal about moisture management, proper installation techniques, and ongoing maintenance that I wish I had known from the outset.
Understanding the Moisture Challenge and Wood Types
The biggest hurdle I faced was accepting that not all wood is suitable for bathroom environments. I initially wanted traditional solid hardwood because I loved the authentic feel, but my contractor quickly explained why that would be a mistake. Solid wood expands and contracts too dramatically with moisture changes, which would lead to gaps, warping, and potential damage over time.
After extensive research, I settled on engineered hardwood specifically designed for high-moisture areas. These planks have a real wood veneer on top, but use a stable plywood or composite base that handles humidity much better than solid wood. I chose a product with a thick wear layer so it would still feel and look like real wood while providing the stability I needed.
The species selection was equally important. I learned that some woods naturally resist moisture better than others. I ultimately chose engineered oak with a hand-scraped finish because the texture helps hide minor imperfections, and the oak itself is naturally more moisture-resistant than softer woods like pine or maple. The darker stain I selected also helps camouflage any water spots or minor wear.
Vapor Barriers and Subfloor Preparation Secrets
Before I could even think about laying the first plank, I had to address what was happening underneath. My bathroom sits over a crawl space, and I learned that moisture can come from below just as easily as from above. Installing a proper vapor barrier became absolutely critical to my project’s success.
I used a high-quality polyethylene vapor barrier that extends up the walls about six inches, creating a moisture seal around the entire floor area. Over this, I installed a specialized underlayment designed for bathrooms that provides additional moisture protection plus some cushioning. This two-layer approach gave me confidence that moisture wouldn’t creep up from below and damage my beautiful new floors.
The subfloor preparation was more extensive than I initially expected. I had to ensure it was perfectly level because even small variations would be noticeable with hardwood planks. I also sealed all the seams and screw holes in my plywood subfloor with wood filler and primer to prevent any potential moisture penetration points that could cause problems later.
Installation Techniques That Make All the Difference
Installing wood flooring in a bathroom requires techniques that go beyond standard hardwood installation. I learned that leaving proper expansion gaps around all the perimeter walls is even more critical in a bathroom because the wood will experience more dramatic temperature and humidity changes than in other rooms.
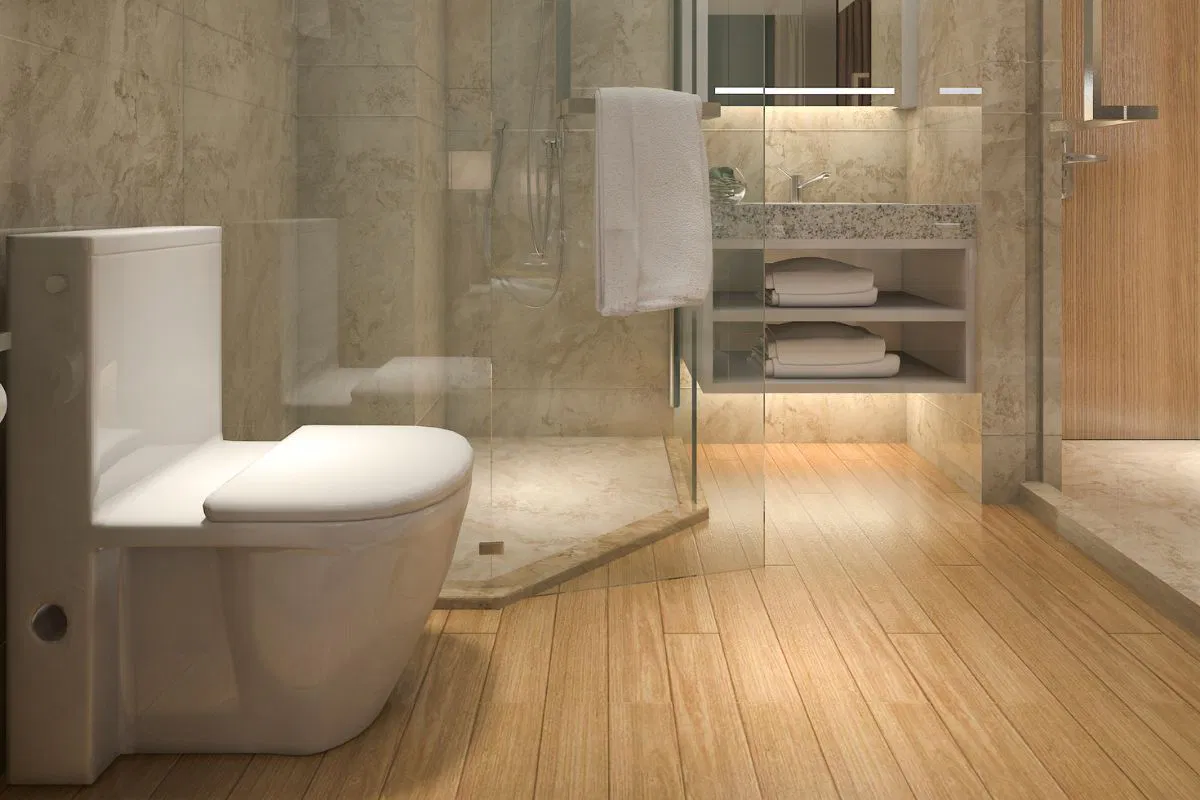
The area around the toilet was particularly tricky. I had to create a template and carefully cut the flooring to fit snugly around the toilet flange, then seal that joint with high-quality bathroom caulk. I also used transition strips at the bathroom doorway to allow for independent movement between the bathroom floor and the hallway flooring.
One technique my installer emphasized was the importance of acclimating the wood to the bathroom environment before installation. We brought the boxes of flooring into the bathroom and let them sit for 48 hours with the heat and humidity at normal levels. This pre-conditioning helped minimize movement after installation and gave us a more stable final result.
Sealing and Finishing for Maximum Protection
The finish I chose became one of the most important decisions in the entire project. I opted for a polyurethane finish with multiple coats, but not just any polyurethane. We used a moisture-cured urethane that’s specifically formulated for high-humidity environments and provides superior water resistance compared to standard floor finishes.
Between each coat of finish, we lightly sanded with fine-grit paper to ensure proper adhesion. The final result was a rich, deep finish that not only looks beautiful but creates an almost impermeable barrier against moisture. I learned that skimping on the finish quality or number of coats would have been false economy, given the bathroom environment.
We also applied finish to all the cut edges around the toilet and other fixtures, which isn’t always done in standard installations. These exposed edges are particularly vulnerable to moisture penetration, so sealing them properly was essential. The extra attention to detail in the finishing process has paid off in the long-term performance of my floors.
![]()
Daily Maintenance and Long-Term Care Reality
Living with wood floors in a bathroom has required me to develop new habits that weren’t necessary with my previous tile floors. I keep bath mats strategically placed and make sure to wipe up any water immediately. I’ve learned that even small puddles left sitting can eventually cause problems if they find their way into seams or around fixtures.
My daily routine now includes a quick sweep or vacuum to remove any debris that could scratch the finish, followed by damp mopping with a cleaner specifically designed for sealed hardwood floors. I avoid using excess water and always make sure the floor is completely dry afterward. During humid summer months, I run a small dehumidifier to keep moisture levels reasonable.
Every six months, I apply a thin coat of hardwood floor refresher to maintain the protective finish. This isn’t a full refinishing job, just a maintenance step that keeps the moisture barrier intact. I also inspect all the caulk joints around fixtures and refresh them as needed. This proactive maintenance approach has kept my floors looking great after three years of use.

Dealing with Humidity and Ventilation Needs
Installing wood floors made me much more aware of my bathroom’s ventilation situation. I upgraded to a more powerful exhaust fan that moves air more effectively, and I’ve gotten into the habit of running it during and after every shower. Proper ventilation turned out to be just as important as the quality of the flooring installation itself.
I also invested in a small hygrometer to monitor humidity levels in the bathroom. I learned that keeping humidity below 60% most of the time helps prevent problems with the wood. During particularly humid periods, I sometimes supplement the exhaust fan with a small dehumidifier to maintain appropriate levels.
The seasonal changes in my house have taught me to expect some minor movement in the wood floors. During dry winter months when the heat is running constantly, I sometimes see tiny gaps appear between planks. These close up again when humidity returns to normal levels. Understanding this natural behavior has helped me avoid panic when I notice these seasonal changes.

How do wood bathroom floors hold up to daily shower use?
After three years of daily use, my engineered hardwood floors still look fantastic. The key is proper installation with adequate moisture barriers and a high-quality finish. I do wipe up water immediately and use bath mats, but normal bathroom use hasn’t caused any damage. The finish has held up well to regular cleaning and foot traffic.
What’s the realistic cost difference between wood and tile bathroom floors?
My wood flooring cost about 40% more than comparable tile when factoring in materials and installation. However, the specialized underlayment, moisture barriers, and finishing work required for bathroom wood installation add to the cost. I spent around $12 per square foot installed, compared to $8-9 for good tile.

Can wood floors handle bathroom accidents and spills from kids or pets?
Yes, but cleanup speed matters more than with tile. Small spills and accidents clean up easily if addressed quickly. I’ve had no permanent damage from typical bathroom mishaps. The polyurethane finish provides good protection, but standing water left for hours could potentially cause problems, so immediate cleanup is important.
How often do wood bathroom floors need refinishing?
So far, I haven’t needed full refinishing, just the semi-annual refresher treatments. My installer estimated 7-10 years before needing full refinishing, similar to wood floors in other high-traffic areas. The thick wear layer on quality engineered hardwood can handle several refinishing cycles over its lifetime.

Are there specific wood types that work better in bathrooms?
Engineered hardwood with oak, hickory, or other dense hardwoods works best. I chose oak for its natural moisture resistance and durability. Avoid soft woods like pine or cherry. The engineered construction is more important than the wood species, as it provides stability that solid hardwood can’t match in humid environments.
What happens if water gets under the wood flooring?
This is why proper vapor barriers and underlayment are so critical. If water does penetrate, it could cause warping, mold, or delamination of engineered planks. I’ve had no issues thanks to careful installation, but any significant water intrusion would require immediate action and possibly replacement of affected areas. Prevention through proper installation is key.

How To Choose Wood Flooring For Bathrooms?
Pros and cons of hardwood floors in bathrooms
How To Choose Wood Flooring For Bathrooms?
Related Posts: