When I decided to renovate my master bathroom three years ago, I knew I wanted something that would make a statement while being practical for daily use. After months of research and countless visits to tile showrooms, I fell in love with mosaic bathroom floor tiles. The intricate patterns, the way light danced across the varied surfaces, and the endless design possibilities completely won me over. Now, having lived with my mosaic floors for several years, I can honestly say it was one of the best decisions I made during my renovation.
Choosing the Right Mosaic Material for Your Bathroom
When I first started shopping for mosaic tiles, I was overwhelmed by the material options available. Glass mosaics caught my eye immediately with their stunning shimmer and light-reflecting properties. I spent hours in the showroom running my fingers over different glass samples, imagining how they’d look in my morning routine. The sales associate explained that glass mosaics are non-porous, making them naturally water-resistant and perfect for bathroom environments.
However, I also considered ceramic and porcelain mosaics during my decision-making process. These options offered more muted tones and a classic feel that appealed to my traditional side. I learned that porcelain mosaics are incredibly durable and less prone to chipping than glass, which was important since I have two energetic kids who tend to drop things. The price point was also more budget-friendly, which gave me room to splurge on other bathroom features.
Stone mosaics, particularly marble and travertine, were another option I seriously considered. I loved the natural variation and organic feel they brought to sample boards. But after talking to my contractor about maintenance requirements, I realized that natural stone would need regular sealing and more careful cleaning than I was prepared for. Sometimes the most beautiful option isn’t the most practical one for your lifestyle.
Size Matters: Finding the Perfect Mosaic Scale
One thing I wish someone had told me earlier in my planning process was how dramatically different mosaic sizes would affect the overall feel of my bathroom. I initially gravitated toward tiny 1/2-inch mosaics because they looked so intricate and detailed in the showroom. But when I brought home samples and placed them in my actual bathroom space, I realized they made my already compact room feel even smaller and busier than I wanted.
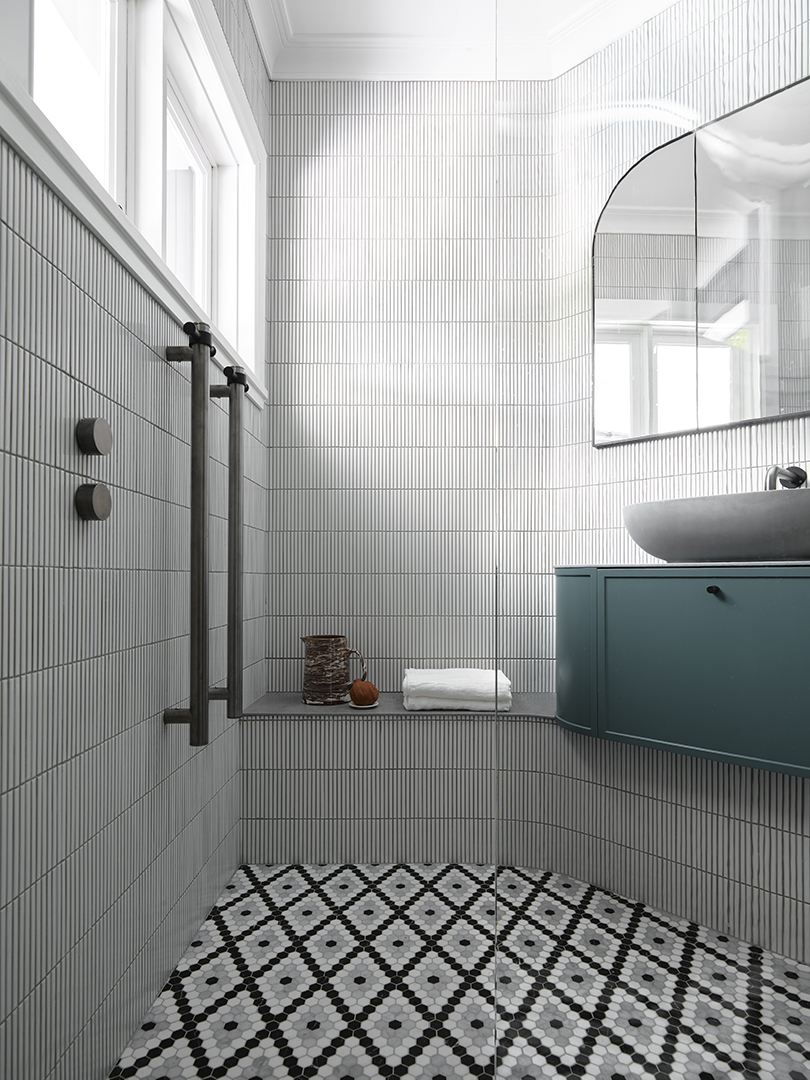
I ended up choosing 1-inch square glass mosaics in a soft blue-green blend, and I couldn’t be happier with how they turned out. This size struck the perfect balance between visual interest and cohesion. The individual tiles are large enough to appreciate but small enough to create that beautiful mosaic pattern I was after. My contractor mentioned that this size is also easier to install properly, which helped keep my labor costs reasonable.
Looking back, I think the 2-inch mosaics I also considered might have been too large for the look I wanted to achieve. They would have created more of a regular tile appearance rather than that true mosaic aesthetic. I’ve seen them work beautifully in larger bathrooms, but for my 8×6-foot space, the 1-inch size was absolutely perfect. Scale really does matter more than I initially realized.

Pattern Play: Creating Visual Interest Without Overwhelm
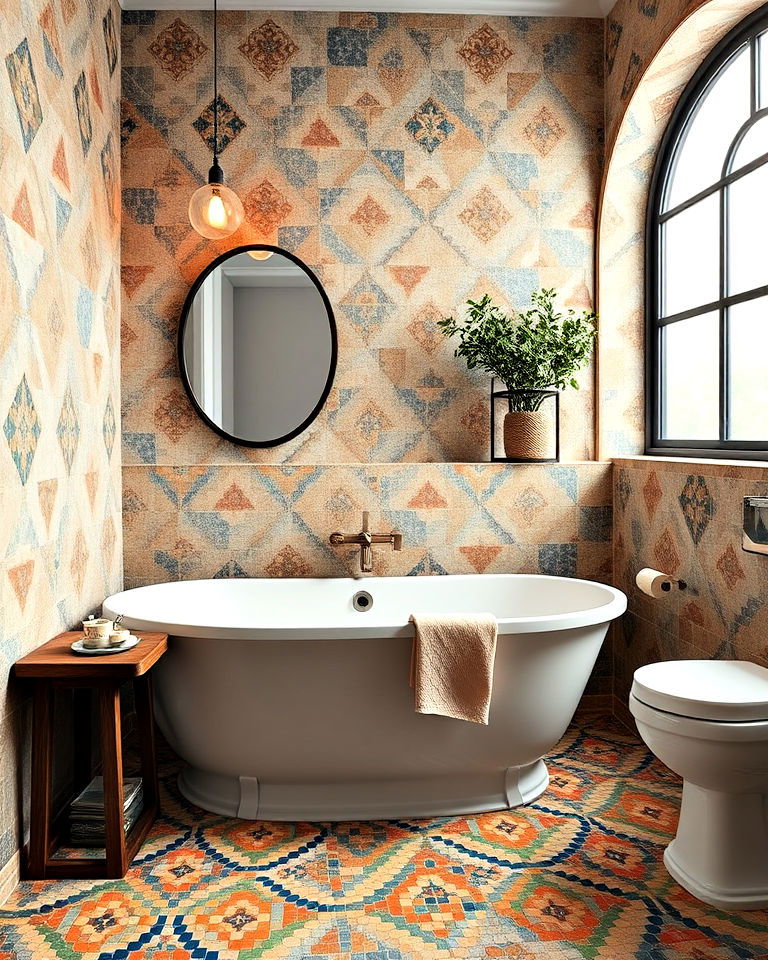
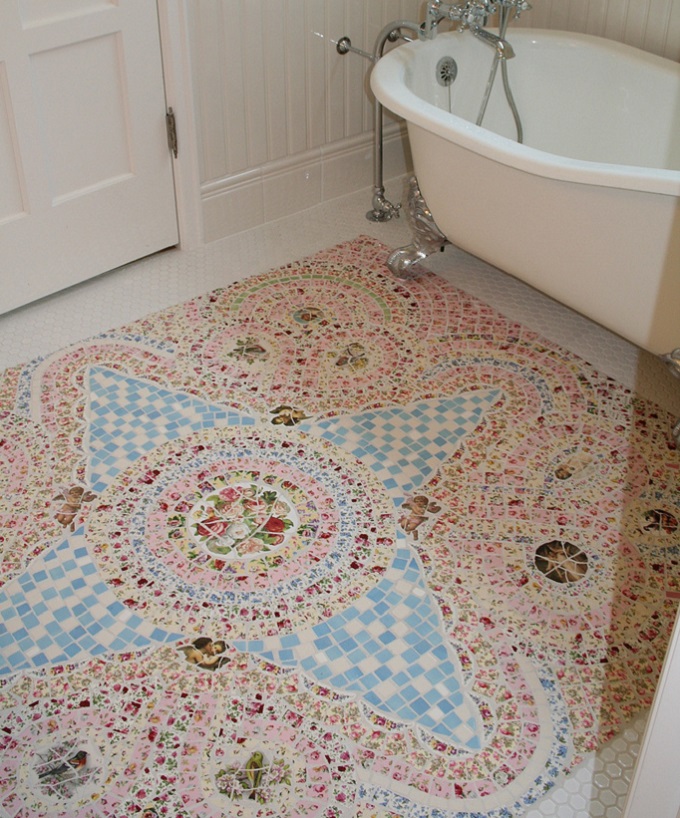
Selecting a pattern for my mosaic floor was probably the most exciting part of the entire process. I spent countless evenings browsing Pinterest and saving images of different layouts that caught my attention. Initially, I was drawn to complex geometric patterns and intricate designs that looked like works of art. But I quickly learned that what looks stunning in a large hotel lobby might not work in my everyday family bathroom.
I ultimately chose a simple linear pattern with my blue-green mosaics, occasionally interrupted by thin strips of white glass tiles. This created movement and visual interest without being overwhelming or too busy for the eye. My designer friend suggested this approach, explaining that since I’d be looking at this floor every single day, a more subtle pattern would have better staying power than something too bold or trendy.
The installation process taught me another valuable lesson about patterns. My tile setter explained that intricate patterns require more precision and time, which translates to higher labor costs. My linear pattern was relatively straightforward to install, but it still took him two full days to complete because mosaic tiles require such careful attention to spacing and alignment. The result was worth every penny and every moment of patience.
Grout Selection: The Make-or-Break Decision
I had no idea how crucial grout selection would be until I was standing in my partially tiled bathroom, looking at different grout samples against my chosen mosaics. The wrong grout color could completely change the appearance of my carefully selected tiles. I learned this lesson when my contractor first showed me standard gray grout against my blue-green glass mosaics, and the combination looked muddy and unappealing.
After trying several options, I settled on a light gray grout that was just a shade darker than my lightest tile pieces. This choice allowed the individual mosaic pieces to maintain their distinct appearance while creating a cohesive overall look. I also chose epoxy grout instead of traditional cement-based grout because my contractor recommended it for its superior stain resistance and easier maintenance in a bathroom environment.
The grout line width was another consideration I hadn’t anticipated. With mosaic tiles, you’re dealing with many more grout lines than traditional, larger tiles, so the grout becomes a significant visual element. We used 1/16-inch grout lines, which created clean definition between tiles without the grout overwhelming the overall design. Wider grout lines would have made maintenance more challenging and changed the aesthetic entirely.

Installation Challenges I Wish I’d Known About
Installing mosaic bathroom floor tiles turned out to be much more complex than I initially understood. My first surprise came when my contractor explained that the subfloor preparation was even more critical than with regular tiles. Because mosaics are smaller and more numerous, any imperfections in the subfloor become magnified across the surface. We ended up spending an extra day ensuring the floor was perfectly level and smooth.
The actual tile installation process was mesmerizing to watch but incredibly time-consuming. My tile setter worked with small sections at a time, carefully placing each mosaic sheet and adjusting individual tiles that weren’t sitting properly. I learned that even though mosaics come on mesh backing sheets, individual tiles often need tweaking to achieve the perfect alignment. This attention to detail is why hiring an experienced installer was worth the investment.
Cutting mosaics around toilet flanges, vanity bases, and other bathroom fixtures proved to be another challenge. Unlike larger tiles, where you might only need to make a few cuts, mosaics require many small, precise cuts to fit properly around obstacles. My installer used a wet saw with a fine blade, but even then, some individual pieces needed to be nipped by hand. The result was seamless, but it definitely added time and cost to the project.

Living with Mosaic Floors: Daily Maintenance Reality
Now that I’ve been living with my mosaic bathroom floors for three years, I can share the truth about daily maintenance. The good news is that cleaning isn’t as difficult as I initially worried it would be. My daily routine involves a quick sweep or vacuum to remove hair and debris, followed by mopping with a pH-neutral tile cleaner. The multiple grout lines don’t trap dirt as much as I expected, especially since I chose epoxy grout.
However, I did need to adjust my cleaning tools and techniques. My old cotton mop wasn’t effective for getting into all the grout lines, so I switched to a microfiber mop that conforms better to the textured surface. I also invested in a small grout brush for weekly deeper cleaning, focusing on areas around the toilet and shower where soap scum tends to accumulate. It’s become part of my routine, and honestly, it only adds about five minutes to my bathroom cleaning time.
The durability has exceeded my expectations. Despite daily use from my family of four, including two kids who aren’t always gentle with surfaces, my mosaic floor still looks nearly as good as the day it was installed. A few individual glass pieces have small chips, but they’re barely noticeable unless you’re looking for them. The investment in quality materials and professional installation has definitely paid off in terms of longevity.
How much should I budget for mosaic bathroom floor tiles?
I spent about $12 per square foot for my glass mosaics, but prices vary widely based on material and quality. Including installation, which ran about $8 per square foot due to the detailed work required, my total cost was around $20 per square foot. Ceramic mosaics can be significantly less expensive, starting around $3-5 per square foot for materials. Don’t forget to budget for quality grout and proper subfloor preparation.
Are mosaic floors slippery when wet?
This was one of my biggest concerns before installation. Glass mosaics can be slippery, but the numerous grout lines actually provide more texture and grip than I expected. I added a textured bath mat near the shower and tub for extra safety. Stone and ceramic mosaics typically offer better natural slip resistance than glass. If slip resistance is a major concern, look for mosaics with textured surfaces.

How long does mosaic tile installation typically take?
My 50-square-foot bathroom floor took three full days to complete, not including subfloor preparation time. This included one day for layout and initial installation, one day for finishing and detail work, and one day for grouting and cleanup. Larger or more complex pattern installations will take longer. The intricate nature of mosaic work simply can’t be rushed if you want professional results.
Can I install mosaic tiles myself as a DIY project?
I seriously considered DIY installation to save money, but after watching my professional installer work, I’m glad I didn’t attempt it myself. The precision required for proper alignment and the complexity of cuts around fixtures would have been challenging for my skill level. If you’re an experienced DIYer, smaller areas like shower niches might be manageable, but full floor installation is best left to professionals.
Do mosaic floors work well with radiant heating systems?
Yes, my mosaic floor works beautifully with the radiant heating system we installed. The thermal mass of the tiles and grout holds heat well, creating a comfortable, warm surface on cold mornings. Glass and ceramic mosaics are both compatible with radiant systems. Just make sure to use the appropriate adhesive and follow manufacturer guidelines for temperature limits during installation and operation.
How do I handle repairs if individual mosaic pieces get damaged?
I keep leftover tiles from my installation for exactly this purpose. Individual pieces can be carefully removed and replaced, though it requires some skill to match grout lines properly. Small chips in glass mosaics can sometimes be polished out or touched up with clear nail polish as a temporary fix. For significant damage, I’d recommend calling a professional to ensure the repair blends seamlessly with the surrounding tiles.

Related Posts: