When I decided to renovate my master bathroom three years ago, I thought choosing tile would be the easy part. How wrong I was! After countless hours in showrooms, three different tile installations (yes, I had to redo it twice), and more grout cleaning than I care to remember, I’ve learned that bathroom tile floors are both an art and a science. The good news is that once you understand the key considerations, tile can provide decades of beautiful, durable flooring that transforms your entire bathroom experience. Let me share the lessons I learned the hard way so you can get it right the first time.
Choosing the Right Tile Material for Bathroom Conditions
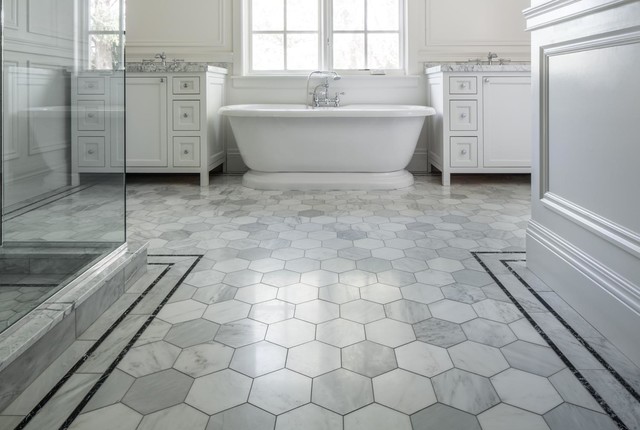
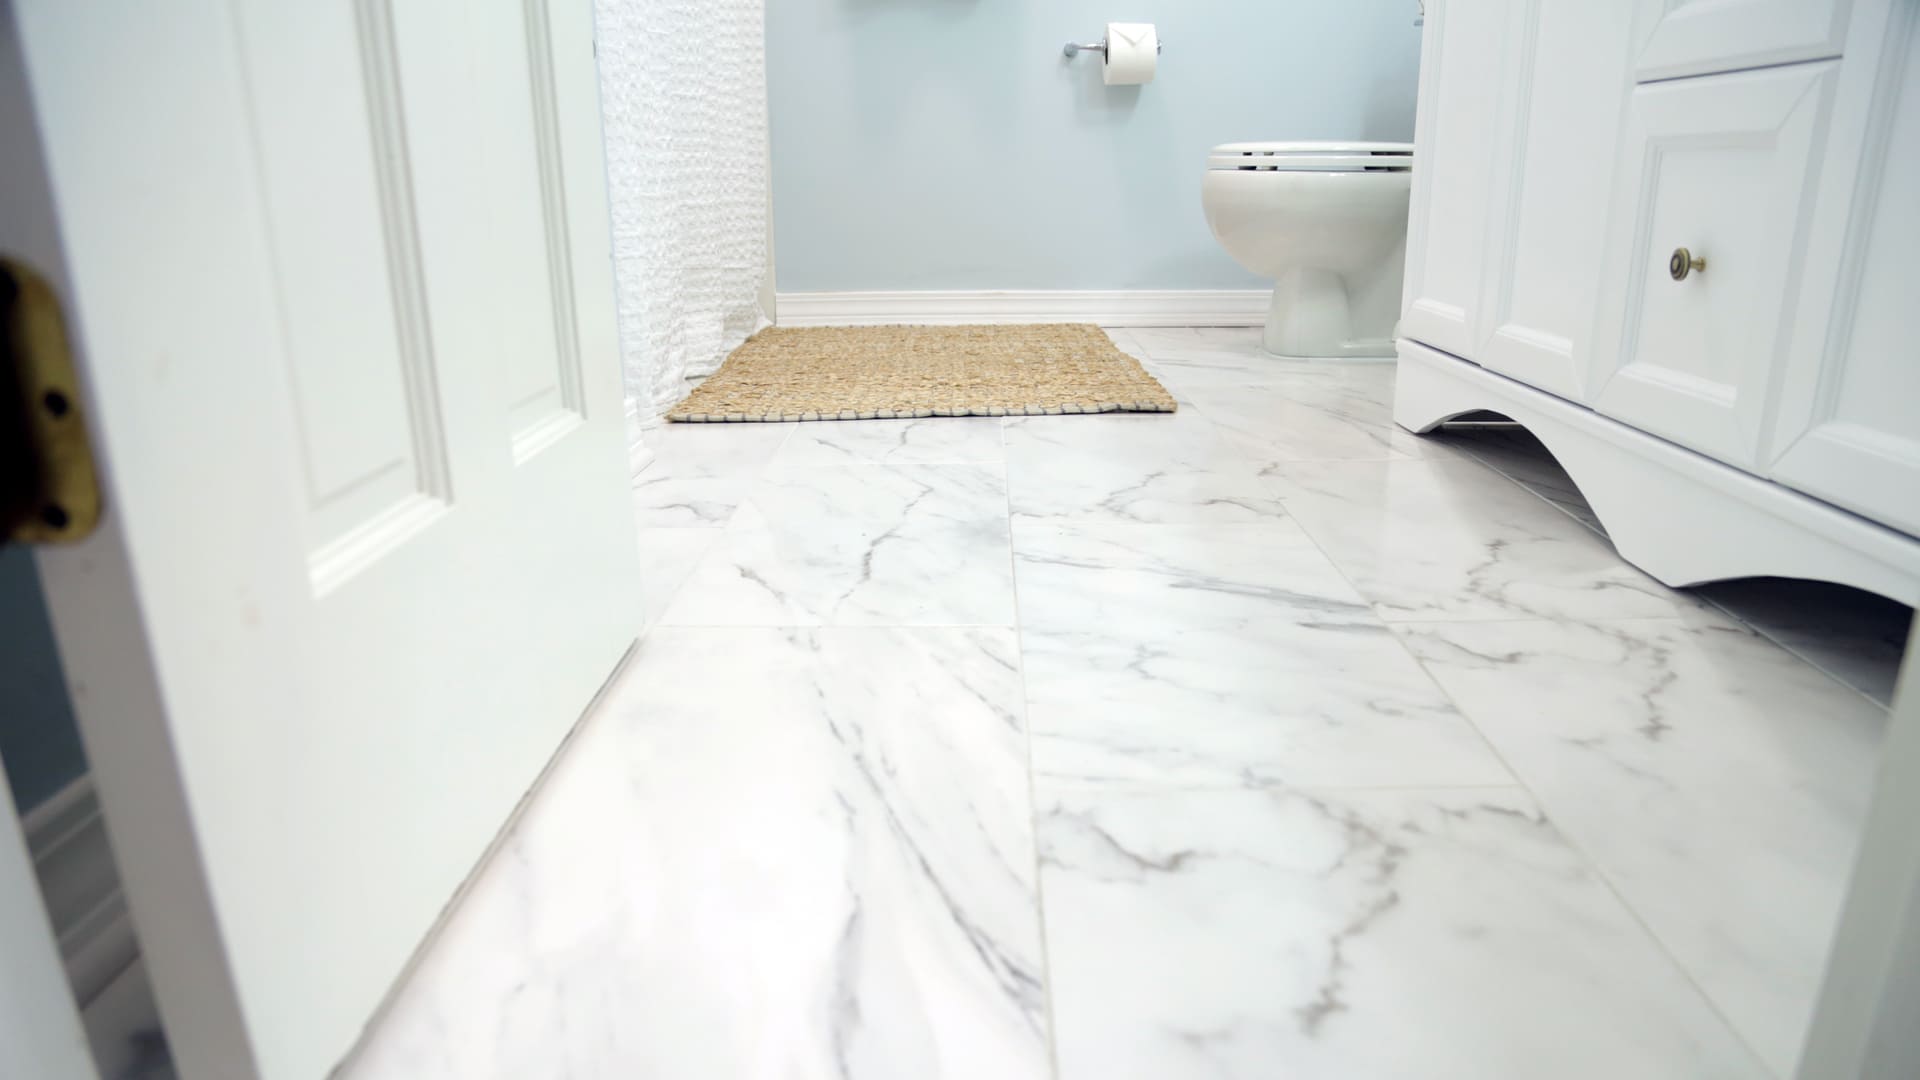
My first major mistake was falling in love with the beauty of natural stone without considering its practical implications for bathroom use. I initially chose a gorgeous limestone that looked amazing in the showroom, but within six months, I was dealing with constant staining and water damage despite regular sealing. Natural stone requires incredibly diligent maintenance in wet environments, and frankly, I wasn’t prepared for the commitment. The redo taught me to prioritize function alongside form when selecting bathroom tile materials.
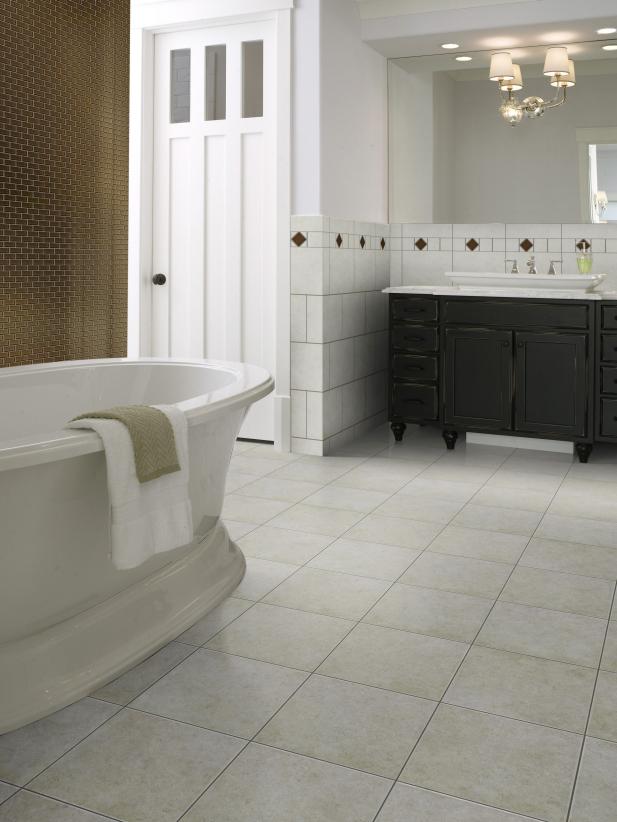
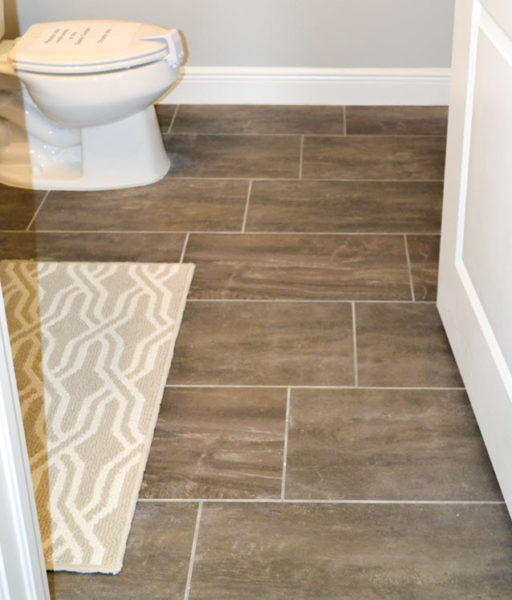
Porcelain tile became my ultimate choice after extensive research and consultation with my contractor. Unlike ceramic tile, porcelain is fired at higher temperatures, making it denser and less porous. This translates to superior water resistance and durability, crucial factors for bathroom floors that see daily moisture exposure. I selected large-format porcelain tiles that mimic natural stone, giving me the aesthetic I wanted with the performance I needed. The initial cost was higher, but the peace of mind has been worth every penny.
The slip resistance factor became critically important after my father-in-law took a nasty fall on my original smooth stone tiles. I learned about coefficient of friction ratings and chose textured porcelain, specifically designed for use in wet areas. The slight texture isn’t noticeable underfoot when dry, but provides crucial grip when the floor is wet. This safety consideration should never be an afterthought, especially if you have elderly family members or young children who use the bathroom regularly.
Size Matters: Large Format vs Small Tile Considerations
Initially, I was drawn to large-format tiles because of their modern, seamless appearance and the promise of fewer grout lines to maintain. My contractor installed 24×24-inch porcelain tiles that looked stunning, but I quickly discovered some practical challenges. Large tiles show every imperfection in the subfloor, and achieving a perfectly level installation requires exceptional skill. More importantly, large tiles can be challenging to slope properly toward drains, which led to water pooling issues in my shower area.
The waterproofing requirements for large-format tiles are more stringent than I realized. Because there are fewer grout lines to accommodate movement, the subfloor must be perfectly stable and properly waterproofed. I learned this lesson when a small leak developed, and the water spread under a much larger area than it would have with smaller tiles. The repair required removing significantly more tile, making what should have been a minor fix into a major project.
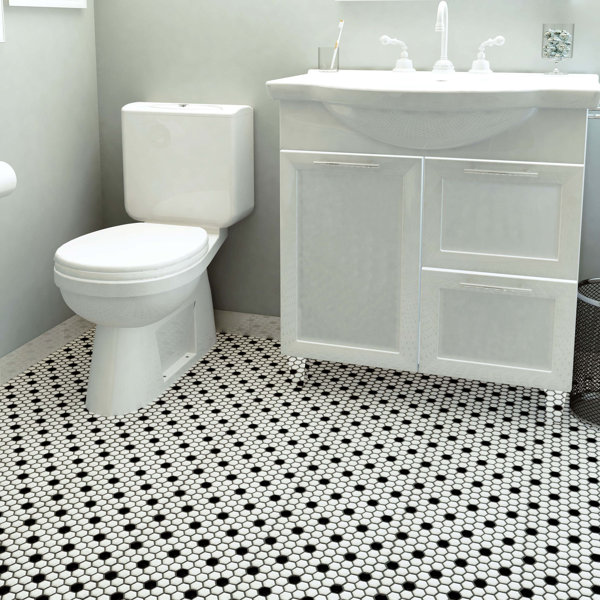
For my second attempt, I chose 12×12-inch tiles, which proved to be the sweet spot for my bathroom. They still provide a relatively clean look with manageable grout maintenance, but offer much more flexibility for proper drainage slopes and easier repairs if needed. The smaller format also allowed for better traction and slip resistance, as the grout lines provide additional grip. Sometimes the middle ground really is the best choice, especially for functional spaces like bathrooms.

Installation Challenges and Professional vs DIY Decisions
My confidence in DIY projects led me to attempt the initial tile installation myself, a decision I deeply regret. Bathroom tile installation requires precise waterproofing, proper slope calculations, and expert knowledge of substrates and adhesives. My amateur attempt resulted in water infiltration behind the tiles within eight months, leading to mold growth and the need for complete removal and reinstallation. The cost of hiring professionals from the beginning would have been far less than fixing my mistakes.
The waterproofing membrane installation is perhaps the most critical aspect that convinced me to hire professionals for the second attempt. Proper waterproofing involves multiple layers, including a moisture barrier behind the backer board, sealed joints, and appropriate transition details at walls and fixtures. My contractor used a liquid membrane system that creates a completely waterproof shell before any tile installation begins. This level of protection simply isn’t achievable with basic DIY knowledge and tools.
The layout and planning phase requires expertise that I underestimated. Professional installers know how to center tile layouts to minimize awkward cuts, plan for proper drainage slopes, and account for out-of-square walls and fixtures. My contractor spent an entire day just planning the layout, using laser levels and making detailed measurements. When I attempted the DIY installation, I started laying tiles without adequate planning, resulting in terrible cut tiles around the toilet and vanity that haunted me daily.

Grout Selection and Long-term Maintenance Strategies
Grout selection proved to be far more important than I initially realized. My first installation used basic sanded grout in a light gray color that seemed practical and neutral. Within a year, despite regular cleaning, the grout had become dingy and was showing signs of mildew in corners and along the tub. I learned that grout choice significantly impacts both appearance and maintenance requirements over the life of the floor.
For my successful renovation, I invested in epoxy grout, which costs significantly more but offers superior stain and water resistance. Unlike traditional cement-based grout, epoxy grout is non-porous and doesn’t require sealing. The initial installation is more challenging and requires working quickly, but the long-term maintenance benefits have been remarkable. After two years, my grout lines still look as clean and bright as on installation day with just routine cleaning.
Color selection for grout deserves careful consideration beyond just aesthetic preferences. I chose a medium gray that hides minor discoloration but still provides enough contrast to define the tile pattern. Very light grout requires constant attention to maintain appearance, while very dark grout can make imperfections in tile installation more obvious. The middle-tone approach has proven practical for busy family life while still looking intentional and designed.
Heating and Comfort Considerations
One aspect I hadn’t considered until living with cold tile floors was the comfort factor, especially during the winter months. Stepping onto cold tile first thing in the morning became an unwelcome wake-up call that sent me scrambling for slippers. During my renovation, I decided to invest in radiant floor heating, a decision that has transformed my daily bathroom experience and added genuine luxury to the space.
The radiant heating system installation required careful planning and coordination with the tile installation. My contractor installed electric heating mats directly over the waterproof membrane, then covered them with a layer of thin-set before tile installation. The process added about two days to the project timeline, but the results have been worth every penny. The floor maintains a comfortable temperature year-round, and the gentle warmth makes the bathroom feel spa-like and inviting.
The energy costs for radiant floor heating have been much lower than I expected. The system uses a programmable thermostat that allows me to heat the floor only when needed, typically for a few hours in the morning and evening. During the winter months, my electric bill increases by about $15-20 monthly, a small price for the comfort and luxury it provides. The system also helps reduce overall heating costs by making the bathroom feel warmer at lower ambient temperatures.
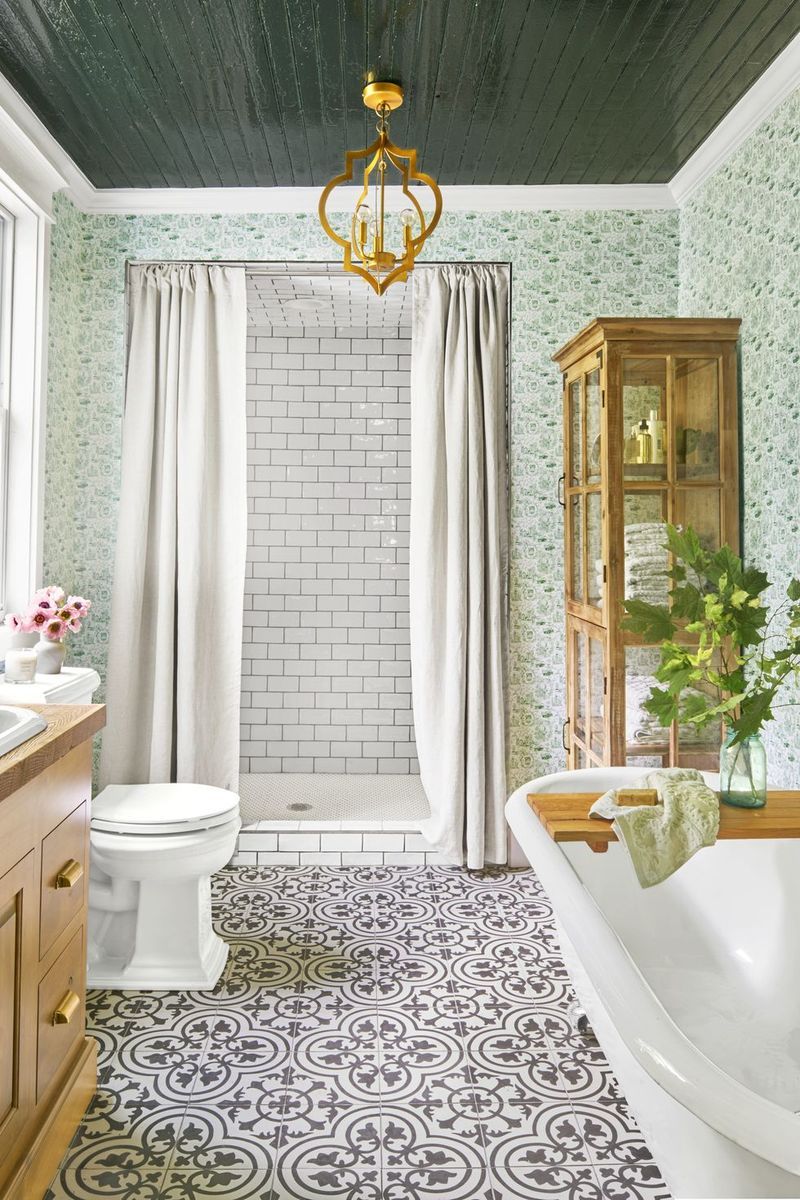
Design Integration and Aesthetic Considerations
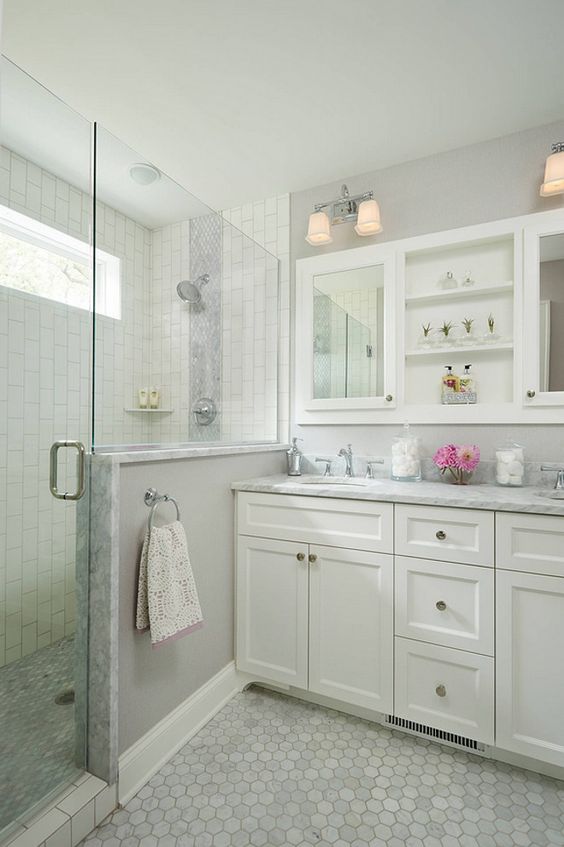
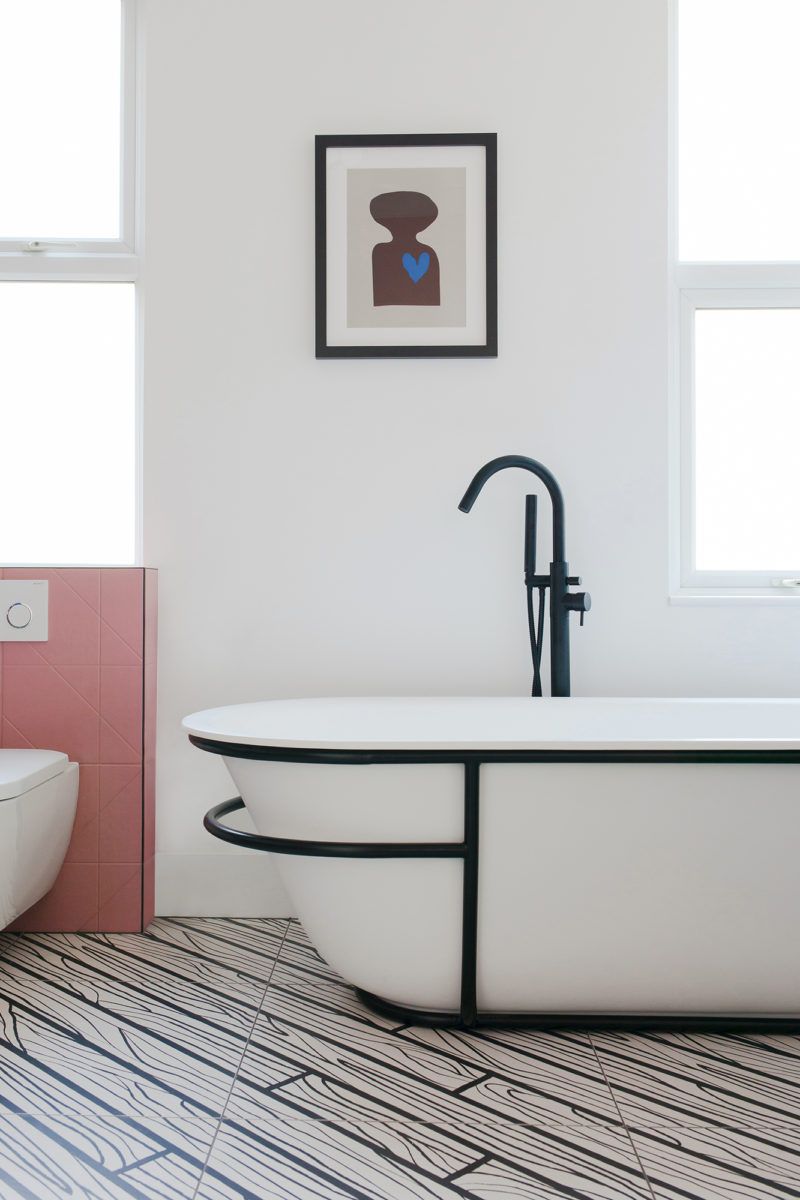
Integrating tile floors with the overall bathroom design required more thought than I initially gave it credit for. My first attempt focused solely on the floor without considering how it would interact with wall tiles, fixtures, and the overall color scheme. The result was a disjointed look that never felt cohesive or intentional. Learning to view the floor as part of a complete design system was crucial for achieving the polished look I wanted.
The transition details between different flooring materials became surprisingly important design elements. Where my tile floor meets the hardwood in the hallway required a custom transition strip that complements both materials. Similarly, the threshold into the shower needed careful detailing to prevent water infiltration while maintaining a clean, finished appearance. These details might seem minor, but they significantly impact the overall professional appearance of the finished project.
Pattern and layout choices dramatically affect the perceived size and character of the bathroom space. I experimented with different layouts using cardboard templates before committing to the final installation. A straight grid pattern felt too basic, while a diagonal layout made the small space feel cramped. The final herringbone pattern strikes the perfect balance, adding visual interest without overwhelming the space. Taking time to visualize different options through mockups prevented costly installation regrets.

How do I know if my bathroom subfloor can handle tile weight?
I learned this the hard way when my original subfloor developed bounce after tile installation. Most bathrooms need additional reinforcement beyond standard subflooring. My contractor added a second layer of plywood and cement backer board to create adequate stiffness. If your floor feels bouncy when you walk on it, consult a professional before tiling.
What’s the best tile size for small bathroom floors?
After trying both large and small formats, I found 12×12 inch tiles work best for most bathroom sizes. They’re large enough to minimize grout maintenance but small enough to handle slopes and tight spaces around fixtures. Very large tiles can overwhelm small bathrooms and make installation more challenging, while tiny tiles create too many grout lines to maintain.
How long should I wait before using the bathroom after tile installation?
My contractor recommended waiting 24 hours before light foot traffic and 72 hours before normal use, including showers. Grout needs time to cure properly, and premature use can cause cracking or adhesion problems. I learned that patience here prevents major repairs later. The exact timing depends on humidity, temperature, and specific products used.
Is heated bathroom flooring worth the extra cost?
Absolutely! The radiant heating was one of my best renovation investments. The installation added about $800 to my project cost, but the daily comfort and luxury feel make it worthwhile. Operating costs are minimal with programmable controls, and it adds significant value to the home. Cold tile floors become a thing of the past.

How often do I need to reseal bathroom tile grout?
Traditional cement grout needs resealing annually, but I upgraded to epoxy grout, which never requires sealing. If you use standard grout, I recommend sealing twice yearly in high-moisture areas. Signs you need resealing include water absorption into grout lines or discoloration that won’t clean. Prevention is much easier than grout replacement.
What’s the biggest mistake to avoid with bathroom tile floors?
Skipping proper waterproofing is the costliest mistake possible. I learned this through an expensive experience when water damage required complete reinstallation. Never rely on grout alone for water protection. Professional waterproof membranes behind and under tiles are essential. This investment prevents catastrophic damage and protects your entire bathroom structure long-term.

Why Bathroom Floors Need to Move
Big Tile or Little Tile? How to Design for Small Bathrooms
Bathroom Tile Ideas – Bath Tile Backsplash and Floor Designs
How to Install Ceramic Tile on a Tile Floor
Bathroom Floor Tile Ideas
Related Posts: