Tiled floors inside kitchens, restaurants as well as food processing facilities generally feature very high concentrations of germ and bacteria buildup. Since they are thicker compared to regular tiles and in a position to stand up to heavy traffic, they might be less vulnerable to cracking compared to a vulnerable, thinner tile. They are able to generate the impact of having drinking water on your floors that is oh so remarkable.
Images about Ceramic Tile Floor Installation Instructions
Ceramic Tile Floor Installation Instructions

Some of the stronger tile floors in the marketplace are the linoleum ones. You are able to install a floor mat but this will not be very easy to clean as well as hold in the long haul. 99 percent of the most deadly pathogens from tiled floor surfaces. A via wash of the tiles with a few warm water and cleaner will make sure a very good shine. Bigger tiles can also be worn in bigger spaces. Always wear safety goggles when you're using tiles.
How to Install Ceramic Tile Flooring in 9 Steps – This Old House
:no_upscale()/cdn.vox-cdn.com/uploads/chorus_asset/file/19496978/howto_tile_01.jpg)
You can find numerous ways to educate yourself more about floor tile floors. Use a damp cloth and provide it with a gentle wipe. Carpet is able to handle a bit of bending, vinyl tile is able to flex as well as bend a bit, hardwood floors can twist a bit too, but if tile or maybe stone is subjected to forces which push in two different directions at one time, it doesn't have a clue how to bend.
How to Install a Ceramic Tile Floor – dummies
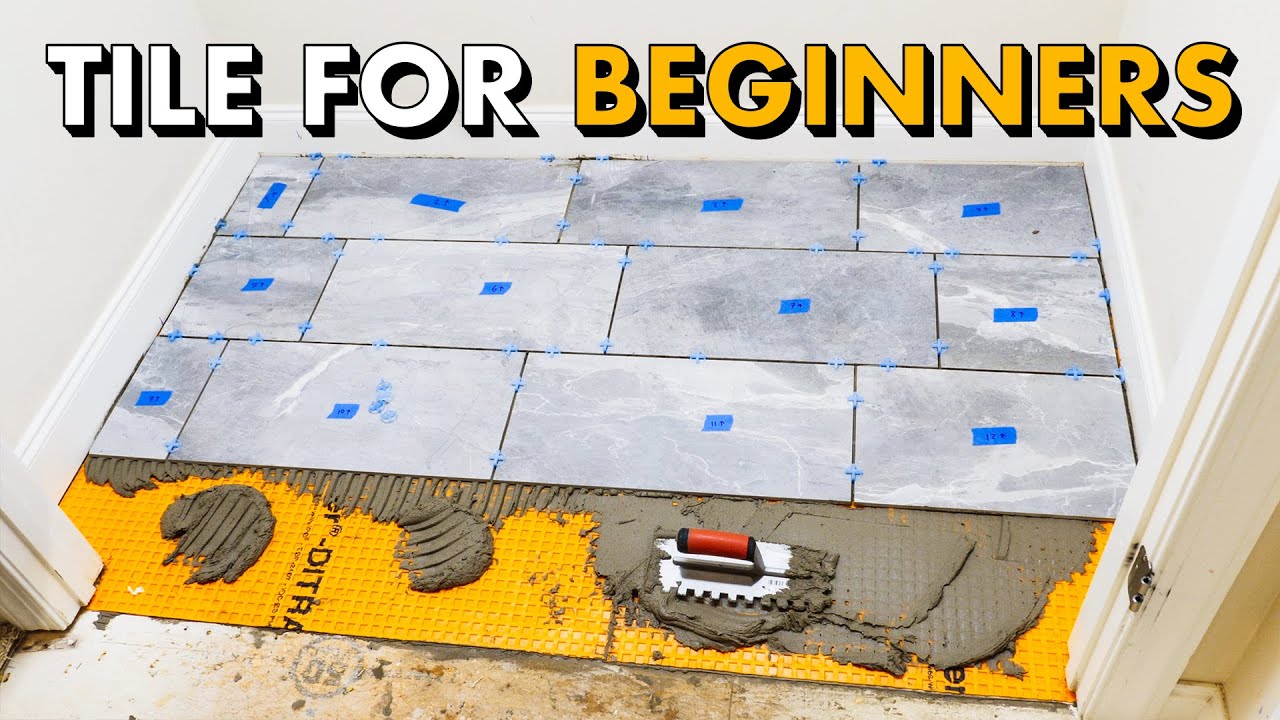
Installing TILE FLOOR for the FIRST TIME 🛠 How To Lay Tile Floor
How to Prepare a Vinyl Floor for Ceramic Tile
/can-you-tile-over-vinyl-floor-1822596_FINAL_NEW-b4003c12b3ce48b382e80c57fb340b03.png)
How to Install Ceramic Floor Tile
/Installing-Ceramic-Floor-Tile-86464768-583ffd0d5f9b5851e5eac8c0.jpg)
How to Lay Tile: Install a Ceramic Tile Floor In the Bathroom (DIY)
How to Install a Tile Floor
How to Tile a Bathroom Floor Ceramic floor tiles, Diy bathroom

How to Lay Tile: DIY Floor Tile Installation Loweu0027s

Tile Floor 101 Step by Step How to Install Tile for the First Time

How To Tile A Bathroom Floor (For Beginners!) – Making Manzanita
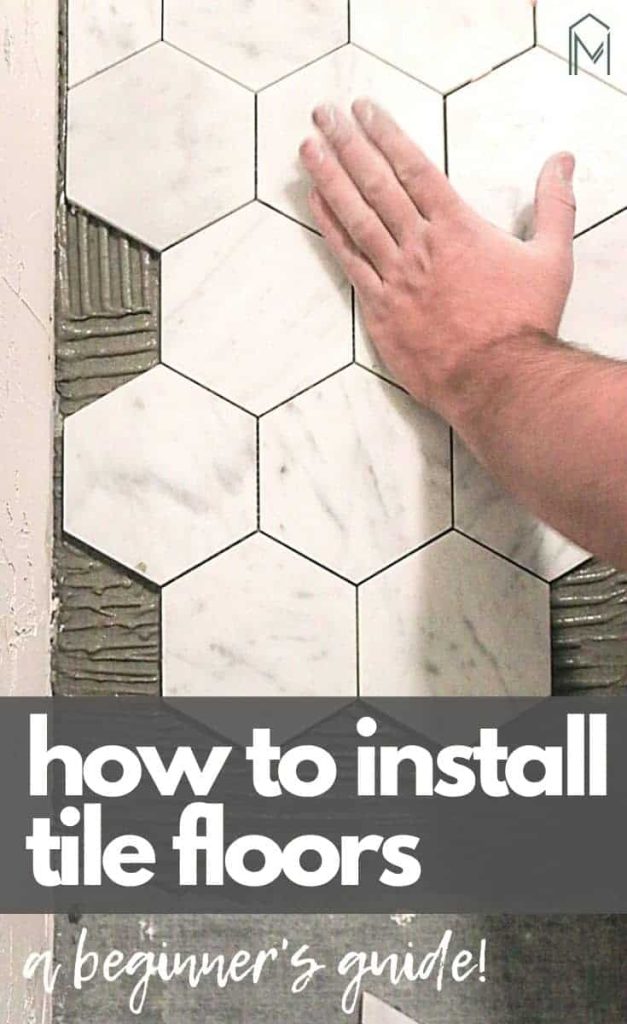
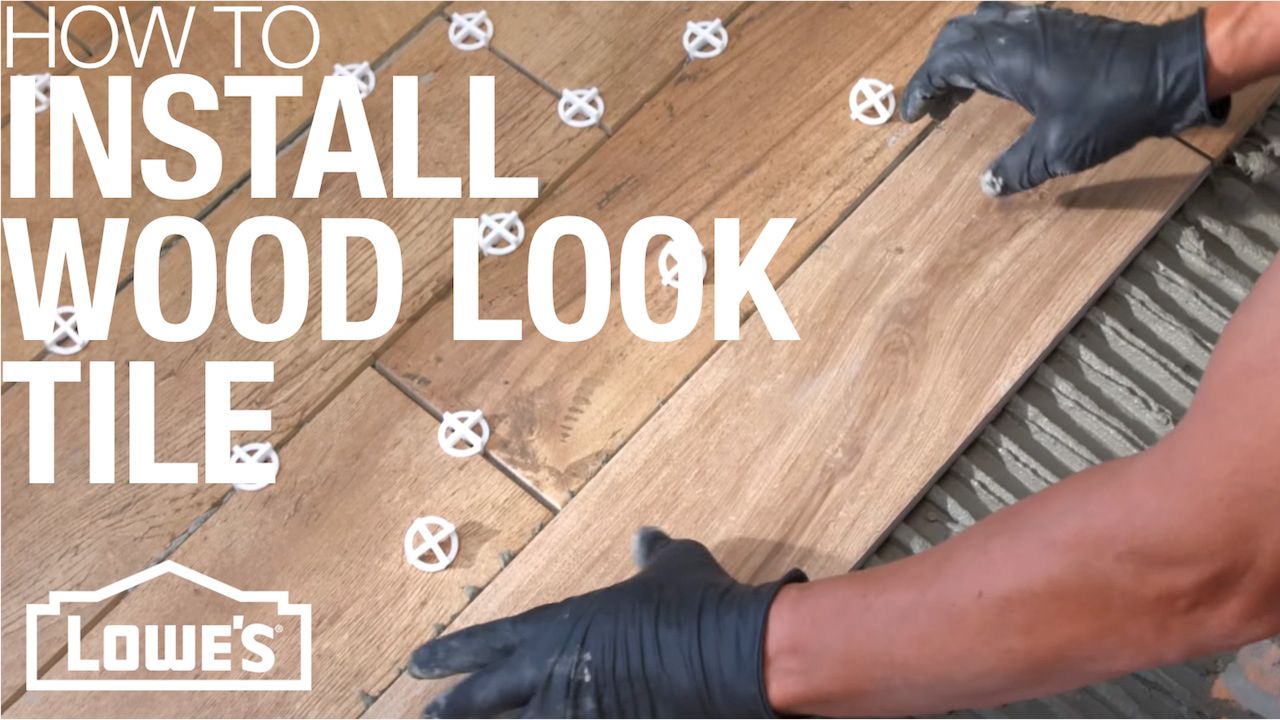
How to Install Wood-Look Floor Tile
How to Install a Tile Floor
Related Posts:
- Installing Slate Tile Floor
- Painting Ceramic Tile Floor In Kitchen
- Anti Slip For Tile Floors
- Laminate Tile Flooring
- Marble Tile Floors
- Travertine Tile Flooring
- Modern Kitchen Tile Floor
- Country Style Tile Floors
- White Tile Flooring Ideas
- Herringbone Brick Tile Floor
Ceramic Tile Floor Installation Instructions: A Comprehensive Guide
Installing ceramic tile floors is a popular choice for many homeowners. They are durable, easy to clean, and come in a wide variety of colors and styles. However, if not installed properly, they can become cracked or damaged quickly. This comprehensive guide will provide step-by-step instructions on how to install a ceramic tile floor.
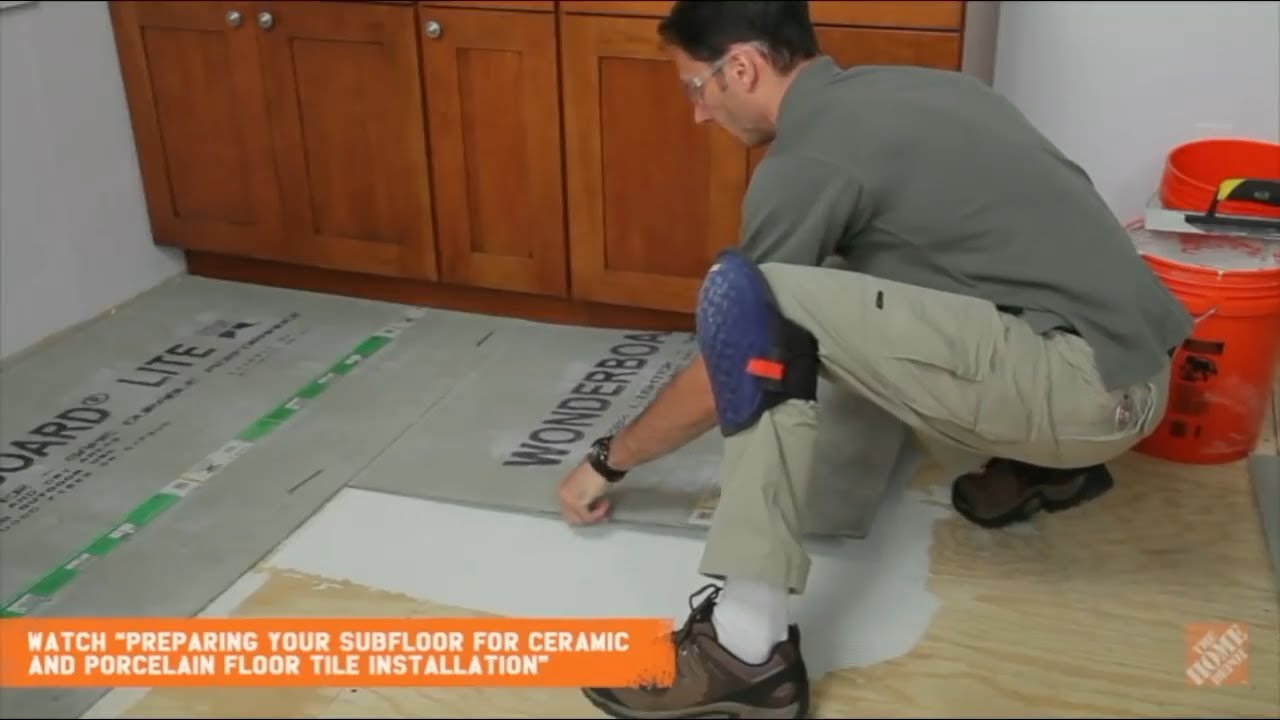
Preparation
Before starting the installation process, it’s important to prepare the area. You’ll need to clear out any existing furniture and make sure the floor is completely flat. Any cracks or uneven surfaces should be filled in with a concrete patching compound. To ensure a strong bond between the tile and the floor, it’s essential to use an adhesive specifically designed for ceramic tile floors.
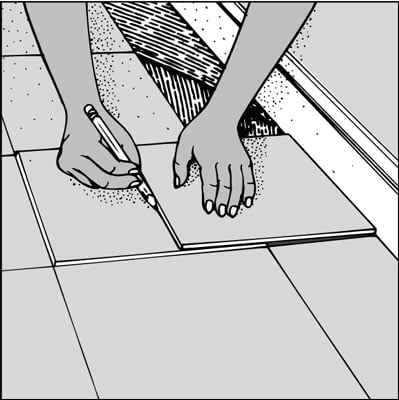
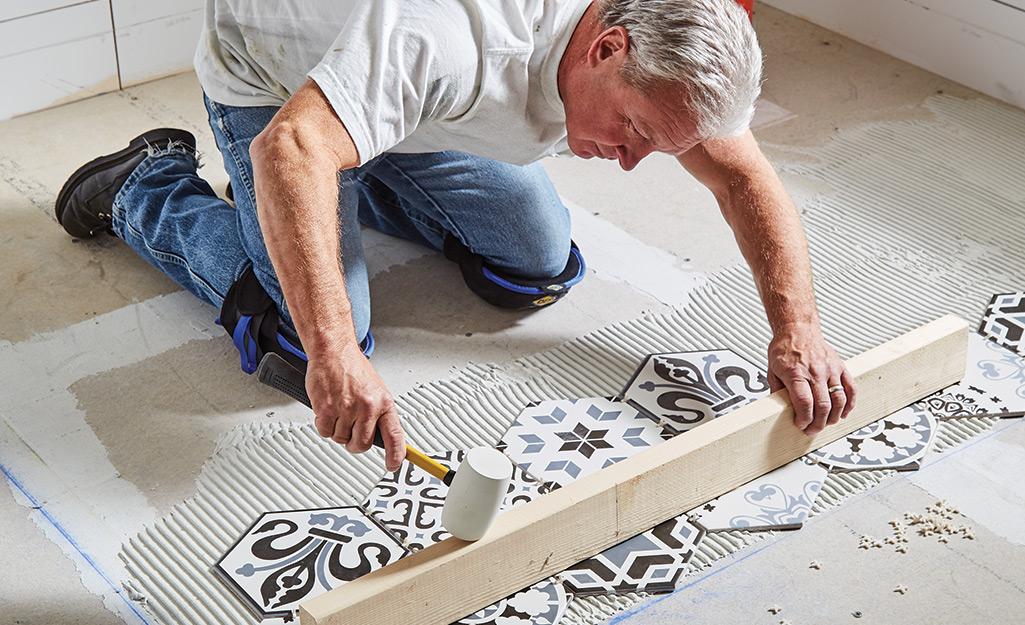
Laying Out the Tiles
Once the area is prepared, it’s time to start laying out the tiles. Begin by measuring the length and width of the room and marking off where each tile should go. When measuring, it’s important to leave a small gap between each tile to allow for expansion and contraction. Once the tiles are laid out, you’ll need to mark off where the grout lines should go. It’s also a good idea to check that all the tiles are level before proceeding.
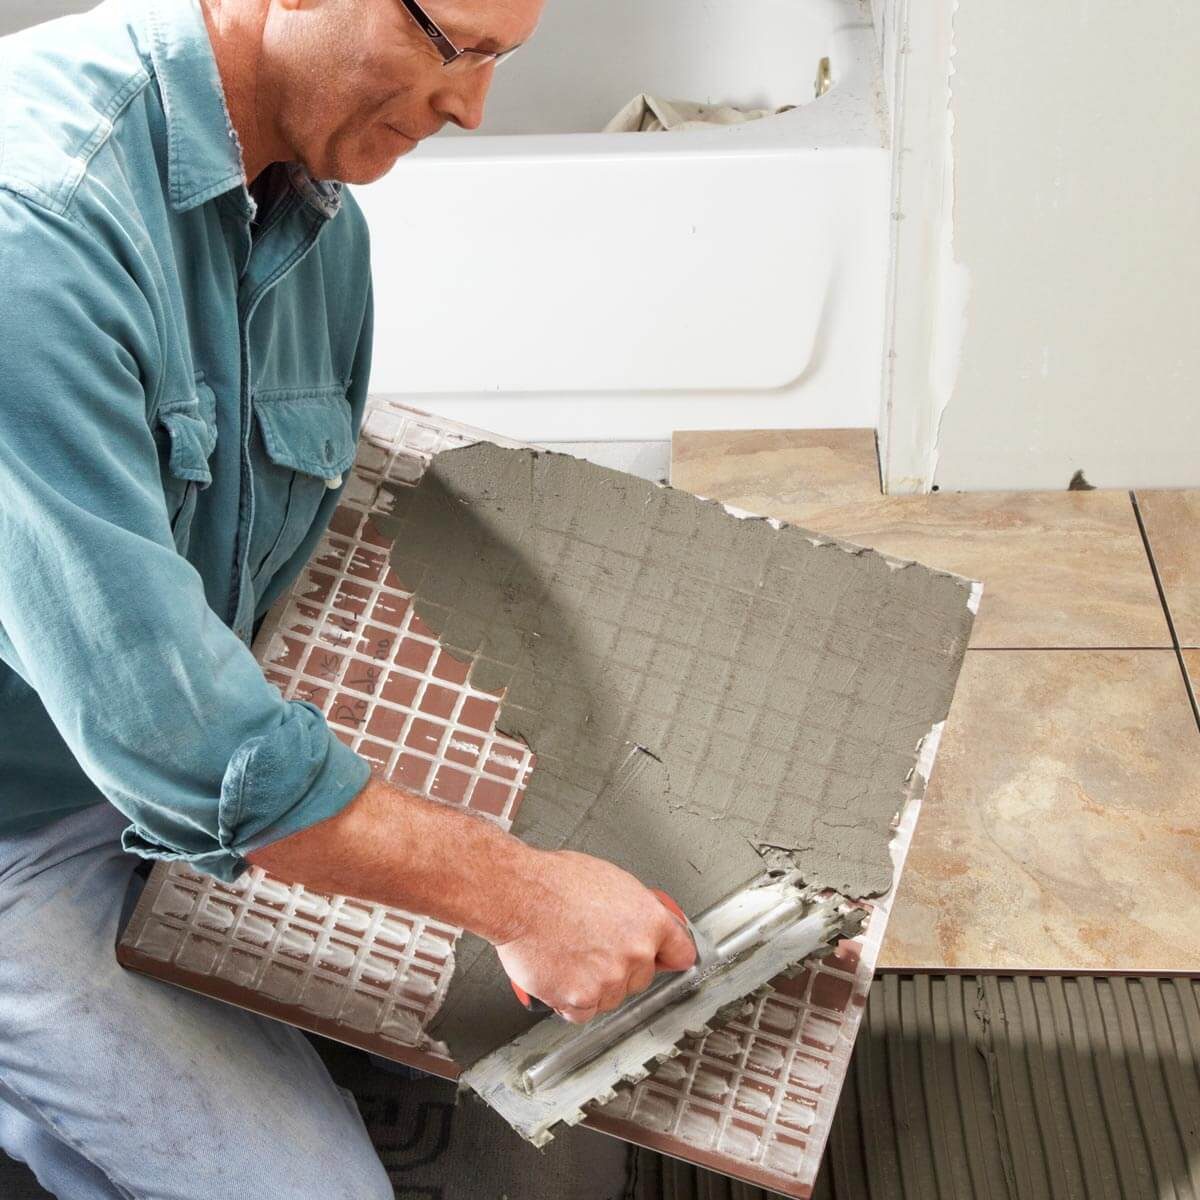
Applying Adhesive
Once all the tiles are laid out, it’s time to start applying the adhesive. Start by spreading a thin layer of adhesive over a small area of the floor. Use a trowel to spread the adhesive evenly over the entire surface. Make sure that all corners and edges are covered with adhesive. Once the adhesive has been applied, carefully place the tiles in place and press them firmly into the adhesive. Be sure to wipe away any excess adhesive before moving on to the next section of the room.
Applying Grout
Once all the tiles have been placed in position, it’s time to apply grout between them. Start by mixing up enough grout for one section of the floor at a time. Use a rubber-edged trowel to spread it into all of the gaps between each tile. Be sure to work quickly so that you don’t allow it to dry before you finish spreading it around. Once you’ve finished one section, move on to the next and repeat until you’ve covered the entire floor.
Finishing Touches
Once all of the grout has been applied, let it dry for at least 24 hours before adding any finishing touches. After 24 hours, use a damp sponge or cloth to clean off any excess grout that may have dried onto the surface of your tiles. Finally, seal your ceramic tile floor with a water-resistant sealant designed specifically for ceramic tiles. This will help protect your floor from water damage and extend its life span significantly.
FAQs About Ceramic Tile Floor Installation
Q: What tools do I need for ceramic tile floor installation?
A: The tools needed for ceramic tile floor installation include a measuring tape, trowel, grout float, sponge or cloth, sealant, and adhesive specifically designed for ceramic tile floors.
Q: How long does ceramic tile floor installation take?
A: The length of time required for ceramic tile floor installation depends on both the size of your space and your level of experience with this type of project. Generally speaking, it can take anywhere from one to several days depending on these factors.
Q: What type of sealant should I use on my ceramic tile floor?
A: It’s important to use a sealant designed specifically for ceramic tile floors in order to protect your floor from water damage and extend its life span significantly. Look for sealants that are water-resistant and designed specifically for ceramic tiles in order to ensure maximum protection.
Q: How often should I reseal my ceramic tile floor?
A: It’s recommended that you reseal your ceramic tile floor every two or three years in order to maintain optimal protection against water damage and other wear and tear that could occur over time.