When I first walked into that old Victorian home three years ago, I knew the floors needed a complete overhaul. The worn linoleum in the kitchen and outdated carpet throughout screamed for something fresh, durable, and timeless. After months of research and countless Pinterest boards, I landed on herringbone brick tile flooring, and let me tell you, it was one of the best decisions I made during my renovation. The classic zigzag pattern brings such character to every room, and the brick texture adds warmth that makes my house feel like a true home.
Choosing the Right Herringbone Brick Tile
My first step was understanding the different types available. I spent hours at tile showrooms, running my hands over ceramic, porcelain, and natural clay options. The ceramic tiles felt smooth and refined, perfect for my kitchen, where spills happen daily. They’re glazed, which means they resist stains and moisture beautifully. I could picture myself wiping up coffee spills without worrying about permanent damage.
Porcelain became my go-to for high-traffic areas like the entryway and hallway. These tiles are incredibly dense and durable, fired at higher temperatures than ceramic tiles. When my contractor dropped a heavy toolbox on them during installation, I held my breath, but they didn’t even chip. The investment in porcelain for those heavy-use spaces has already paid off in durability.
For my living room, I chose natural clay brick tiles that had more texture and variation. Each tile tells its own story with subtle color differences and natural imperfections. The authenticity they bring to the space is something you just can’t replicate with manufactured alternatives. They require a bit more maintenance with sealing, but the character they add makes it worthwhile.
Planning the Perfect Layout
Measuring became my obsession for about two weeks. I mapped out every room on graph paper, calculating how the herringbone pattern would flow from space to space. The key insight I learned is that herringbone patterns work best when you establish a strong centerline. I started from the most visible entrance point in each room and worked outward, ensuring the pattern looked intentional and balanced.
Working with my contractor, we discovered that room dimensions significantly impact how the pattern looks. In my narrow hallway, we adjusted the tile size from my original 4×8-inch choice to 3×6 inches. The smaller tiles created better proportions and made the space feel wider rather than cramped. It’s amazing how tile scale can completely change a room’s perception.
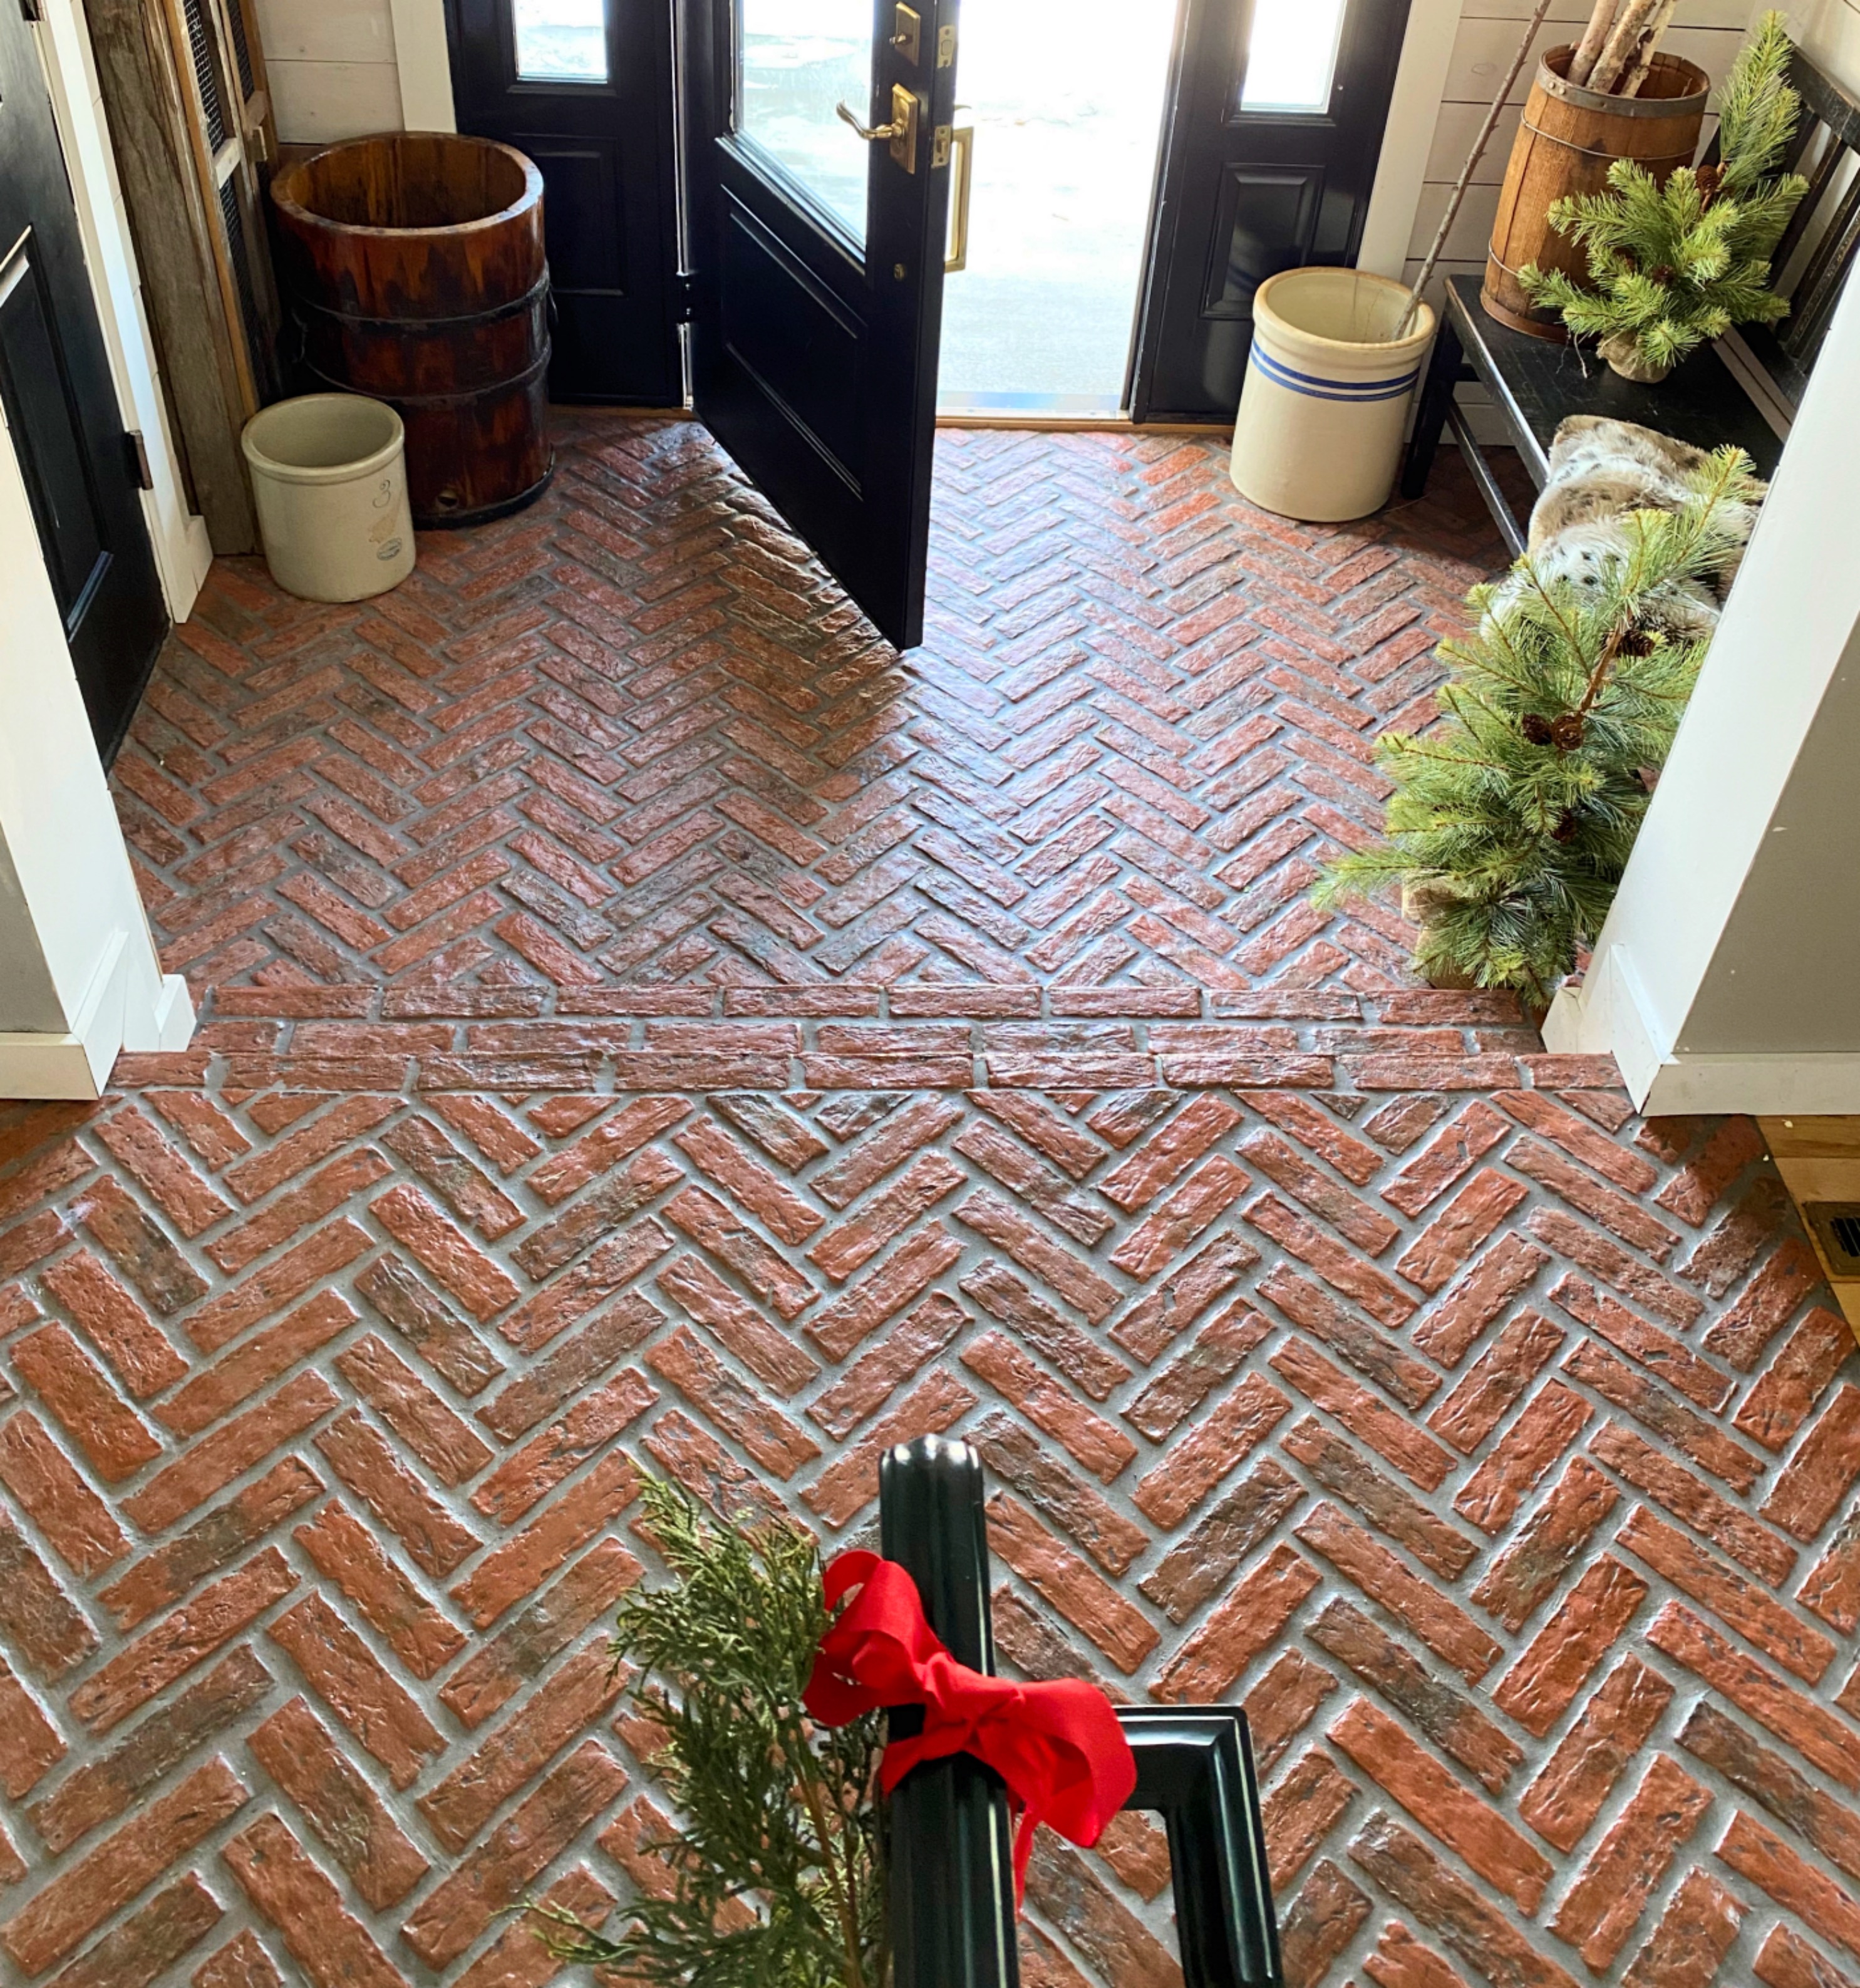
Border planning took more thought than I anticipated. We decided on a running bond border around the perimeter of each room, which frames the herringbone pattern beautifully. This border also solved the challenge of dealing with odd cuts at the walls. Instead of having tiny triangular pieces that would look awkward, the border creates clean lines and a finished appearance.

Installation Challenges I Faced
My contractor warned me that herringbone installation would take longer than traditional patterns, and he wasn’t kidding. Each tile needs precise placement to maintain the 90-degree angle where they meet. We spent extra time using spacers and constantly checking alignment with a square. What would normally be a three-day job stretched to five days, but the results justified every extra hour.
Cutting tiles for the edges proved trickier than expected. Unlike straight-lay patterns, where you mostly need straight cuts, herringbone requires angled cuts at every wall. My contractor’s wet saw got a serious workout. We planned for about 15% waste, which seemed high initially, but ended up being accurate. The complex cutting pattern means more unusable pieces.
Leveling the subfloor became crucial with this pattern. Any dips or rises become glaringly obvious when you have straight lines meeting at precise angles. We ended up using self-leveling compound in several area,s I thought were fine. Trust me, it’s worth addressing these issues before installation rather than living with lippage between tiles that catches your eye every time you walk through the room.
Color and Texture Combinations That Work
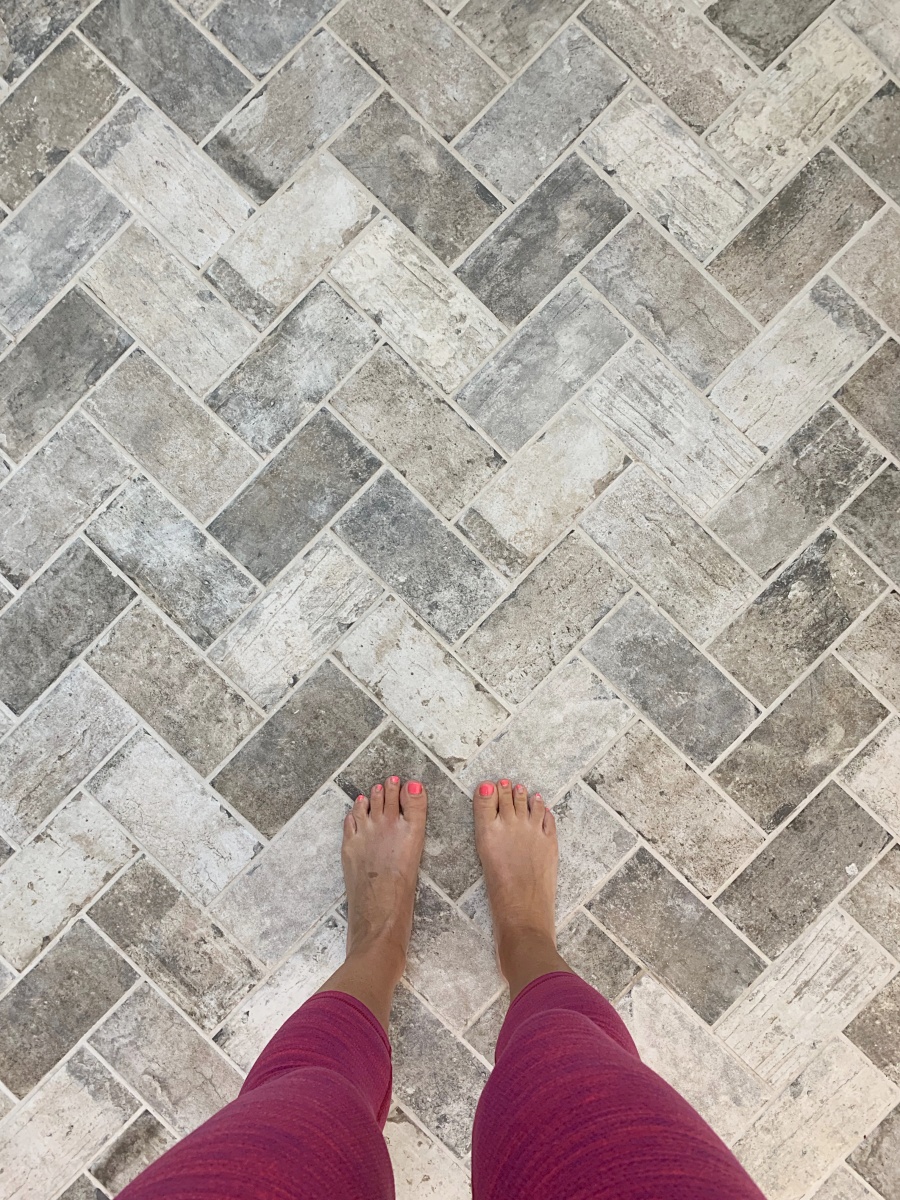
I experimented with mixing different tones within the same color family, and the results exceeded my expectations. In my kitchen, I combined warm beige and soft grey brick tiles in a random pattern. The subtle variation creates depth without being overwhelming. Visitors often comment on how the floor looks like it has natural aging, even though all the tiles are new.
The texture choices made a huge difference in how each room feels. Smooth glazed tiles in the bathroom reflect light beautifully and make the small space feel larger. Meanwhile, the rougher texture in my living room adds tactile interest and hides footprints better. I learned that matching texture to room function is just as important as matching color to decor.
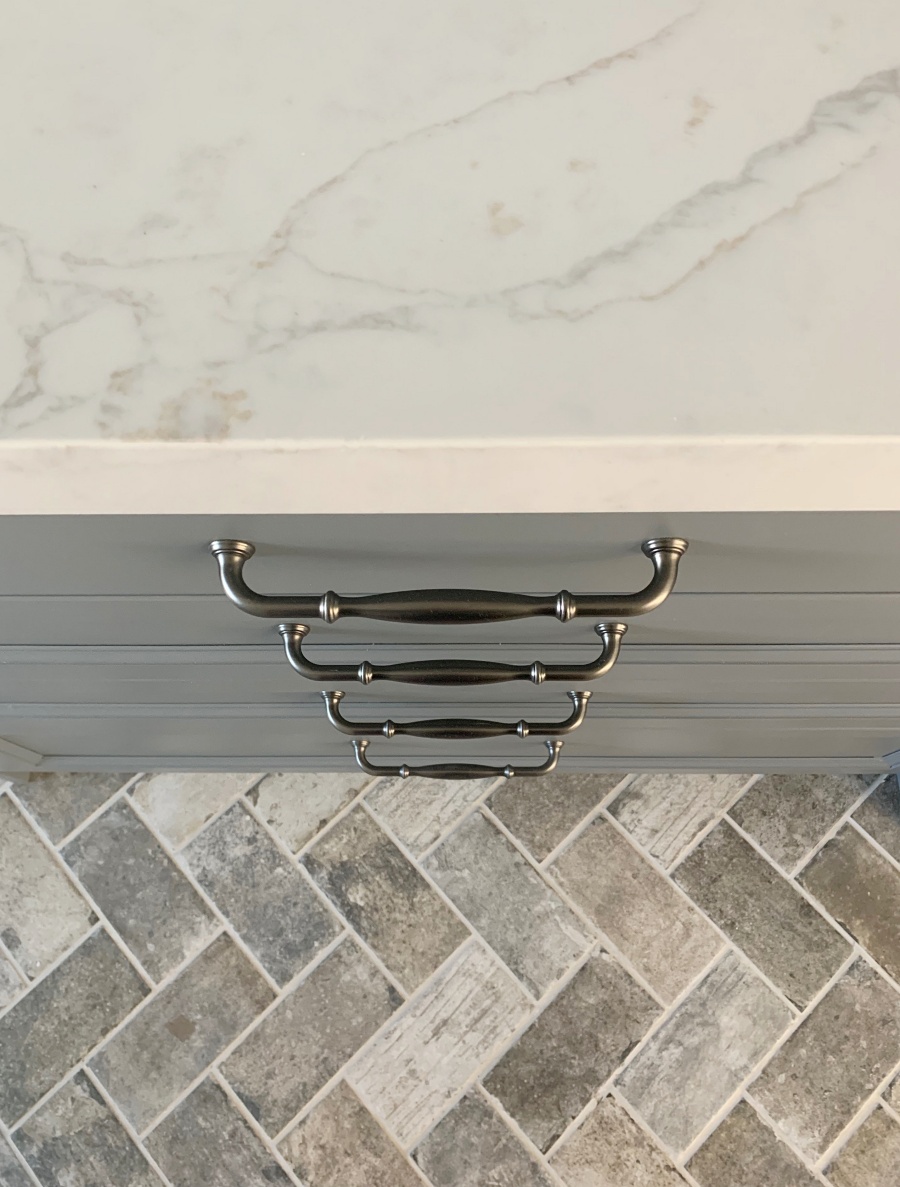
Grout color became my secret weapon for tying everything together. I chose a warm grey that complements both the light and dark tiles. It’s forgiving enough to hide minor imperfections while still defining each tile clearly. My contractor recommended going slightly darker than my lightest tile, and that advice created the perfect balance between contrast and cohesion.
Maintenance Tips from Real Experience
Daily cleaning is simpler than I expected. A microfiber dust mop picks up most debris, and the textured surface actually hides light scratches better than smooth flooring. I learned to sweep in the direction of the pattern rather than against it, which prevents debris from catching in the grout lines. This small adjustment makes cleaning much more efficient.
Deep cleaning happens monthly in my house. I use a pH-neutral tile cleaner and avoid anything acidic that might damage the grout. A soft brush works wonders for the textured tiles, getting into all the small crevices where dirt can hide. The herringbone pattern actually makes scrubbing easier because you can follow the natural lines of each tile.
Sealing the grout was essential, especially in moisture-prone areas. I reseal annually, which takes about an hour per room but protects against stains and moisture damage. My contractor taught me to test water absorption by dropping small amounts on the grout. If it absorbs quickly, it’s time to reseal. This simple test has saved me from costly repairs.
Cost Considerations and Budget Planning
Material costs varied significantly based on tile choice and quality. The ceramic tiles I used in secondary areas ran about $3 per square foot, while the premium porcelain for main spaces cost $8 per square foot. Natural clay tiles fell somewhere in between at $5 per square foot. I budgeted an extra 15% for waste due to the complex cutting required for herringbone installation.
Labor costs ran higher than standard tile installation. My contractor charged 50% more for the herringbone pattern due to the precision and time required. This seemed steep initially, but watching the meticulous installation process convinced me it was fair. The pattern demands expertise that generic tile installers might not possess, so finding the right professional is crucial.
Additional expenses I hadn’t anticipated included upgraded adhesive for the pattern’s stability and premium grout that could handle the stress of the interlocking design. Tool rental for the wet saw added another $150 to my project. Planning for these extras in advance would have prevented budget stress during installation. Overall, my 800 square foot project came to $12,000, including materials and labor.
How durable is herringbone brick tile flooring in high-traffic areas?
In my experience, it’s incredibly durable when properly installed. My entryway sees heavy foot traffic, wet boots, and dropped packages daily. After three years, I only have minor wear in the grout lines. The interlocking pattern actually distributes weight well, preventing individual tile damage. I’d definitely choose it again for busy areas.
Is herringbone brick tile suitable for homes with pets and children?
Absolutely! My two dogs and toddler nephew visit regularly, and the textured surface provides excellent traction. Spills wipe up easily from the glazed ceramic areas. The pattern helps camouflage minor scratches from pet claws. Just ensure you seal the grout properly in areas where accidents might happen.
How does herringbone brick tile handle moisture and humidity?
Wonderfully, especially with porcelain tiles. I installed it in my bathroom and laundry room without issues. The key is proper installation with appropriate waterproof underlayment and sealed grout. Even with steam from hot showers, I haven’t experienced any warping, cracking, or moisture damage after three years.
Can I install herringbone brick tile myself, or do I need a professional?
While possible for experienced DIYers, I strongly recommend professionals for this pattern. The precision required for proper alignment is challenging. My contractor’s expertise prevented costly mistakes and ensured long-term stability. If you’re determined to DIY, practice the pattern extensively and invest in quality tools.

How does herringbone brick tile flooring affect home resale value?
Based on my realtor’s feedback, it’s a strong selling point. The timeless pattern appeals to most buyers, and quality tile installation is seen as a valuable upgrade. Unlike trendy options that might date quickly, herringbone brick has classic appeal. My home appraisal increased by more than my flooring investment.
What’s the best way to transition herringbone tile between rooms?
I used transition strips at doorways between different flooring types, but maintained the herringbone pattern’s flow between tiled rooms. Planning the layout to align patterns through doorways creates visual continuity. Metal transition strips work well, but natural stone thresholds provide a more seamless, upscale appearance that complements the brick texture.
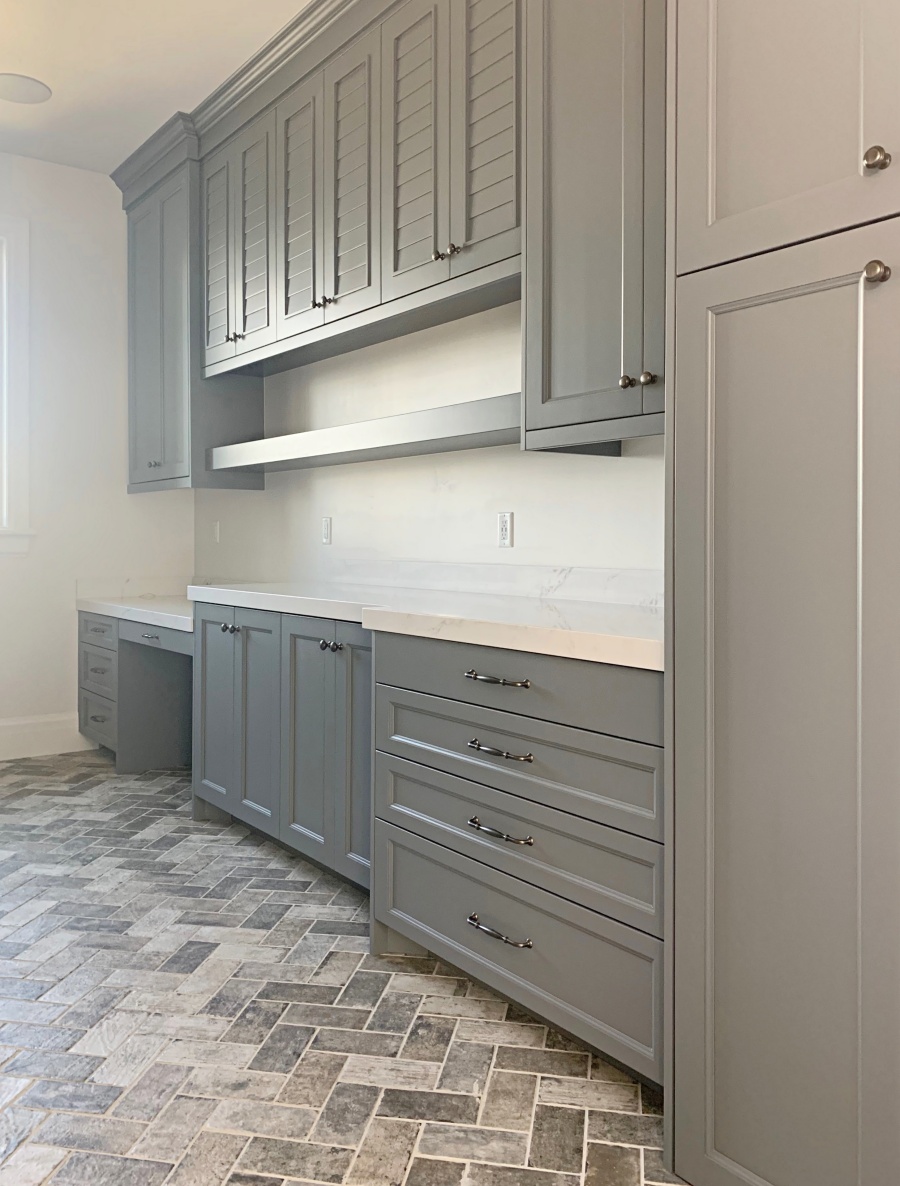
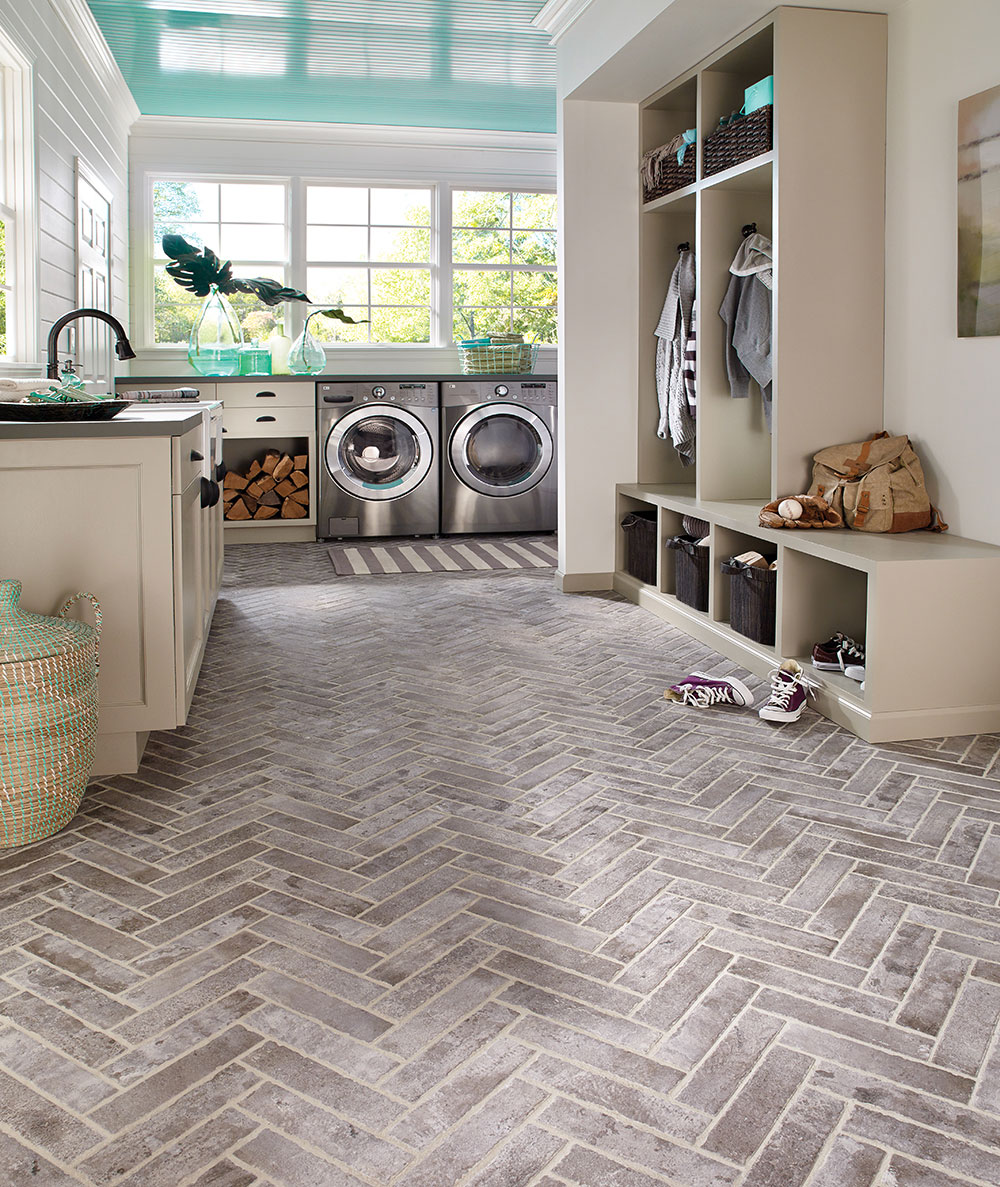
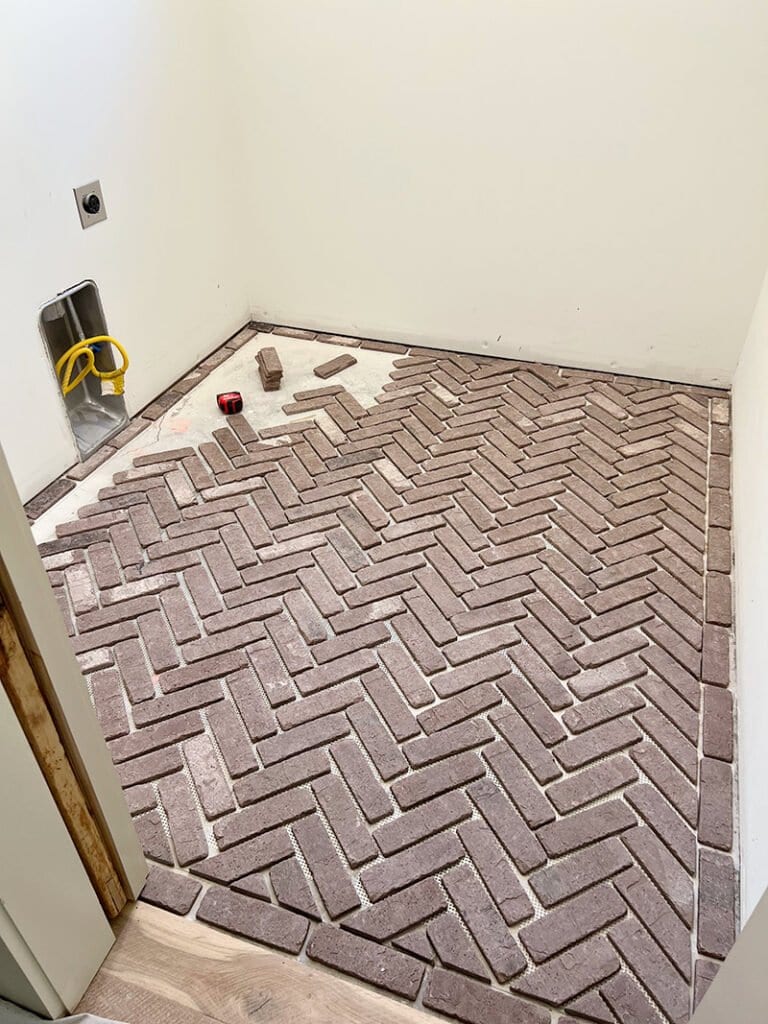
Laundry/Mudroom with Herringbone Brick Floor
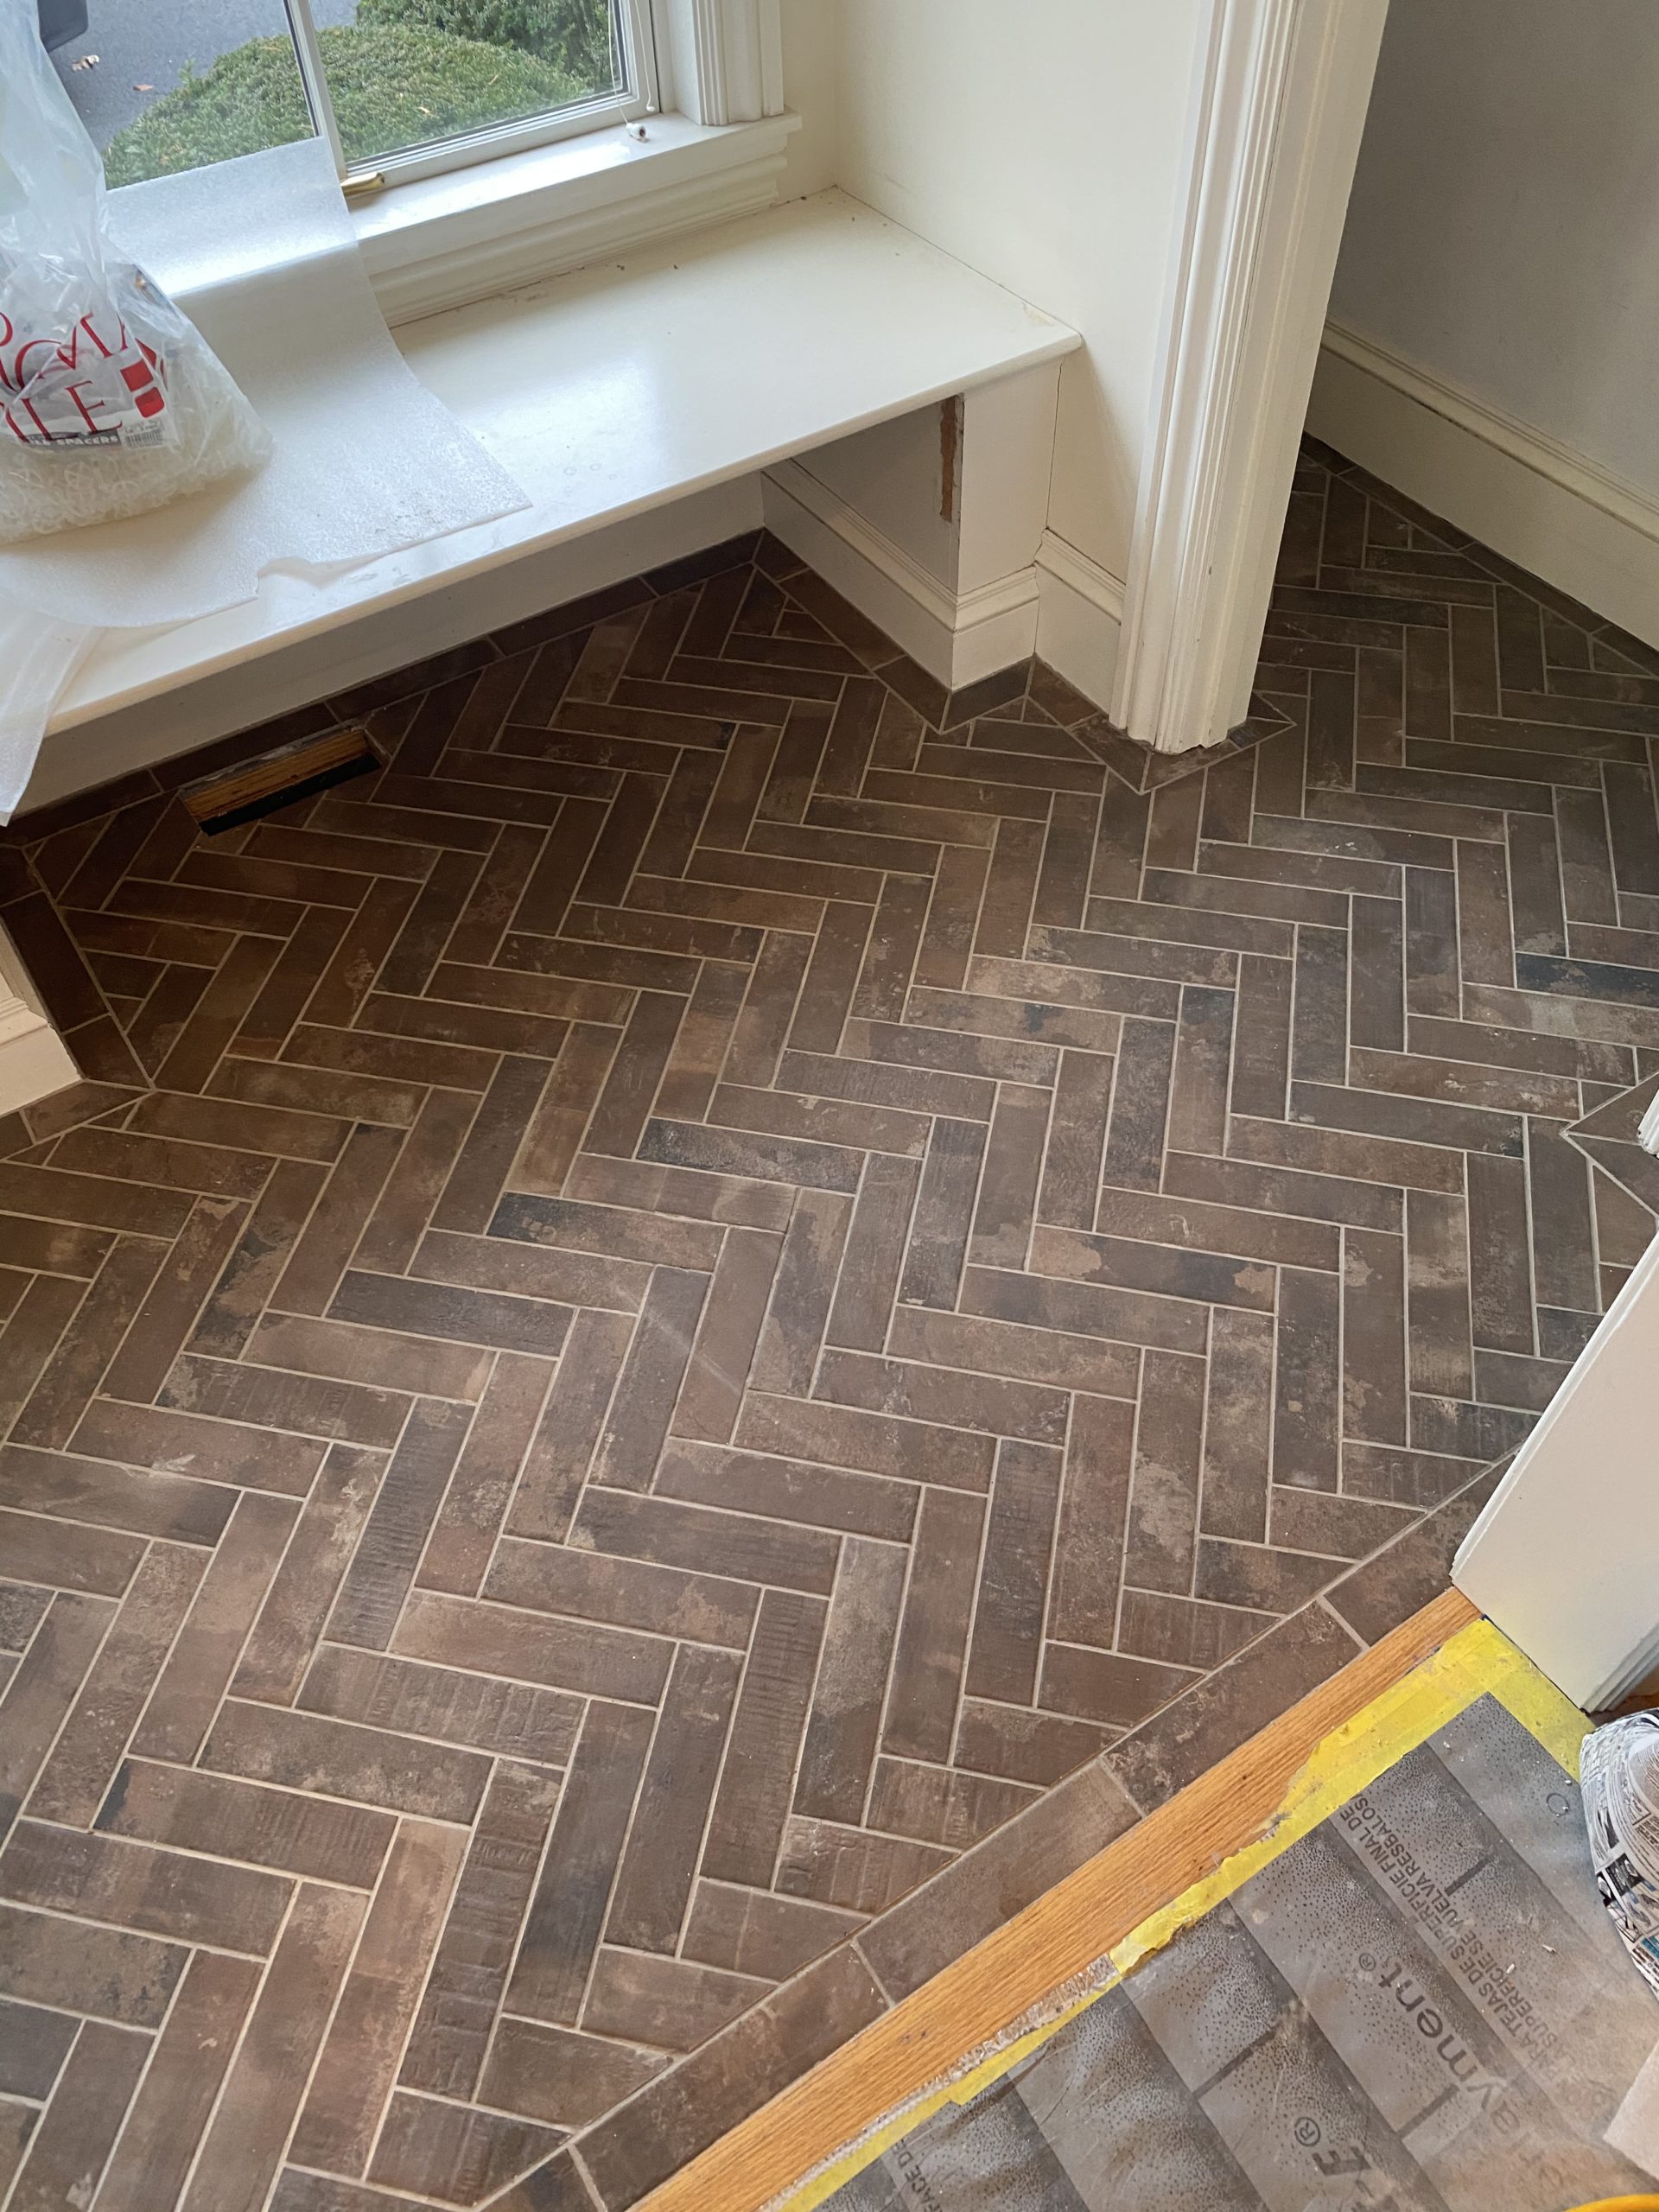
Brick Tile Floor

Kitchen Flooring Trend: Follow the Red Brick Floor
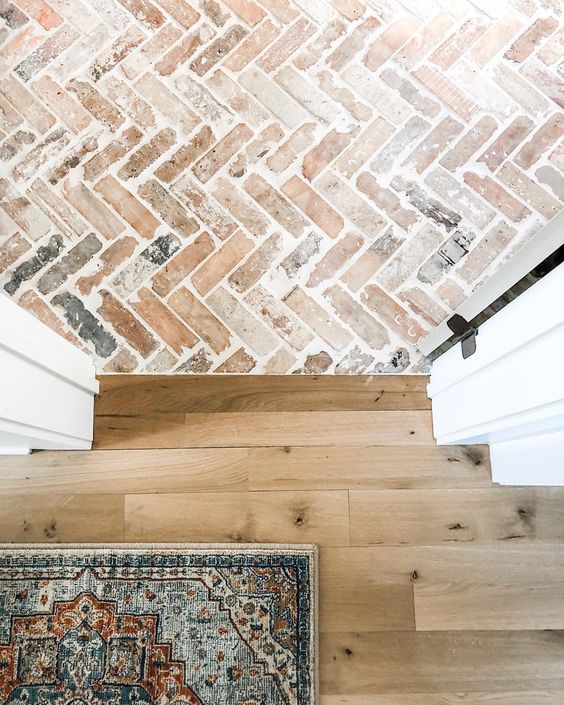
How to Install a Herringbone Brick Floor

Related Posts: