As a seasoned expert in the realm of tile flooring, I am excited to share my knowledge and experience with you. In this comprehensive guide, we will explore the ins and outs of using Durock for tile floors, providing you with the expertise you need to achieve high topical authority on this subject.
Understanding Durock for Tile Floors
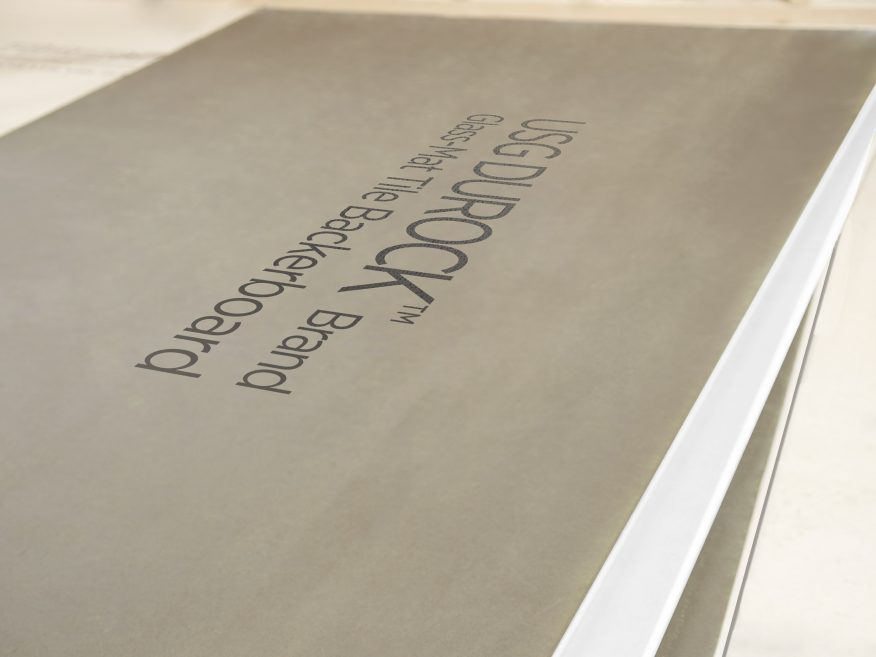
What is Durock? Durock, also known as cement backer board, is a sturdy, moisture-resistant underlayment used beneath tile installations. It provides a stable surface and prevents tile movement, ensuring a durable and long-lasting tile floor.
Advantages of Using Durock
- Superior Durability: Durock is specifically designed to withstand the weight and pressure of tile installations, ensuring your floor remains intact over time.
- Moisture Resistance: Unlike traditional drywall or plywood, Durock is resistant to moisture, preventing potential water damage and mold growth.
- Suitable for Various Substrates: Durock can be applied to different subfloor materials, including concrete, wood, and even existing tile, making it a versatile choice for various projects.
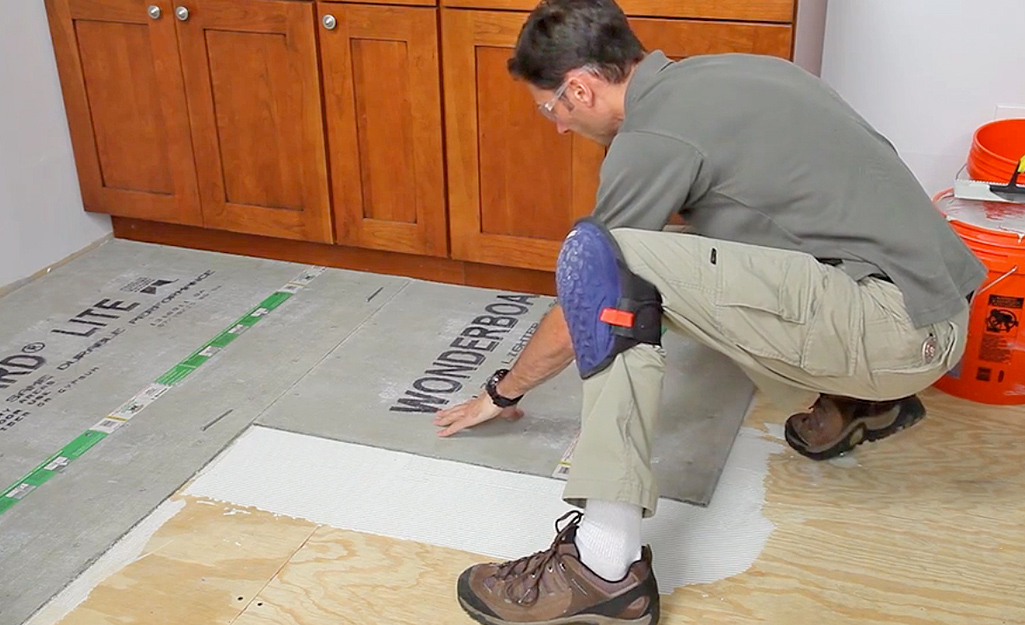
Preparing for Durock Installation
Gathering the Necessary Tools and Materials: Before starting the installation, you’ll need to acquire essential tools such as a circular saw, a power drill, a trowel, and safety gear. Additionally, ensure you have Durock panels, screws, and a waterproofing membrane.
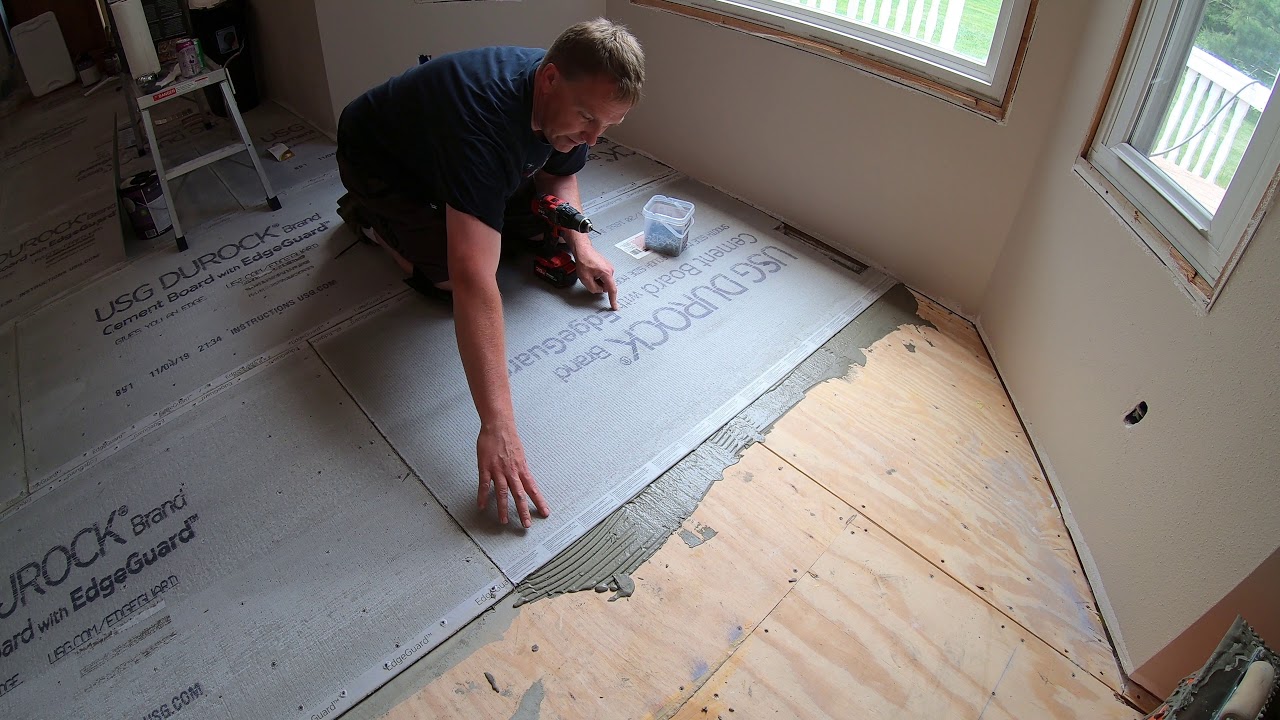
Measuring and Cutting Durock Panels: Proper measurement and cutting of Durock panels are crucial to ensure a seamless fit. I’ll walk you through the steps of measuring your space accurately and efficiently cutting the panels to size.
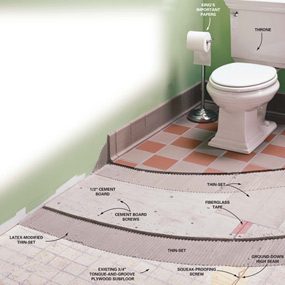
Preparing the Substrate: Preparing the subfloor is essential for a successful Durock installation. Whether you have a concrete slab or a wood subfloor, you’ll need to address any imperfections and ensure it is clean and dry.

Installing Durock for Tile Floors
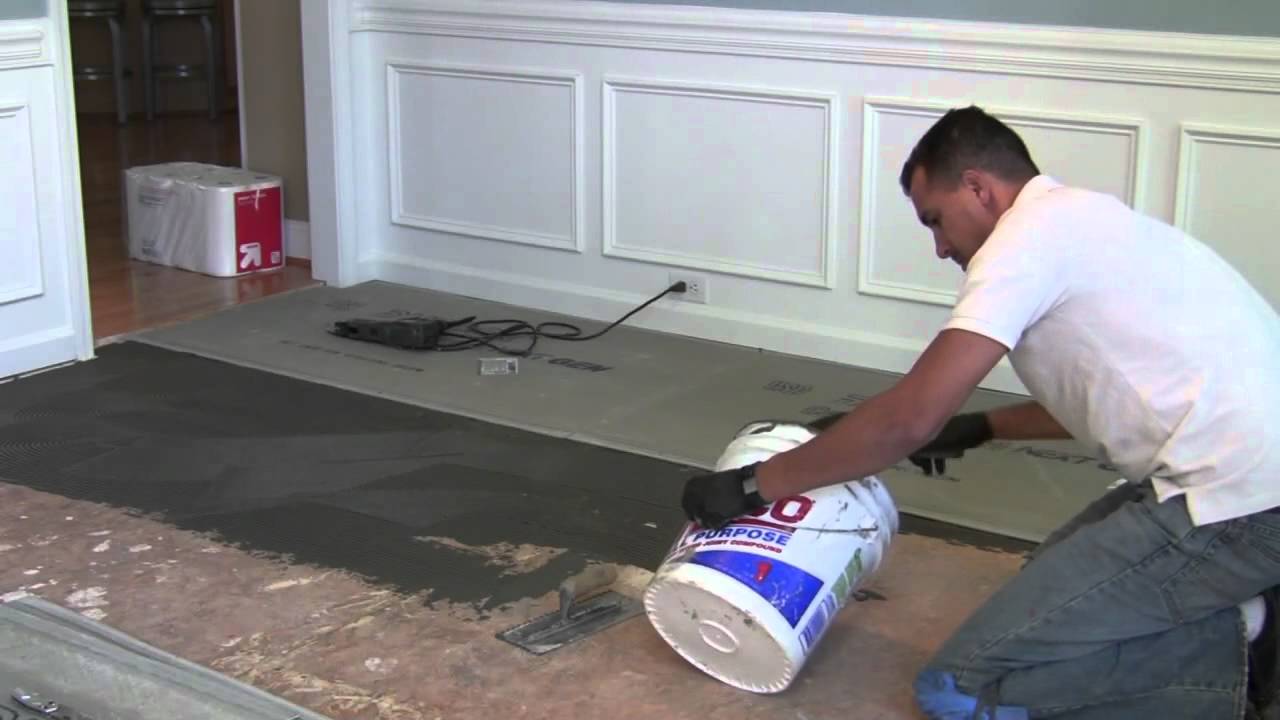
Applying the Waterproofing Membrane: To add an extra layer of protection against moisture, I’ll guide you through the process of applying a waterproofing membrane over the Durock panels.
Attaching Durock to the Substrate: Properly securing Durock to the subfloor is vital. I’ll explain the correct method of screwing the panels into place to ensure stability and minimize tile cracking.
Addressing Joints and Corners: Seamless joints and corners are essential for a level tile floor. I’ll share tips on taping and mudding the seams to create a smooth surface.
Preparing Durock for Tile Installation
Curing Time and Sanding: Durock requires a curing period before tile installation. I’ll advise you on the appropriate waiting time and the sanding process to achieve a level surface.
Choosing the Right Tile Adhesive: Selecting the right tile adhesive is critical for the success of your tile installation. I’ll discuss the different types of adhesives and their best applications.
DUROCK Cement Board Dou0027s and Dontu0027s
DUROCK™ 1/4 x 3u0027 x 5u0027 Cement Board at Menards®

Durock™ Brand Glass-Mat Tile Backerboard USG
How to Install Cement Board on a Floor (DIY) Family Handyman
Cement Board Installation u2014 Cabinet Painting – Kitchen Remodeling

In progress: subway tile gets installed in a shower over Durock

Renovation Inspiration: Sunroom with 13×13 Thrill Rock u0026 Warm Heat

How to Install Cement Backerboard for Floor Tile The Floor Elf

How to install backer board/durock for floor tile Backer board

How to Install Cement Board
Related Posts:
- Installing Slate Tile Floor
- Painting Ceramic Tile Floor In Kitchen
- Anti Slip For Tile Floors
- Laminate Tile Flooring
- Marble Tile Floors
- Travertine Tile Flooring
- Modern Kitchen Tile Floor
- Country Style Tile Floors
- White Tile Flooring Ideas
- Herringbone Brick Tile Floor