When I first walked into that showroom three years ago, I thought all hardwood floors were basically the same. Then I discovered engineered parquet flooring, and honestly, it changed everything about my renovation plans. I had been dreading the cost and complexity of traditional solid hardwood, but engineered parquet offered me the stunning geometric patterns and rich wood tones I craved at a fraction of the price and hassle. After living with my engineered parquet floors for over two years now, I can confidently say they’ve exceeded every expectation I had.
Understanding the Construction: Why I Chose Engineered Over Solid
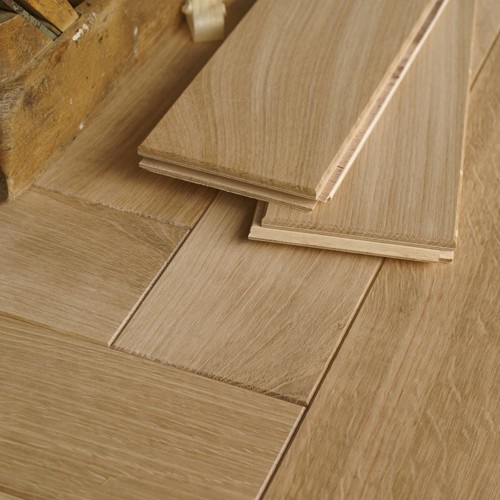
The layered construction of engineered parquet flooring was what initially sold me on this option. Unlike solid wood, which can warp and crack with humidity changes, my engineered planks feature a plywood or HDF core with a real wood veneer on top. This means I get authentic hardwood beauty with much better dimensional stability. Living in an area with dramatic seasonal weather changes, this stability has proven invaluable.
What impressed me most during my research was learning how the cross-grain construction works. The different layers are arranged perpendicular to each other, which prevents the expansion and contraction that plagued my neighbor’s solid hardwood floors. I’ve watched her deal with gaps opening up every winter and boards cupping every summer, while my floors have remained perfectly flat and tight throughout all seasons.
The thickness of the wear layer became a crucial consideration in my decision. I chose planks with a 4mm wear layer, which allows for multiple refinishing sessions over the floor’s lifetime. This means my investment will last decades, not just years. The thicker wear layer also provides better sound dampening, which my downstairs neighbors definitely appreciate when I’m walking around in heels or my kids are running through the house.
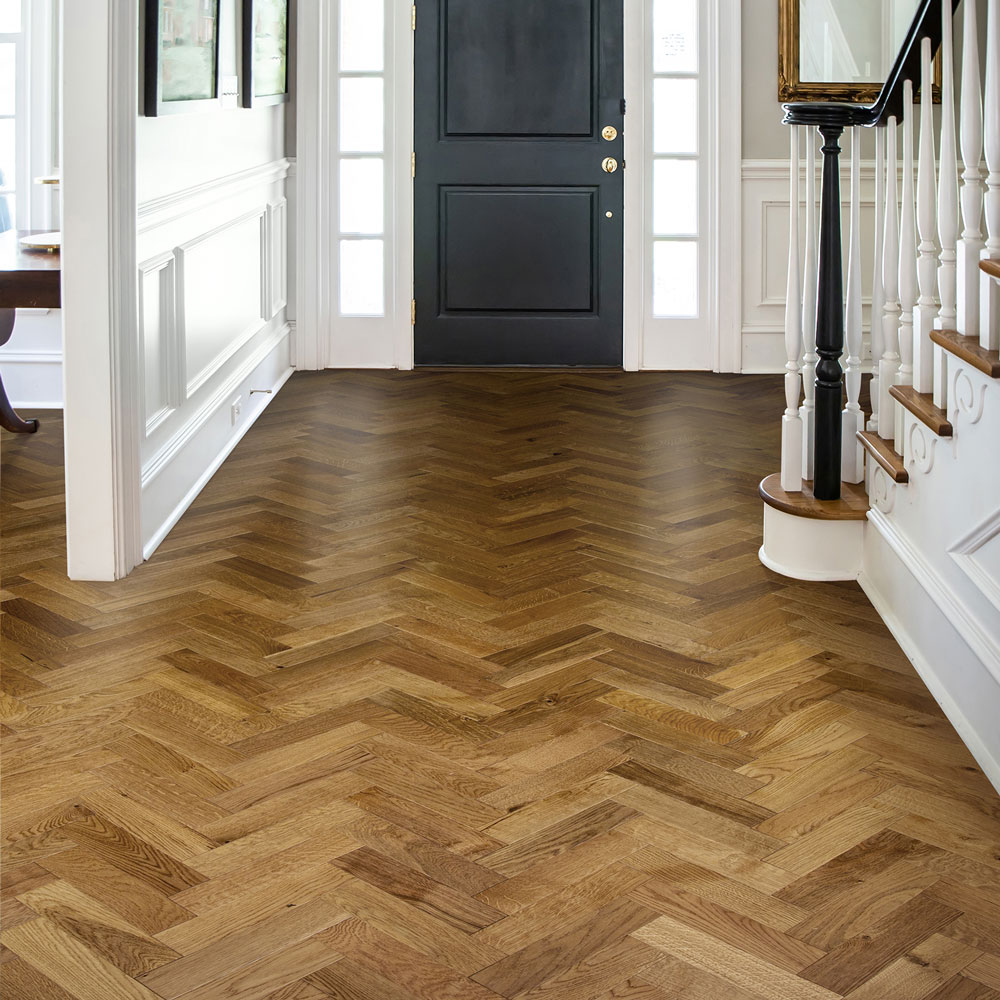
Herringbone Patterns: Creating Timeless Sophistication
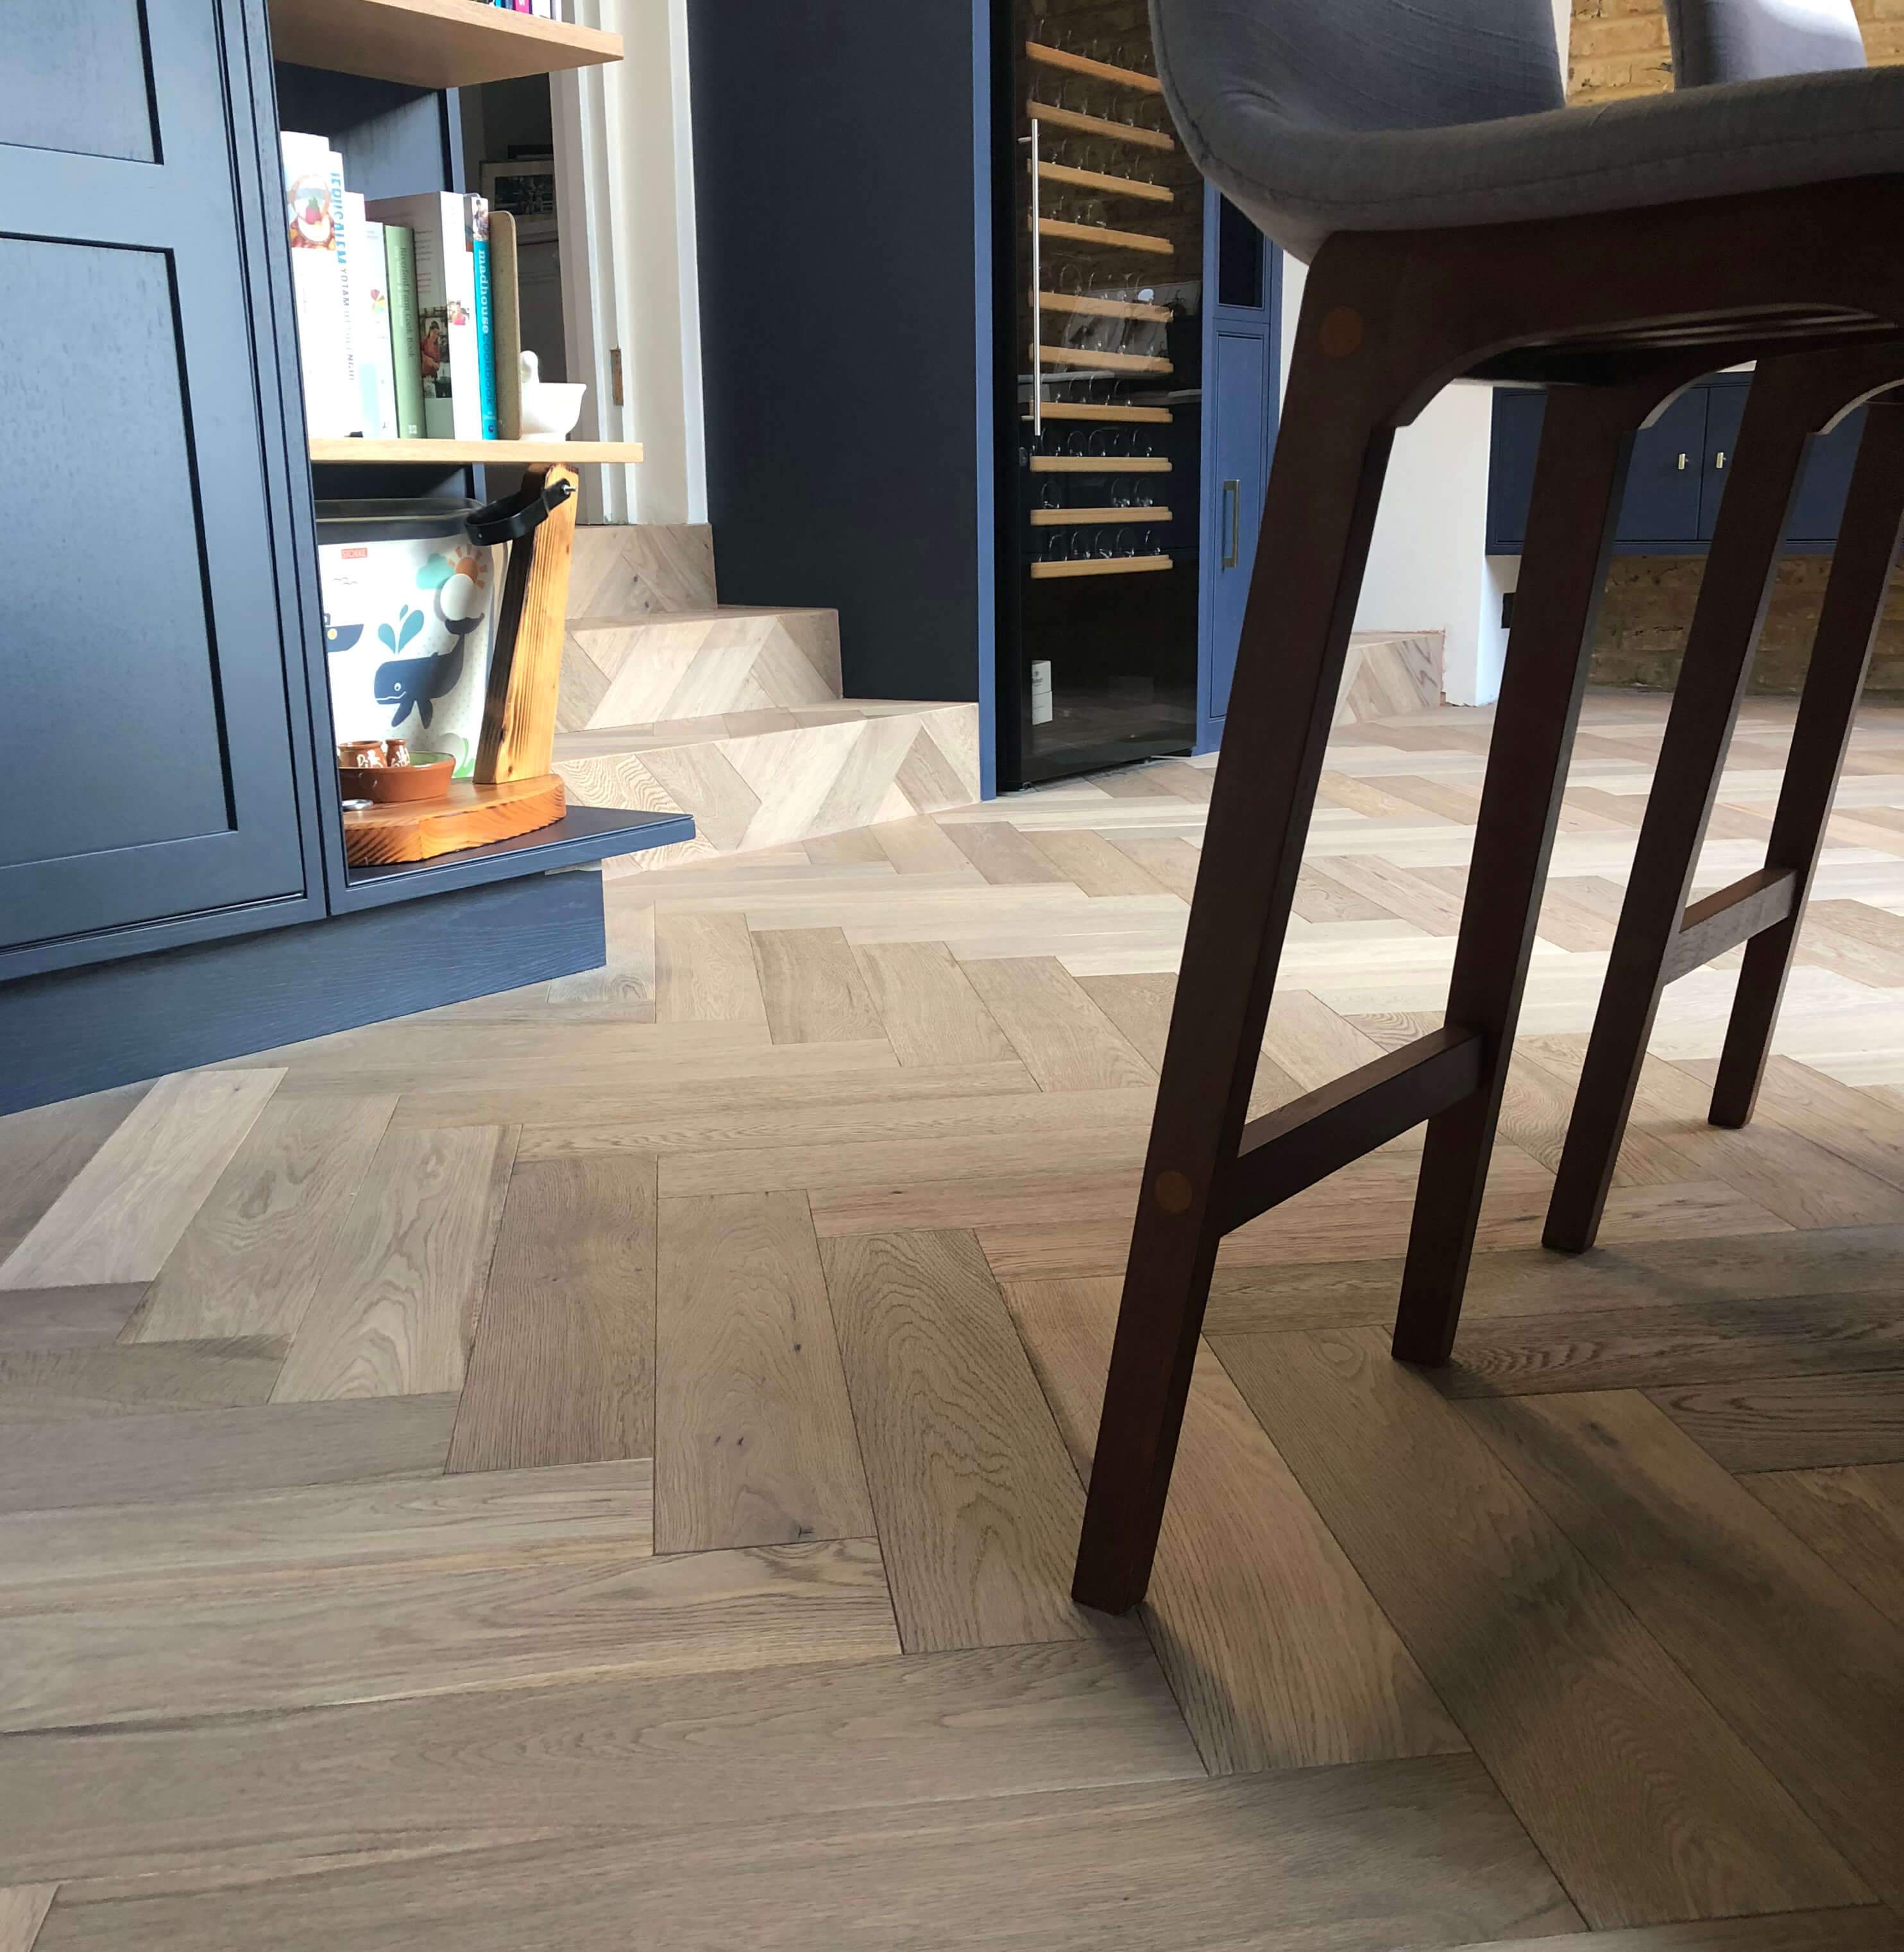
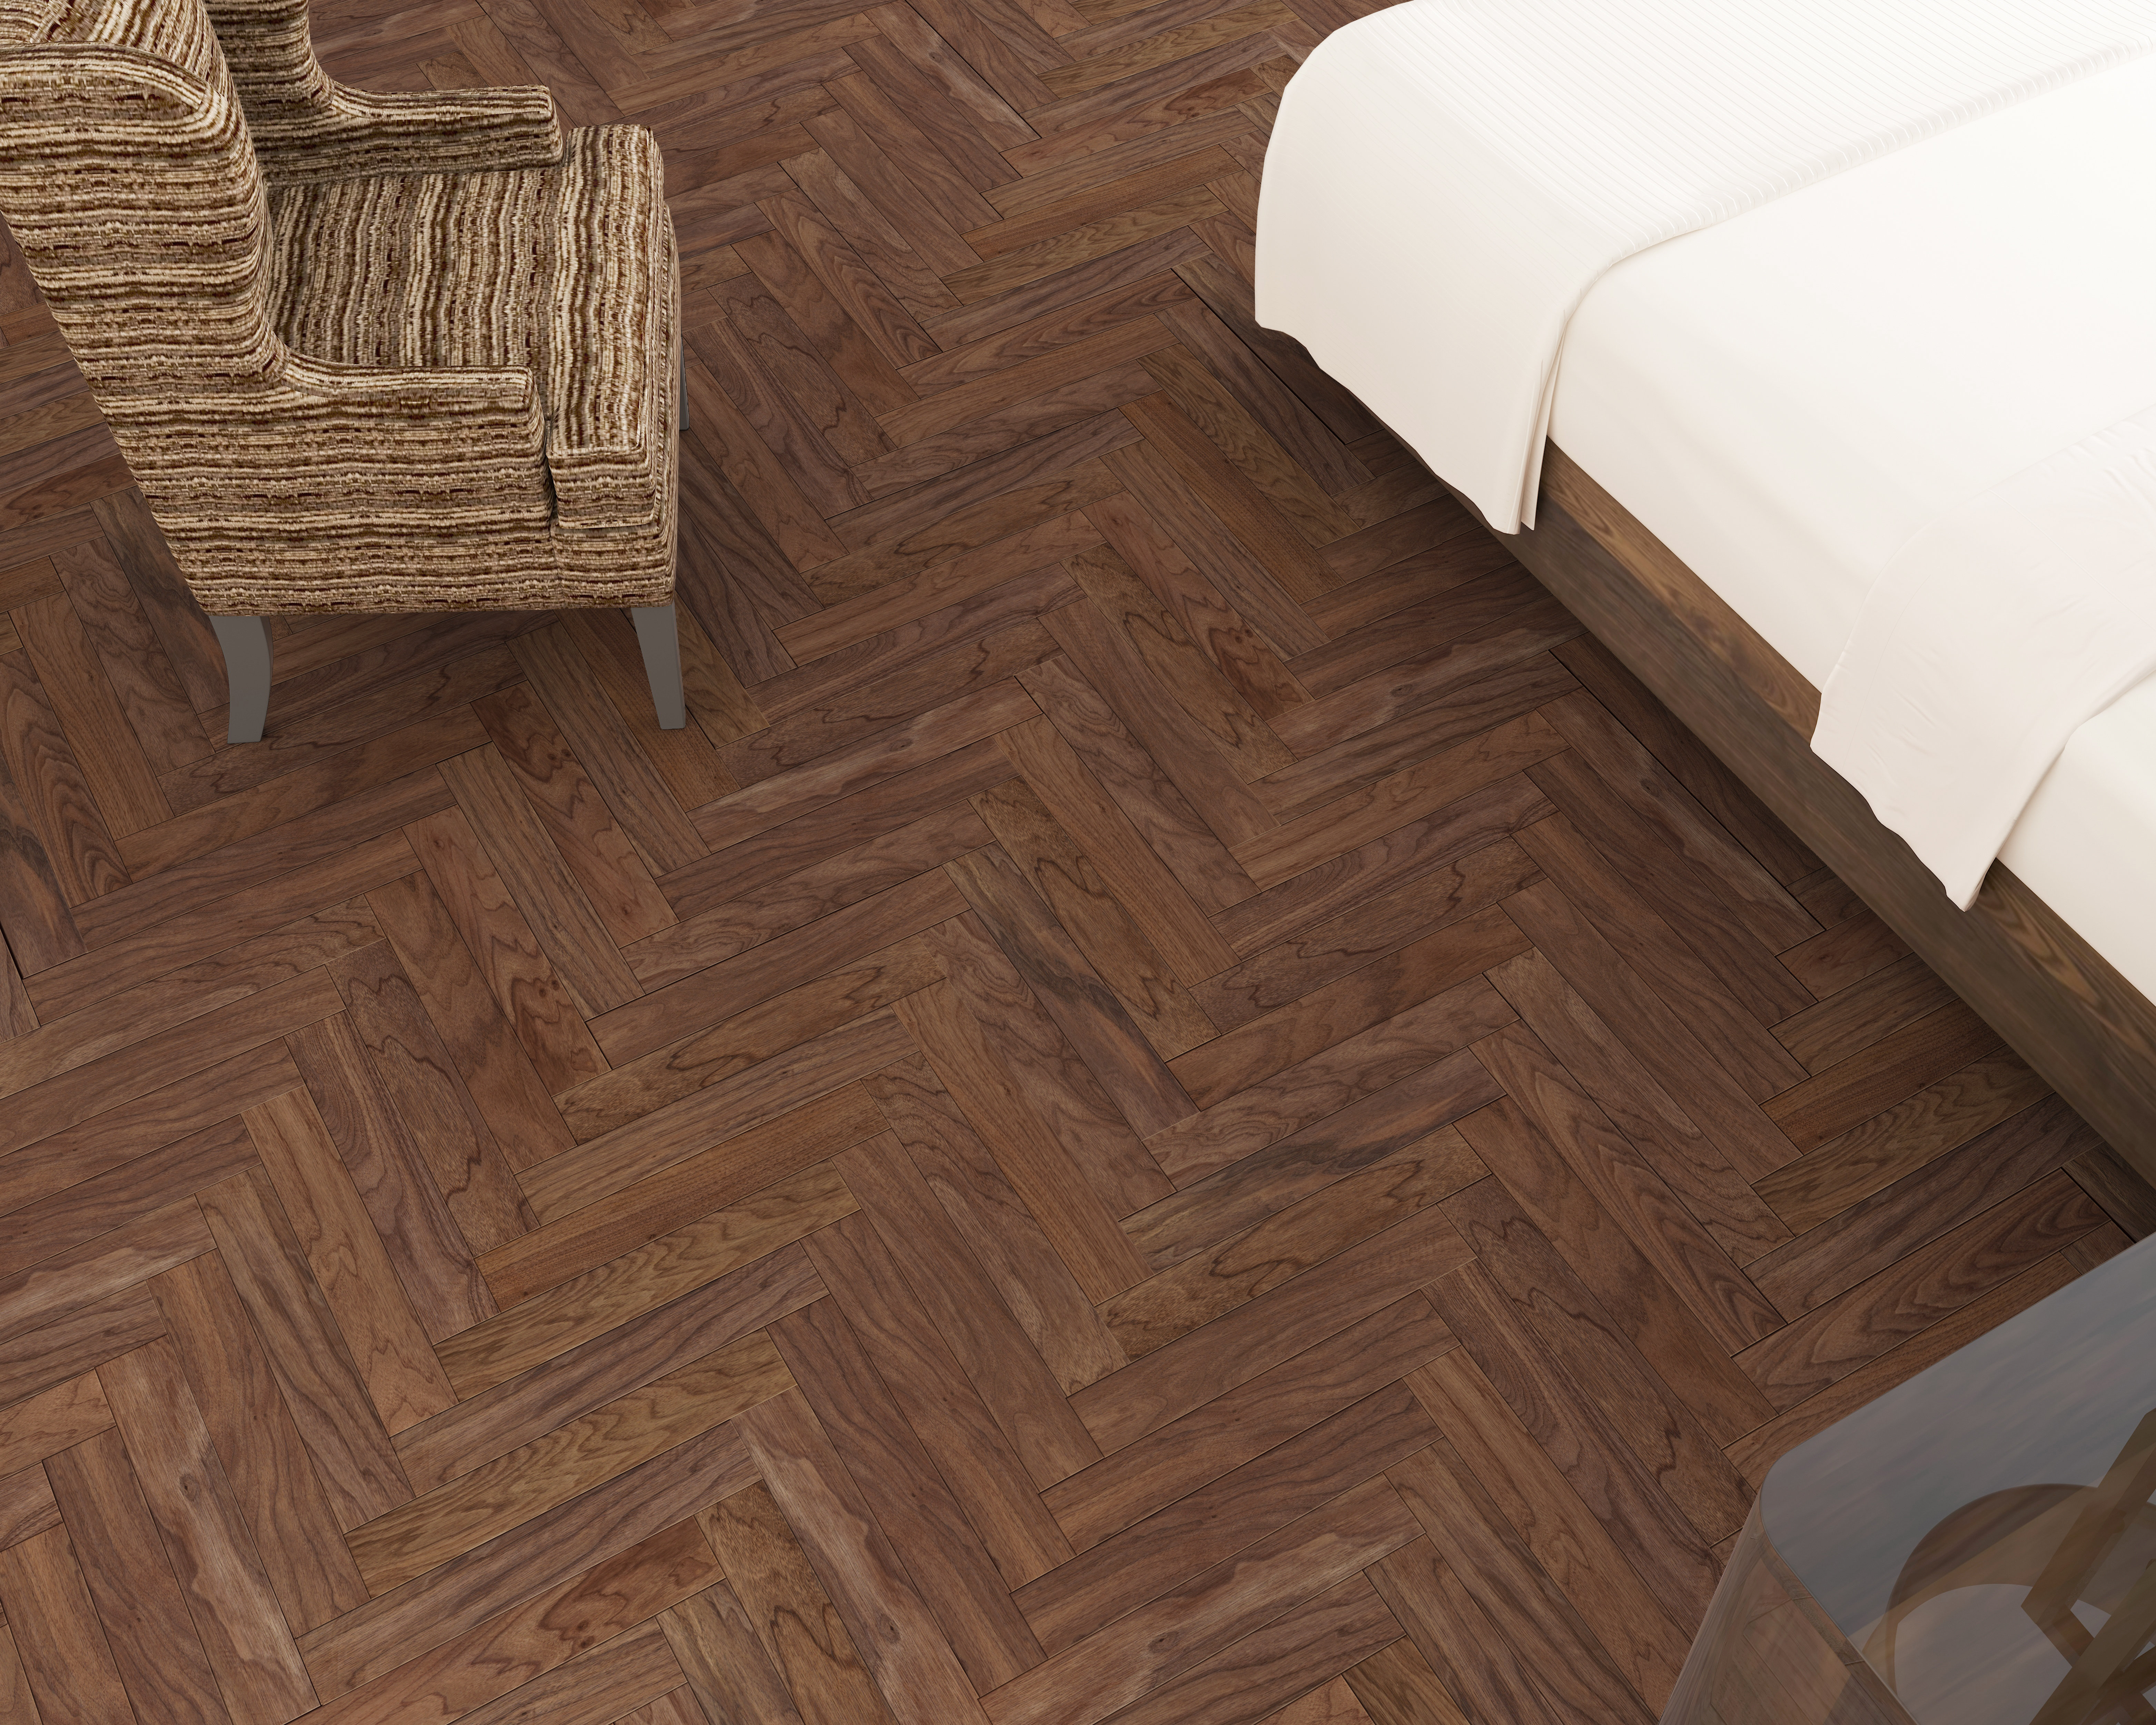
Installing herringbone engineered parquet transformed my living space in ways I never anticipated. The classic zigzag pattern creates this incredible visual movement that makes every room feel more dynamic and sophisticated. I chose a traditional herringbone layout for my main living areas, and the way it catches light throughout the day adds depth and interest that plain plank flooring can’t match.
The installation process for herringbone requires more precision than I initially realized. My installer spent considerable time planning the layout to ensure the pattern would be centered and symmetrical in each room. We started from the center of each space and worked outward, which meant more cutting and fitting but resulted in a perfectly balanced appearance. The extra time and cost were absolutely worth the professional result.
I was amazed by how the herringbone pattern affects the perceived size of my rooms. The diagonal lines create an optical illusion that makes spaces appear larger and more open. In my narrow hallway, the pattern draws the eye along the length rather than emphasizing the confined width. Friends consistently comment on how the flooring makes my modest-sized home feel much more spacious and upscale than it actually is.
Chevron vs. Herringbone: My Pattern Selection Process
Choosing between chevron and herringbone patterns required more thought than I expected. Both create stunning geometric designs, but the subtle differences significantly impact the overall aesthetic. Herringbone, with its broken zigzag pattern, feels more traditional and relaxed, while chevron’s continuous V-shape appears more modern and dramatic. I ultimately chose herringbone because it better complemented my transitional decorating style.
The manufacturing differences between these patterns affected my budget considerations. Chevron requires each plank to be cut at precise angles during production, making it more expensive than herringbone, which uses standard rectangular pieces arranged in a pattern. Since I was covering a large area, the cost difference was substantial. Herringbone gave me the sophisticated geometric look I wanted while staying within my renovation budget.
Installation complexity varies significantly between the two patterns. My contractor explained that chevron requires more precise measurements and cuts, especially around room perimeters and obstacles. Herringbone proved more forgiving during installation, allowing for easier adjustments and fewer wasted pieces. For a first-time buyer like myself, choosing the more installation-friendly option provided peace of mind and helped avoid costly mistakes during the laying process.

Installation Challenges I Faced and Overcame
My biggest installation challenge was ensuring the subfloor was perfectly level and stable. Engineered parquet is more forgiving than solid wood, but the geometric patterns make any imperfections glaringly obvious. I spent an entire weekend with my contractor addressing minor dips and high spots that would have been acceptable for regular plank flooring but would have created visible gaps or ridges in my herringbone pattern.
Acclimation proved more critical than I initially understood. My engineered planks needed to adjust to my home’s temperature and humidity for 48 hours before installation. I learned this lesson after my first delivery, when my contractor refused to begin work because the planks hadn’t properly acclimated. The delay was frustrating initially, but preventing buckling or gapping issues made the wait absolutely worthwhile in the long run.
Working around my existing fixtures and doorways required creative problem-solving. The herringbone pattern couldn’t simply be cut and fitted like straight planks; every cut had to maintain the geometric integrity. My installer created detailed paper templates for complex areas around my fireplace and kitchen island. This meticulous planning prevented costly mistakes and ensured the pattern flowed seamlessly throughout the entire installation area.
Maintenance and Refinishing: My Long-Term Experience
Daily maintenance of my engineered parquet floors has been surprisingly simple. I sweep regularly with a soft-bristled broom and use a slightly damp microfiber mop weekly. The key is avoiding excess moisture and harsh chemicals that could damage the wood veneer. I learned early on that less is definitely more when it comes to cleaning products; plain water or a pH-neutral wood floor cleaner works perfectly.
The geometric pattern initially worried me about showing dirt and wear, but I’ve found the opposite to be true. The busy herringbone design actually camouflages minor scuffs and daily wear much better than straight plank floors. Light scratches blend into the natural grain patterns and wood color variations. This forgiving characteristic has been especially valuable with two active pets and frequent entertaining.
After two years, I had my first professional refinishing consultation. The contractor confirmed that my 4mm wear layer showed minimal wear and could easily handle 3-4 more refinishing cycles over the floor’s lifetime. He estimated that with my current usage patterns, I won’t need the first refinishing for another 8-10 years. This longevity makes the initial investment feel even more justified, knowing these floors will serve my family for decades.

Cost Analysis: My Investment Breakdown
My total engineered parquet flooring investment came to approximately $12 per square foot installed, compared to $20+ for comparable solid hardwood parquet. The material costs averaged $8 per square foot, with installation adding another $4. While this was more expensive than basic engineered planks, the sophisticated pattern and increased home value made the premium worthwhile for my long-term plans.
Hidden costs caught me off guard during the planning process. The complex pattern required 15% extra material to account for cuts and waste, compared to 10% for straight planks. Professional installation was essential given the pattern complexity, so DIY wasn’t an option like it might be with simpler flooring. I also needed premium underlayment to prevent squeaking and ensure pattern stability over time.
The return on investment has exceeded my expectations. My recent home appraisal increased by more than the flooring cost, and real estate agents consistently praise the sophisticated pattern as a standout feature. Friends who chose cheaper flooring options have already needed repairs or replacements, while my floors still look nearly new. The long-term value proposition has proven excellent for both daily enjoyment and future resale potential.

How does engineered parquet hold up in high-moisture areas like bathrooms or kitchens?
I installed engineered parquet in my kitchen, and it’s performed well for two years. The key is proper sealing and immediate cleanup of spills. While it’s more moisture-resistant than solid wood, I wouldn’t recommend it in full bathrooms. My kitchen sees daily cooking moisture and occasional spills without issues, but I’m careful about standing water.
Can engineered parquet be refinished like solid hardwood floors?
Yes, but it depends on the wear layer thickness. My 4mm wear layer can be refinished 3-4 times over its lifetime. I had a professional assessment after two years, and I have plenty of wear layer remaining. Thinner wear layers (2mm or less) may only allow one refinishing, so choose carefully based on your long-term plans.

Is the herringbone pattern difficult to keep clean compared to straight planks?
Actually, I find it easier to maintain than I expected. The busy pattern hides dirt, pet hair, and minor scratches much better than straight planks. Regular sweeping and occasional damp mopping keep it looking great. The pattern complexity doesn’t create additional cleaning challenges, and the visual interest makes the effort feel worthwhile.
How much extra should I budget for waste and installation complexity?
Plan for 15-20% extra material for parquet patterns versus 10% for straight planks. Professional installation is essential; expect to pay $4-6 per square foot versus $2-4 for basic planks. My total project was about 30% more than standard engineered planks, but the sophisticated result justified every penny of additional investment.

Does the geometric pattern show wear patterns more obviously than regular flooring?
Surprisingly, no. The herringbone pattern actually camouflages normal wear better than straight planks. High-traffic areas blend into the overall design rather than creating obvious wear paths. After two years with pets and kids, wear patterns are virtually invisible thanks to the busy geometric design and natural wood grain variations.
Can I install engineered parquet over my existing floor?
It depends on your current flooring condition and height restrictions. I installed over my old laminate after ensuring it was stable and level. The total thickness added about 1/2 inch, which required door trimming. Your contractor should evaluate subfloor conditions, as parquet patterns are less forgiving of imperfections than straight plank installations.

Parquet Hardwood Flooring at Saroyan Hardwoods – Saroyan Hardwoods
21/6mm Thick Premium Herringbone Engineered Parquet Floor – Real Oak EAH5 4V eBay
70mm Engineered Brushed u0026 UV Oiled Smoked Charnwood Oak Parquet Block Wood Flooring 0.86m²
Related Posts: