In case you buy & install unglazed tiles, they will need to be washed frequently because they absorb stains with ease. When selecting your floor it’s important to remain inside the budget of yours, and to select something that you are able to deal with for a while, since replacing bath room floors isn’t a thing that a lot girls do on a routine basis.
Images about How To Fix Bathroom Floor Tiles
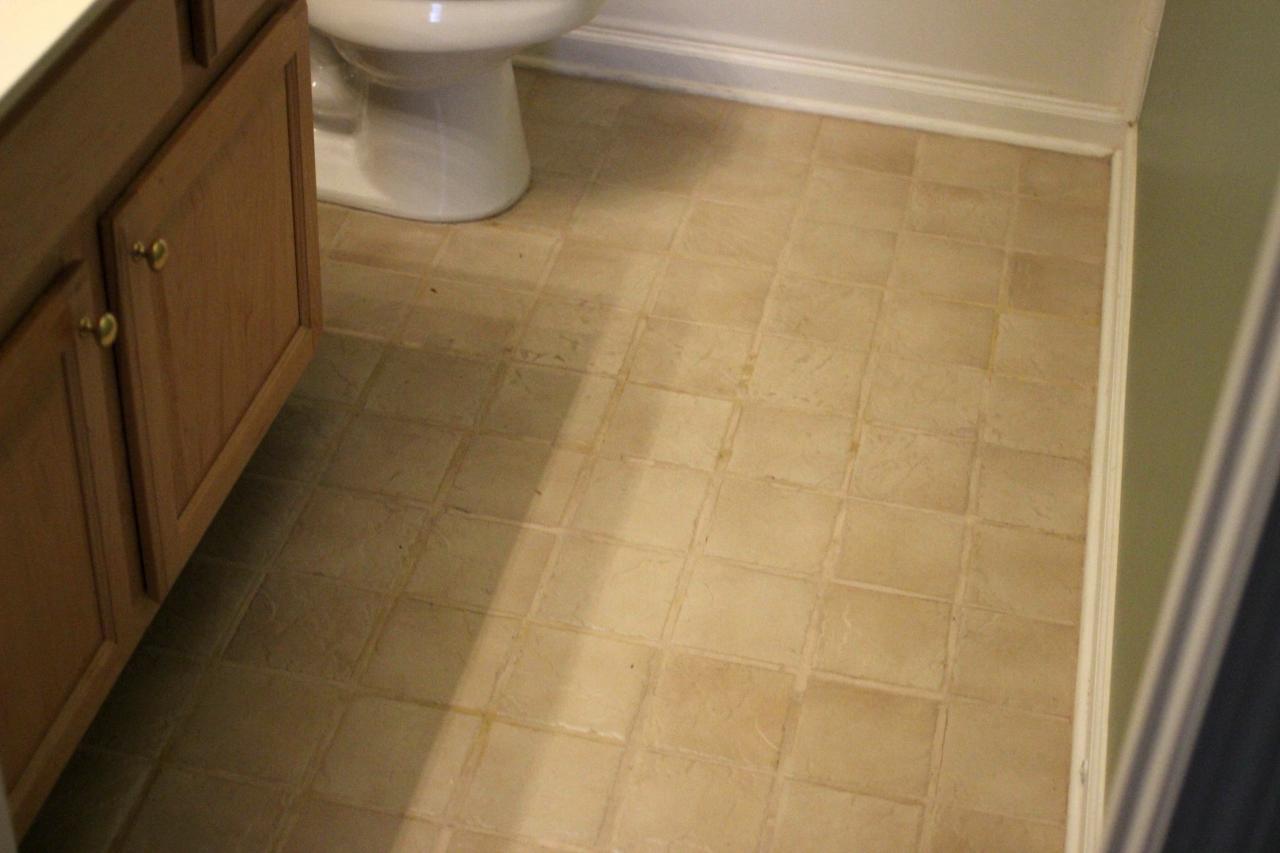
How To Fix Bathroom Floor Tiles
Whatever flooring covering you decide to go with in the bathroom of yours you should not just think about the surroundings of the bathroom though bear in mind the point that more often than not you are going to have bare feet when strolling in the bathroom so choosing a flooring that’s comfortable under foot is actually an essential need. The threat could be understood easily.
Strat to finish Replace old bath tile floor with new porcelain tile
The majority of the time, bath room flooring is not the component that receives much attention from decorators and homeowners. To never mention, new flooring for the bathroom of yours can have a big chunk of the remodeling budget. Make use of your imagination and uniqueness to personalize the bathroom of yours to match your personality and your house.
How To Update Your Bathroom Floor Tiles – 6 DIY ideas

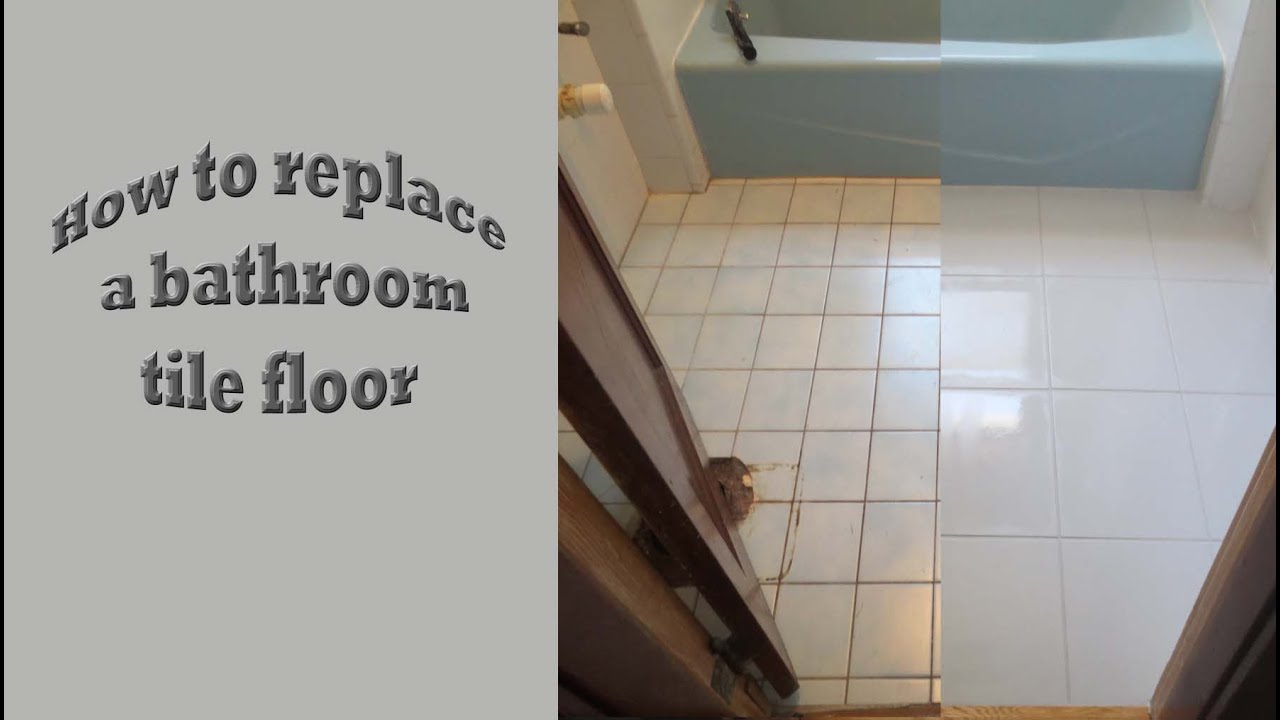
How to replace old bathroom floor tiles
How to Tile a Small Bathroom Floor DIY Bath Remodel

How to Tile a Bathroom Floor with Wickes

How do I fix squishy tiles in shower floor? – Home

Renovate Your Bathroom Floor without getting hiccups, read

How to Lay Tile: Install a Ceramic Tile Floor In the Bathroom (DIY)
How To Update Your Bathroom Floor Tiles – 6 DIY ideas

How to Remove a Tile Floor HGTV
Water Damage to Tile Flooring u2013 How It Can Be Prevented [Quick Tips]

How to Install Ceramic Tile on a Tile Floor
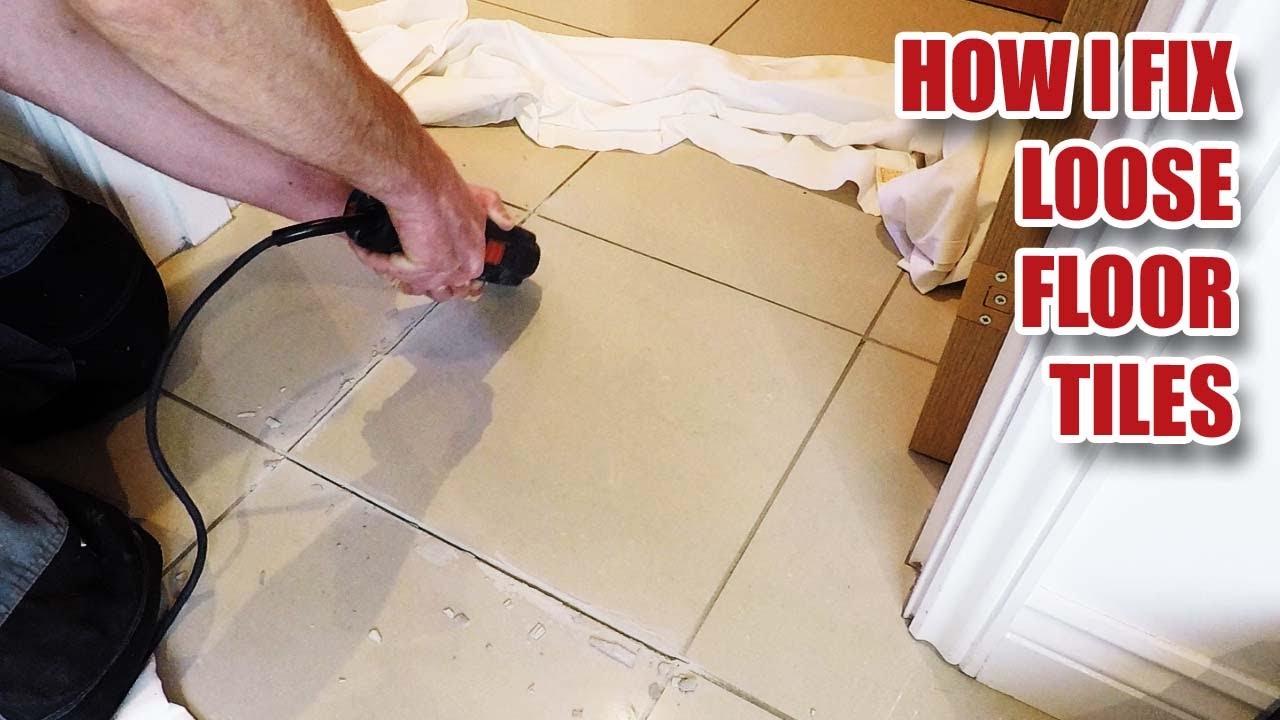
How To Fix Loose Or Broken Ceramic Floor Tiles
.png)
Related Posts:
- Reglazing Bathroom Floor Tiles
- Colorful Bathroom Floor Tile
- Vinyl Flooring For Bathrooms
- Bathroom Flooring Ideas
- Bathroom Floor Patterns
- Bathroom Tile Floors
- Modern Vinyl Bathroom Flooring
- Mosaic Bathroom Floor Tiles
- Wood Bathroom Floor
- 1930s Bathroom Floor Tile
How To Fix Bathroom Floor Tiles
Bathroom floor tiles can be a great addition to any bathroom. They come in a variety of colors, textures, and patterns. However, sometimes, these tiles can become damaged or cracked due to wear and tear. Fortunately, fixing bathroom floor tiles is a relatively easy task for anyone who knows what they are doing. In this article, we will discuss the steps that need to be taken in order to repair bathroom floor tiles.
Assessing the Damage
The first step in repairing bathroom floor tiles is to assess the damage that has been done. This involves taking a look at the tiles and determining if they have become cracked, chipped, or otherwise damaged. If the damage is minor, then it may be possible to simply replace the individual tile. However, if the damage is more extensive, then it may be necessary to replace the entire tile or section of tile.
Removing the Damaged Tiles
Once you’ve assessed the damage and determined what needs to be done, the next step is to remove the damaged tiles. This can be done with a chisel and hammer. Start by placing the chisel between two of the tiles and gently tap it with a hammer until it loosens up. Once it’s loose enough, use your hands or a pair of pliers to pull it out of place. Then repeat this process with each damaged tile until all of them have been removed from the area.
Cleaning and Preparing the Area
Once all of the damaged tiles have been removed from the area, it’s time to clean and prepare for installation. The first step is to sweep away any debris that may have been left behind from removing the old tiles. Then use a damp cloth or sponge to wipe down the area and make sure it’s completely clean and free of dust or dirt.
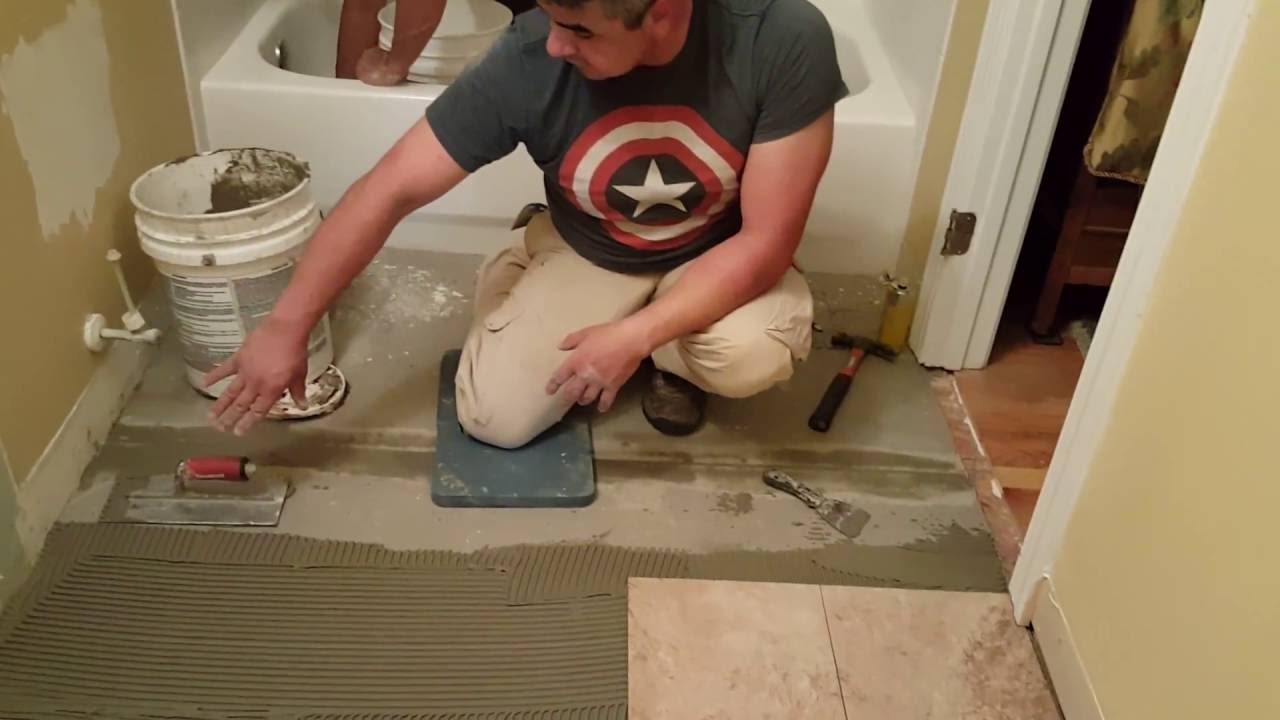
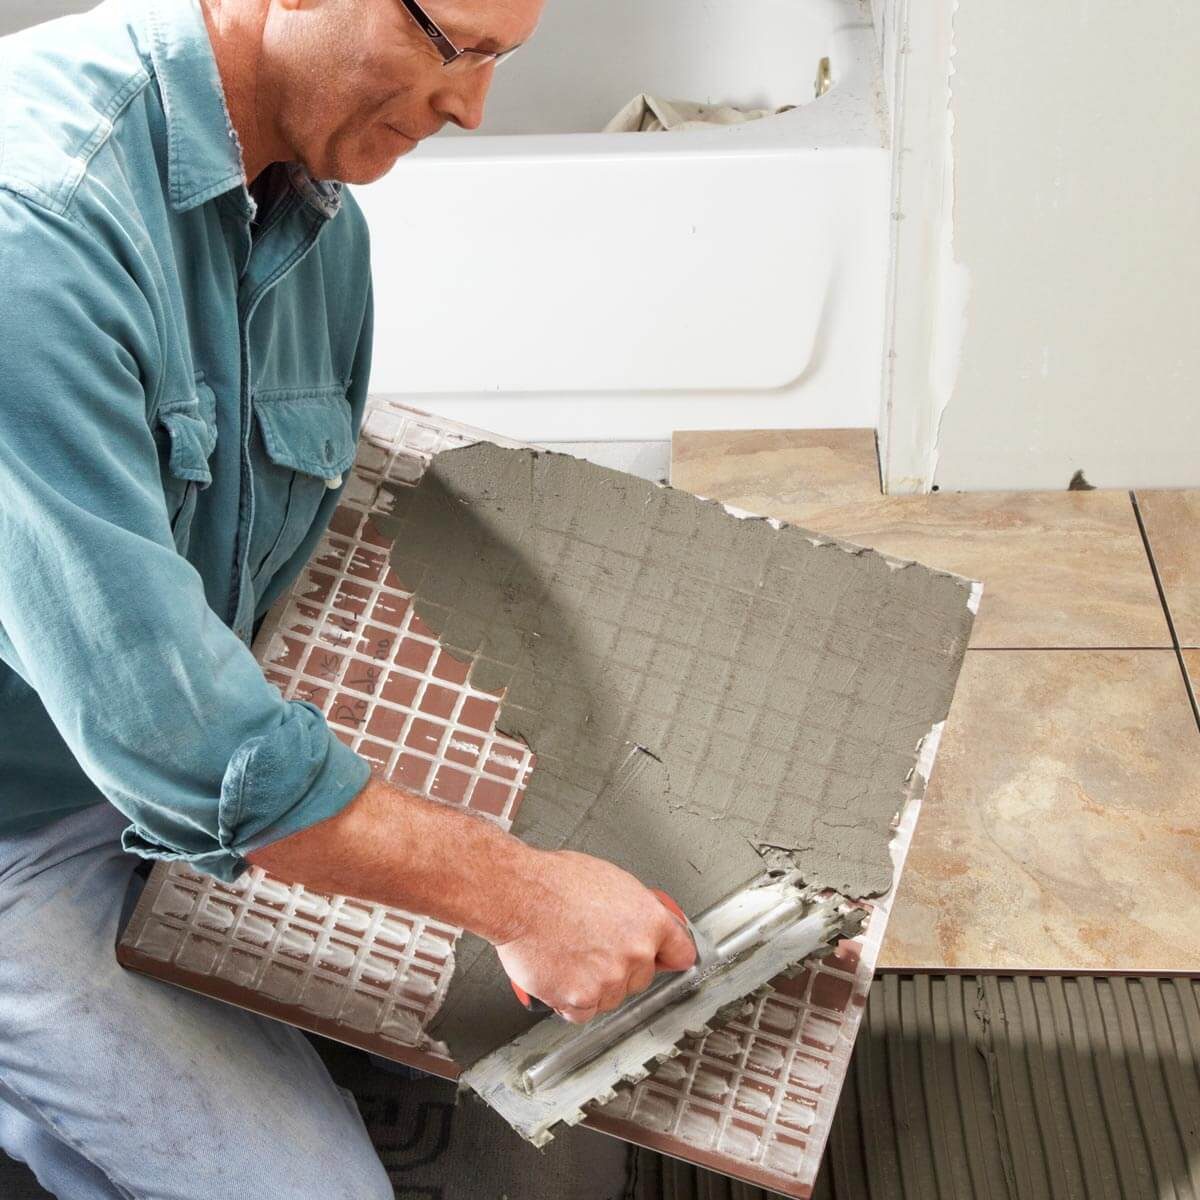
Installing New Tiles
Now that you’ve prepped the area, it’s time to start installing new tiles. Begin by measuring out an area that’s slightly larger than the size of your new tile. Use a pencil or chalk to mark off this area on your bathroom floor before applying adhesive. Once you’ve applied adhesive to this area, place your new tile in its spot and press down firmly. Make sure that there are no gaps between it and other tiles around it before allowing it to dry for 24 hours.
Grouting
After allowing your new tile to dry for 24 hours, it’s time to grout it in place. Begin by mixing up some grout according to its instructions on its packaging. Then spread a generous amount over your newly installed tile using a putty knife or grout float. Allow this to dry for another 24 hours before wiping away any excess grout with a damp cloth or sponge.
Sealing
The final step in fixing bathroom floor tiles is sealing them in place. This helps protect them from water damage as well as give them an extra layer of protection against wear and tear over time. Begin by applying a generous amount of sealant over your newly installed tile using a paint brush or roller. Allow this to dry for 24 hours before wiping away any excess sealant with a damp cloth or sponge.
FAQs About Fixing Bathroom Floor Tiles
Q: Do I need special tools for fixing bathroom floor tiles?
A: Not necessarily. While some tools might help make things easier, such as a chisel and hammer, most of what you need can be found around your home already such as a putty knife, grout float, paint brush/roller, and cloth/sponge for cleaning purposes.
Q: How long does it take for bathroom floor tiles to dry after installation?
A: It typically takes 24 hours for new bathroom floor tiles to dry after installation before they can be sealed in place and ready for use again.
Q: What kind of sealant should I use on my bathroom floor tiles?
A: Any kind of sealant specifically designed for use on ceramic/porcelain tiles