You are going to find porcelain tiles in an assortment of shapes, which includes square, hexagonal and octagonal styles – this’s a massive edge in case you would like your remodeling contractors to personalize your bathroom and offer a distinctive look. Some vinyl show up with sticker backing. You can additionally find bathroom vinyl tiles which are designed and printed to resemble mats, tiles in sole strong styles etc.
How To Lay Vinyl Plank Flooring In Bathroom
Nevertheless, in case you’re looking to buy a thorough bathroom renovation, it is best to provide the flooring some attention, it adds more to the actual design of your bathroom than you understand. Many bathroom layouts are not completely square which may lead to issues when trying to set up the flooring yourself.

Porcelain is additionally a fantastic choice for the bath room flooring of yours as it is considered impervious to moisture content. Nowadays, there are lots of forms of bathroom floor vinyl tiles out there. And anything which you do to alter the design as well as design of a bathroom will considerably change a space of that size. Gone are the days when bathroom floor vinyl suggested boring patterns and no style.
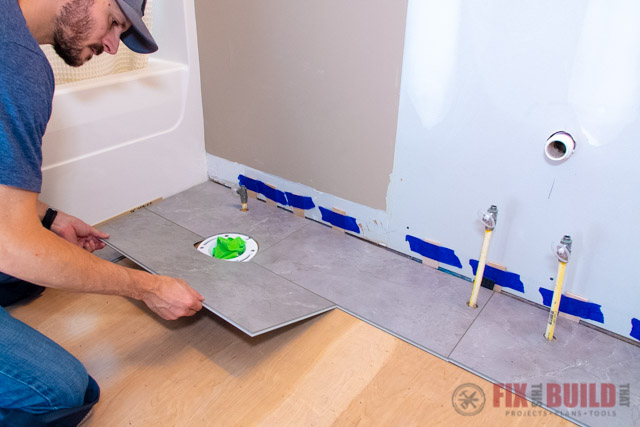
How to Install Vinyl Plank Flooring in a Bathroom FixThisBuildThat
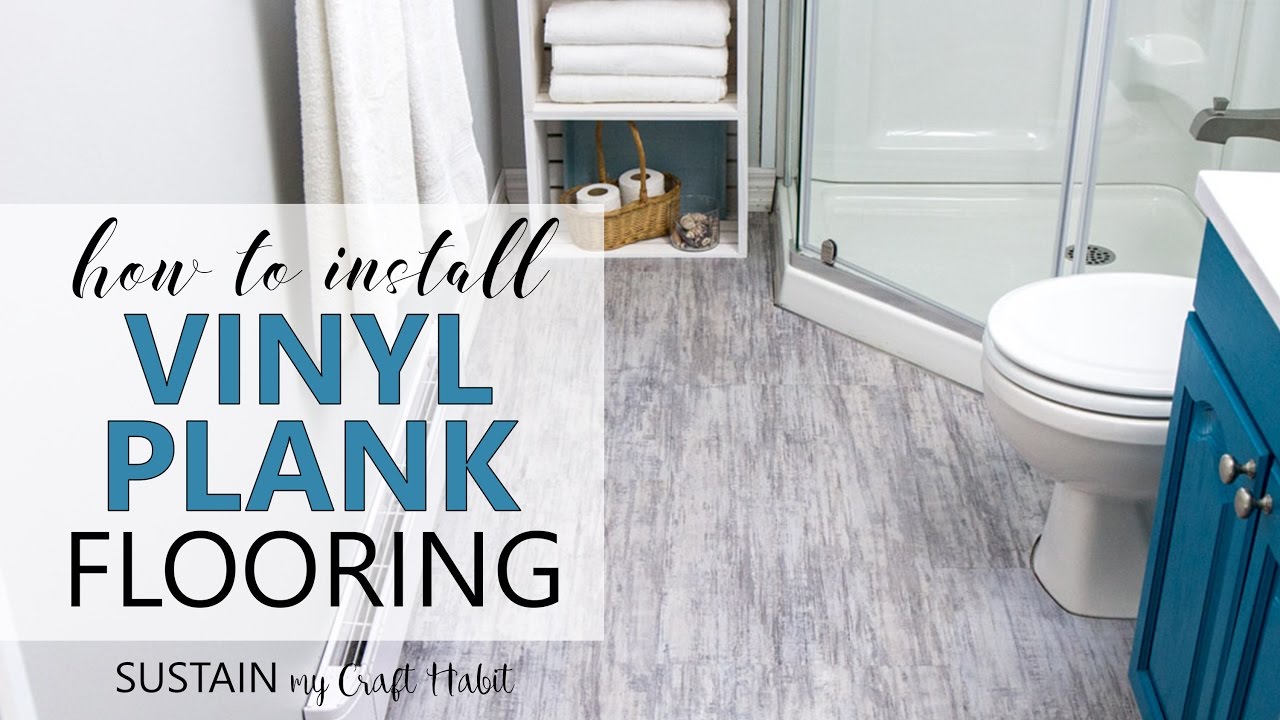
How to Install Vinyl Plank Flooring // Allure ISOCORE Vinyl Tile Installation Tutorial
How to Install Vinyl Plank Flooring Into a Bathroom
Installing Vinyl Plank Flooring: Lifeproof Waterproof Rigid Core
How to Install Vinyl Plank Flooring in a Bathroom FixThisBuildThat
Installing Vinyl Plank Flooring: Lifeproof Waterproof Rigid Core

How to Install Vinyl Plank Flooring in a Bathroom FixThisBuildThat
How to Install Vinyl Plank Flooring as a Beginner Home Renovation

How to Install Vinyl Plank Flooring in a Bathroom FixThisBuildThat
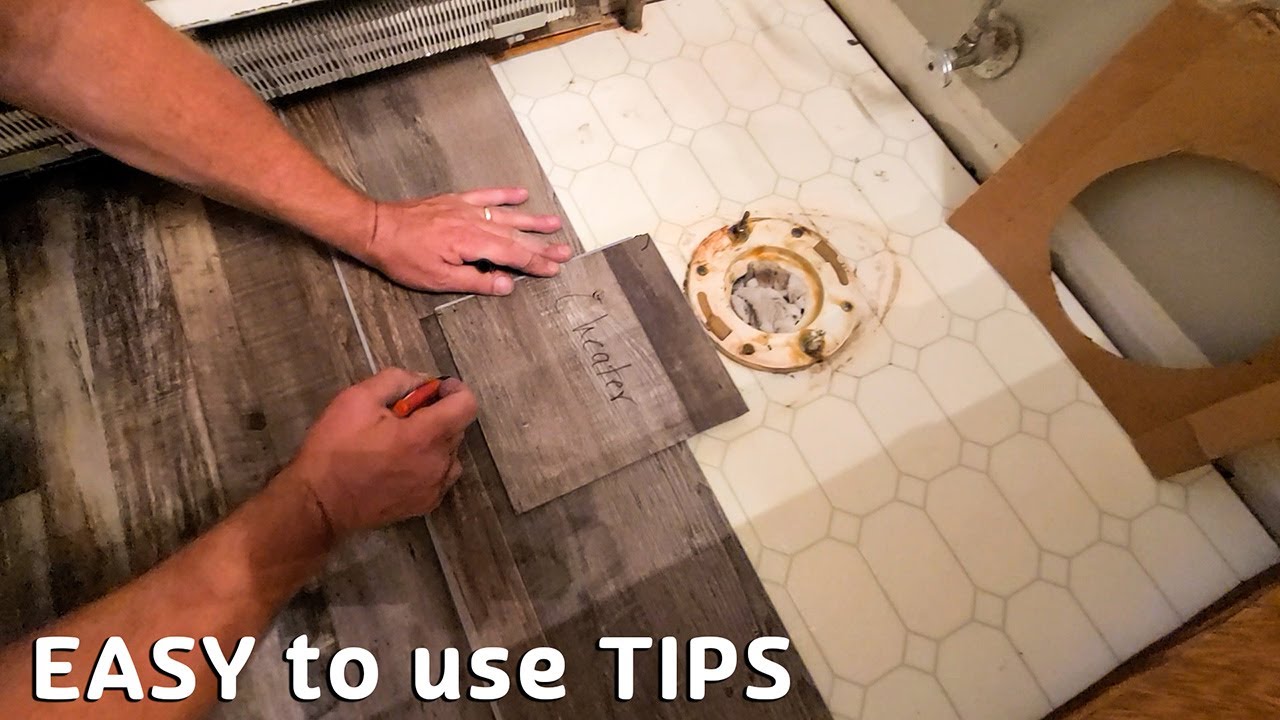
DOs and DONu0027Ts for Installing Vinyl Plank Floors in the Bathroom
Installing LifeProof Luxury Vinyl Plank Flooring Vinyl flooring

How to Install Vinyl Plank Flooring
:max_bytes(150000):strip_icc()/easy-install-plank-vinyl-flooring-1822808-10-6cfb7acfac434155a53e0ef80bfbc825.jpg)
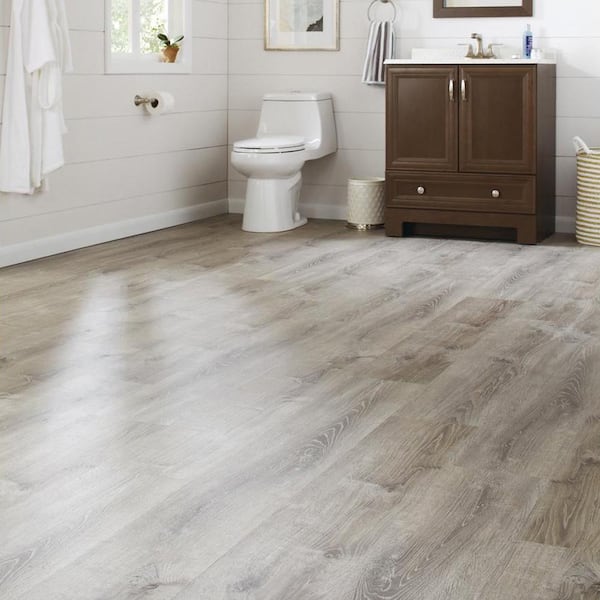
Lifeproof Sterling Oak 8.7 in. W x 47.6 in. L Click Lock Luxury
Related Posts:
- Reglazing Bathroom Floor Tiles
- Colorful Bathroom Floor Tile
- Vinyl Flooring For Bathrooms
- Bathroom Flooring Ideas
- Bathroom Floor Patterns
- Bathroom Tile Floors
- Modern Vinyl Bathroom Flooring
- Mosaic Bathroom Floor Tiles
- Wood Bathroom Floor
- 1930s Bathroom Floor Tile
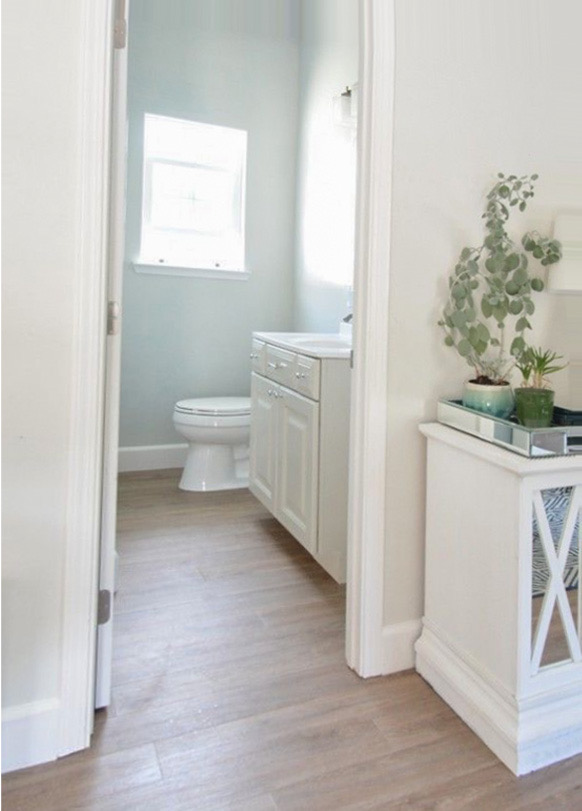
Vinyl plank flooring is a great option for bathroom flooring due to its durability and water resistance. Not only is it practical, but it also comes in a variety of styles and designs that can match any bathroom decor. In this article, we’ll guide you through the process of how to lay vinyl plank flooring in your bathroom, from start to finish.
Tools & Materials Needed
Before you get started, make sure you have all the tools and materials you need to complete the job. You will need the following items:
- Vinyl plank flooring
- Measuring tape
- Utility knife
- Chop saw
- Pneumatic flooring nailer or manual flooring stapler
- Underlayment
- Silicone caulk
- Caulk gun
Preparing the Subfloor
Before laying the vinyl plank flooring, you need to prepare the subfloor. The subfloor must be clean, dry, and level. If the subfloor is not level, you may need to install a self-leveling compound. Make sure to clean the subfloor of any debris or debris to ensure the vinyl plank flooring will adhere properly.
Measuring the Room
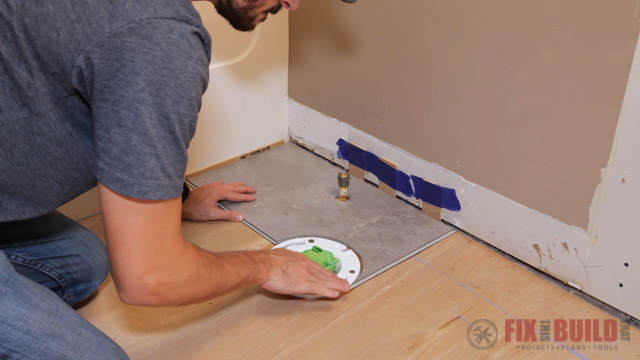
Once the subfloor is ready, you can begin measuring the room. Measure the length and width of the room to determine the square footage. This will help you determine how many planks you will need to purchase. You should also take into account any cuts you may need to make to fit the planks around obstacles such as toilets or sinks.
Cutting the Planks
Once you have your measurements, you can start cutting the planks to size. If you need to make any cuts, use a chop saw to make clean and precise cuts.
Installing the Underlayment
Before laying the vinyl plank flooring, you need to install an underlayment. The underlayment provides a layer of protection between the subfloor and the vinyl plank flooring. You can purchase an underlayment specifically designed for use with vinyl plank flooring.
Laying the Vinyl Plank Flooring
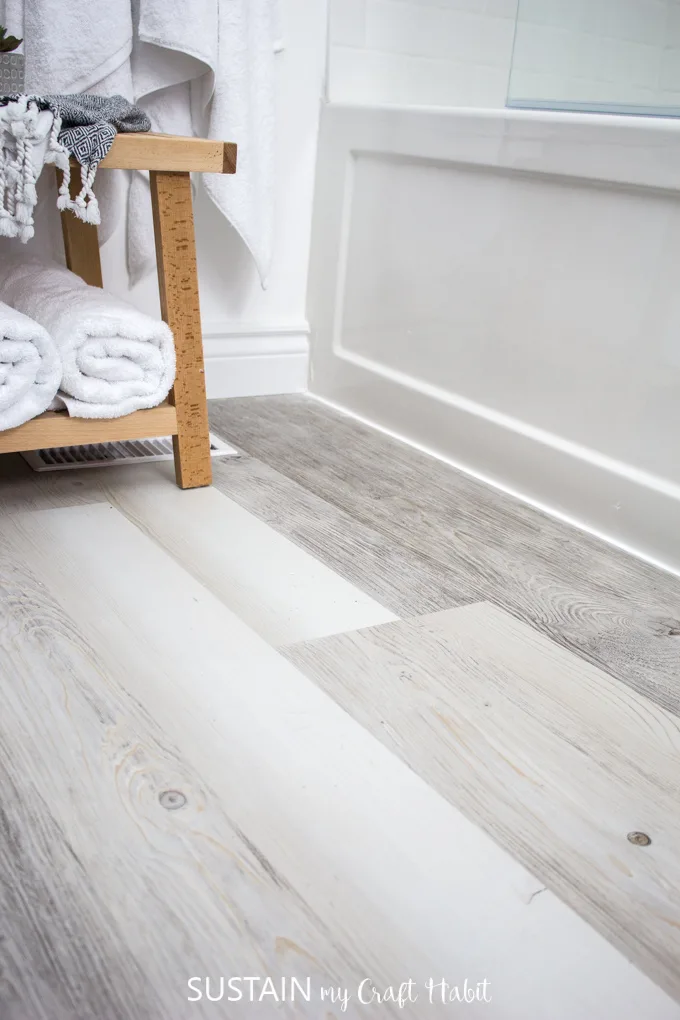
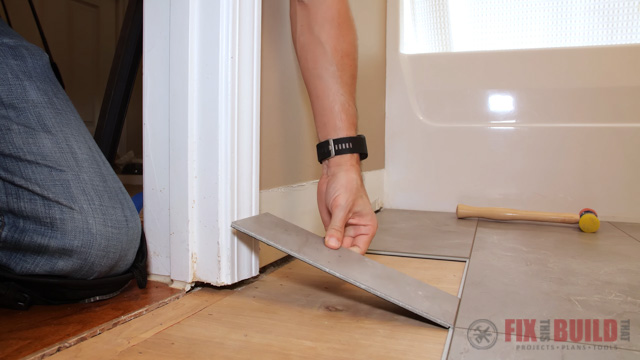
Now that you have all your pieces cut and the underlayment installed, you can start laying the vinyl plank flooring. Start by laying the first row of planks along the longest straight wall in the room, with the tongue facing towards the wall. Make sure the end joints are staggered at least 6 inches apart.
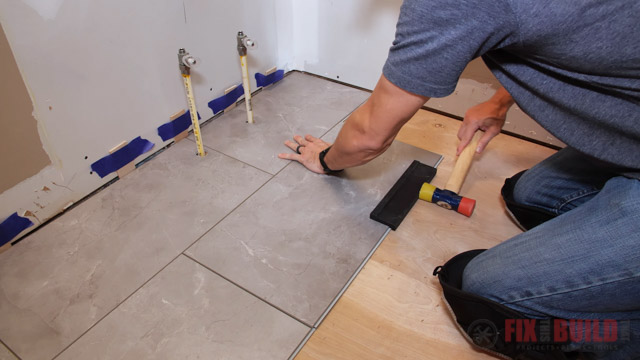
Use a pneumatic flooring nailer or a manual flooring stapler to secure the planks to the subfloor. Make sure to apply enough pressure to ensure the planks are properly secured. If you are using a manual flooring stapler, make sure to install the staples every 6 to 8 inches along the tongue of the plank.
Repeat this process for each subsequent row of planks, making sure to stagger the end joints and secure the planks properly.
Finishing the Edges
Once you have laid all the planks, you can finish the edges of the flooring. Use silicone caulk to fill any gaps along the edges of the flooring, including the edges against the wall. Use a caulk gun to apply the caulk and smooth it out.