Neither could they be very cost-effective when it comes to flooring the entire house of yours with them. You can furthermore mix and match several substances also. If for many obscure reason a tile cracks or maybe breaks, all you have to accomplish is replace the one tile. Maintaining tiled floors demands a lot of energy as well as time from clearing up professionals as well as homemakers.
Images about How To Replace Vinyl Tile Flooring
How To Replace Vinyl Tile Flooring

Many individuals are actually getting away from carpeting due to the dust mites that are able to build up in the carpet, therefore the possibilities are countless as to how and where you can put in tile flooring. After cleaning you are able to then start to move the remainder of the furnishings of yours in, then sit back, relax and admire the benefits of the hard work of yours.
10 Beginner Mistakes Installing Vinyl Plank Flooring – YouTube

Another kind of tile you are able to use as flooring is actually metal tile. Natural stone tiles including marble floor tiles can conveniently be stained by spilled liquids such as soft drinks, acids or juices. Even though ceramic tile flooring isn't the most affordable alternative available on the market, it's one of the best. You are able to place mats are some places which have a better amount of foot website traffic.
How to Install Vinyl Plank Flooring in a BATHROOM 🚽

Installing Vinyl Plank Flooring For Beginners – Anikau0027s DIY Life
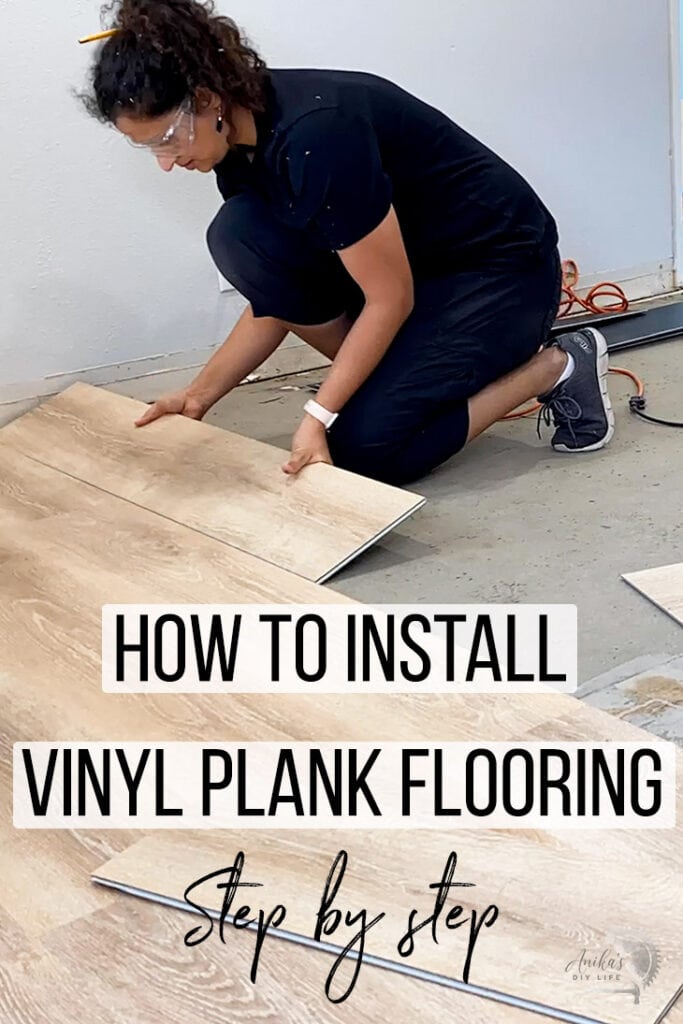
How to Install Vinyl Plank Flooring
:max_bytes(150000):strip_icc()/easy-install-plank-vinyl-flooring-1822808-06-3bb4422ca1bd49b080bfa73bce749acc.jpg)
Installing Vinyl Plank Flooring – How To FixThisBuildThat
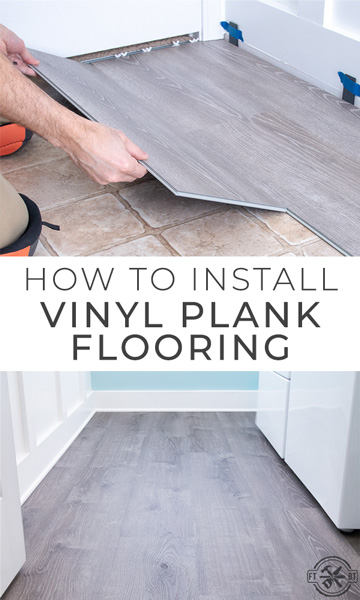
How to Install Vinyl Plank Flooring
/easy-install-plank-vinyl-flooring-1822808-10-6cfb7acfac434155a53e0ef80bfbc825.jpg)
How to Install Vinyl Plank Flooring
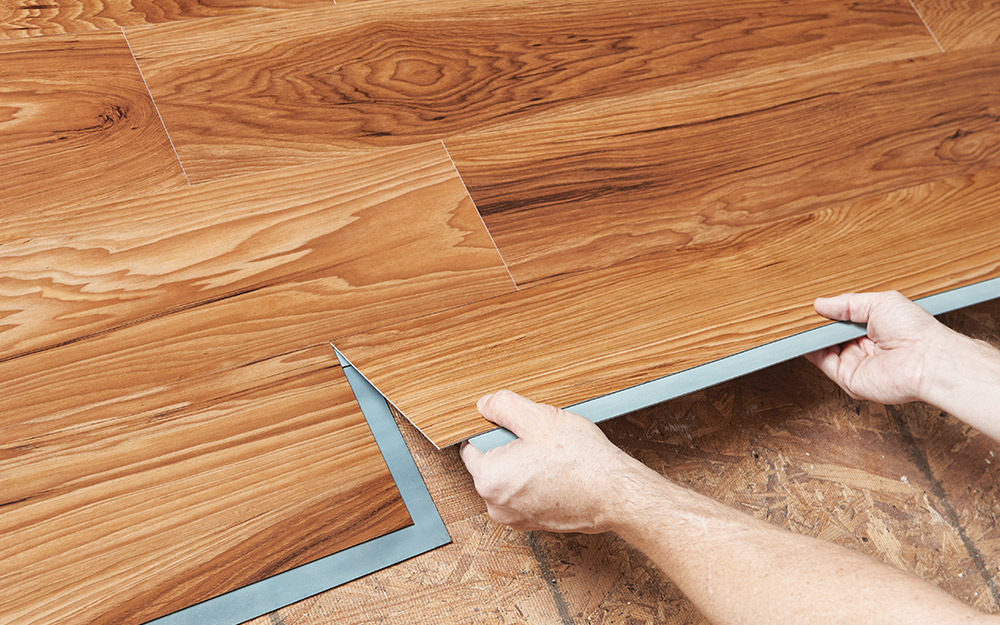
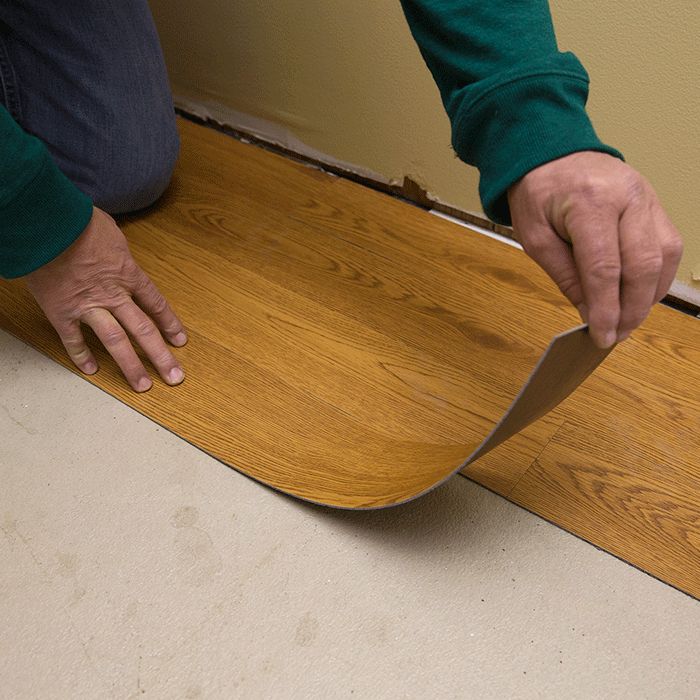
How To Replace Click-Lock Vinyl Flooring
How to Install Vinyl Plank Flooring Loweu0027s
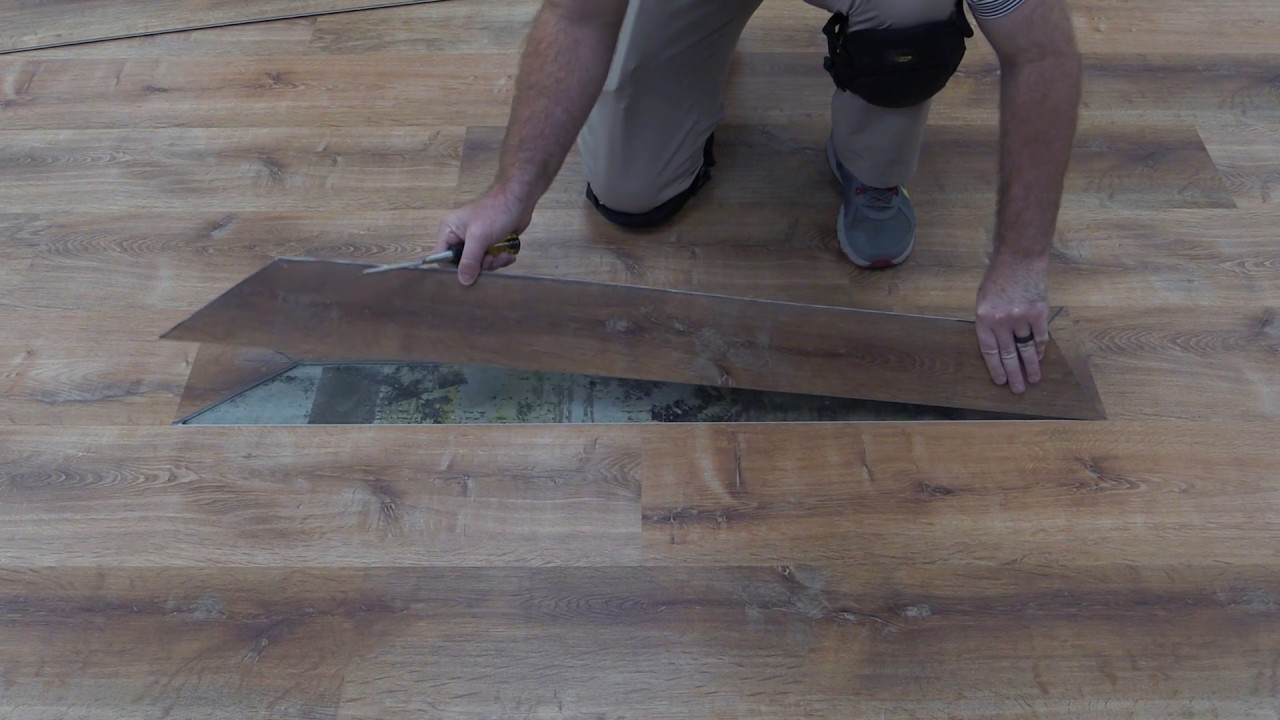
Vinyl Plank Flooring Problems (During and After Install) – Ready

How to Install Vinyl Plank Flooring
How to Prepare a Vinyl Floor for Ceramic Tile
/can-you-tile-over-vinyl-floor-1822596_FINAL_NEW-b4003c12b3ce48b382e80c57fb340b03.png)
How to Install Vinyl Plank Flooring Loweu0027s
Related Posts:
- Installing Slate Tile Floor
- Painting Ceramic Tile Floor In Kitchen
- Anti Slip For Tile Floors
- Laminate Tile Flooring
- Marble Tile Floors
- Travertine Tile Flooring
- Modern Kitchen Tile Floor
- Country Style Tile Floors
- White Tile Flooring Ideas
- Herringbone Brick Tile Floor
Replacing Vinyl Tile Flooring: Step-by-Step Guide
When it comes to replacing vinyl tile flooring, it can be a daunting task. However, with the right tools, supplies and know-how, you can make the job easier and get the results you want. In this article, we’ll provide a step-by-step guide on how to replace vinyl tile flooring so you can get started right away.
Tools & Supplies Needed
Before beginning your project, it’s important to have the right tools and supplies on hand. Here’s a list of items you will need:
• Utility knife
• Hammer
• Chisel
• Level
• Tape measure
• Pry bar
• New vinyl tiles
• Adhesive
• Grout
• Sponge
• Bucket
Step 1: Remove Old Tiles
The first step in replacing your vinyl tile flooring is to remove the old tiles. Start by using a utility knife to score the grout lines that hold the tiles in place. Then, use a hammer and chisel to remove any stubborn spots. You may need to use a pry bar or level to get some of the tiles out. Once all the old tiles have been removed, use a vacuum cleaner to remove any dirt or debris from the surface.
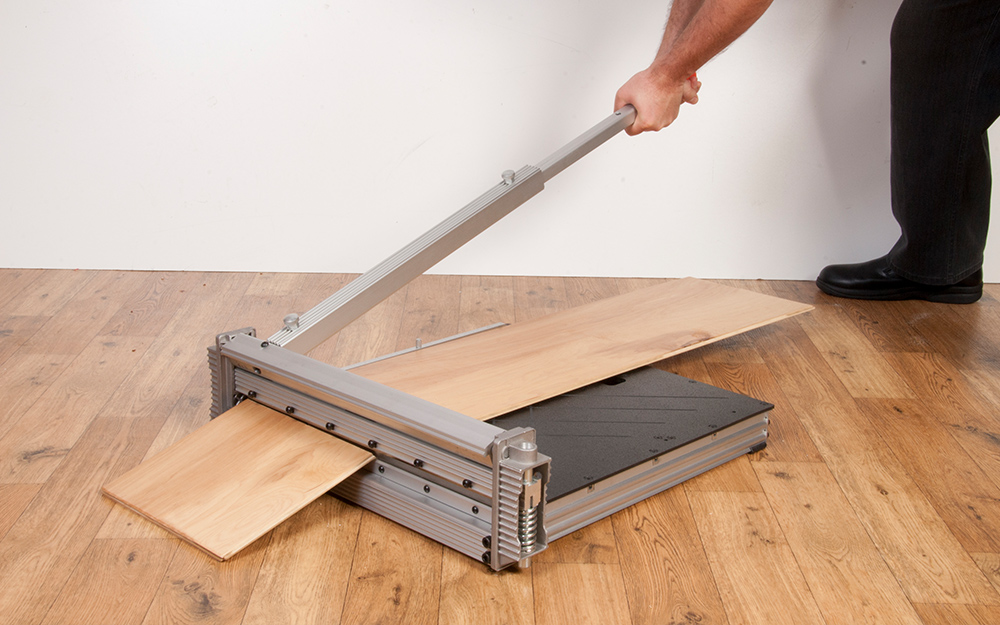
Step 2: Measure & Cut New Tiles
Now that you’ve removed the old tiles, it’s time to measure and cut the new ones. Use a tape measure to determine the size of each tile and mark them with a pencil. Then, use a utility knife to carefully cut each tile to size. Be sure to make straight cuts so that the edges fit together properly.
Step 3: Apply Adhesive & Place Tiles
Once all your tiles are cut, you can begin applying adhesive to the back of each one. Spread a thin layer of adhesive over the entire surface of each tile with a trowel or putty knife. Once you’ve applied the adhesive, you can begin placing your new tiles onto the floor. Start in one corner of the room and work your way outward in a grid-like pattern until all of your tiles are laid down. Be sure to press each tile firmly into place so that it adheres properly.
Step 4: Grout Tiles & Clean Up
Once all your new tiles are laid down, it’s time to grout them. Mix up some grout according to the manufacturer’s instructions and spread it evenly between each tile with a trowel. Let it sit for at least 30 minutes before wiping off any excess grout with a damp sponge. When finished, let the grout fully dry before walking on it or replacing furniture in the room. Finally, use a vacuum cleaner or broom to sweep up any dust or debris left behind from the project.
Common Questions & Answers
Q: How long should I wait before walking on my new vinyl tile floor?
A: You should wait at least 24 hours after grouting before walking on your new flooring. This will give it enough time to fully dry and set properly before any stress is placed on it.
Q: What kind of adhesive should I use for my vinyl tile flooring?
A: You should use an adhesive specifically designed for vinyl tile flooring. This will ensure that your new flooring adheres properly and lasts for years to come.
Q: How often should I clean my vinyl tile flooring?
A: You should clean your vinyl tile floors at least once per week with a damp mop or cloth. This will help keep dirt and debris from building up and keep your floors looking like new for years to come.
Conclusion
Replacing vinyl tile flooring may seem like an intimidating task but with this step-by-step guide, you can do it yourself in no time! With just a few simple tools, supplies and some know-how, you can get professional-looking results that will last for years to come.