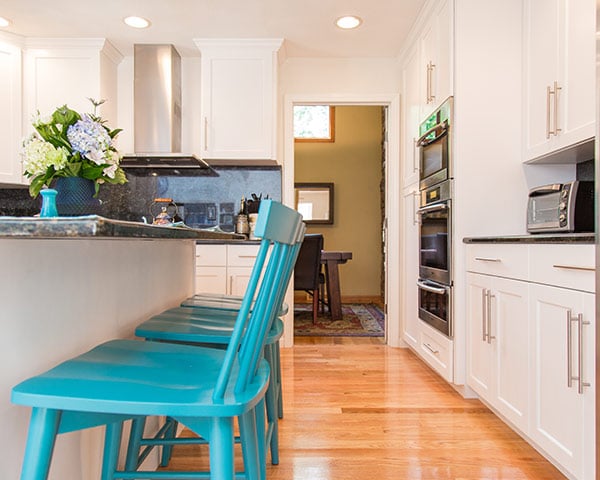
When I first considered installing wood flooring in my kitchen three years ago, I was terrified of making a costly mistake. Everyone had opinions, moisture was supposedly the enemy, and the internet was full of horror stories about warped boards and water damage. But after living with my beautiful oak floors for three years now, I can tell you that choosing wood for my kitchen was one of the best decisions I made during my home renovation. Here’s everything I learned along the way.
Choosing the Right Wood Species for Kitchen Life
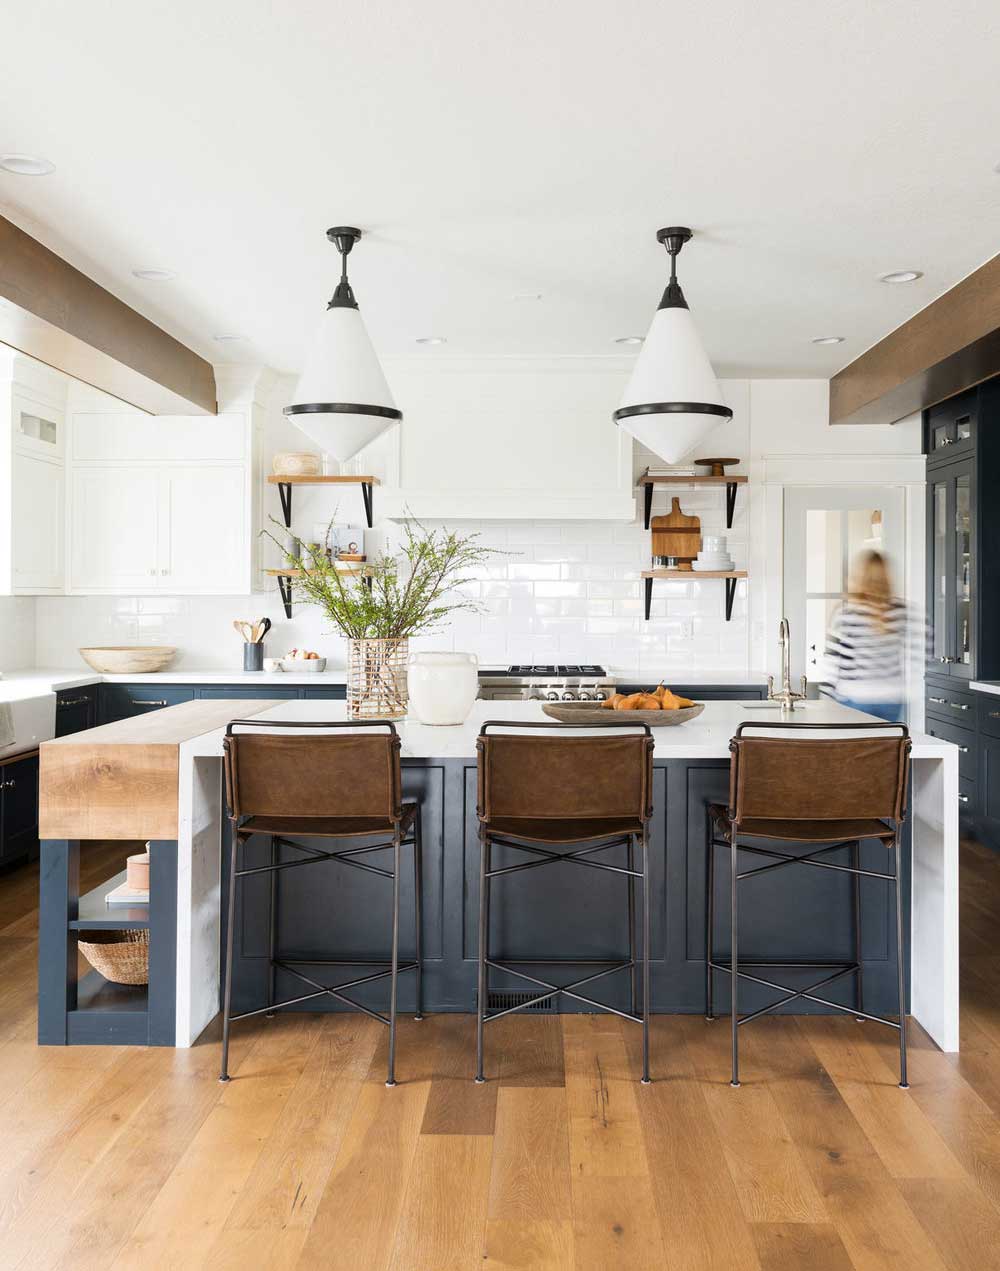
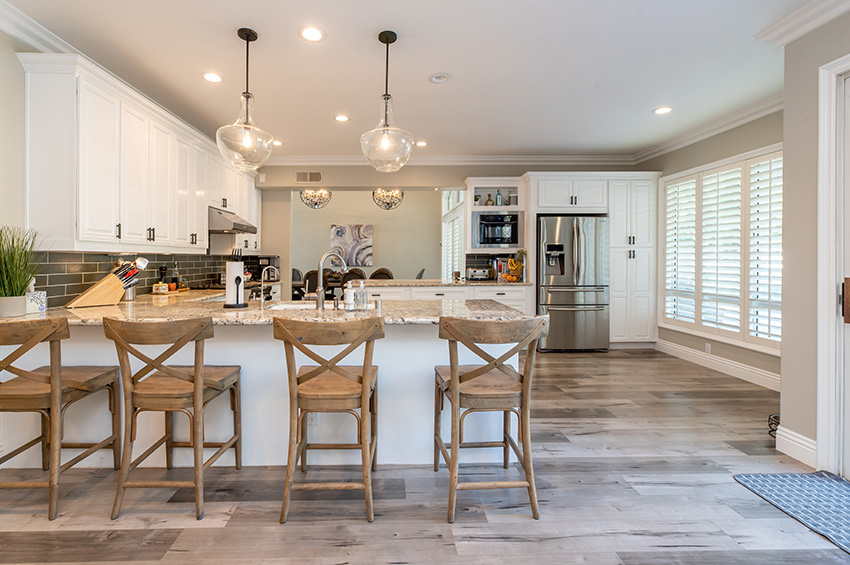
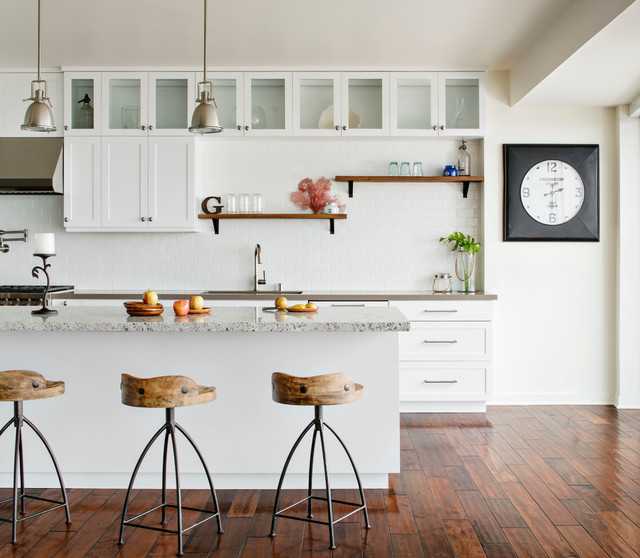
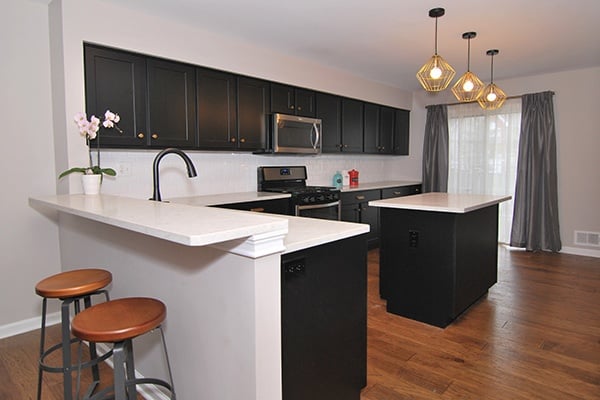
I spent weeks researching wood species before settling on white oak, and I’m so glad I did my homework. Oak turned out to be incredibly durable and forgiving in my busy kitchen, where my kids spill everything from orange juice to pasta sauce. The tight grain structure means spills sit on top rather than immediately soaking in, giving me time to clean up messes before they become permanent stains.
Initially, I was drawn to softer woods like pine because of the lower cost, but my contractor talked me out of it. He showed me samples of pine flooring from other kitchens, and the dent marks from dropped pans and heavy foot traffic were obvious. I also considered exotic hardwoods like Brazilian cherry, but the price point was way beyond my budget, and I learned that some exotic woods can be more temperamental with moisture changes.
My neighbor chose maple for her kitchen remodel around the same time, and we often compare notes. Her floors have held up beautifully, too, though she’s mentioned that maple shows scratches a bit more than my oak. If you’re considering different species, I’d recommend getting samples and actually testing them, dropping a few things on them, spilling some water, and seeing how they react before making your final decision.
Dealing with Moisture: My Hard-Learned Lessons
The moisture question kept me up at night during my planning phase, but I’ve learned it’s manageable with the right approach. I invested in a quality polyurethane finish and have it professionally refinished every two years. This might sound excessive, but it’s much cheaper than replacing damaged boards, and my floors still look gorgeous despite three years of cooking, cleaning, and general family chaos.
I made the mistake early on of not wiping up spills immediately, thinking my sealed floors could handle anything. Wrong. I left a puddle from washing dishes overnight once, and by morning, I had a white ring that took weeks of careful treatment to fade. Now I keep microfiber cloths strategically placed around the kitchen, and everyone in the family knows the “wipe it immediately” rule.
One thing that surprised me was how much the humidity levels in my house affected the floors. During our first winter, I noticed small gaps appearing between some boards when the heat was running constantly. I bought a humidifier, and the problem largely resolved itself. Managing moisture isn’t just about spills, it’s about maintaining consistent humidity levels throughout the year to keep your floors stable and beautiful.

The Installation Process: What I Experienced
I hired professionals for the installation, and I’m grateful I did because the process was more complex than I anticipated. My kitchen had an old vinyl floor that needed complete removal, and the subfloor required some leveling work. The installers also had to carefully plan around my island and cabinets, which added complexity to the layout and required precise measurements for a professional look.
The whole process took four days, including the subfloor prep, and I was amazed by the transformation each day. Watching the installers work taught me so much about proper spacing, nail placement, and the importance of acclimating the wood to your home’s environment before installation. They left the wood in my house for a full week before starting, which prevented warping issues later.
Living through the installation was challenging with two young kids and no functioning kitchen, but seeing those first few rows go down made all the temporary inconvenience worthwhile. The installers were incredibly detail-oriented, especially around the tricky areas near appliances and doorways. I learned that proper installation really is the foundation of long-lasting, beautiful floors, and trying to save money here would have been penny-wise but pound-foolish.
Daily Maintenance: My Realistic Routine
Maintaining wood floors in the kitchen isn’t as scary as I thought it would be, but it does require developing good habits. I sweep or vacuum daily because tracked-in dirt and debris can scratch the finish over time. I use a microfiber dust mop most mornings while my coffee brews, and it takes maybe three minutes to get the whole kitchen floor clean.
For deeper cleaning, I mop weekly with a barely damp mop and a pH-neutral cleaner specifically designed for hardwood. I learned the hard way that regular household cleaners can dull the finish, so I stick to products recommended by my flooring installer. The key is using minimal water. I wring my mop until it’s almost dry because standing water is still the enemy of wood floors.
I also do a monthly inspection where I look for any areas that need attention. Small scratches from chair legs or pet claws can often be buffed out with a wood polish, but I address them quickly before they become deeper gouges. This routine might sound intensive, but it’s become second nature, and my floors still look amazing after three years of family life.
Costs and Budgeting: The Real Numbers
The initial investment in my kitchen wood flooring was significant, about $8 per square foot for materials and installation combined. For my 200-square-foot kitchen, that meant a $1,600 investment upfront. While this was more expensive than vinyl or tile options, I justified it knowing that quality wood floors add real value to the home and can last decades with proper care.
Beyond the initial cost, I budget about $200 annually for maintenance, including my biennial professional refinishing and regular cleaning supplies. This might seem high, but when I calculate the cost per year over the expected 20-30 year lifespan of my floors, it’s quite reasonable. Plus, I love walking into my kitchen every day and seeing those beautiful wood grains.
I also discovered that homeowner’s insurance covers certain types of wood floor damage, which gave me peace of mind about my investment. When my dishwasher leaked slightly and I caught it quickly, my insurance covered the cost of replacing the affected boards. It’s worth checking your policy and understanding what’s covered before investing in wood flooring.

Long-Term Results: Three Years Later
Three years in, I can honestly say choosing wood flooring for my kitchen exceeded my expectations. The floors have developed a beautiful patina that makes the kitchen feel warm and lived-in, and they’ve held up remarkably well despite daily cooking, two active children, and a large dog who loves to race around the island during dinner prep.
I’ve had to replace exactly two boards in three years, one from a significant water incident when my teenager left the sink running and flooded the area, and another from dropping a cast-iron skillet. Both repairs were straightforward because I kept extra boards from the original installation. The rest of the floor shows normal wear that adds character rather than detracting from the beauty.
Looking back, I would make the same choice again without hesitation. My kitchen feels like the heart of our home, and the wood floors contribute significantly to that warm, welcoming atmosphere. Friends and family always comment on how beautiful and homey the kitchen feels, and I know the flooring plays a big part in creating that impression. The investment has been worth every penny.

How do wood floors handle kitchen spills and moisture daily?
In my experience, properly sealed wood floors handle daily spills quite well as long as you clean them up promptly. I’ve spilled everything from wine to pasta sauce, and with immediate cleanup, there’s rarely any lasting damage. The key is acting quickly and maintaining your floor’s protective finish.
Is wood flooring in the kitchen safe for families with young children?
A: Absolutely! My kids were 5 and 8 when we installed our floors, and they’ve been perfect. Wood is naturally antimicrobial when properly sealed, and unlike tile, dropped toys don’t shatter on impact. The surface is also easier on little knees during crawling or playing compared to hard tile surfaces.
How often do wood kitchen floors need professional refinishing?
I have mine professionally refinished every two years, which might be more frequent than necessary, but I love keeping them looking perfect. Most experts suggest every 3-5 years for kitchen floors, depending on traffic and care. Between refinishing, I do light maintenance myself with wood polish and touch-up markers.
What’s the biggest mistake you made with your kitchen wood floors?
Not wiping up a water puddle immediately after doing dishes one evening. I woke up to a white water ring that took weeks of careful treatment to fade. Now I’m religious about immediate cleanup and keep microfiber cloths strategically placed around the kitchen for quick spill response.

How do wood floors compare cost-wise to other kitchen flooring options over time?
Initially more expensive than vinyl or laminate, but when I calculated the 20-30 year lifespan with proper care, the cost per year is quite reasonable. Plus, wood floors add significant resale value to your home, unlike cheaper alternatives that may need replacement in 5-10 years.
Would you recommend wood flooring for pet owners in the kitchen?
Yes, but with caveats. My large dog’s nails occasionally scratch the surface, but these are easily buffed out during regular maintenance. Pet accidents need immediate cleanup just like any spill. I’d recommend harder wood species like oak or maple rather than softer woods if you have active pets.

Pros and Cons of Kitchen Flooring Materials
Pros and Cons of Hardwood for Kitchen Floor

Hardwood Flooring in the Kitchen
Related Posts: