When I first moved into my home with those gorgeous marble floors, I thought they’d stay pristine forever. Boy, was I wrong! After a few years of foot traffic, spills, and general wear, my once-gleaming marble looked dull and lifeless. Instead of hiring expensive professionals, I decided to tackle marble floor polishing myself. What I discovered was that with the right approach, patience, and tools, I could restore that showroom shine without breaking the bank. Through trial and error, I learned techniques that transformed my floors from lackluster to luxurious.
Understanding Your Marble Before You Start
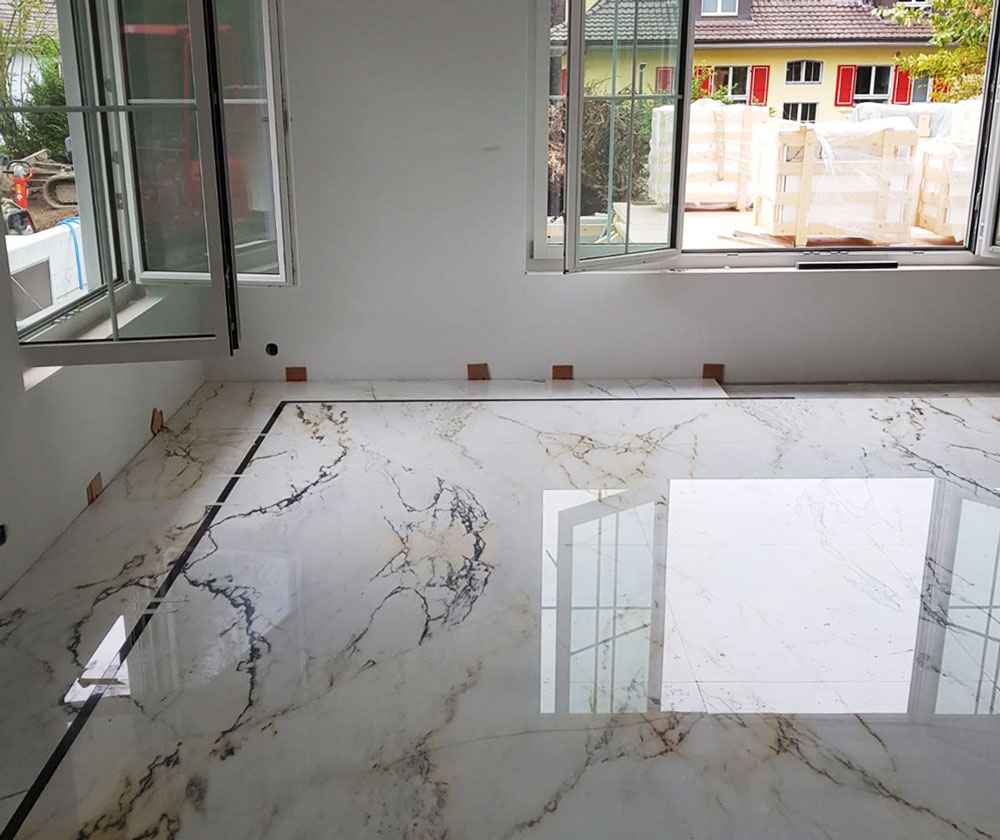
Before I grabbed any polish or buffer, I had to understand what I was working with. Marble is essentially crystallized limestone, which makes it both beautiful and vulnerable. I learned the hard way that different types of marble, from Carrara to Calacatta, require slightly different approaches.
The biggest lesson I learned was identifying the difference between etching and staining. When I first noticed dull spots, I assumed they were stains and tried scrubbing them with harsh cleaners. Big mistake! Those spots were actually etches, tiny scratches in the marble’s surface caused by acidic substances like lemon juice or wine.
I also discovered that marble has different finishes, polished, honed, or tumbled, and each requires a specific polishing technique. My floors had a polished finish, which meant I needed to restore that mirror-like shine. Understanding these basics saved me from making costly mistakes that could have damaged my floors permanently.
Gathering the Right Tools and Materials
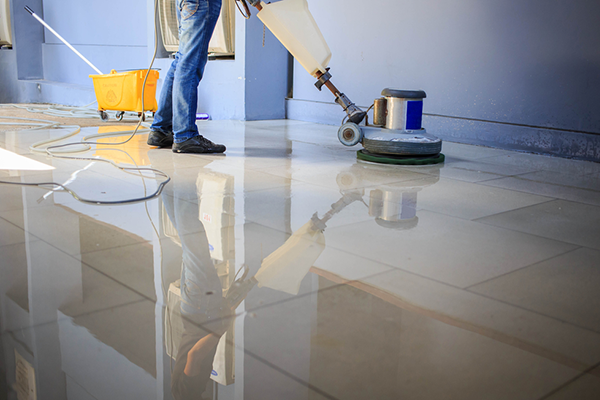
My first DIY attempt was a disaster because I used the wrong products. I quickly learned that marble polishing requires specific tools and materials. For equipment, I invested in a variable-speed floor buffer, diamond polishing pads in various grits (400, 800, 1500, and 3000), and a good wet vacuum.
The polishing compounds were equally important. I found that marble polishing powder, specifically designed for natural stone, worked far better than generic products. I also stocked up on pH-neutral marble cleaner, microfiber cloths, and protective plastic sheeting to cover furniture and walls.
One game-changer was purchasing a moisture meter to test for any water damage beneath the marble. I learned that polishing over moisture problems would only create more issues later. Having quality knee pads and work gloves also made the physically demanding process much more bearable during those long weekend sessions.

Preparing Your Space Like a Pro
Preparation turned out to be half the battle in achieving professional-looking results. I started by removing all furniture and thoroughly cleaning the marble with pH-neutral cleaner. Any soap residue or dirt would interfere with the polishing process, so I made sure every inch was spotless.
Next, I inspected every square foot for cracks, chips, or loose tiles. I discovered several hairline cracks that needed repair before polishing. Using marble repair compound and following the manufacturer’s instructions, I filled these imperfections and allowed them to cure completely.
The room setup was crucial, too. I covered all walls, baseboards, and fixtures with plastic sheeting because marble dust gets everywhere. I also ensured proper ventilation by opening windows and using fans. Having a clear workspace and all tools within reach made the actual polishing process much smoother and more efficient.
Mastering the Step-by-Step Polishing Process
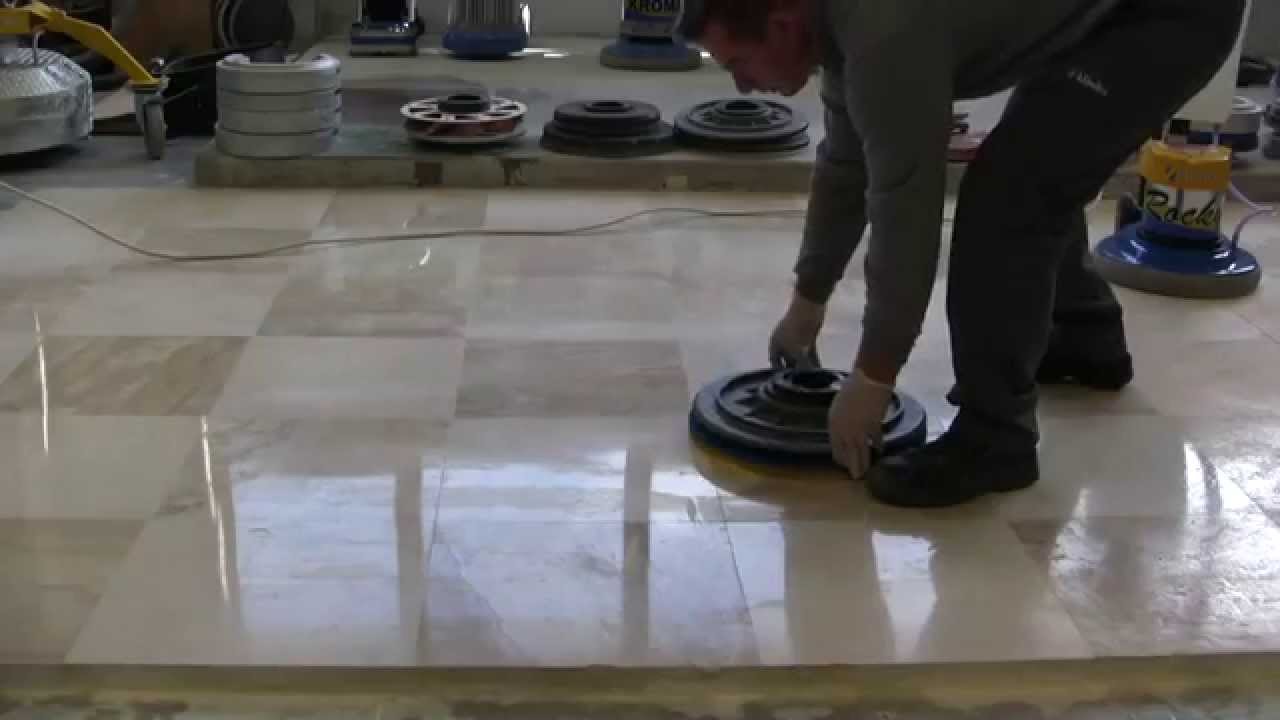
The actual polishing process follows a specific sequence that I learned through careful research and practice. I always start with the coarsest grit pad (400) and work systematically across the floor in overlapping passes. The key is maintaining consistent pressure and speed, never rushing or staying in one spot too long.
I work in small sections, about 4×4 feet at a time, keeping the surface damp throughout the process. After completing each section with one grit, I thoroughly clean the area and check my progress before moving to the next finer grit. This methodical approach prevents scratches and ensures even results.
The transition between grits is critical. I discovered that skipping grits or rushing this process leads to uneven shining and visible scratch marks. Each grit level removes the scratches from the previous one while adding finer scratches of its own. By the time I reach the 3000-grit pad, those microscopic scratches create the mirror-like finish I was after.

Troubleshooting Common DIY Challenges
My first polishing attempt taught me about several common pitfalls that can ruin the finish. Overheating the marble by moving too slowly or applying too much pressure creates permanent damage that’s expensive to fix. I learned to keep the buffer moving and check the surface temperature frequently with my hand.
Uneven results plagued my early efforts until I realized I was applying inconsistent pressure and overlapping my passes incorrectly. The solution was creating a mental grid pattern and maintaining steady, even movements throughout each section. Taking breaks also helped me maintain consistent technique.
Water spots and streaking frustrated me initially, but I discovered they’re usually caused by using tap water instead of distilled water or not properly cleaning between grit changes. Now I always use distilled water and thoroughly vacuum and clean each section before progressing to the next finer grit level.
Maintaining Your Newly Polished Marble Floors
After investing all that time and effort in polishing, I wanted to protect my investment. I learned that daily maintenance is actually simple but crucial. I sweep or vacuum daily to remove grit that can scratch the surface, and I clean spills immediately to prevent etching and staining.
For weekly cleaning, I use only pH-neutral marble cleaners and microfiber mops. I avoid vinegar, lemon-based cleaners, or anything acidic that could etch the surface. I also discovered that using coasters, placemats, and protective pads under furniture legs prevents most damage from occurring.
Every few months, I apply a marble sealer to provide an extra layer of protection against stains. I also do spot polishing on high-traffic areas using fine polishing compound and a soft cloth. This maintenance routine has kept my floors looking professionally polished for over two years since my initial DIY project.
How often should I polish my marble floors myself?
In my experience, marble floors need polishing every 1-3 years, depending on foot traffic. High-traffic areas like entryways might need attention annually, while bedrooms can go longer. I watch for dullness and loss of shine as indicators that it’s time to polish again.
Can I polish marble floors without professional equipment?
A: While possible, I strongly recommend renting or buying a variable-speed buffer. Hand polishing is extremely labor-intensive and rarely produces even results. I tried it once on a small area, and the inconsistent finish made it obvious compared to machine-polished sections.

What’s the biggest mistake beginners make when polishing marble?
Using the wrong products or moving too fast through the grits. I initially tried to rush the process and ended up with scratched, uneven results. Taking time with each grit level and using marble-specific products is essential for achieving professional-looking results at home.
How much does DIY marble polishing cost compared to hiring professionals?
My initial investment in tools and materials was about $400, versus $8-15 per square foot for professional service. For my 200-square-foot area, I saved over $1,000 on the first job alone. The tools pay for themselves after just one use on medium-sized floors.

Is marble floor polishing safe to do myself?
Yes, with proper precautions. I always wear safety glasses, dust masks, and knee pads. The marble dust can be harmful if inhaled, so good ventilation is crucial. The physical demands are significant, but manageable with breaks and proper technique.
How long does the DIY polishing process take?
For my 200-square-foot living room, the complete process takes me about 6-8 hours over a weekend. This includes prep work, all four grit levels, and cleanup. Smaller areas like bathrooms can be done in 2-3 hours, while larger spaces obviously take longer.

Mistakes to avoid when polishing your marble floor

Marble Polishing Service Marble Polishing Services Marble
Polishing a marble floor respecting the stone TINO Natural Stone

How to Polish Marble Floor? All you need to know! – Wipeout
3 Simple Ways to Polish a Marble Floor by Hand – wikiHow

Do It YourSelf Marble Restoration u0026 Polishing thanks to SuperShine

Related Posts: