When I first walked into that old Miami home with its stunning Cuban tile floors, I knew I’d found something special. The intricate patterns, vibrant colors, and rich history beneath my feet told stories of craftsmanship that modern flooring can’t replicate. After living with these beautiful cement tiles for three years and guiding several friends through their own Cuban tile projects, I’ve learned that while they require specific care and consideration, the results are absolutely worth it. From understanding their unique properties to mastering maintenance routines, my journey with Cuban tiles has been both challenging and incredibly rewarding.
Understanding the Beauty and History Behind Cuban Tiles
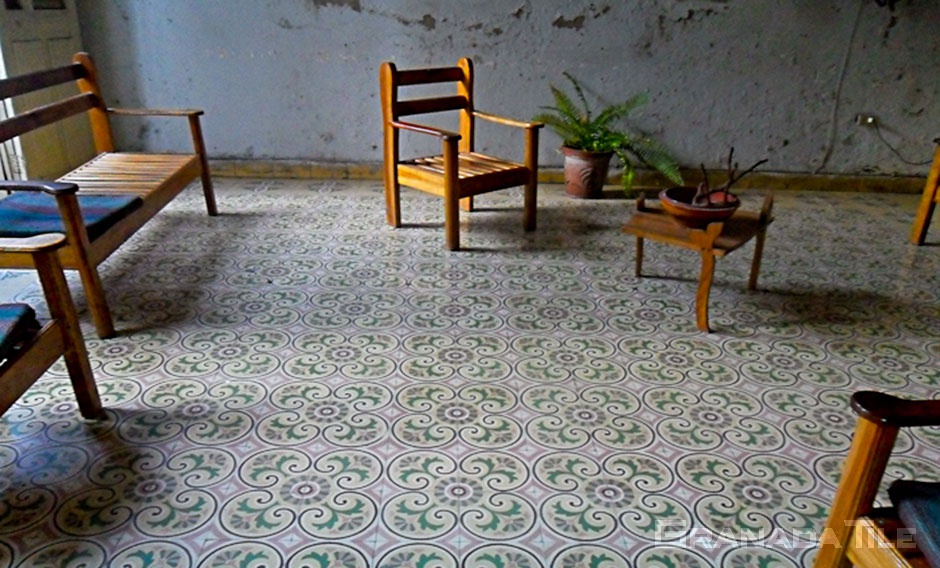
Cuban tiles, also known as cement tiles or hydraulic tiles, captured my heart with their handmade authenticity. Each tile I examined told a story of skilled artisans who poured colored cement into intricate molds, creating patterns that have remained vibrant for decades. Unlike ceramic or porcelain tiles, these aren’t fired in kilns but cured naturally, giving them their distinctive character and slight variations.
What fascinated me most was learning about their origins in 1850s France and their journey to Cuba, where they became integral to colonial architecture. The tiles in my home were likely made in the early 1900s, and their durability amazed me. Despite nearly a century of wear, the colors remained rich and the patterns crisp, a testament to the quality of traditional manufacturing methods.
I discovered that authentic Cuban tiles are still made using the same techniques as they were centuries ago. The process involves layering colored cement paste into metal molds, pressing them under hydraulic pressure, and then curing them slowly. This creates tiles that are not only beautiful but incredibly durable, with colors that penetrate throughout the tile rather than sitting on the surface like glazed ceramics.
Choosing the Right Cuban Tile Patterns for Your Space
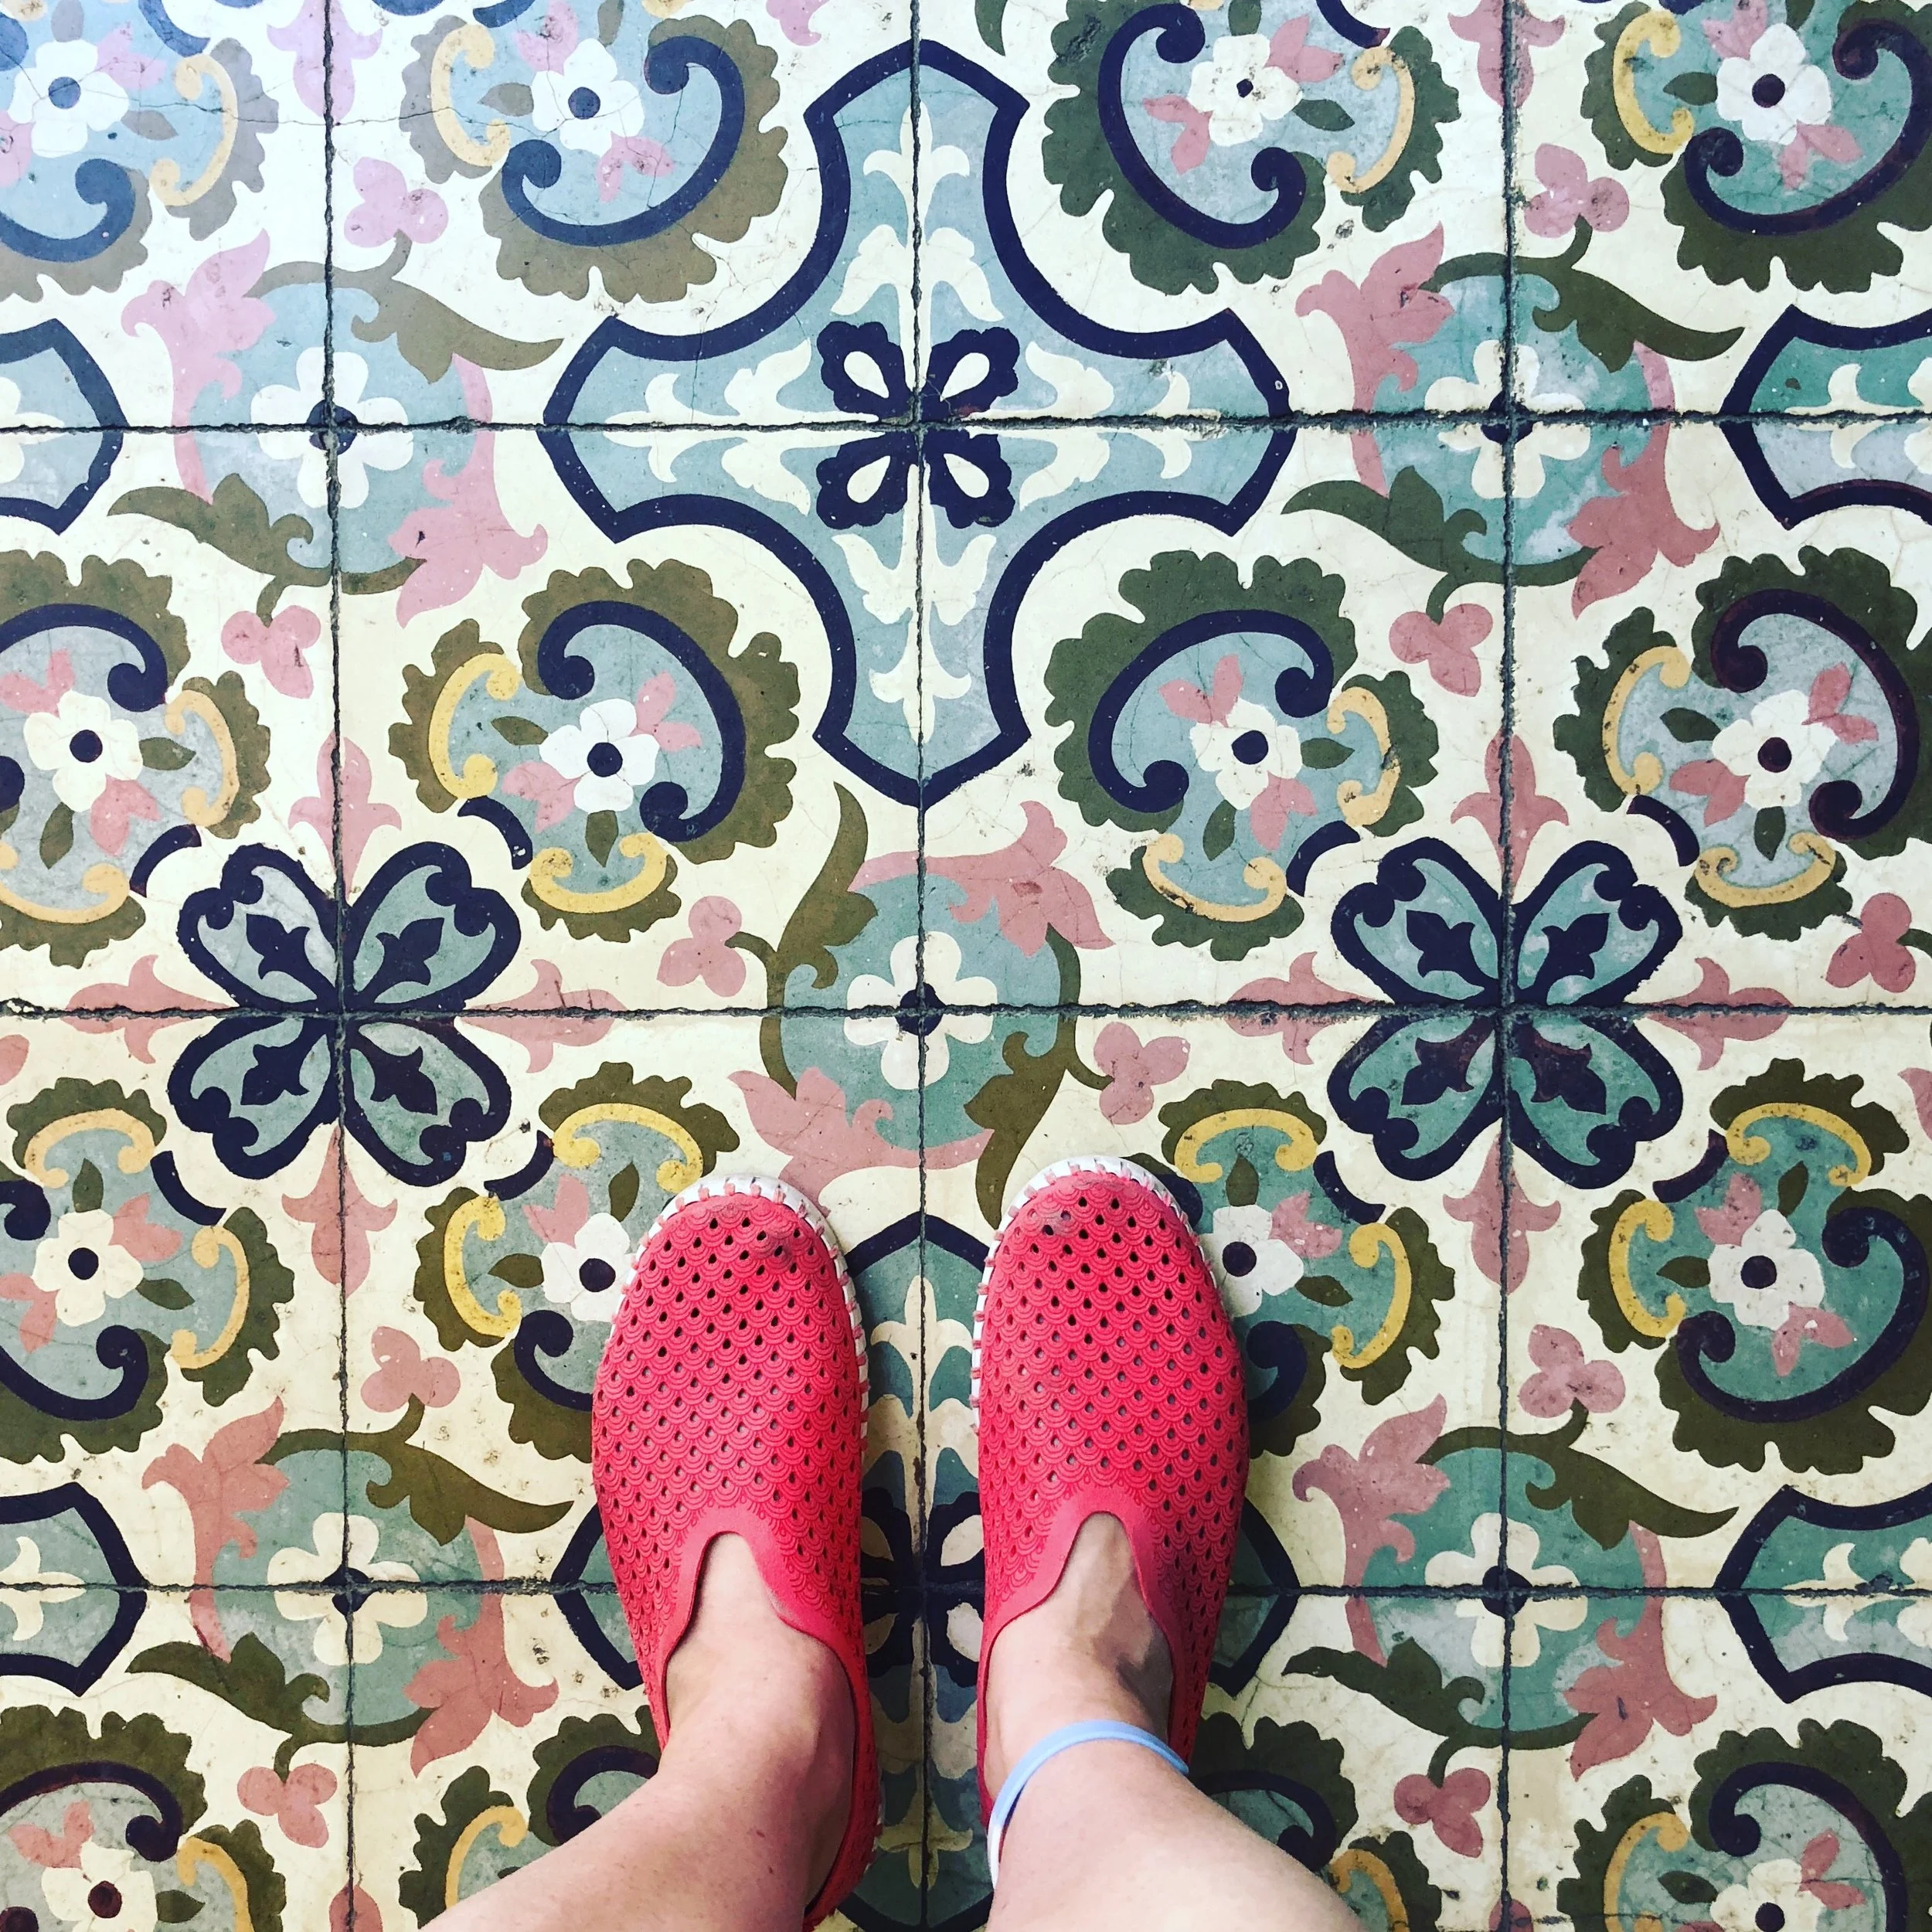
Selecting patterns for my kitchen renovation became an obsession. I spent weeks studying traditional Cuban designs, from geometric Moorish influences to floral Art Nouveau motifs. The key lesson I learned was that pattern scale matters enormously; large patterns can overwhelm small spaces while tiny patterns might get lost in expansive rooms.
For my 200-square-foot kitchen, I chose a medium-scale geometric pattern in blues and whites that complemented my coastal aesthetic. I discovered that Cuban tiles work best when you pick one dominant pattern and use it consistently, rather than mixing multiple designs. The visual impact comes from the repetition and rhythm of the pattern across the space.
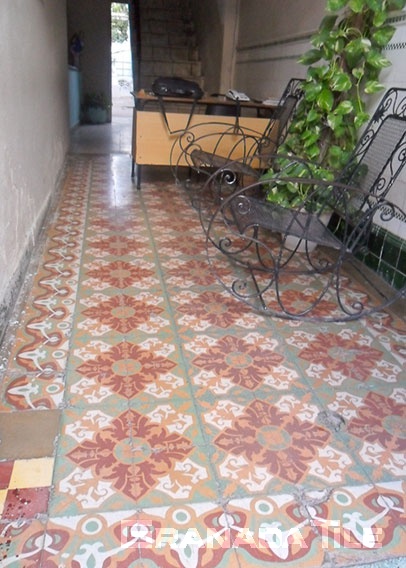
Color selection proved just as crucial as pattern choice. I learned that traditional Cuban palettes, deep blues, terra cottas, sage greens, and cream whites, create the most authentic look. However, I also found contemporary interpretations using grays, blacks, and muted pastels that work beautifully in modern settings. The key is choosing colors that will age gracefully and complement your overall design vision.
Installation Challenges I Faced and Overcame
Installing Cuban tiles taught me patience I didn’t know I possessed. Unlike standard ceramic tiles, these cement beauties require specific techniques and materials. I learned the hard way that regular tile adhesive doesn’t work; Cuban tiles need a flexible, breathable mortar that allows for slight movement and moisture transfer.
My biggest challenge was achieving perfectly level surfaces. Cuban tiles, being handmade, have slight thickness variations that require careful attention during installation. I invested in a good leveling system and spent extra time ensuring each tile was properly seated. The learning curve was steep, but seeing those first few rows come together perfectly made all the effort worthwhile.
Grouting presented another learning opportunity. I discovered that Cuban tiles are quite porous and require sealing before grouting to prevent staining. I also learned to use non-sanded grout for the narrow joints typical in Cuban tile installations. The cleanup process took longer than expected since cement tiles can absorb grout residue, requiring gentle but thorough cleaning techniques.

Daily Care and Long-term Maintenance Secrets
Living with Cuban tiles taught me that proper maintenance is actually simpler than I initially feared. Daily sweeping became part of my routine since these tiles can be scratched by grit and debris. I use a microfiber dust mop that picks up particles without scratching the surface, and I’ve found that this simple step prevents most maintenance issues.
For regular cleaning, I abandoned harsh chemicals and embraced pH-neutral cleaners specifically designed for natural stone and cement. I learned that acidic cleaners can etch the surface and dull the colors permanently. My weekly cleaning routine involves mopping with diluted stone cleaner and immediately drying the surface to prevent water spots and mineral buildup.
The sealing process initially intimidated me, but I discovered it’s straightforward with the right products. I reseal my tiles annually using a penetrating sealer that protects against stains while maintaining the natural matte finish. This preventive maintenance has kept my tiles looking vibrant and made cleanup of inevitable spills much easier over the years.

Restoration Tips for Vintage Cuban Tiles
When I helped my neighbor restore her 1920s Cuban tiles, I learned techniques that can bring even damaged tiles back to life. The first step was gentle cleaning with specialized stone cleaners to remove decades of built-up wax, dirt, and previous sealers. This process revealed the original colors and patterns hiding beneath years of neglect.
For tiles with minor chips or cracks, I discovered that color-matched cement repair compounds can make nearly invisible fixes. The key is mixing the repair material to match both the color and texture of the original tile. I practiced on broken samples until I achieved seamless repairs that blended perfectly with the surrounding tiles.
More extensive restoration sometimes requires professional help, but I learned to handle many repairs myself. Replacing individual damaged tiles involves careful removal without disturbing surrounding tiles, then installing replacements using traditional techniques. The satisfaction of seeing those gorgeous patterns emerge from beneath layers of damage made every hour of careful work worthwhile.
Cost Considerations and Where to Source Quality Tiles
Budgeting for Cuban tiles required careful planning since they’re significantly more expensive than standard ceramic options. I found that authentic handmade tiles range from $8-25 per square foot, depending on complexity and source. While the initial investment seemed steep, I realized the longevity and unique character made them cost-effective over time.
Sourcing quality tiles became an adventure in itself. I discovered artisan workshops in Mexico, Morocco, and even some U.S. producers creating authentic Cuban-style tiles. Online retailers offered convenience, but visiting showrooms let me feel the texture and see color variations firsthand. I learned to order 10% extra tiles for future repairs and breakage during installation.
The total project cost for my 200-square-foot kitchen, including tiles, specialized adhesive, tools, and sealer, came to about $4,000. While more expensive than ceramic alternatives, the unique character and durability of Cuban tiles made them worth every penny. Plus, I’ve noticed they’ve actually increased my home’s value more than the installation cost.
![]()
Are Cuban tiles suitable for high-moisture areas like bathrooms?
Yes, but with proper sealing and ventilation. I installed them in my powder room successfully by using a high-quality penetrating sealer and ensuring good air circulation. The key is preventing standing water and maintaining the sealer annually to protect against moisture penetration.
How do Cuban tiles perform with pets and children?
They’re surprisingly durable for family life. My tiles have survived three years with two dogs and visiting grandchildren. The natural texture provides good slip resistance, and while they can chip if heavy objects are dropped, daily wear from pets and kids hasn’t caused any damage.
Can I install Cuban tiles over existing flooring?
It depends on the substrate. I successfully installed over concrete, but removed old vinyl first. The existing floor must be completely level and structurally sound. Plywood subfloors need additional reinforcement since Cuban tiles are heavy and require a stable, deflection-free base.
How long do Cuban tiles typically last?
With proper care, they can last over 100 years. The tiles in my home were installed in the 1920s and still look beautiful. Unlike surface-glazed tiles, Cuban tiles wear evenly and can often be restored rather than replaced when they show age.

What’s the best way to remove stains from Cuban tiles?
Act quickly and use pH-neutral cleaners. For oil stains, I use a poultice made from baking soda and water left overnight. For organic stains like wine or coffee, hydrogen peroxide works well. Avoid acidic cleaners that can permanently etch the surface.
Do Cuban tiles require special tools for cutting?
Yes, they need diamond blades and wet cutting to prevent chipping. I rented a professional wet saw for my installation. These tiles are harder than ceramic and can chip easily with standard tools. Planning your layout to minimize cuts saves time and reduces waste significantly.

CUBAN TROPICAL TILE CO, MANUFACTURER OF TRADITIONAL CUBAN TILES

Traditional Cuban Tile Design Meets Modern Bath u2013 Avente Tile

Cuban tile isn’t encaustic, it’s cement. Itu0027s not really cement

Cuban Style Tiles Cuban Style Cement and Concrete Tiles
Related Posts: