When I bought my house four years ago, the hallways were covered in worn, outdated carpet that had seen better days and made the entire space feel dark and cramped. These narrow corridors connect every room in my home and get more foot traffic than any other area, so I knew the flooring choice would be critical for both durability and aesthetics. After months of research and countless samples scattered across my floors, I decided on laminate flooring for my hallways, a decision that completely transformed these transitional spaces from forgotten afterthoughts into beautiful connective elements that tie my whole house together.
The process wasn’t without its challenges, from navigating narrow spaces during installation to dealing with multiple doorway transitions, but the results have exceeded my expectations in terms of both appearance and performance. Living with laminate hallway floors for three years has taught me valuable lessons about material selection, installation techniques, and long-term maintenance that I wish I’d known before starting this project.
Why I Chose Laminate Over Other Hallway Flooring Options
My decision to use laminate in the hallways came after extensive research into various flooring materials and their suitability for high-traffic areas. Hallways present unique challenges because they’re narrow spaces that get constant use but often have limited natural light, making material choice crucial for both durability and visual appeal. I considered hardwood, luxury vinyl, tile, and carpet, but laminate emerged as the best balance of cost, performance, and aesthetics for my specific situation and budget constraints.
The cost factor was significant in my decision-making process. Quality laminate flooring costs roughly half what comparable hardwood would cost, and the installation is much more DIY-friendly, which allowed me to save even more money on labor. With three hallways totaling about 300 square feet, the savings were substantial enough to allow me to upgrade other aspects of my home renovation. The wide variety of styles and finishes available in laminate also meant I could achieve the wood look I wanted without the wood price tag.
Durability was another major consideration since my hallways connect the main living areas and see heavy daily traffic from my family and frequent guests. Modern laminate flooring has come a long way from the obviously fake products of the past, and the wear ratings on today’s laminate products are impressive. I chose a commercial-grade laminate with an AC4 rating, which is designed to handle heavy residential traffic and even light commercial use, ensuring it would stand up to years of constant foot traffic.
Installation Challenges in Narrow Hallway Spaces
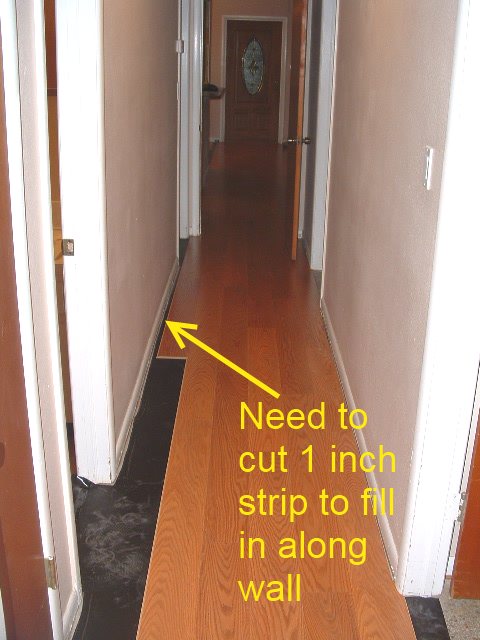
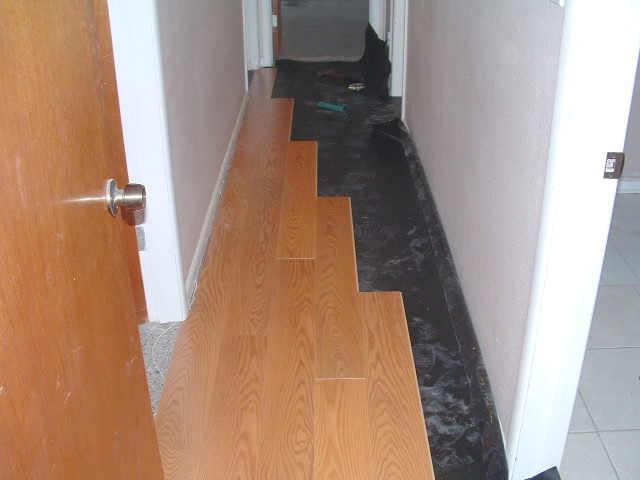
Installing laminate flooring in hallways presented unique challenges that I hadn’t fully anticipated when planning the project. The narrow width of most hallways, typically 36-42 inches, makes maneuvering full-length planks difficult and requires careful planning to achieve straight, professional-looking results. I had to develop new techniques for measuring, cutting, and fitting planks in these confined spaces, which definitely extended my installation timeline beyond what I had originally estimated.
The biggest installation challenge was dealing with multiple doorway transitions and maintaining consistent plank alignment throughout the entire hallway system. Each doorway required precise measurements and often custom cuts to ensure proper fit around door jambs and transition strips. I learned that planning the plank layout from the most visible central area and working outward helped maintain the best appearance, even if it meant more complex cuts at the ends of each hallway section.
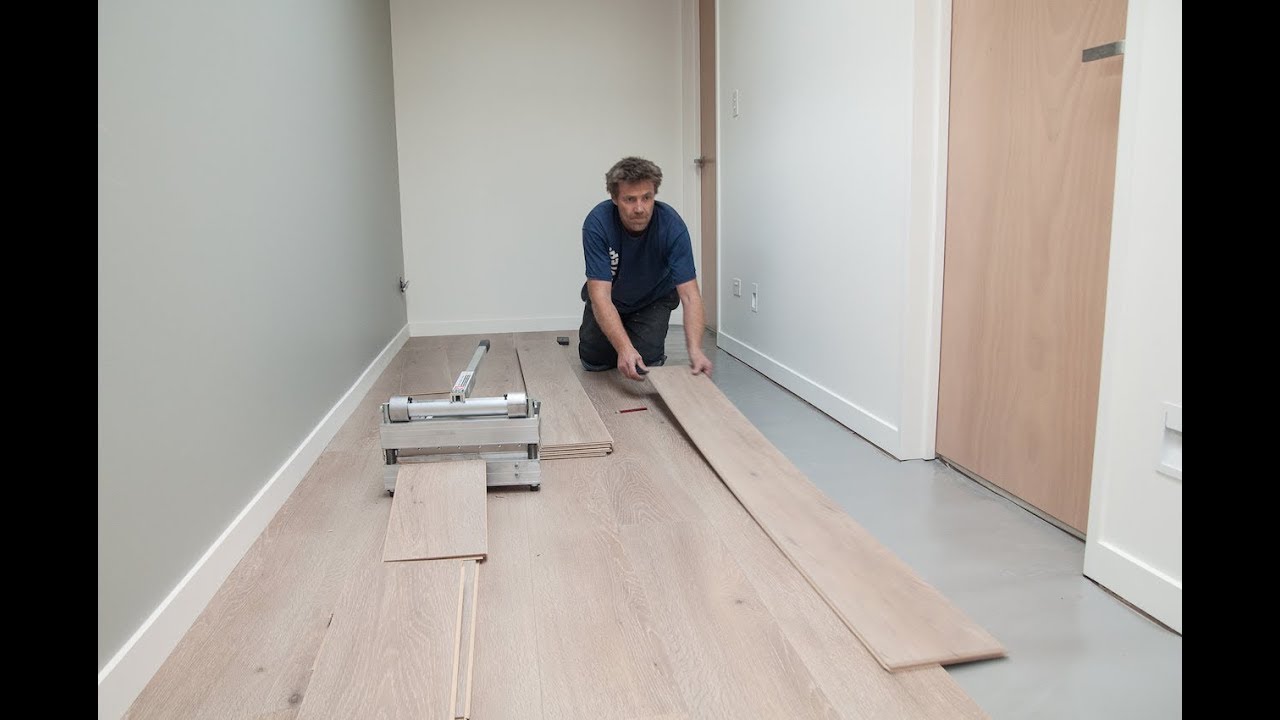
Working in cramped spaces also made using standard flooring tools more difficult. I had to invest in a smaller miter saw and compact cutting station that could fit in the hallways, since carrying each plank to a remote cutting area would have been incredibly inefficient. The confined workspace also meant I couldn’t lay out multiple rows at once like you can in larger rooms, so the installation process was more methodical and time-consuming than typical laminate projects.
Selecting the Right Style for Hallway Lighting Conditions
Choosing the right laminate style for hallways requires careful consideration of lighting conditions that are quite different from main living areas. Most hallways have limited natural light and rely primarily on artificial lighting, which can dramatically affect how flooring colors and patterns appear. I spent considerable time testing different samples under my actual hallway lighting conditions before making the final selection, and this testing proved absolutely crucial for achieving the results I wanted.
I initially gravitated toward darker wood-look laminate, thinking it would hide dirt and wear better, but testing revealed that dark colors made my already narrow hallways feel even more cramped and cave-like. Lighter colors opened up the space visually and reflected the available light much better, making the hallways feel more welcoming and spacious. I ultimately chose a light oak finish with subtle grain patterns that added interest without being overwhelming in the narrow space.
The plank width and length also became important considerations for the hallway environment. Wider planks can make narrow spaces feel broader, but they also create more waste when cut to fit irregular hallway dimensions. I selected 7-inch wide planks as a compromise between the space-expanding effect of wide planks and the practicality of installation in confined areas. The random length variation in my chosen product helped create a natural, authentic wood appearance that works well in the transitional nature of hallway spaces.

Handling Multiple Room Transitions and Thresholds
One of the most complex aspects of my hallway laminate project was creating smooth, attractive transitions between the laminate and the various flooring materials in adjacent rooms. My hallways connect rooms with carpet, tile, and existing hardwood, so I needed multiple types of transition strips and careful planning to ensure each doorway looked professional and functioned properly. This aspect of the project required more time and materials than I had originally budgeted for.
The transition from laminate to carpet required reducing strips that accommodate the height difference between the two materials while providing a clean, finished edge for both flooring types. I learned that proper installation of these strips is crucial for both appearance and safety, as poorly installed transitions can create tripping hazards and look unprofessional. The key was ensuring the laminate ended at the exact center of the doorway opening for the most balanced visual appearance.
Transitions to tile and hardwood presented different challenges since these materials are typically at different heights than laminate. I used T-molding strips for areas where the height differences were minimal and reducer strips where larger adjustments were needed. Color matching these transition pieces to the laminate was important for maintaining visual continuity, and I was fortunate to find coordinating trim pieces from the same manufacturer as my laminate planks.
Maintenance and Durability After Three Years of Heavy Use
Living with laminate flooring in my high-traffic hallways for three years has given me valuable insights into its real-world performance and maintenance requirements. The daily wear from family members, pets, and guests constantly moving through these spaces has been substantial, yet the laminate has held up remarkably well with only minor signs of wear in the very highest traffic areas near the front door and main bedroom entrance.
Cleaning and maintenance have proven much easier than the carpet that was previously in these spaces. Regular sweeping or vacuuming removes daily dirt and debris, and occasional damp mopping with laminate-specific cleaners keeps the floors looking fresh and clean. Spills and accidents clean up easily without staining, which has been particularly important in areas near the bathroom and kitchen, where moisture and spills are more common occurrences.
The wear patterns I’ve observed have been minimal and mostly consist of very slight dulling in areas that receive the heaviest foot traffic. The commercial-grade wear layer I selected has provided excellent protection, and the overall appearance remains attractive and well-maintained. I expect these floors to continue performing well for many more years, making the initial investment in quality laminate an excellent long-term value for these heavily used spaces.

Budget-Friendly Tips and Lessons Learned
My laminate hallway project taught me several valuable lessons about maximizing results while minimizing costs. The biggest money-saving strategy was doing the installation myself, which cut the project cost nearly in half compared to professional installation quotes. However, I learned that taking time to properly plan and prepare is essential for achieving professional-looking results with DIY installation, especially in the challenging environment of narrow hallways.
Purchasing materials efficiently required careful calculation to minimize waste while ensuring adequate supply for the project. Hallways often require many custom cuts and odd-shaped pieces, so I ordered about 15% more material than my square footage calculations indicated. This proved to be just right, with minimal waste and no shortage during installation. Buying from a single manufacturer for both planks and transition pieces ensured perfect color matching and saved money compared to sourcing components separately.
I also learned that investing in quality materials upfront saves money long-term. The commercial-grade laminate cost about 30% more than basic residential products, but the superior durability and appearance have proven worth every penny over three years of heavy use. Cheap laminate might save money initially, but replacement costs and poor performance make quality products the better financial choice for high-traffic areas like hallways.

How do laminate floors hold up in high-traffic hallways compared to other flooring options?
My AC4-rated laminate has performed excellently after three years of heavy family traffic. It shows minimal wear, cleans easily, and looks nearly new. The wear layer protection is key; commercial-grade laminate handles hallway traffic much better than basic residential grades. It’s more durable than carpet and more affordable than hardwood with a similar appearance.
Is DIY installation of laminate realistic for narrow hallway spaces?
Yes, but it requires patience and planning. I successfully installed mine, but narrow spaces make maneuvering planks challenging. You’ll need compact cutting tools and careful layout planning. The click-lock system works well in hallways, but expect the project to take longer than installation in open rooms due to space constraints and multiple transitions.
What’s the best way to handle transitions between laminate hallways and different room flooring?
Use proper transition strips matched to your laminate color. I used T-molding for similar heights, reducers for height differences, and end strips at carpet edges. Plan transitions at doorway centers for the best appearance. Quality transition pieces from the laminate manufacturer ensure perfect color matching and professional results.
How much should I budget for laminate flooring in hallways including materials and installation?
My 300 square feet cost $1,200 in materials including quality laminate, transitions, and underlayment. DIY installation saved about $800 in labor costs. Professional installation typically runs $3-5 per square foot. Budget extra for transition pieces and trim work, which can add 20-30% to material costs in hallways with multiple doorways.

What laminate features are most important for hallway applications?
Choose AC4 or AC5 wear ratings for durability, attached underlayment for convenience, and moisture resistance for spills. Light colors work better in narrow spaces with limited natural light. Consider plank width carefully; wider planks can make narrow hallways feel more spacious but create more waste during installation.
How does laminate compare to luxury vinyl for hallway flooring?
Both perform well in hallways. Laminate typically costs less and feels more solid underfoot, while luxury vinyl offers better moisture resistance and quieter footsteps. I chose laminate for cost savings and durability, but luxury vinyl would be excellent for hallways near bathrooms or areas with moisture concerns. Both offer realistic wood appearances.

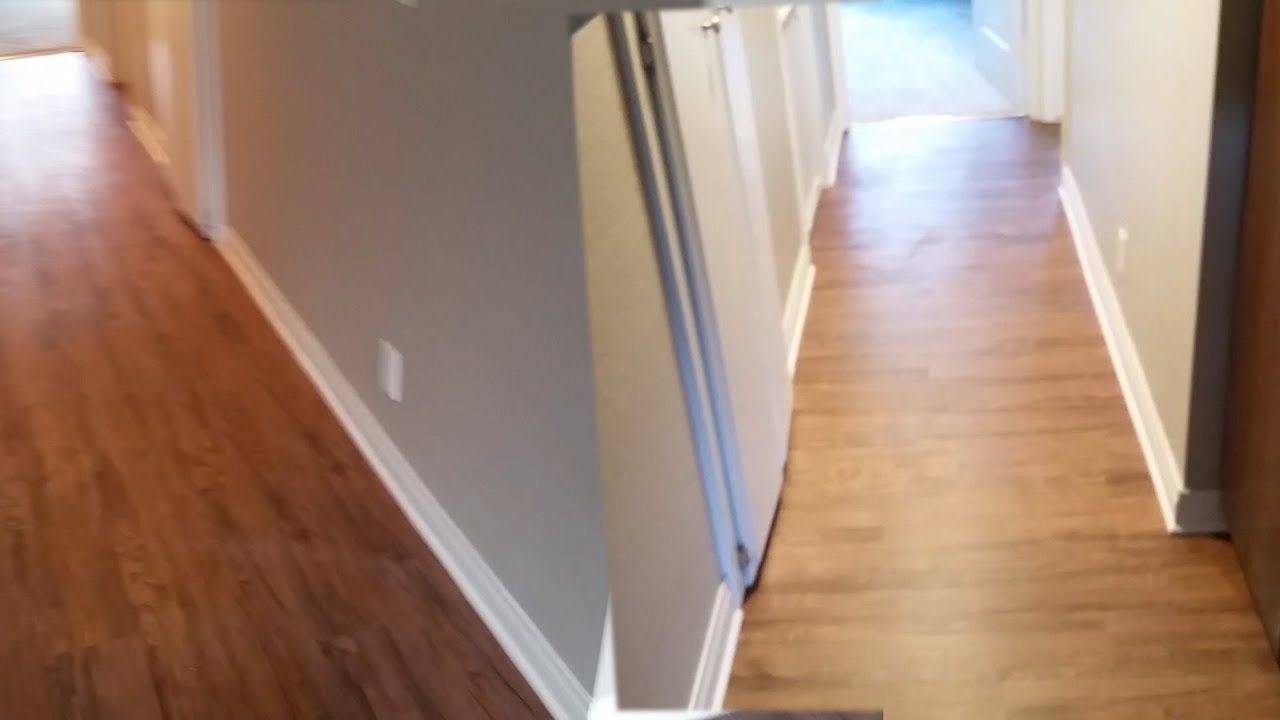
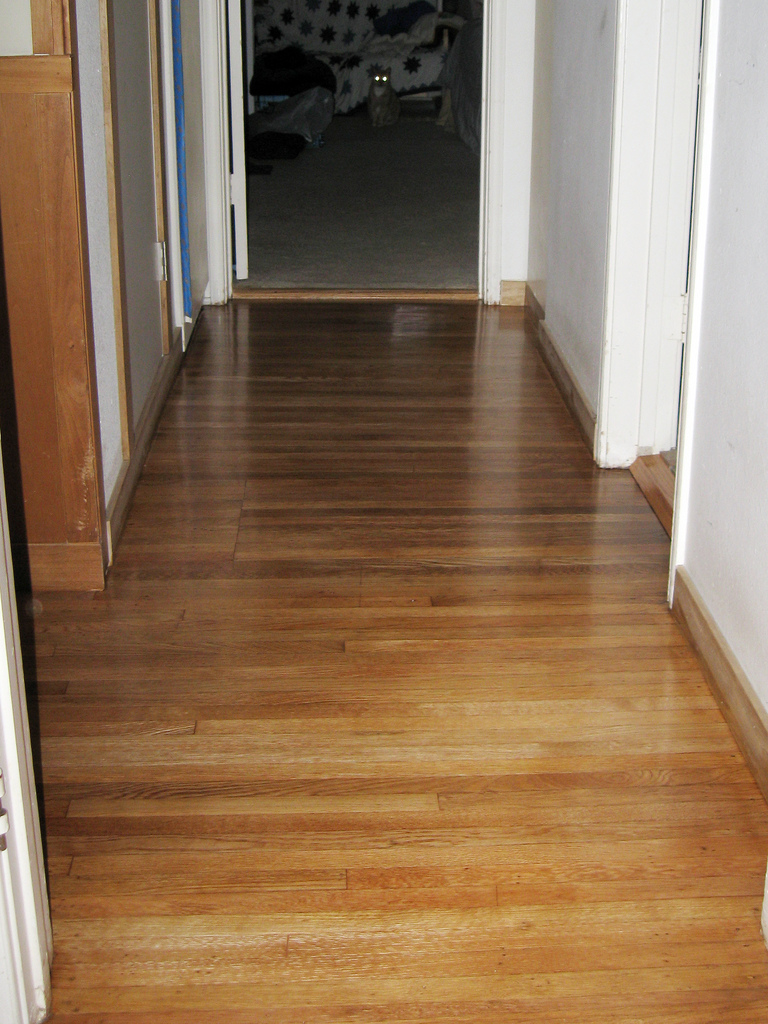
Laminate installed to this hallway

Laminate Flooring direction

Are Your Hardwood Floors Headed in the Right Direction? You Tell Us.
Related Posts: