I discovered peel-and-stick vinyl flooring during my first apartment renovation twelve years ago, and it completely changed my perspective on DIY home improvement projects. What started as a budget-friendly solution for my outdated kitchen has evolved into my go-to recommendation for clients seeking affordable, attractive flooring options. Through numerous installations in various rooms and conditions, I’ve learned the tricks that separate professional-looking results from amateur disasters, and I’m excited to share these hard-earned insights with you.
Choosing the Right Peel and Stick Products
I always begin my selection process by examining the wear layer thickness, which determines durability and longevity. Premium products feature 12-mil or thicker wear layers that resist scratches, dents, and daily abuse much better than cheaper alternatives. I’ve installed both types and can confidently say the extra investment pays dividends through extended lifespan and maintained appearance.
Adhesive quality varies dramatically between manufacturers, and I’ve learned this lesson through several disappointing experiences. High-quality products use pressure-sensitive adhesives that bond immediately yet allow repositioning during installation. Cheap alternatives often fail to stick properly or become permanent instantly, making corrections impossible and creating frustrating installation experiences.
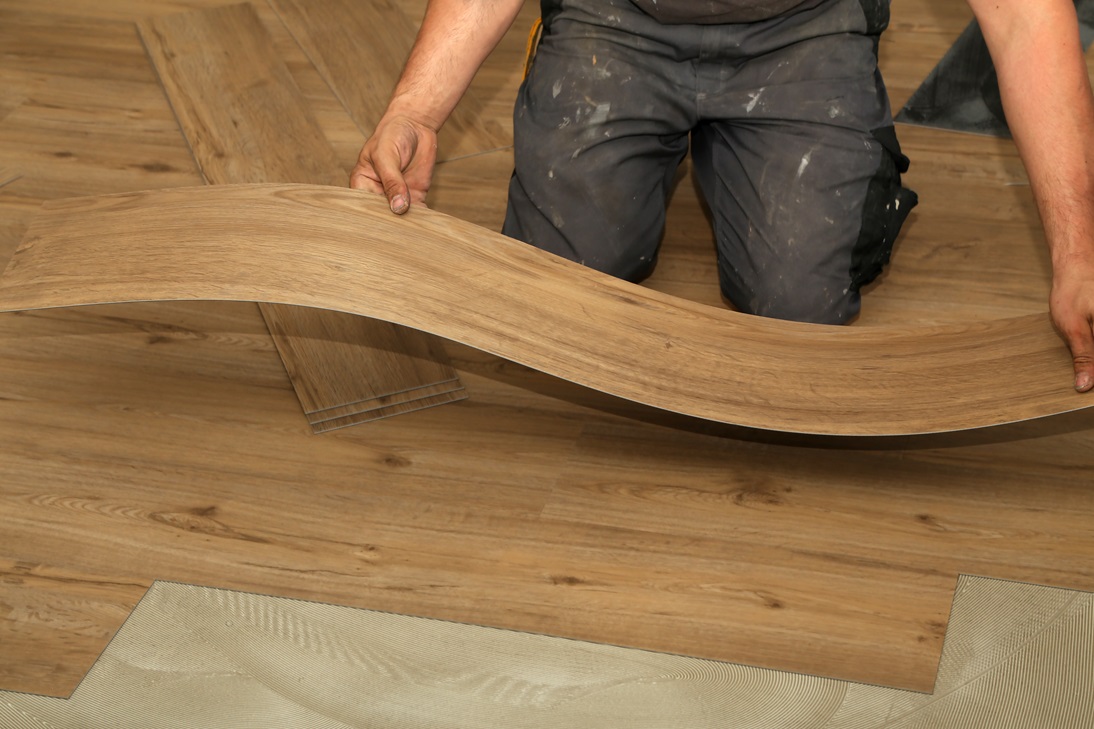
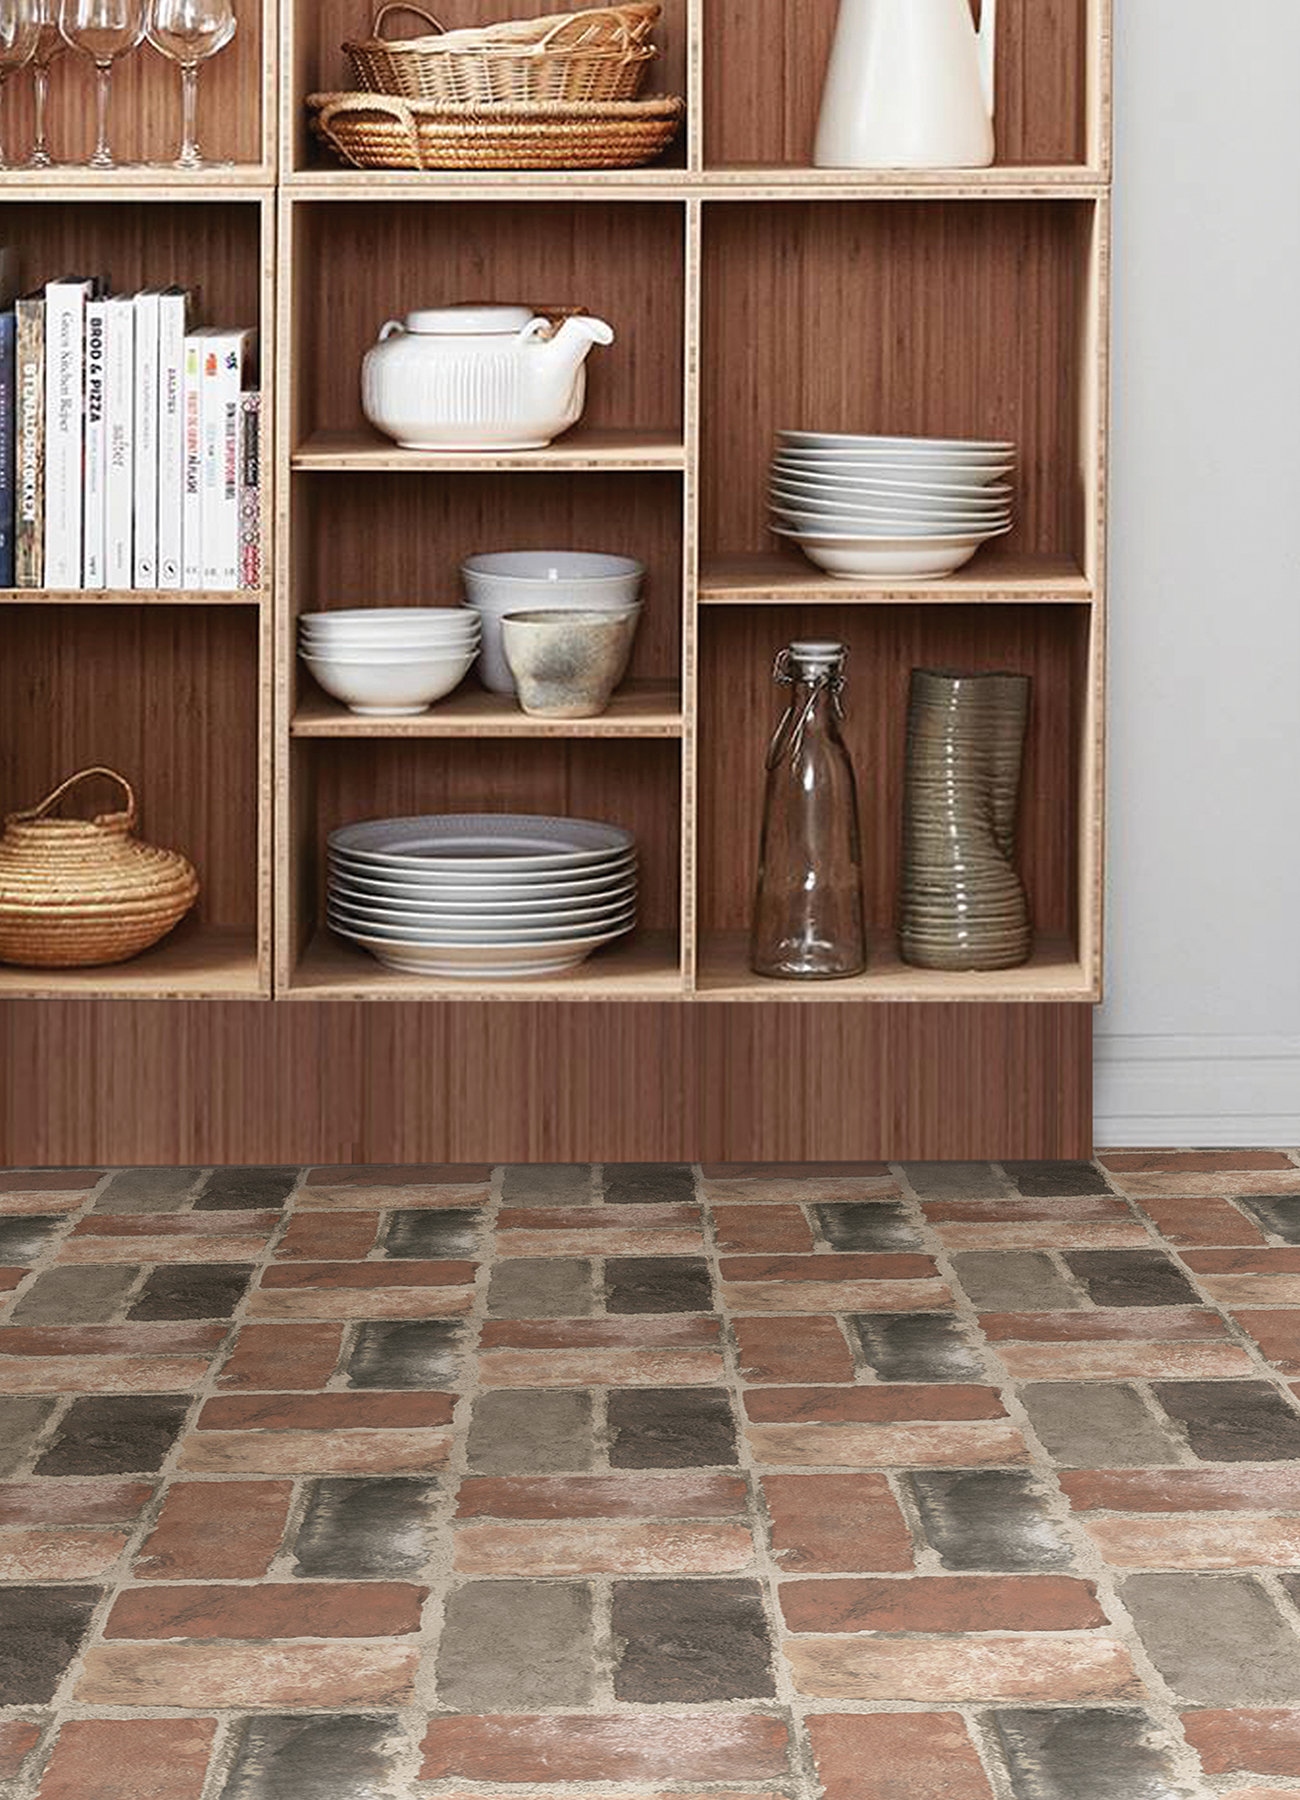
Pattern matching capabilities separate good products from exceptional ones in my experience. I look for planks with realistic textures, varied patterns, and edge details that mimic authentic materials convincingly. The best products incorporate multiple pattern variations within each box, preventing repetitive appearances that scream “fake” to discerning eyes.
Essential Preparation Steps for Success
Floor preparation determines installation success more than any other factor I’ve encountered. I spend considerable time ensuring surfaces are completely clean, dry, and level before opening the first box. Even minor debris or moisture can cause adhesion failures that become major problems requiring complete reinstallation later.
Leveling compounds become necessary when dealing with uneven subfloors that I encounter frequently. Small gaps and holes must be filled because vinyl conforms to underlying surfaces, telegraphing every imperfection through the finished floor. I use self-leveling compounds for large areas and wood filler for minor defects, always allowing complete curing before proceeding.
Room temperature affects installation success significantly in my experience. I store products in installation rooms for 48 hours before beginning work, allowing materials to acclimate properly. Cold temperatures make adhesives less effective, while excessive heat can cause premature bonding before proper positioning, creating alignment problems throughout the installation.

Installation Techniques That Guarantee Professional Results
I always establish reference lines using chalk and measuring tools to ensure straight, professional installations. Starting walls are rarely perfectly straight, so I measure from multiple points and create guidelines that account for these irregularities. This extra preparation prevents the disappointing results that occur when entire installations follow crooked walls.
Working systematically from one corner prevents the accumulation of small errors that become major problems later. I install complete rows before starting new ones, constantly checking alignment and making minor adjustments as needed. Rushing through installations always creates regrettable mistakes that become increasingly difficult to correct as work progresses.
Seam placement requires strategic planning that I’ve perfected through numerous installations. I avoid placing seams in high-traffic areas where they’ll receive excessive stress and wear. Staggering joints creates more attractive, natural appearances while distributing stress more evenly across the entire installation, preventing premature failure at vulnerable connection points.
Cutting and Fitting Techniques for Perfect Results
Sharp utility knife blades are essential for clean, precise cuts that I replace frequently during installations. Dull blades tear vinyl rather than cutting cleanly, creating jagged edges that prevent proper fitting and a professional appearance. I keep multiple knives ready and change blades at the first sign of tearing or increased cutting resistance.
Template making saves time and reduces waste when dealing with complex shapes around obstacles. I use cardboard or paper to create precise patterns for irregular cuts, transferring these shapes to vinyl planks before cutting. This technique eliminates guesswork and prevents costly mistakes that result from attempting freehand cuts around pipes, cabinets, and fixtures.
Relief cuts become necessary when fitting vinyl around inside corners and tight spaces that I encounter regularly. These strategic cuts allow materials to bend and conform without buckling or creating gaps. The key involves making multiple small cuts rather than single large ones, maintaining material integrity while achieving proper fit around challenging obstacles.

Maintenance Strategies for Long-lasting Beauty
Daily maintenance routines focus on prevention rather than correction, saving significant time and effort over the long term. I sweep or vacuum regularly to remove abrasive particles that can scratch surfaces and dull protective wear layers. This simple habit extends floor life dramatically while maintaining the attractive appearance that makes vinyl flooring so appealing.
Spill cleanup requires immediate attention to prevent staining and adhesive damage that I’ve witnessed in neglected installations. Most spills clean easily with damp cloths, but allowing liquids to stand can cause permanent discoloration or seepage into seams, where damage becomes irreversible. Quick response prevents most staining problems entirely.
Deep cleaning involves damp mopping with appropriate cleaners designed specifically for vinyl surfaces. I avoid harsh chemicals, abrasive cleaners, and excessive moisture that can damage adhesives or protective coatings. pH-neutral cleaners provide effective cleaning without causing the damage that results from using inappropriate products on vinyl surfaces.
Troubleshooting Common Installation Problems
Lifting edges plague many installations, but I’ve identified the primary causes and solutions through extensive troubleshooting experience. Inadequate surface preparation, moisture issues, and temperature fluctuations cause most lifting problems. Addressing these root causes prevents recurrence, while targeted repairs using appropriate adhesives can restore problem areas effectively.
Gaps between planks develop when materials shrink or shift after installation, and I’ve learned to minimize these issues through proper acclimation and installation techniques. Minor gaps often close naturally as materials adjust, while larger separations may require replacement of affected pieces. Prevention through careful installation practices eliminates most gapping problems.
Bubbling occurs when air becomes trapped beneath vinyl during installation, creating unsightly raised areas that I address through specific techniques. Small bubbles often disappear naturally as adhesives cure, while larger ones require careful needle puncturing and smoothing to release trapped air. Proper installation pressure prevents most bubbling issues from developing initially.
How long does peel and stick vinyl flooring typically last?
Quality peel and stick vinyl flooring lasts 10-15 years with proper installation and maintenance, in my experience. Wear layer thickness, traffic levels, and care quality significantly affect lifespan. Premium products with thick wear layers and strong adhesives perform better than budget alternatives. Regular maintenance,e including prompt spill cleanup and gentle cleaning, extends life considerably while preserving attractive appearance.
Can I install peel and stick vinyl over existing flooring?
Installation over existing floors is possible but requires careful evaluation of surface conditions and height clearances. I successfully install over smooth, well-bonded surfaces like old vinyl or concrete. However, textured surfaces, loose materials, or uneven floors require removal or preparation. Additional thickness can create transition issues at doorways that must be addressed during planning stages.

What’s the best way to remove peel and stick vinyl flooring?
I remove peel and stick vinyl using heat guns or hair dryers to soften adhesives, making removal easier and reducing residue. Start at corners and work systematically across the floor, applying heat as needed. Adhesive residue responds well to commercial removers or warm soapy water. Complete removal may require multiple treatments, but patience prevents subfloor damage that complicates future installations.
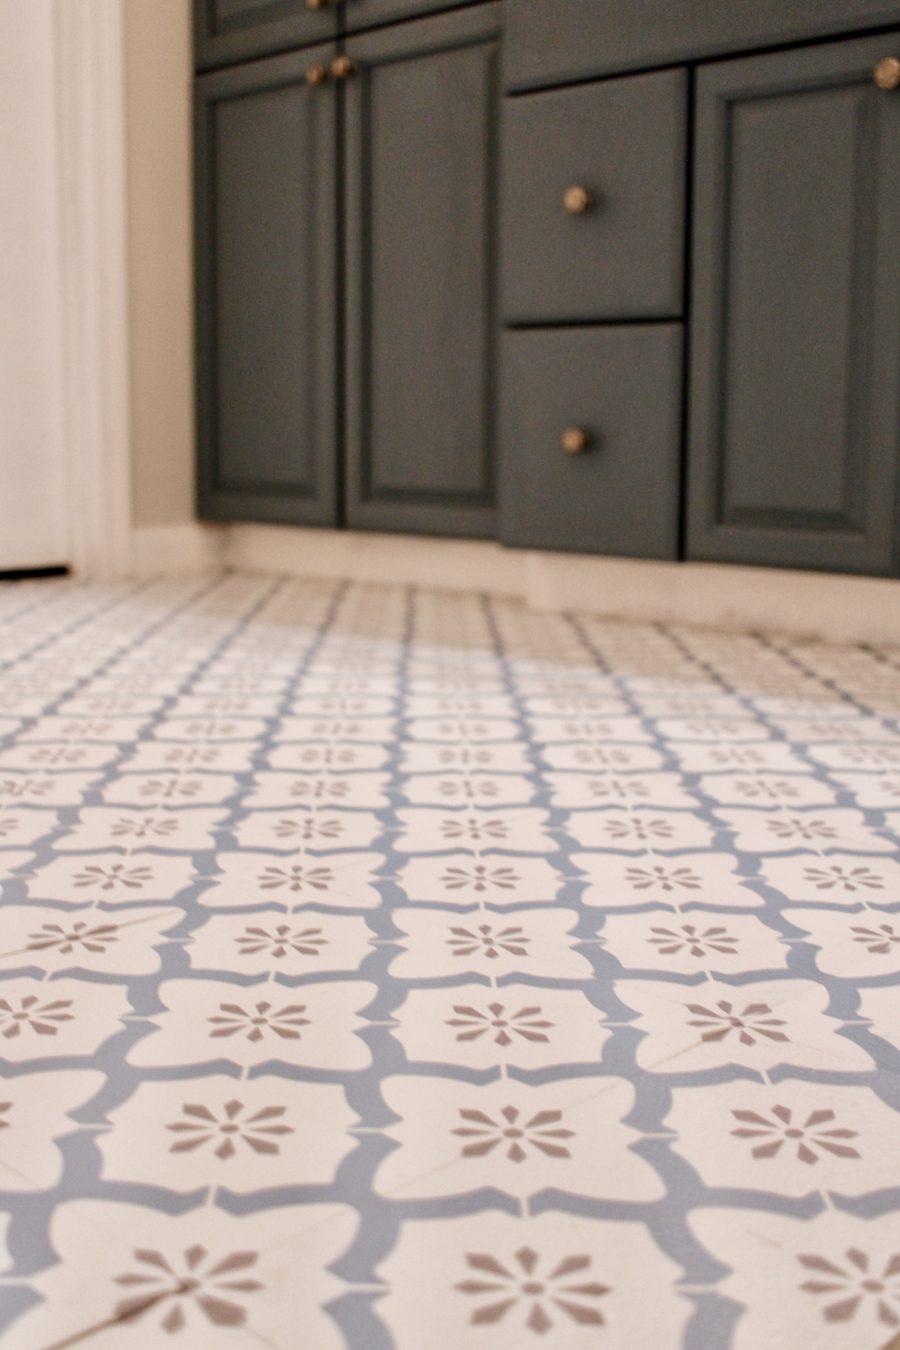
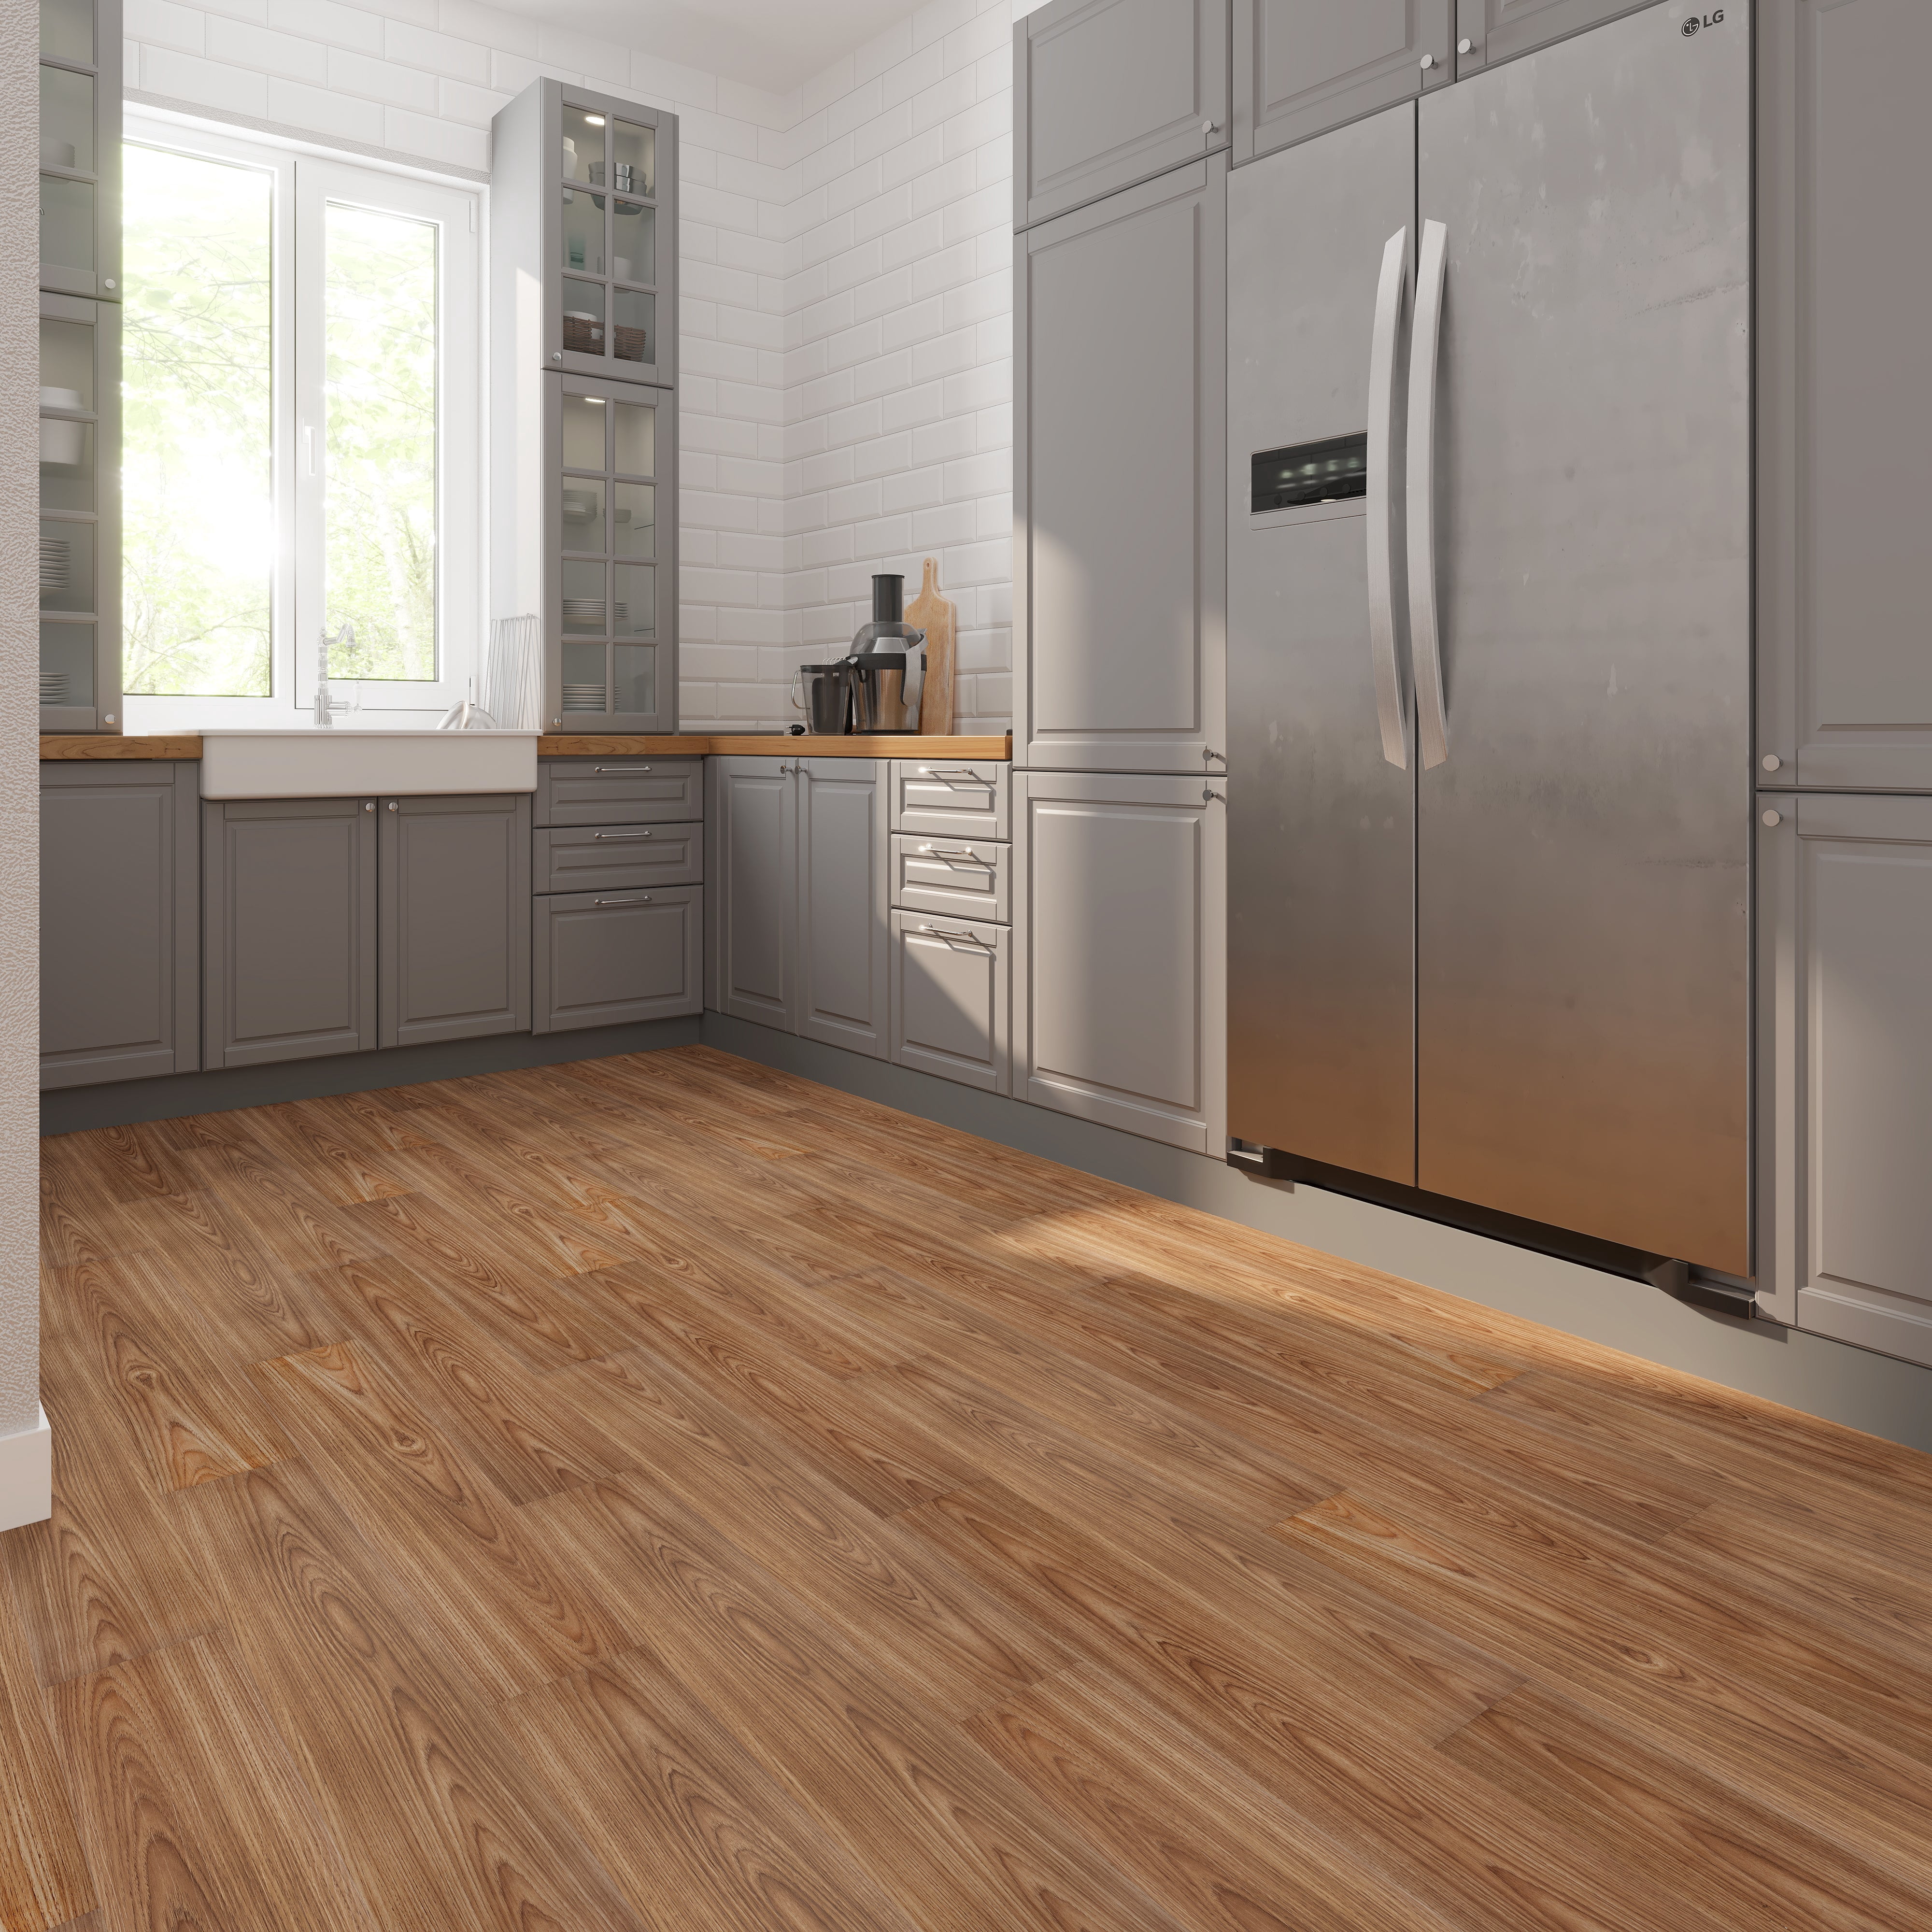
Is peel and stick vinyl suitable for bathrooms and kitchens?
I install peel and stick vinyl in bathrooms and kitchens regularly with excellent results when proper products and techniques are used. Choose products specifically rated for moisture-prone areas with superior adhesives and water resistance. Ensure perfect seam sealing around fixtures and maintain good ventilation to prevent moisture-related problems that can compromise adhesive bonds over time.

How do I repair damaged peel and stick vinyl planks?
Individual plank replacement is possible but requires careful removal of damaged pieces without disturbing surrounding materials. I use heat to soften adhesives and work slowly to avoid damage to adjacent planks. New planks may not match perfectly due to manufacturing variations or fading, so keeping spare materials from original installation helps ensure better color matching for future repairs.
Can peel and stick vinyl be installed on stairs?
Stair installation is possible but challenging due to complex angles and high stress areas that I approach cautiously. Use only premium products with superior adhesives and consider professional installation for safety and appearance. Stair nosing and edge treatments require special attention to prevent lifting and ensure safe, attractive results. Consider alternative materials for heavily used staircases where durability is paramount.
Related Posts: