It's very dense and heavy, and it doesn't require some form of glazing before usage. This's typically a one or even two year warranty. If you need the floor of yours to have the visual appeal of brass, steel or bronze, this's the one to buy. It generally takes the contractor two to three days to execute a tile floor installation. You are able to decide to complete some of the prep do the job yourself to save some cash.
Images about Restoring Old Tile Floors
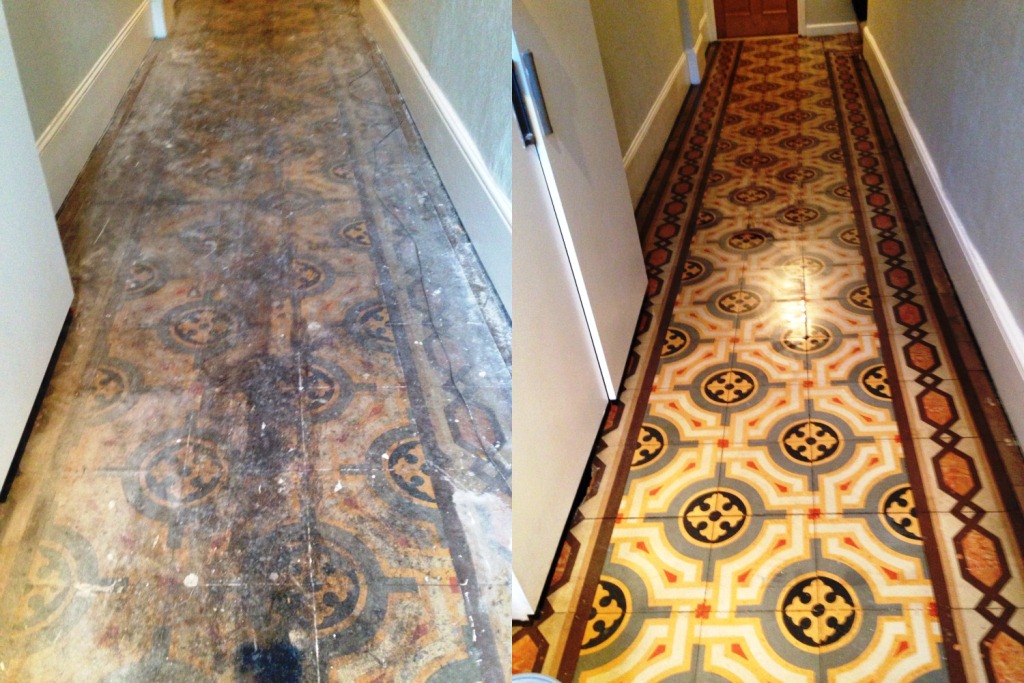
Restoring Old Tile Floors

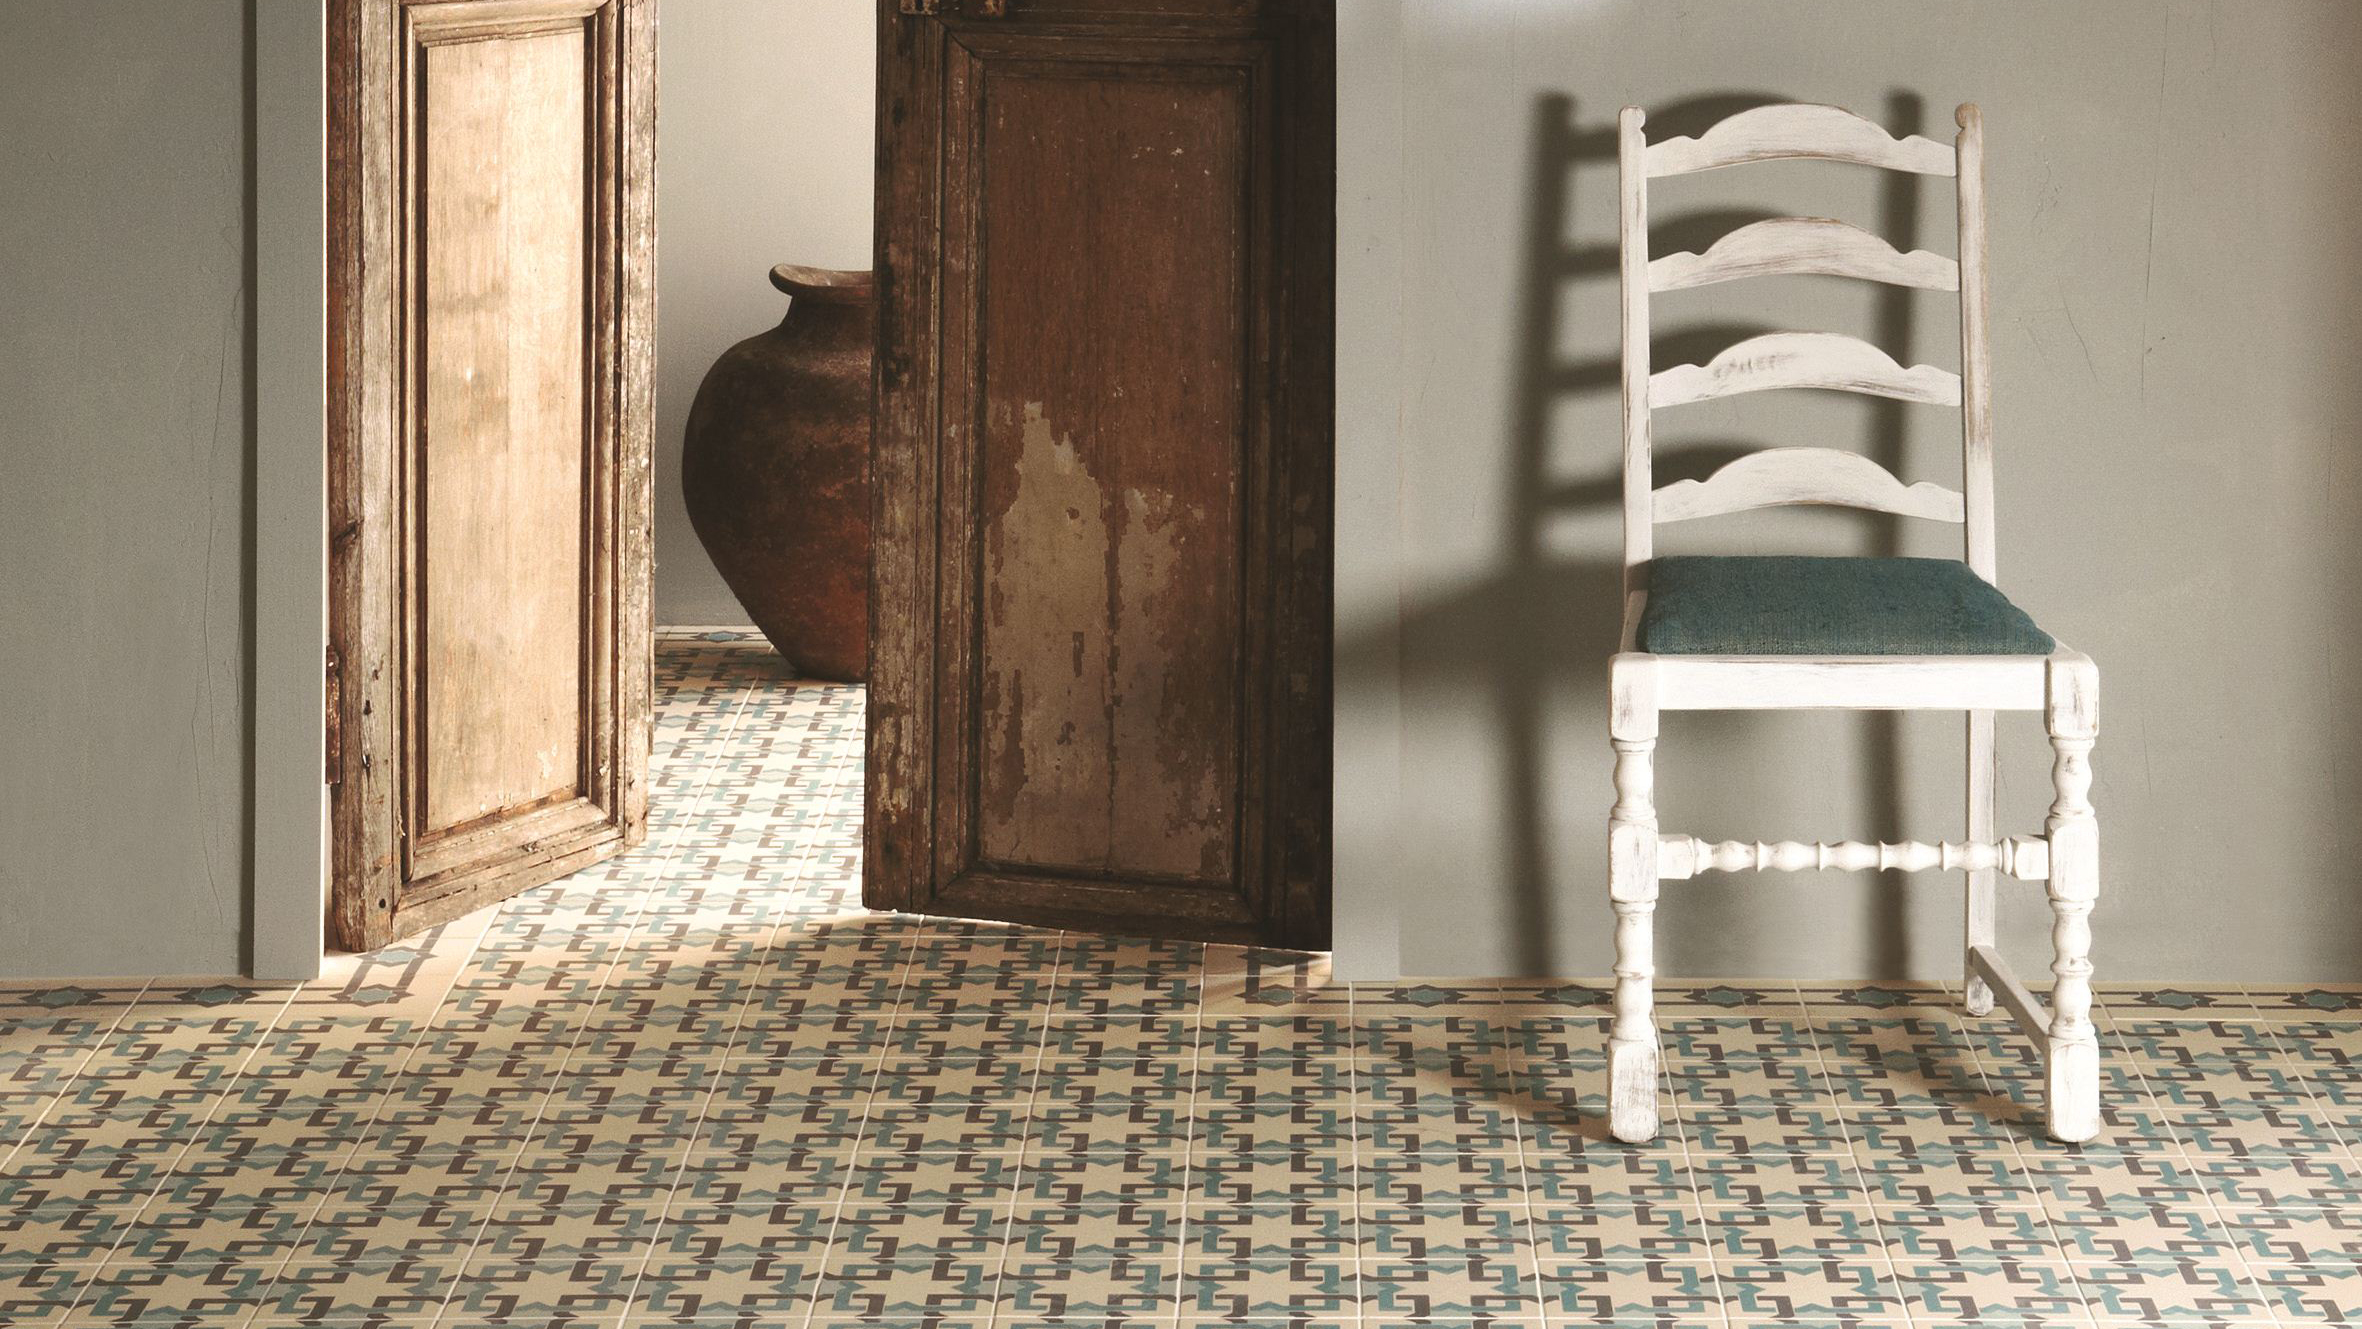
With innovations and breakthroughs in home design along with expanding style and ingenuity, tile flooring tips now go past the bathroom and the kitchen area. You can get tile flooring in colors which are solid as well, but in a bigger variety of colors and textures.
Old Encaustic Tiled Floor Restored in Fulham – East Surrey Tile Doctor
Ceramic tiles are certainly resistant to water and sudden extreme changes in temperature. To make stone floor surfaces, stones of different types (such as slate, granite, and sandstone) as well as sizes are actually positioned as well as grouted together to come up with a floor. There are many types of marble tiles out there on the market that you can choose from. Abnormal and curved lines are created in the exact same way.
Vintage Tile Cleaning and Restoration DIY Guide

How to restore and clean encaustic floor tiles Real Homes
Deep Cleaning Old Quarry Tiles – Quarry Tiled Floors Cleaning and

Restoring old floor tile – OHW
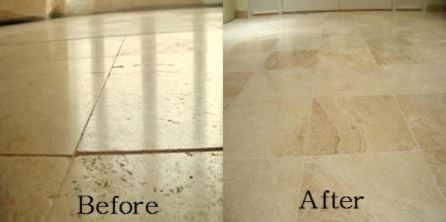
You Wonu0027t Believe How This Old and Dirty Floor Was Restored After

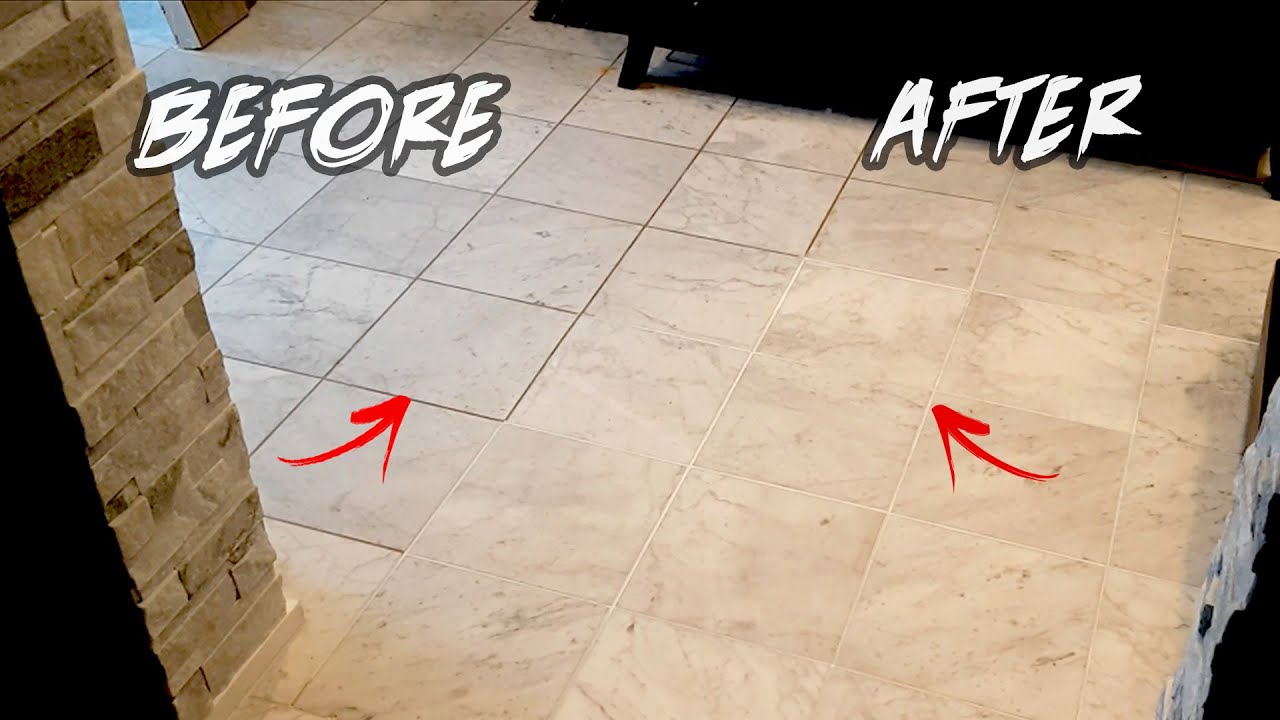
How To RESTORE TILE GROUT in 1 HR DIY Before u0026 After – Clean Grout Between Lines
How To Deep Clean A Tile Floor Maid Sailors
Terracotta Floor Restored at 400-Year-Old Cottage in Leatherhead

Ceramic Tile Repair And Restoration – Tile Floor Installation In
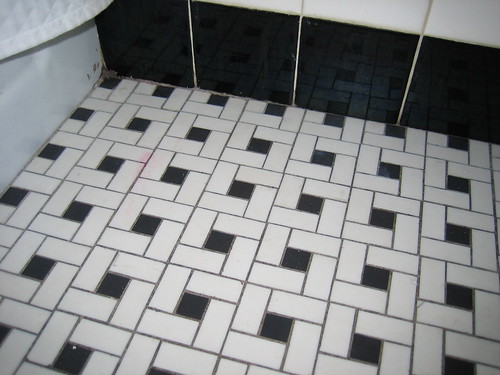
How do I refinish an old tile bathroom floor

Removing efflorescence from old Quarry Tiles – Quarry Tiled Floors

Restoring old floor tile – OHW
Related Posts:
- Installing Slate Tile Floor
- Painting Ceramic Tile Floor In Kitchen
- Anti Slip For Tile Floors
- Laminate Tile Flooring
- Marble Tile Floors
- Travertine Tile Flooring
- Modern Kitchen Tile Floor
- Country Style Tile Floors
- White Tile Flooring Ideas
- Herringbone Brick Tile Floor
Restoring Old Tile Floors: The Ultimate Guide
Tile floors are a popular option for many homeowners. They are attractive, durable and can last for decades. But over time, tile floors can become worn and dull, making them look dated and unappealing. Fortunately, with the right tools and techniques, it is possible to restore old tile floors to their former glory. In this guide, we will discuss the steps you need to take to restore old tile floors.
What You Will Need
Before beginning your tile restoration project, you will need a few supplies:
– Vacuum cleaner
– Grout brush
– Tile cleaner
– Grout sealer
– Sponge
– Paint brush
– Waterproof sealant
– Painter’s tape
– Paint or grout dye (optional)
– Drill or screwdriver (optional)
Preparing the Floor
The first step in restoring an old tile floor is preparing the surface for cleaning. Begin by vacuuming the entire area to remove any dirt or debris that might interfere with the cleaning process. Next, apply a specialized tile cleaner to the tiles and grout lines. Allow the cleaner to sit for several minutes before scrubbing with a grout brush. Once the tiles have been thoroughly scrubbed, use a sponge to rinse away any remaining residue. If necessary, you may need to repeat this process several times until all traces of dirt and grime are gone.
Sealing the Grout
Once your tiles have been cleaned, it is time to begin sealing the grout lines. Start by applying a quality grout sealant with a paintbrush. Work from one end of the room to the other, ensuring that each line is completely covered with sealant. Allow the sealant to dry overnight before proceeding. Once dry, you can apply a second coat of sealant if desired. This will ensure that your grout lines stay protected from water damage and staining for years to come.
Waterproofing the Floor
Now that your grout lines have been sealed, it is time to waterproof the entire floor. Begin by applying a waterproof sealant with a paintbrush or roller, working from one corner of the room to another in even strokes. Allow the sealant to dry completely before proceeding. It is important that you allow enough time for the sealant to dry completely before walking on it or adding furniture back into the room. Once dry, you can apply a second coat of sealant if desired. This will ensure that your tile floors remain protected from water damage and staining for years to come.
Adding Color (Optional)
If desired, you can add color back into your tiles by painting or dyeing them. Begin by applying painter’s tape around the edges of each tile to ensure that paint or dye does not get onto other surfaces. Once all of your tiles have been taped up, you can begin painting or dyeing them as desired. If you are using paint, be sure to use a high quality product that is designed specifically for use on tile floors. For best results, allow each layer of paint or dye to dry before adding another layer. When finished, remove any painter’s tape and allow the paint or dye to dry completely before walking on it or adding furniture back into the room. If desired, you can also add a waterproof sealant over top of the painted or dyed tiles once they are completely dry.
Replacing Damaged Tiles (Optional)
If any of your tiles are cracked or broken, you may need to replace them in order to properly restore your floor. Begin by using a drill or screwdriver to remove any damaged tiles from the flooring surface. Once removed, you can replace them with new tiles that match the existing ones in size and color. To install new tiles, simply follow the manufacturer’s instructions carefully while taking care not to damage any surrounding tiles in the process. Once all new tiles have been installed, you can add a waterproof sealant over top of them once they are completely dry.
FAQ