Hiring specialized concreters or perhaps concrete contractors may cost you a little although you are guaranteed of a better outcome. Concrete floors are greatly recommended from the American Lung Association for folks with asthma and allergies. All of the above types of polished concrete floors may be finished in huge looks and styles.
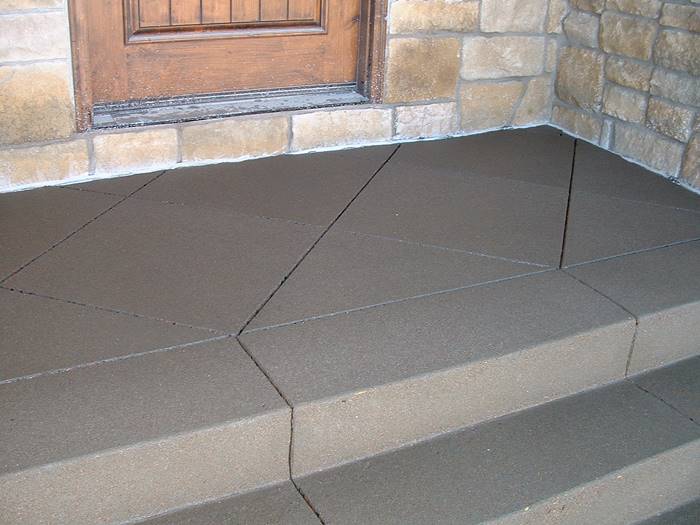
Concrete Floor Control Joints
A number of profits of polished concrete flooring surfaces are its long life, along with the virtually endless style choices available. Concrete flooring is perfect for warm climates as it continues to be cool even in probably the hottest weather conditions. If you are preparing the floor of your house or office area to be concreted, there are a few things you need to check.
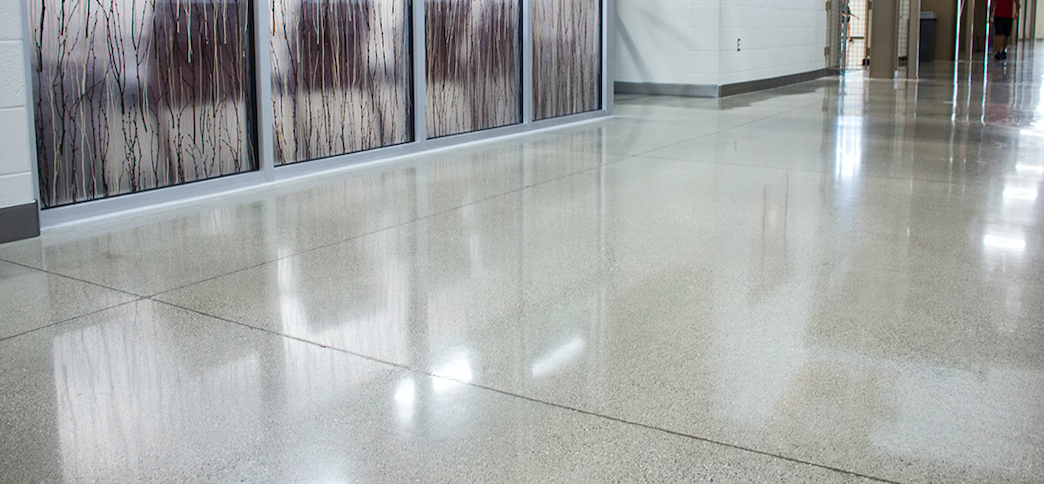
The rewards that an individual can easily buy through the polished concrete floors are extremely numerous and several of them include the basic fact which the polished concrete floors provide a genuine very low cost solution to the notion of flooring as a well as giving a good choice in conditions of eco-friendly options.
Joints in Concrete Slabs JLC Online

Joints in Concrete Slabs JLC Online

Types of Concrete Joints and Their Purpose – Concrete Network
flooring – Do I need to “fill in” concrete control joints before

Concrete: Control Joints and Expansion Joints – Schedule Fred
Where To Locate Control Joints in Concrete – Construction Math

Expansion Joints in Concrete Floors BECOSAN®

Concrete: Control Joints and Expansion Joints – Schedule Fred
Fill Concrete Joints with Joint Filler u0026 Sealant Premier Veneers

Preparing for Concrete Cracks with Control Joints – Concrete Decor
Control Joints, Expansion Joints and Cold Joints in Concrete
How to Fill Expansion and Contraction Joints in a Garage Floor
Epoxy Floor Coatings: What about the Cracks? What if I have a

Related Posts:
- Acid Stain Concrete Floors Yourself
- Resurfacing A Concrete Floor
- Interior Concrete Floor Stain
- Acid Stained Concrete Floors
- Concrete Floor Paint Flakes
- Epoxy Concrete Floor DIY
- Fixing Concrete Floors
- Rustic Stained Concrete Floors
- Painting Concrete Floors Basement
- Concrete Floor Tiles Interior
Concrete Floor Control Joints: A Comprehensive Guide
As a building material, concrete has long been a popular choice due to its strength and durability. However, one of the challenges of using concrete is that it can crack over time due to a variety of factors, including temperature changes, moisture, and settling of the underlying soil. This is where control joints come in – they are essential for preventing unsightly and potentially damaging cracks from appearing in your concrete floors.
In this comprehensive guide, we’ll cover everything you need to know about concrete floor control joints, including what they are, why they’re important, how to install them, and more.
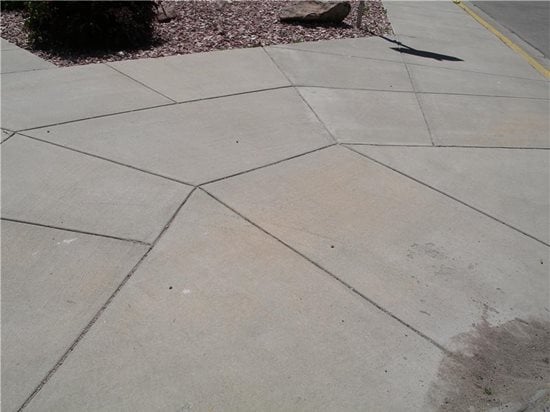
What Are Concrete Floor Control Joints?
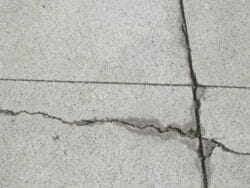
Concrete floor control joints are intentional breaks or separations in a concrete slab that are designed to control cracking due to the natural movement of the concrete over time. When concrete is poured, it will naturally expand and contract with changes in temperature and moisture. If there are no control joints, this movement can cause the concrete to crack, which can lead to more serious structural problems down the line.
Control joints are created by placing a preformed joint filler or by saw-cutting the concrete after it has cured. By creating these intentional separations, the concrete is able to move more freely, reducing the risk of cracking and improving the long-term durability of the floor.
Why Are Concrete Floor Control Joints Important?
As mentioned, control joints are essential for maintaining the structural integrity of a concrete floor. Without them, the natural movement of the concrete can lead to cracking and other damage over time. When this happens, the floor can become unsightly, unsafe, and in some cases, even unusable. Additionally, repairing a cracked concrete floor can be time-consuming and expensive, so it’s important to take preventative measures by installing control joints from the outset.
How Do You Determine Where to Place Control Joints?
The spacing and placement of control joints depend on a variety of factors, including the thickness of the concrete slab, the temperature and humidity conditions in the area, and the intended use of the concrete surface.
As a general rule of thumb, control joints should be spaced no more than 2-3 times the slab thickness apart in a grid-like pattern. For example, if your concrete slab is 4 inches thick, the control joints should be spaced no more than 8-12 feet apart.
In addition to the grid pattern, you should also install control joints around the perimeter of the slab and around any existing structural elements such as posts or columns.
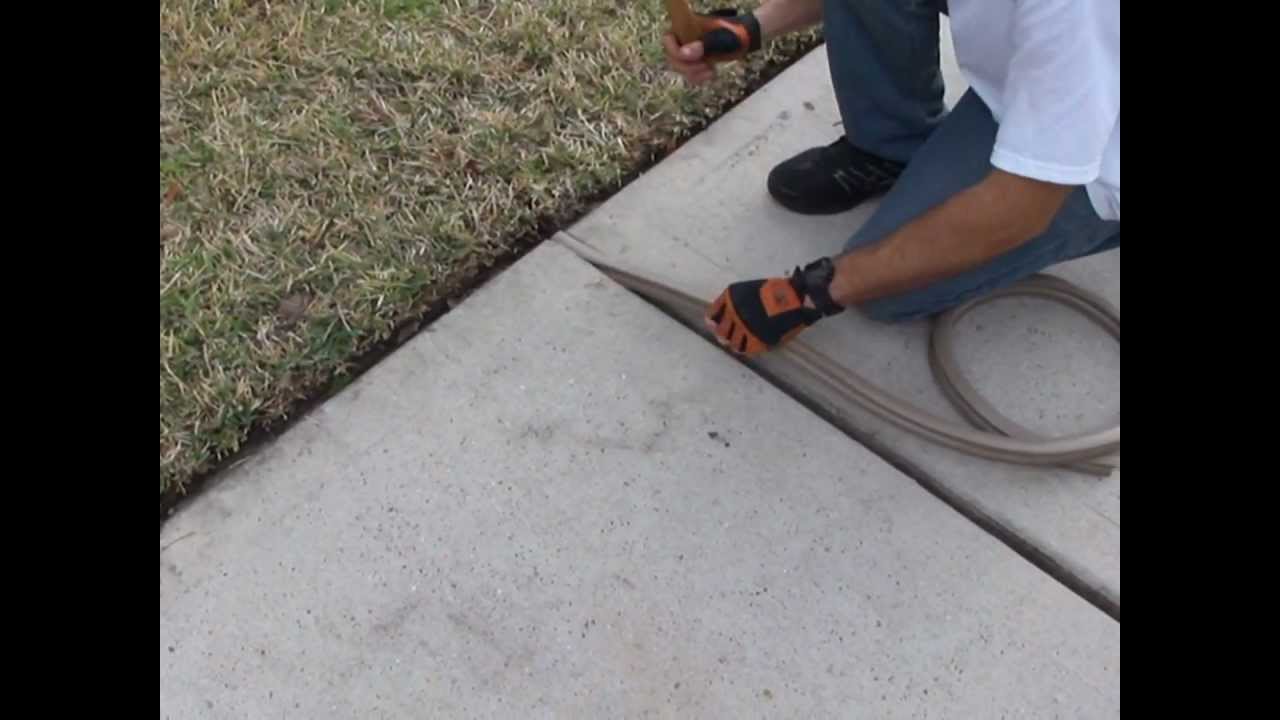
Joint Filler Materials
After a joint is created, it needs to be filled with a joint filler material. The purpose of this is to prevent debris and water from entering the joint and to support the edges of the joint. Joint filler materials can be either rigid or flexible.
Rigid fillers are used in situations where heavy traffic or equipment is expected, and the filler needs to be strong enough to handle the load. They are usually made of epoxy or polyurea.
Flexible fillers are more commonly used in areas with less traffic and where the joint needs to allow for some movement. They are typically made of foam or rubber.
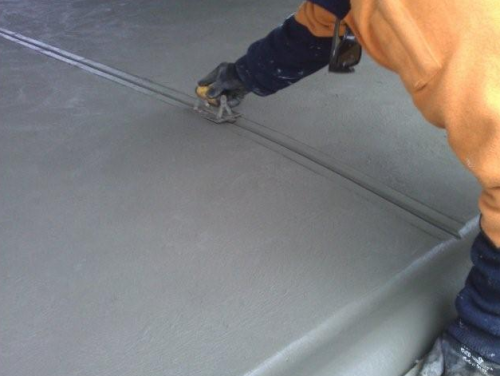
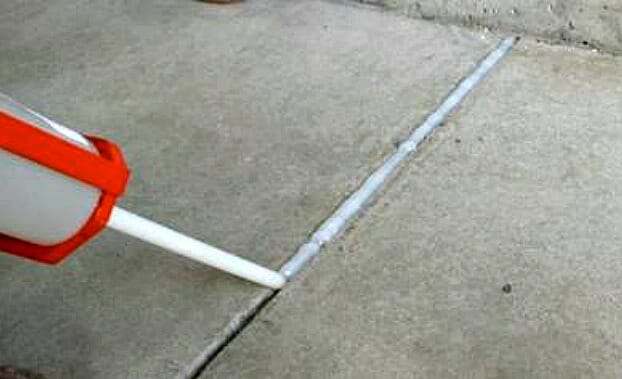
Joint Sealant Materials
After the joint filler is installed, a sealant is applied on top. The purpose of the sealant is to protect the joint filler and concrete from moisture, chemicals, and other types of debris. Joint sealants can be either silicone or polyurethane.
Silicone sealants are generally used in areas with low to moderate traffic and movement. They are easy to install and have good adhesion to concrete. However, they can be difficult to remove if they need to be replaced.
Polyurethane sealants are more commonly used in areas with high traffic and movement. They have excellent adhesion to concrete and are more resistant to chemicals and weathering. However, they can be more challenging to install than silicone sealants.
How to Install Concrete Floor Control Joints
Installing control joints in a concrete floor is a relatively straightforward process, but it does require some planning and attention to detail. Here are the basic steps involved:
-
Determine where the control joints will go: Control joints should be placed at regular intervals throughout the concrete floor, usually at a maximum spacing of 24 to 36 times the thickness of the slab. For example, if you’re pouring a 4-inch thick slab, the maximum spacing for control joints would be between 8 and 12 feet.
-
Prepare the subbase: The subbase is the layer of material that the concrete will be poured onto. It should be well-compacted and level, with a layer of gravel or crushed stone added for drainage.
-
Place the reinforcement: If necessary, add reinforcement to the concrete to help prevent cracking. This may include rebar or wire mesh, depending on the size and intended use of the slab.
-
Pour the concrete: Once the subbase is prepared and the reinforcement is in place, pour the concrete into the forms and level it using a screed board or bull float.
-
Install the control joints: While the concrete is still wet, place the preformed joint filler or use a saw to create the joints. The joints should be at least 1/4 of the thickness of the slab and should be at least as deep as the width of the joint.
-
Finish the concrete: Once the joints are in place, finish the concrete using a trowel, broom, or other texturing tools as desired.
How Do You Maintain Concrete Floor Control Joints?
To ensure that your concrete floor control joints continue to function properly, it’s important to keep them clean and free of debris. Regular cleaning with a broom or vacuum will help prevent dirt and debris from accumulating in the joints.
If the control joints become damaged or cracked, they should be repaired as soon as possible to prevent further damage. The repair method will depend on the severity of the damage and the type of joint filler used.
Frequently Asked Questions
How long do concrete floor control joints last?
With proper installation and maintenance, concrete floor control joints can last for decades.
Can you install control joints on an existing concrete floor?
Yes, it is possible to install control joints in an existing concrete floor, although it can be more difficult and may require specialized equipment.
How often should concrete joints be cut?
The frequency of cutting joints depends on various factors, including the type of concrete, climate, and expected loads. In general, joints should be cut every 10-15 feet in a straight line.
Can joint fillers be replaced?
Yes, joint fillers can be replaced. It is recommended to replace them when they start to break down or show signs of wear and tear.
Can joint sealants be painted over?
Yes, joint sealants can be painted over once they have been cured. However, it is essential to make sure the sealant is compatible with the paint you plan to use.
Concrete floor joint control is an essential aspect of creating a durable and long-lasting concrete floor. By using the right joint control methods, materials, and techniques, you can ensure that your concrete floor stays intact and resistant to damage. It is important to work with a professional concrete contractor to ensure that your floor is installed correctly and maintained properly. By doing so, you can enjoy a beautiful and functional concrete floor for years to come.