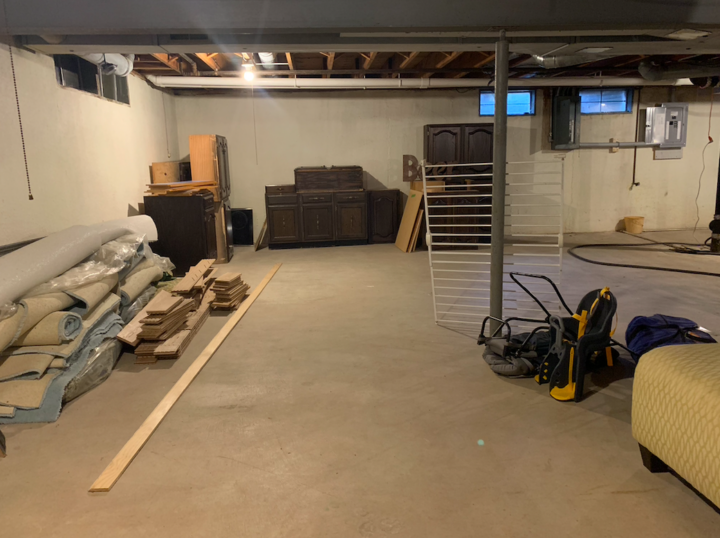
When I first looked at my basement’s bare concrete floor, it felt like staring at an endless sea of industrial gray that sucked all the warmth out of the space. I had big dreams of turning this area into a cozy family room, but that cold, dusty concrete floor was definitely not going to work. After months of research and finally tackling the project myself, I can honestly say that painting my concrete basement floor was one of the most transformative and cost-effective improvements I’ve ever made to my home. The process taught me so much about surface preparation, paint selection, and the importance of patience that I wish I had known before I started.
Understanding Your Concrete and Its Quirks
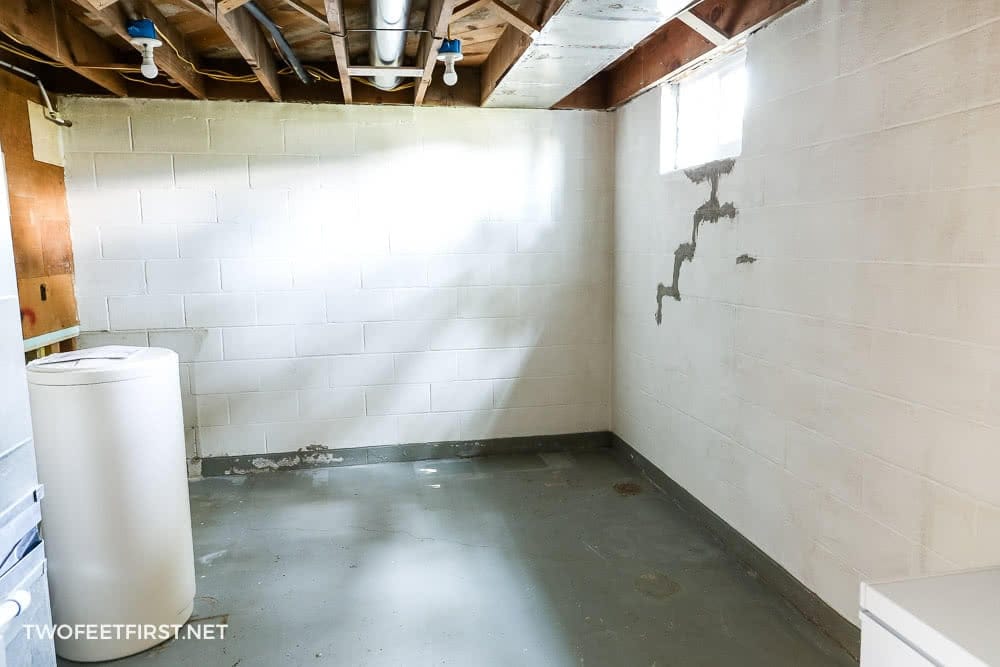
Before I could even think about opening a paint can, I had to get to know my concrete floor intimately. I discovered that not all concrete is created equal, and basement floors have their own unique challenges that affect how paint will adhere and perform over time. My floor was about fifteen years old, which meant it had likely cured completely but also had accumulated years of dust, minor stains, and who knows what else.
I spent time examining every square foot, looking for cracks, oil stains, efflorescence (those white chalky deposits), and areas where the concrete seemed more porous than others. What surprised me was how much variation there was across my basement floor. Some areas near the foundation walls seemed denser, while the center of the room had a more open, porous texture.
The moisture test became my reality check. I taped plastic sheets to different areas and waited 24 hours to see if condensation appeared underneath. This simple test revealed that my basement had minor moisture issues along one wall, information that would prove crucial when selecting the right type of paint and preparation methods for my specific situation.
Surface Preparation That Actually Works
I’ll be completely honest, the preparation phase took me almost three times longer than I initially planned, but it was absolutely the most important part of the entire project. I started with a thorough cleaning using a concrete degreaser, paying special attention to areas where I could see any kind of staining or discoloration.
The real game-changer was renting a concrete grinder for the weekend. At first, I thought this might be overkill, but grinding opened up the pores in the concrete and removed the top layer where most contamination sits. The amount of dust this created was incredible, so I had to seal off the rest of the house and wear proper protective equipment throughout the process.
Acid etching came next, and this step made me nervous because I was working with muriatic acid. However, following the manufacturer’s instructions carefully, I created a solution that effectively etched the concrete surface, giving the paint something to really grip onto. After neutralizing and thoroughly rinsing the acid, I could actually feel the difference in the concrete texture with my hand.
Choosing Between Epoxy and Acrylic Paints
The paint selection process overwhelmed me initially because there seemed to be endless options, each claiming to be the best choice for basement concrete floors. I narrowed it down to two main categories: epoxy-based paints and high-quality acrylic paints designed specifically for concrete applications.
Epoxy paints appealed to me because of their reputation for durability and chemical resistance. However, I learned that epoxy can be tricky to work with, especially for a DIY project. It has a limited working time once mixed, and if moisture ever gets underneath, it can cause the entire coating to peel off in large sections, which would be a nightmare to repair.
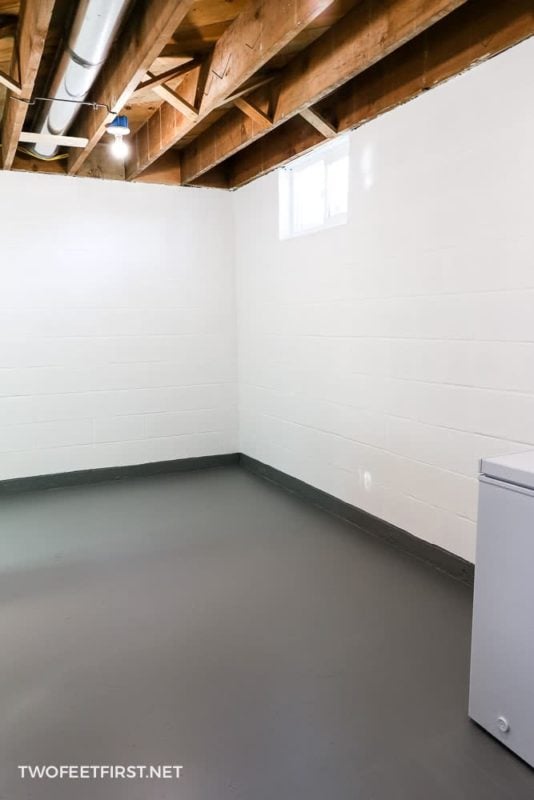
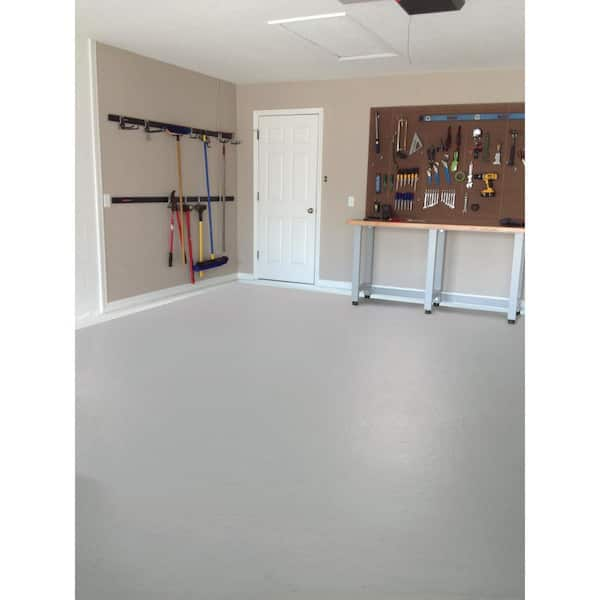
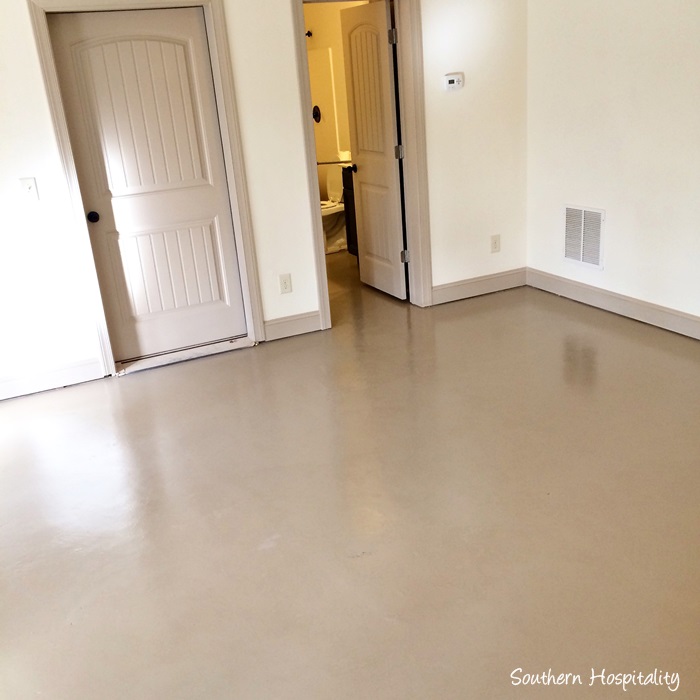
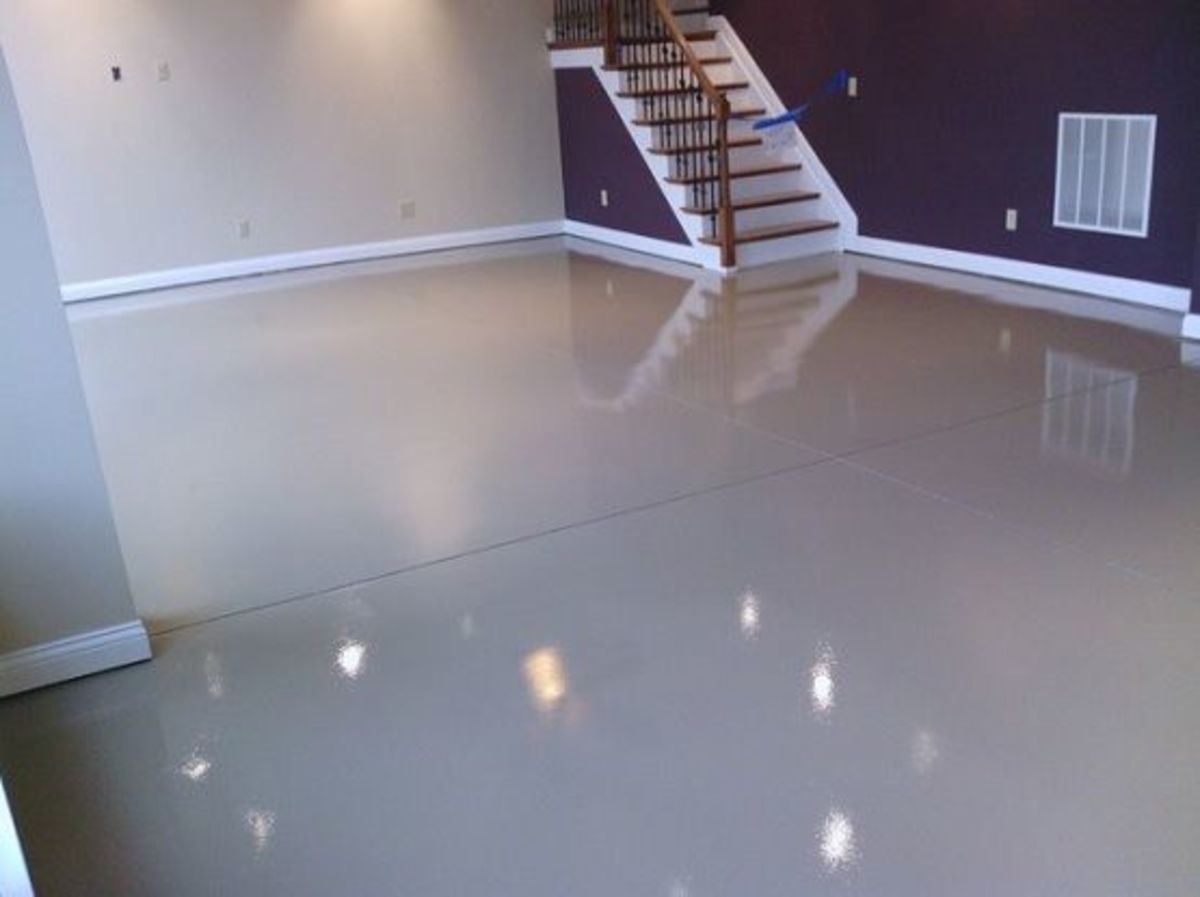
I ultimately chose a premium acrylic concrete paint specifically formulated for basements. While it might not be quite as hard as epoxy when fully cured, it’s much more forgiving during application and allows the concrete to breathe slightly, which helps with minor moisture issues. The finish has a nice satin sheen that brightened my basement significantly without looking too industrial.
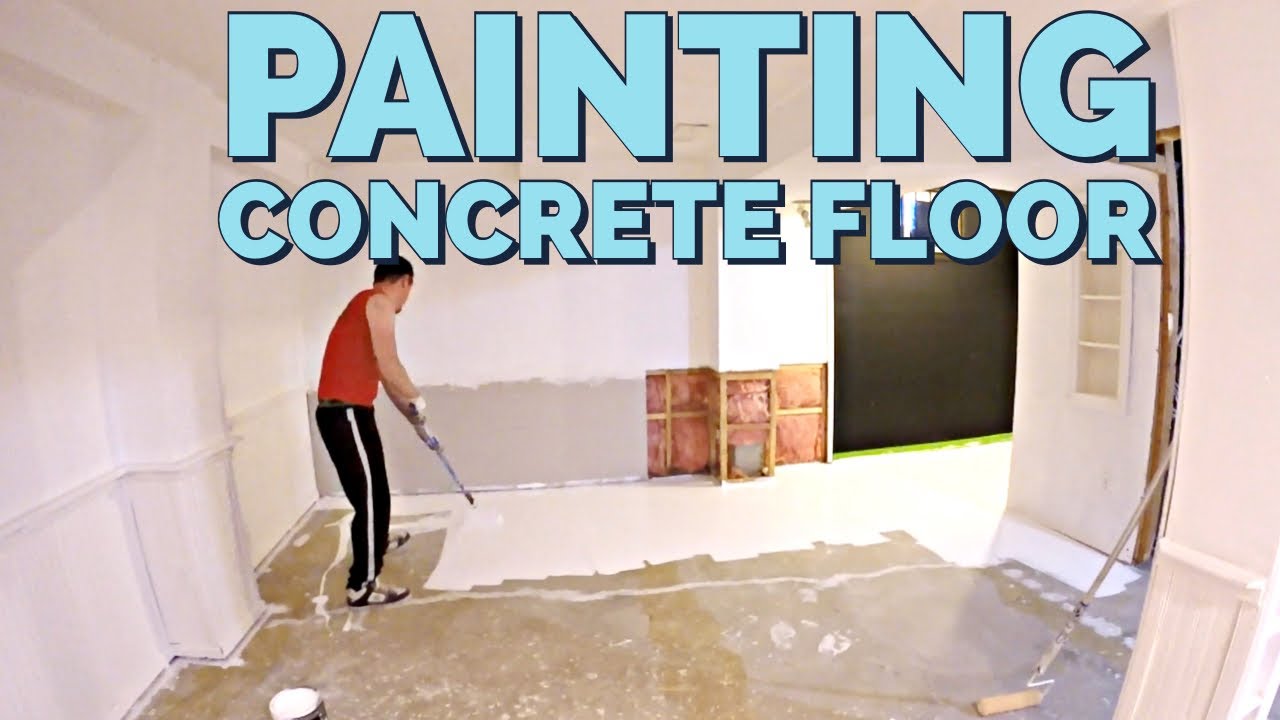
The Application Process and My Mistakes
When I finally started painting, I thought the hard part was behind me. I couldn’t have been more wrong. Painting concrete is completely different from painting walls, and I learned several lessons the hard way during my first attempt at getting even coverage across the entire floor surface.
My biggest mistake was trying to cover too much area at once. Concrete is thirsty and absorbs paint unevenly, which means you need to work in manageable sections and maintain a wet edge to avoid lap marks. I ended up dividing my basement into six sections and completing each one fully before moving to the next area, which gave me much better results.
The roller technique took some getting used to as well. I found that a thick nap roller (about 3/4 inch) worked best for getting paint into all the tiny pores and imperfections in the concrete surface. I also learned to back-roll perpendicular to my initial application direction to ensure even distribution and eliminate any potential streaking.

Dealing with Drying Times and Environmental Factors
One aspect I hadn’t fully considered was how much the basement environment would affect the drying and curing process. Basements are naturally cooler and more humid than other areas of the house, which significantly extends the time needed between coats and for final curing.
My first coat took nearly twice as long to dry as the manufacturer’s specifications suggested, and I learned this was completely normal for basement applications. I ended up bringing in fans and a dehumidifier to improve air circulation and reduce humidity levels, which made a noticeable difference in both drying time and my comfort while working.
Temperature fluctuations also played a role I hadn’t anticipated. My basement temperature varied by about ten degrees between day and night, and I noticed this affected how the paint flowed and leveled. I learned to time my painting sessions for consistent temperature periods and to avoid working during the most extreme temperature swings.
Long-Term Performance and Maintenance Reality
Now that it’s been eighteen months since I completed my basement floor painting project, I can share some honest feedback about how the paint has performed in real-world conditions. Overall, I’m extremely pleased with the results, but there have been some surprises and learning experiences along the way.
The paint has held up remarkably well to normal foot traffic, furniture placement, and even the occasional dropped tool or heavy item. The areas that get the most use, like the path from the stairs to the laundry area, still look great with just some minor scuffing that’s barely noticeable. The color has remained vibrant and hasn’t faded or yellowed, as I was worried it might.
Maintenance has been easier than I expected. Regular sweeping and occasional damp mopping with a mild cleaner keep the floor looking fresh. I did have one area where a small water heater leak created a puddle that sat for several hours before I discovered it, but the paint protected the concrete underneath and cleaned up without any lasting damage or staining.

How long does painted concrete basement flooring actually last?
Based on my research and experience so far, quality concrete paint should last 5-7 years with normal basement use. I’m at 18 months and very happy with the durability. The key factors are thorough surface prep, good paint quality, and proper application technique. High-traffic areas might show wear sooner, but touch-ups are straightforward.
What’s the realistic cost for a DIY concrete floor painting project?
For my 900 square foot basement, I spent about $350 on paint, primer, and supplies, plus $100 for equipment rental. This included a concrete grinder rental, which I highly recommend. Professional installation would have cost $3-4 per square foot, so DIY saved me significant money while giving me complete control over the process.
Can painted concrete floors handle basement moisture issues?
Paint creates a barrier but won’t solve serious moisture problems. My basement has minor humidity issues that the paint handles well. However, if you have standing water, significant seepage, or major moisture problems, address those first. The paint I used allows some breathability while still providing good moisture resistance for typical basement conditions.
How slippery do painted concrete floors get when wet?
This was a concern for me near the utility sink and laundry area. Most concrete paints do become somewhat slippery when wet. I added anti-slip additive to my final coat in areas prone to water exposure, which helped significantly. You can also choose textured concrete paints for better traction throughout the space.

What preparation steps can I skip to save time?
Honestly, I don’t recommend skipping any major prep steps. I learned this the hard way when I tried to rush through cleaning in one area, and the paint adhesion was noticeably worse there. Proper degreasing, grinding, or etching, and thorough cleaning are essential. Cutting corners on prep almost always leads to problems later that are much more expensive to fix.
Can I paint over existing concrete sealer or previous paint?
This depends on what’s currently on your floor. I had some areas with old sealer that had to be completely removed through grinding. Paint won’t adhere properly to most sealers or glossy surfaces. Do a small test area first, but in most cases, you’ll need to remove existing coatings for good results. It’s extra work but essential for long-term success.
How To Paint a Concrete Floor
How to Paint Concrete Basement Floors Using Epoxyshield

How to paint a concrete floor in a basement
Best Basement Cement Floor Paints – Our Complete Guide
How to Paint Concrete Floors

Tips on Choosing Basement Floor Paint
Related Posts: