When I first moved into my house, I thought the concrete floors in my basement and garage were indestructible. Boy, was I wrong! Over the years, I’ve dealt with everything from hairline cracks that seemed to appear overnight to serious structural damage from water infiltration. Through trial and error, countless YouTube videos, and more than a few expensive mistakes, I’ve learned that concrete floors require attention and care just like any other part of your home. Let me share what I’ve discovered about keeping these foundational surfaces in top shape.
Identifying Different Types of Concrete Floor Damage
The first thing I learned is that not all concrete damage is created equal. When I started noticing problems with my basement floor, I initially thought every crack was a disaster waiting to happen. After consulting with several contractors and doing my own research, I discovered that surface-level hairline cracks are actually quite normal and usually nothing to worry about. These typically result from the natural settling process or minor temperature fluctuations.
However, I quickly learned to distinguish between cosmetic issues and serious structural problems. Wide cracks that you can fit a quarter into, or cracks that show signs of vertical displacement where one side is higher than the other, signal foundation issues that require immediate professional attention. I made the mistake of ignoring a growing crack in my garage floor, and it eventually led to water seepage that cost me much more to fix later.
The key is understanding what you’re looking at before you start any repair work. I now do regular inspections every few months, taking photos to track any changes over time. This simple practice has saved me from both unnecessary panic over minor issues and expensive emergency repairs when real problems develop. Trust me, catching issues early makes all the difference in both cost and complexity of repairs.
Surface Preparation: The Foundation of Any Good Repair
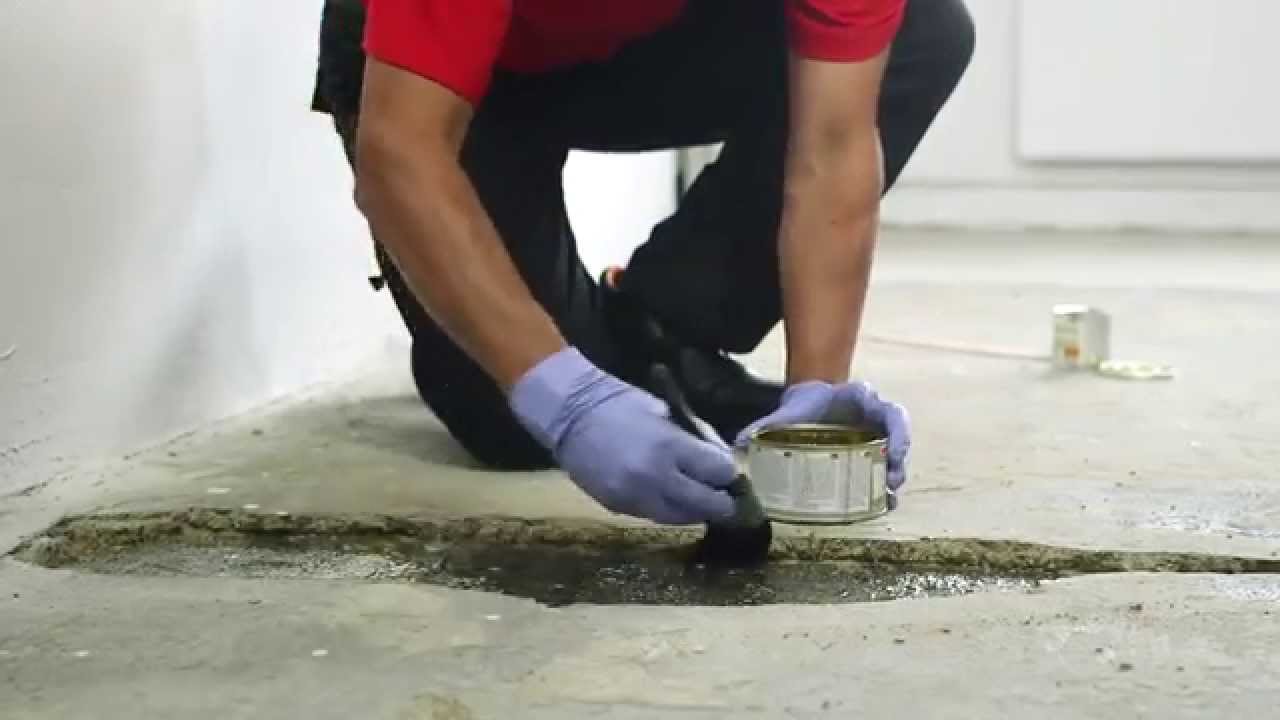
I cannot stress enough how critical proper surface preparation is for any concrete repair project. When I attempted my first crack repair, I thought I could just squeeze some caulk into the gap and call it a day. The “repair” lasted about three weeks before it failed. I learned that concrete surfaces must be completely clean, dry, and properly profiled for any repair material to bond effectively.
My preparation routine now includes thorough cleaning with a wire brush to remove loose debris, followed by a concrete degreaser to eliminate any oil stains or residue. For larger repairs, I rent a concrete grinder to create the rough surface texture that repair materials need to grip properly. This might seem like overkill, but I’ve found that spending extra time on preparation always pays off in the longevity of the repair.
Moisture is another crucial factor I had to learn the hard way. I once attempted a repair during a humid summer week, and the repair compound never properly cured because the concrete couldn’t dry completely. Now I always check the weather forecast and use a moisture meter to ensure the concrete is truly dry before starting any work. Patience during this phase has saved me from having to redo repairs multiple times.
Choosing the Right Repair Materials for Your Specific Needs
The concrete repair aisle at the hardware store can be overwhelming, and I’ve probably tried most of the products available over the years. What I’ve learned is that matching the repair material to your specific situation is crucial for success. For small cracks in low-traffic areas like my basement, I’ve had great success with simple concrete caulk or hydraulic cement for areas prone to moisture.
For larger repairs or high-traffic areas like my garage floor, I invest in higher-quality polymer-modified repair compounds. Yes, they cost more upfront, but they’ve proven much more durable over time. I made the mistake of using cheap patching compound on my garage floor where I park my car, and the constant weight and movement caused the repair to fail within months. The premium product I replaced it with has held strong for over two years now.
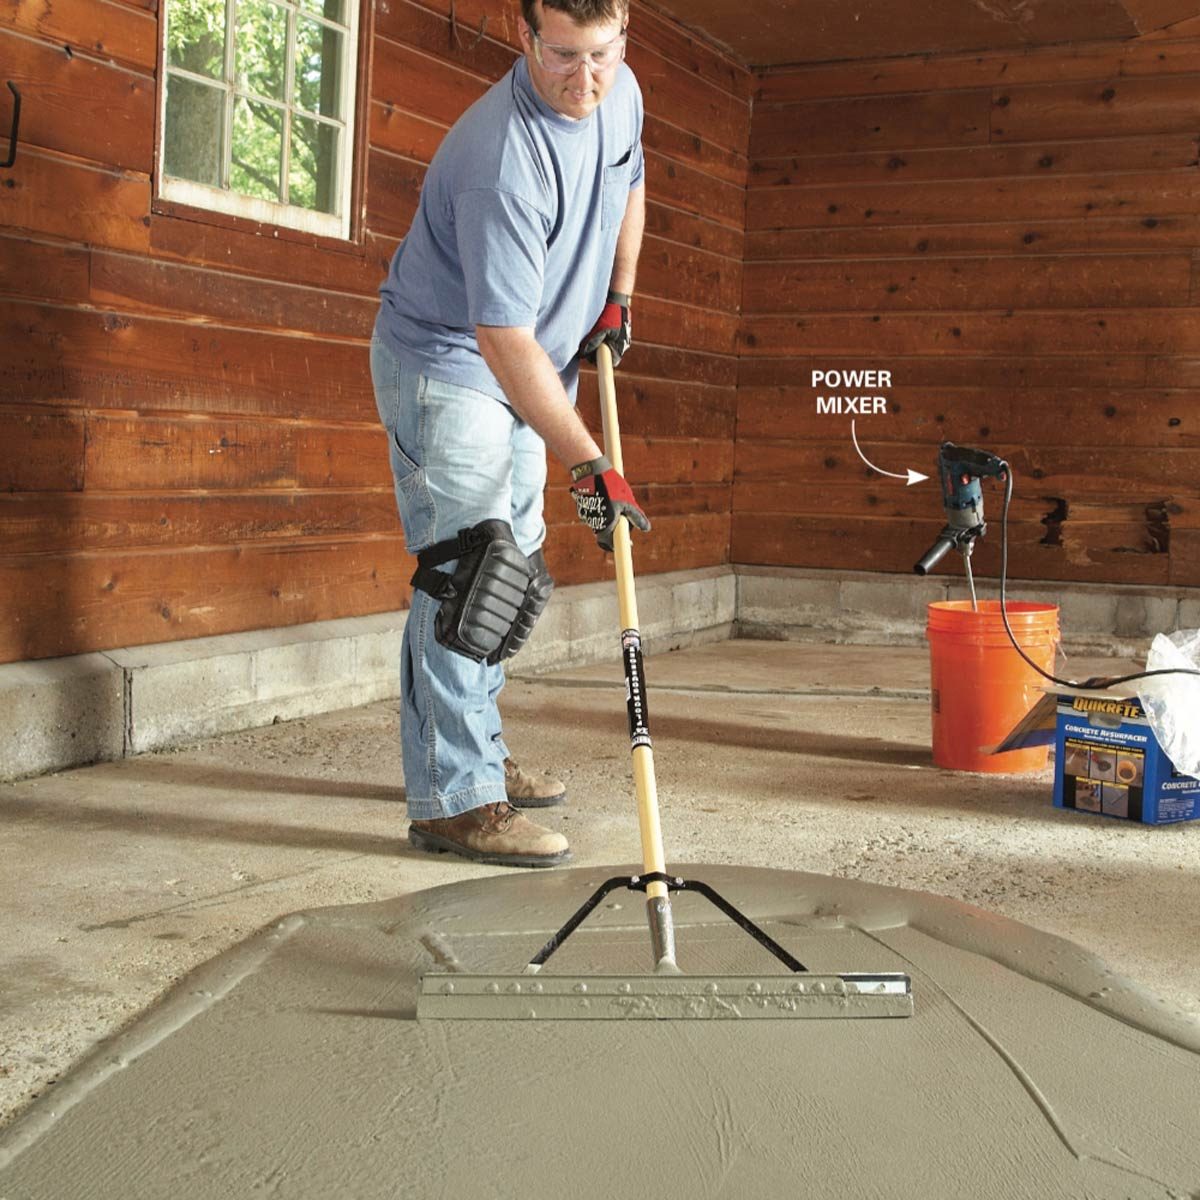
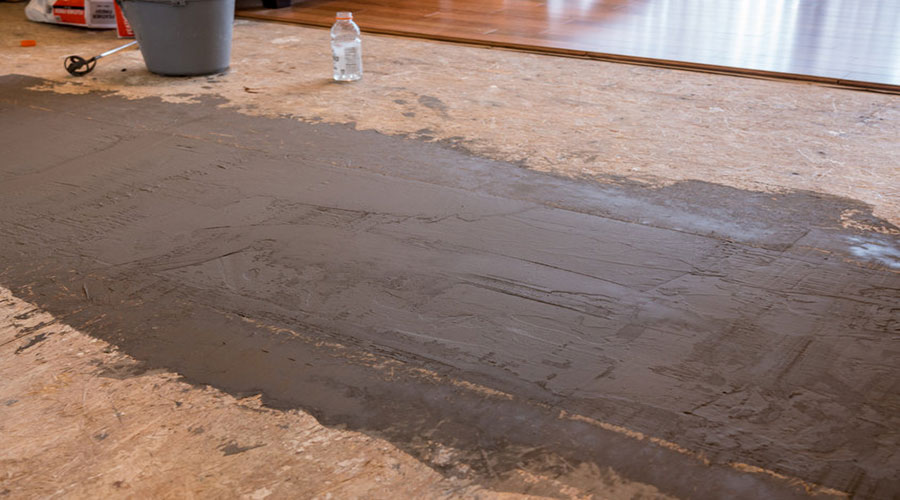
Self-leveling compounds have been a game-changer for larger surface repairs. When a section of my basement floor developed multiple small holes from an old pipe leak, trying to patch each one individually would have been a nightmare. The self-leveling compound allowed me to resurface the entire area smoothly and efficiently. Just make sure you understand the working time, as I learned these products wait for no one once you start mixing.
Step-by-Step Repair Techniques I’ve Mastered
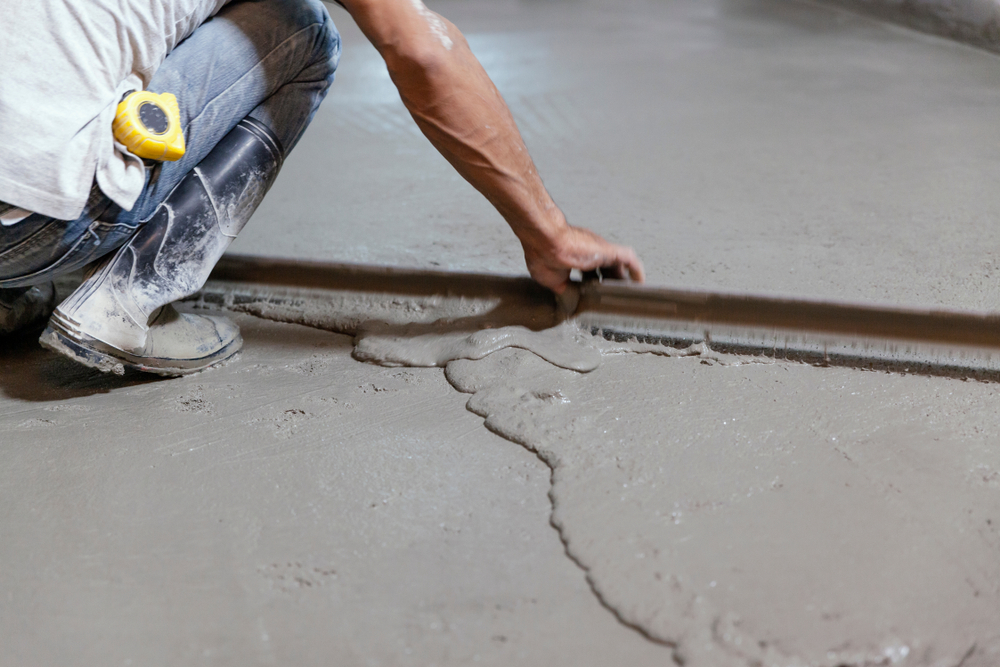
My approach to concrete repairs has evolved significantly through experience. For hairline cracks, I start by using a chisel and hammer to widen the crack slightly, creating a V-shaped groove. This might seem counterintuitive, but it gives the repair material more surface area to bond with. I then vacuum out all debris and dampen the area slightly before applying concrete crack filler with a putty knife, making sure to overfill slightly to account for settling.
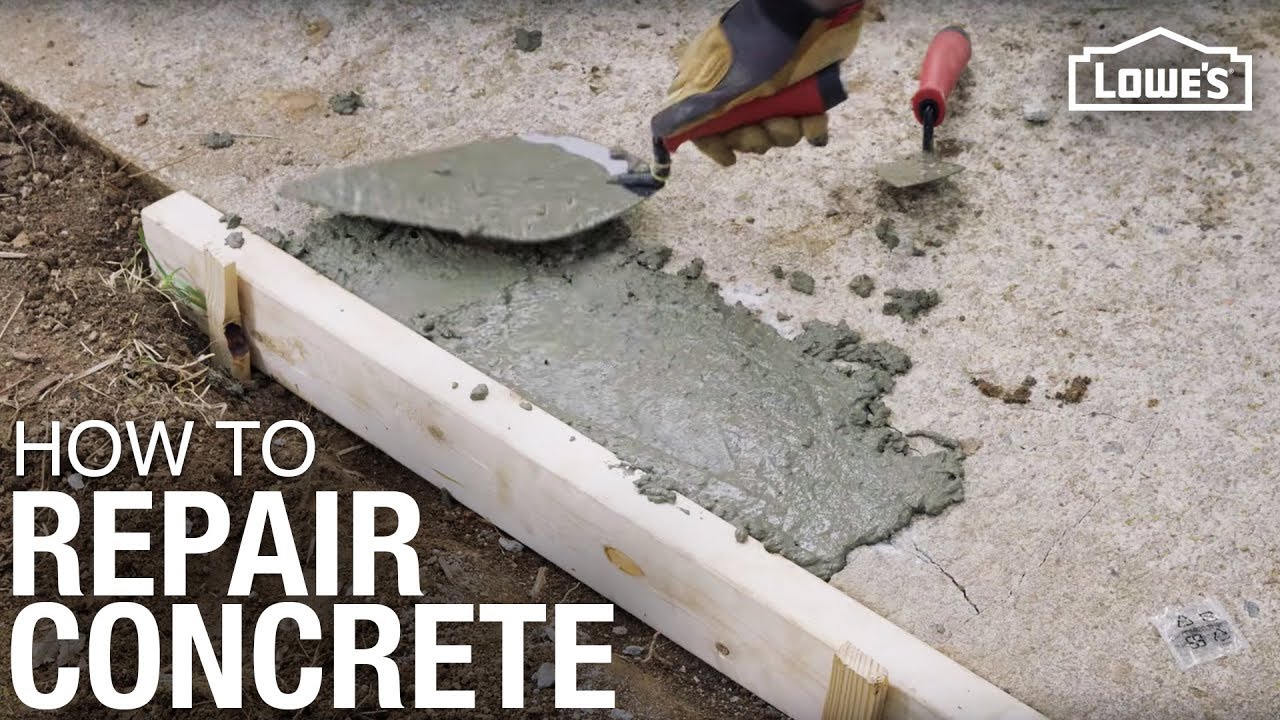
Larger cracks and holes require a different approach that I learned after several failed attempts. I now use a concrete bonding agent first, which acts like a primer to help the new material stick to the old concrete. For deep cracks, I sometimes need to apply the repair in multiple layers, allowing each to cure properly before adding the next. Rushing this process has always led to problems down the line.
Surface spalling, where the top layer of concrete flakes away, was perhaps the most challenging repair I’ve tackled. The key is removing all loose material, even if it means making the damaged area larger initially. I use a wire brush attachment on my angle grinder for this, then apply a bonding agent before using a trowel to apply patching compound in thin, even layers. The final step is texturing the surface to match the surrounding area while the compound is still workable.
Professional vs. DIY: When to Call in the Experts
Knowing when to tackle a repair myself versus calling a professional has been one of my most valuable lessons. I’m generally a DIY enthusiast, but I’ve learned that certain concrete issues require specialized knowledge and equipment. Structural cracks, especially those that recur after repair, indicate foundation problems that are beyond my skill level. I wasted time and money trying to fix a recurring crack before finally calling a structural engineer.
Water infiltration issues also warrant professional attention in most cases. When I discovered water seeping through my basement floor during heavy rains, my initial DIY waterproofing attempts only provided temporary relief. The professional solution involved exterior drainage improvements and specialized sealants that I couldn’t have applied properly on my own. The cost was significant, but it solved the problem permanently.
However, I’ve successfully handled most surface-level repairs, small cracks, and cosmetic issues myself. The key is being honest about your skill level and the scope of the problem. If a repair affects the structural integrity of your home or involves utilities, don’t hesitate to get professional help. I’ve found that many contractors are willing to assess a situation and let you know if it’s something you can handle yourself.

Long-Term Maintenance Strategies That Actually Work
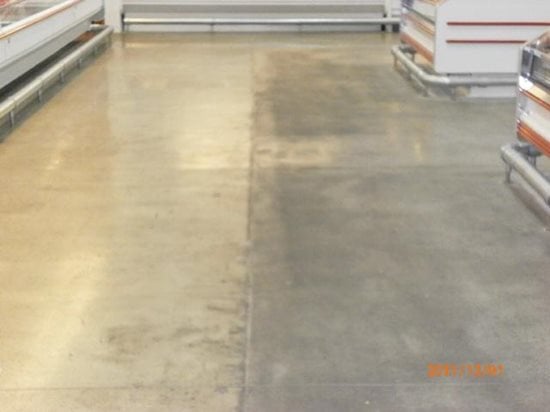
Prevention has become my primary focus after years of dealing with repairs. I now seal my concrete floors every two to three years with a quality concrete sealer, which has dramatically reduced the number of small cracks and surface damage I encounter. The initial investment in a good sealer pays for itself many times over in reduced repair costs and extended floor life.
Regular cleaning has also proven crucial for long-term concrete health. I vacuum or sweep my concrete floors weekly and mop them monthly with a pH-neutral cleaner specifically designed for concrete. Harsh chemicals can actually weaken the surface over time, something I learned after accidentally damaging a section of my garage floor with an overly aggressive degreaser.
Temperature and moisture control have been game-changers for my basement concrete floors. Installing a dehumidifier and ensuring proper ventilation has virtually eliminated the freeze-thaw cycle damage that was causing new cracks every winter. I also use concrete blankets during extremely cold weather to protect newly repaired areas. These simple preventive measures have reduced my annual repair workload by at least 75%.
How do I know if a crack in my concrete floor is serious enough to worry about?
I use the quarter test, if a quarter fits into the crack or if one side is noticeably higher than the other, it needs professional attention. Hairline cracks are usually just cosmetic, but any crack that’s growing or causing the floor to be uneven should be evaluated by an expert. I always take photos to track changes over time.
Can I repair concrete floors in cold weather?
I’ve learned this the hard way, most repair materials won’t cure properly below 50°F. I wait for warmer weather or use specialized cold-weather compounds. If I must work in cold conditions, I use space heaters and concrete blankets to maintain proper temperature during curing. Patience here saves redoing the work later.
How long should I wait before walking on a repaired concrete floor?
Most repairs I’ve done need at least 24 hours before light foot traffic, but I always wait 48-72 hours for heavy use. For vehicle traffic in my garage, I wait a full week regardless of what the product label says. Rushing this step has caused me to redo repairs more times than I care to admit.
What’s the best way to match the texture of existing concrete when making repairs?
I keep a variety of tools handy including brushes, sponges, and texture rollers. The key is working while the repair compound is still somewhat wet but starting to set. I practice the technique on a hidden area first. Sometimes I use a piece of the original concrete as a stamp to recreate the exact texture pattern.

Should I seal my concrete floor after repairs?
Absolutely, I seal all my repairs and the surrounding area once everything has fully cured, usually after about a week. This helps blend the repair with the existing floor and protects against future damage. I use a penetrating sealer for floors that might get wet and a topical sealer for dry areas.
How much should I expect to spend on concrete floor repairs?
For DIY repairs, I typically spend $20-50 for small cracks and $100-300 for larger surface repairs, not counting tools. Professional repairs start around $200 for minor work and can reach several thousand for structural issues. The key is addressing problems early, I’ve found that a $30 crack repair beats a $3000 foundation fix every time.

How to Repair a Concrete Floor

Ways to Fix Uneven Subfloor or Concrete Slabs
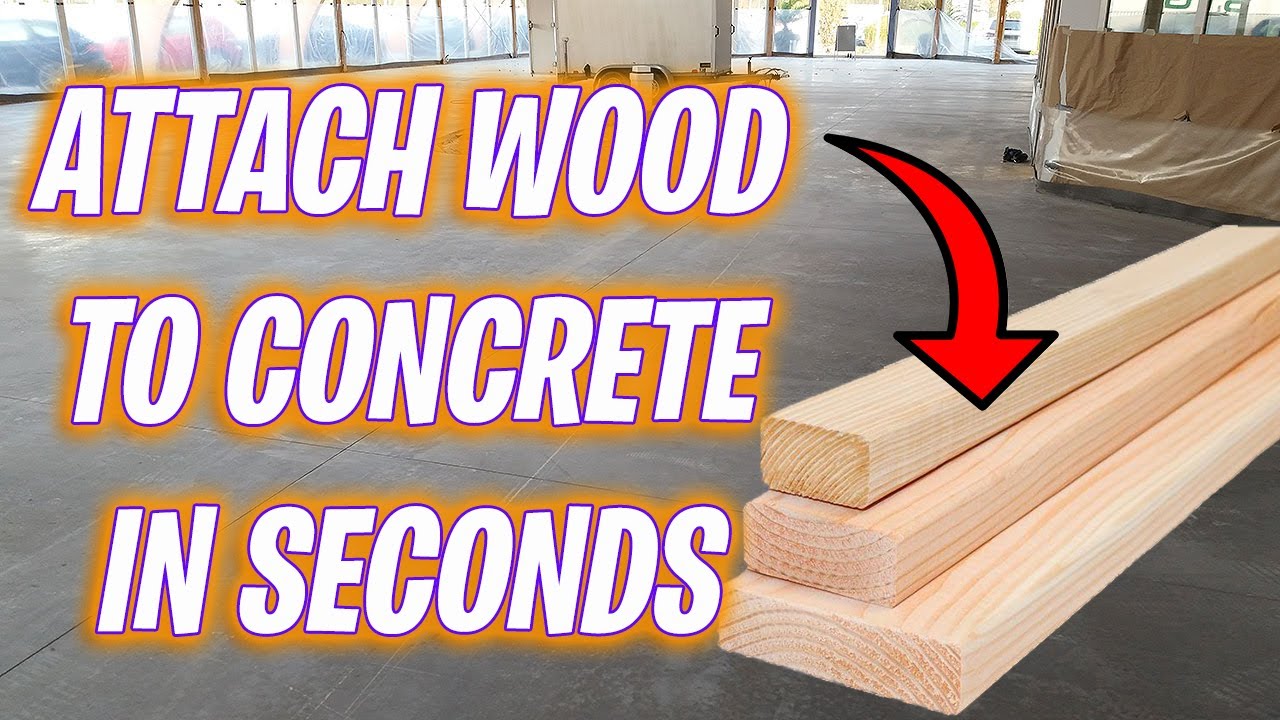
How to attach wood to a concrete floor
Fixing a Concrete Basement Floor American Dry
DIY Concrete Crack Repair

Foundation Floor Crack Repair

Related Posts: