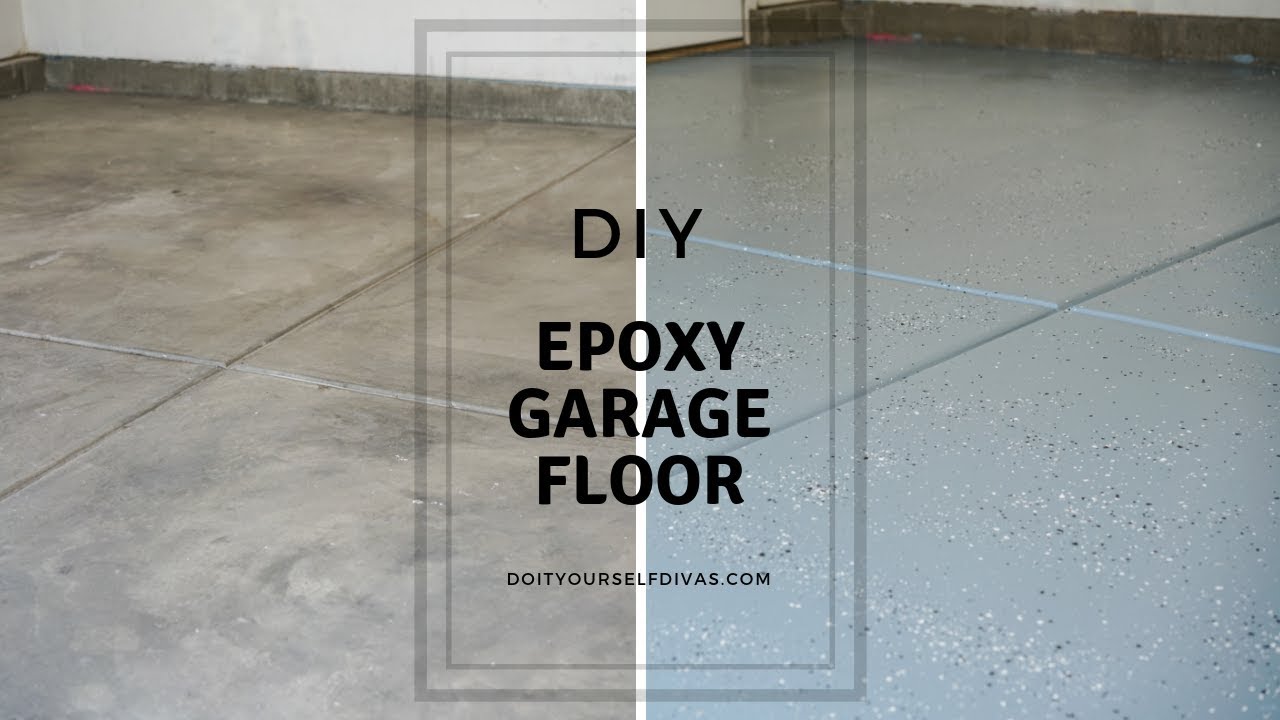
When I first saw my neighbor’s gorgeous epoxy garage floor that looked like it belonged in a luxury showroom, I knew I had to have one. My concrete garage floor was stained, cracked, and frankly embarrassing whenever guests parked inside. After getting quotes from professionals that made my wallet cry, I decided to tackle the project myself. Six months later, I’m absolutely thrilled with the results, but the journey taught me some hard lessons about preparation, patience, and the importance of reading instructions twice. If you’re considering a DIY epoxy floor, let me share the real story of what it takes to get professional-looking results.
Understanding Epoxy Systems and Choosing the Right Product
My first challenge was navigating the overwhelming number of epoxy products available, from basic water-based kits at big box stores to professional-grade 100% solids systems. I initially grabbed a cheap kit thinking epoxy was epoxy, but after reading reviews and talking to paint store professionals, I learned that product quality makes a massive difference in both appearance and longevity. The thin water-based coatings might work for light-duty applications, but they simply won’t hold up to hot tires, heavy traffic, and automotive chemicals.
I ultimately chose a two-part 100% solids epoxy system that cost about three times more than the basic kit but promised professional results. This type contains no water or solvents, meaning everything in the container becomes part of the final coating. The higher solids content creates a thicker, more durable surface that can handle the abuse a garage floor endures. Yes, it required more skill to apply and had a shorter working time, but the investment has paid off in durability and appearance.
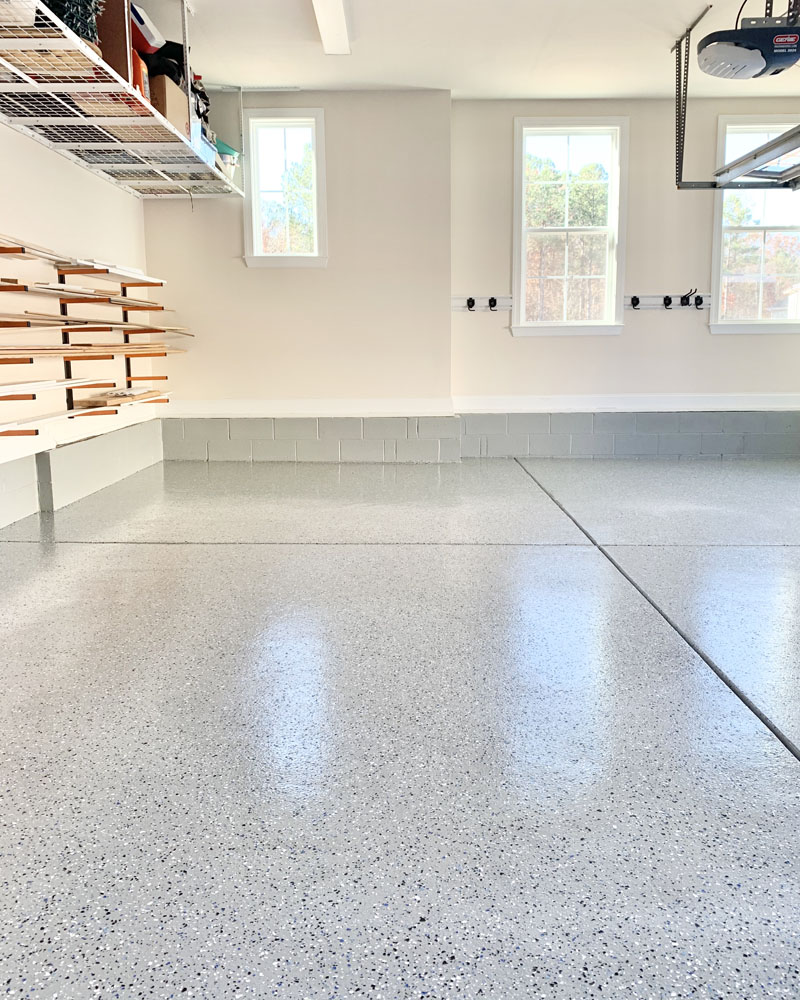
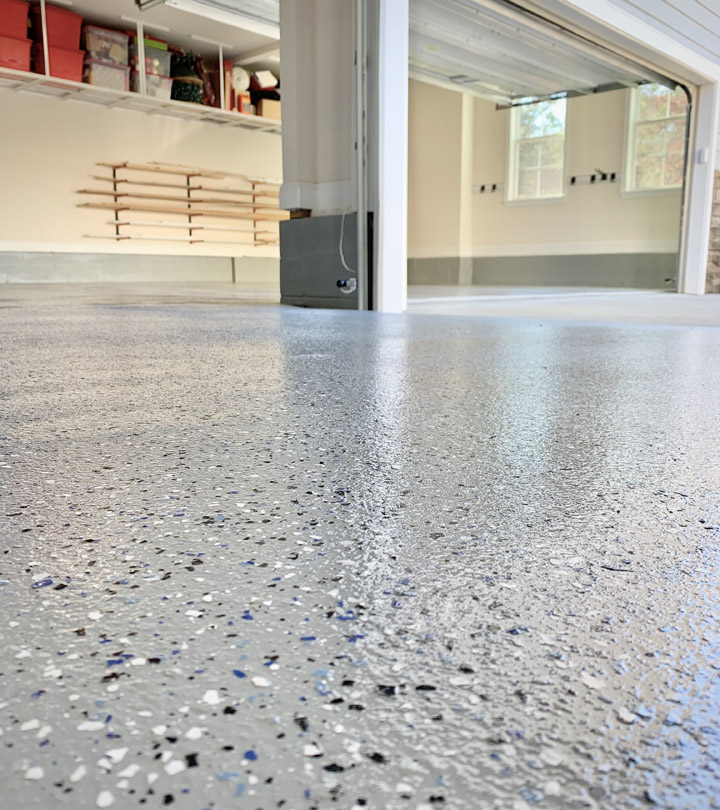
The decorative options available with quality epoxy systems amazed me. I added colored vinyl flakes that not only look great but also provide slip resistance and help hide minor imperfections. Some systems offer metallic effects, quartz aggregates, or even glow-in-the-dark additives. I kept it simple with a gray base coat and multicolored flakes, but the customization possibilities are endless. The key is choosing a complete system from one manufacturer rather than mixing components from different brands.
Surface Preparation: The Foundation of Success
I cannot stress enough how critical proper surface preparation is for epoxy success. My first attempt failed miserably because I rushed this step, thinking a good cleaning and light sanding would suffice. The epoxy peeled off in sheets within three months. Proper preparation means removing all existing sealers, oils, and contaminants while creating the rough profile that epoxy needs to bond mechanically to the concrete surface.
Concrete grinding became my new least favorite activity, but it’s essential for long-term adhesion. I rented a walk-behind concrete grinder with diamond wheels to remove the smooth surface layer and any existing sealers. The process is dusty, noisy, and time-consuming, but it opens up the concrete pores and creates the texture epoxy needs to grip. Areas that couldn’t be ground required acid etching, followed by thorough neutralization and cleaning to remove all residue.
Oil stain removal proved more challenging than expected and required multiple approaches. Simple degreasing wasn’t enough for old automotive stains that had penetrated deep into the concrete. I used a combination of concrete degreasers, absorbent clay, and in stubborn cases, actually ground out the stained areas. Any oil contamination will prevent epoxy adhesion, creating weak spots that will eventually fail. Taking time to eliminate all stains saved me from future headaches and repairs.
Tools, Materials, and Safety Equipment You Actually Need
My tool shopping list grew considerably as I researched proper epoxy application techniques. Beyond basic cleaning supplies, I needed a walk-behind concrete grinder, an industrial wet vacuum, a pump sprayer for acid etching, a paddle mixer for thorough epoxy blending, and various rollers and brushes for application. Renting the grinder and vacuum was cost-effective, but I purchased quality applicators knowing I’d likely use them for future projects around the house.
Safety equipment turned out to be more extensive than I initially budgeted for. Working with muriatic acid for etching required acid-resistant gloves, safety glasses, and respiratory protection. The epoxy application itself needed different protective gear due to chemical sensitivity and fume exposure. I invested in a proper respirator, disposable coveralls, and nitrile gloves rated for chemical resistance. Skimping on safety gear isn’t worth the risk of chemical burns or respiratory problems.
The mixing equipment deserves special attention because proper blending is crucial for epoxy performance. Hand mixing simply doesn’t achieve the thorough combination needed for proper curing. I purchased a paddle mixer attachment for my drill and practiced the technique on smaller batches before tackling the full floor. Having backup mixing containers and paddles proved wise, as epoxy begins curing quickly once components are combined, and there’s no time to clean equipment mid-project.

Step-by-Step Application Process and Timing
The actual epoxy application requires careful timing and weather considerations that I underestimated. Most epoxy systems have specific temperature and humidity requirements, and once you start mixing, you’re committed to finishing within the working time. I learned to check weather forecasts carefully and plan for at least 72 hours of stable conditions. My first attempt had to be postponed when an unexpected cold snap dropped temperatures below the minimum application range.
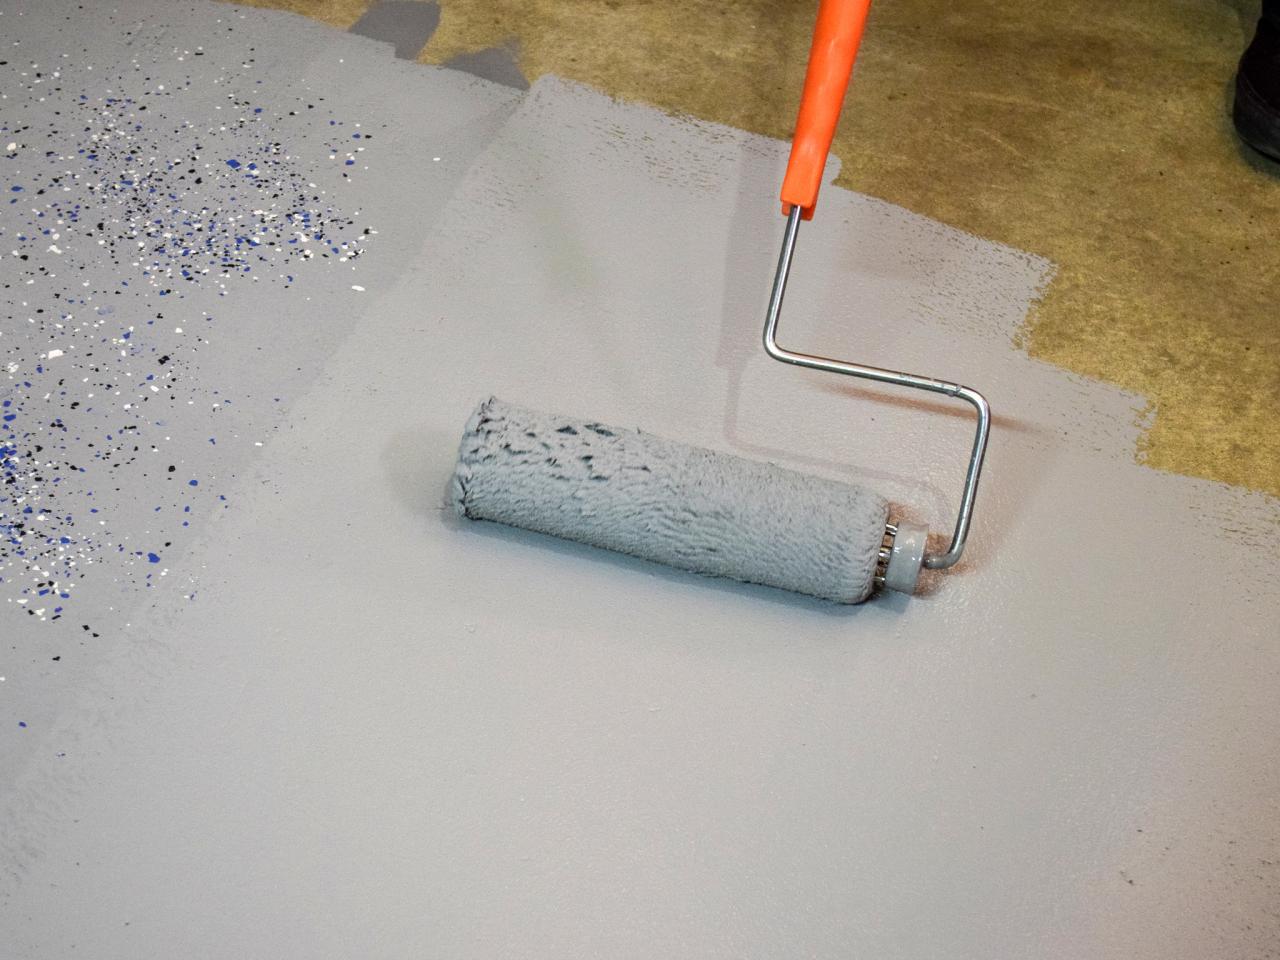
Mixing the epoxy components demands precision and speed. I measured both parts carefully using separate containers to avoid cross-contamination, then combined them in a clean mixing bucket. The paddle mixer technique involves scraping the sides and bottom frequently to ensure complete blending. I mixed only what I could apply within the working time, typically 20-30 minutes, depending on the temperature. Having a helper made the process much smoother, with one person mixing while the other applied.
The application technique took practice to achieve consistent results. I used a foam roller to spread the epoxy in overlapping W-patterns, maintaining a wet edge to prevent lap marks. Working in sections small enough to complete within the working time was crucial. Back-rolling immediately after spreading helps eliminate bubbles and ensures even thickness. The decorative flakes get broadcast while the epoxy is still wet, requiring good timing and even distribution for a professional appearance.
Common Mistakes and How to Avoid Them
My biggest mistake was attempting the project during humid summer weather without proper planning. High humidity extends drying times and can cause cloudy finishes or adhesion problems. I learned that temperature and humidity control are critical for success. Now I always check weather conditions and use dehumidifiers if necessary. The garage doors stayed closed during application and curing to maintain stable conditions.
Rushing the surface preparation phase led to my first failure and taught me patience the hard way. Trying to shortcut the cleaning, grinding, and etching steps results in poor adhesion and eventual coating failure. I now spend as much time on preparation as on actual application. Every oil stain must be completely removed, every square inch must be properly profiled, and the surface must be completely clean and dry before any epoxy touches the concrete.
Not having enough material mixed and ready caused panic during my second attempt. Epoxy doesn’t wait for you to mix more once you start applying it. I learned to calculate coverage carefully, add 10% extra for waste, and have all components measured and ready before starting. Running out of mixed epoxy halfway through a section creates visible lines and weak spots that are impossible to hide. Better to have leftover material than an incomplete application.
Maintenance and Long-Term Performance Expectations
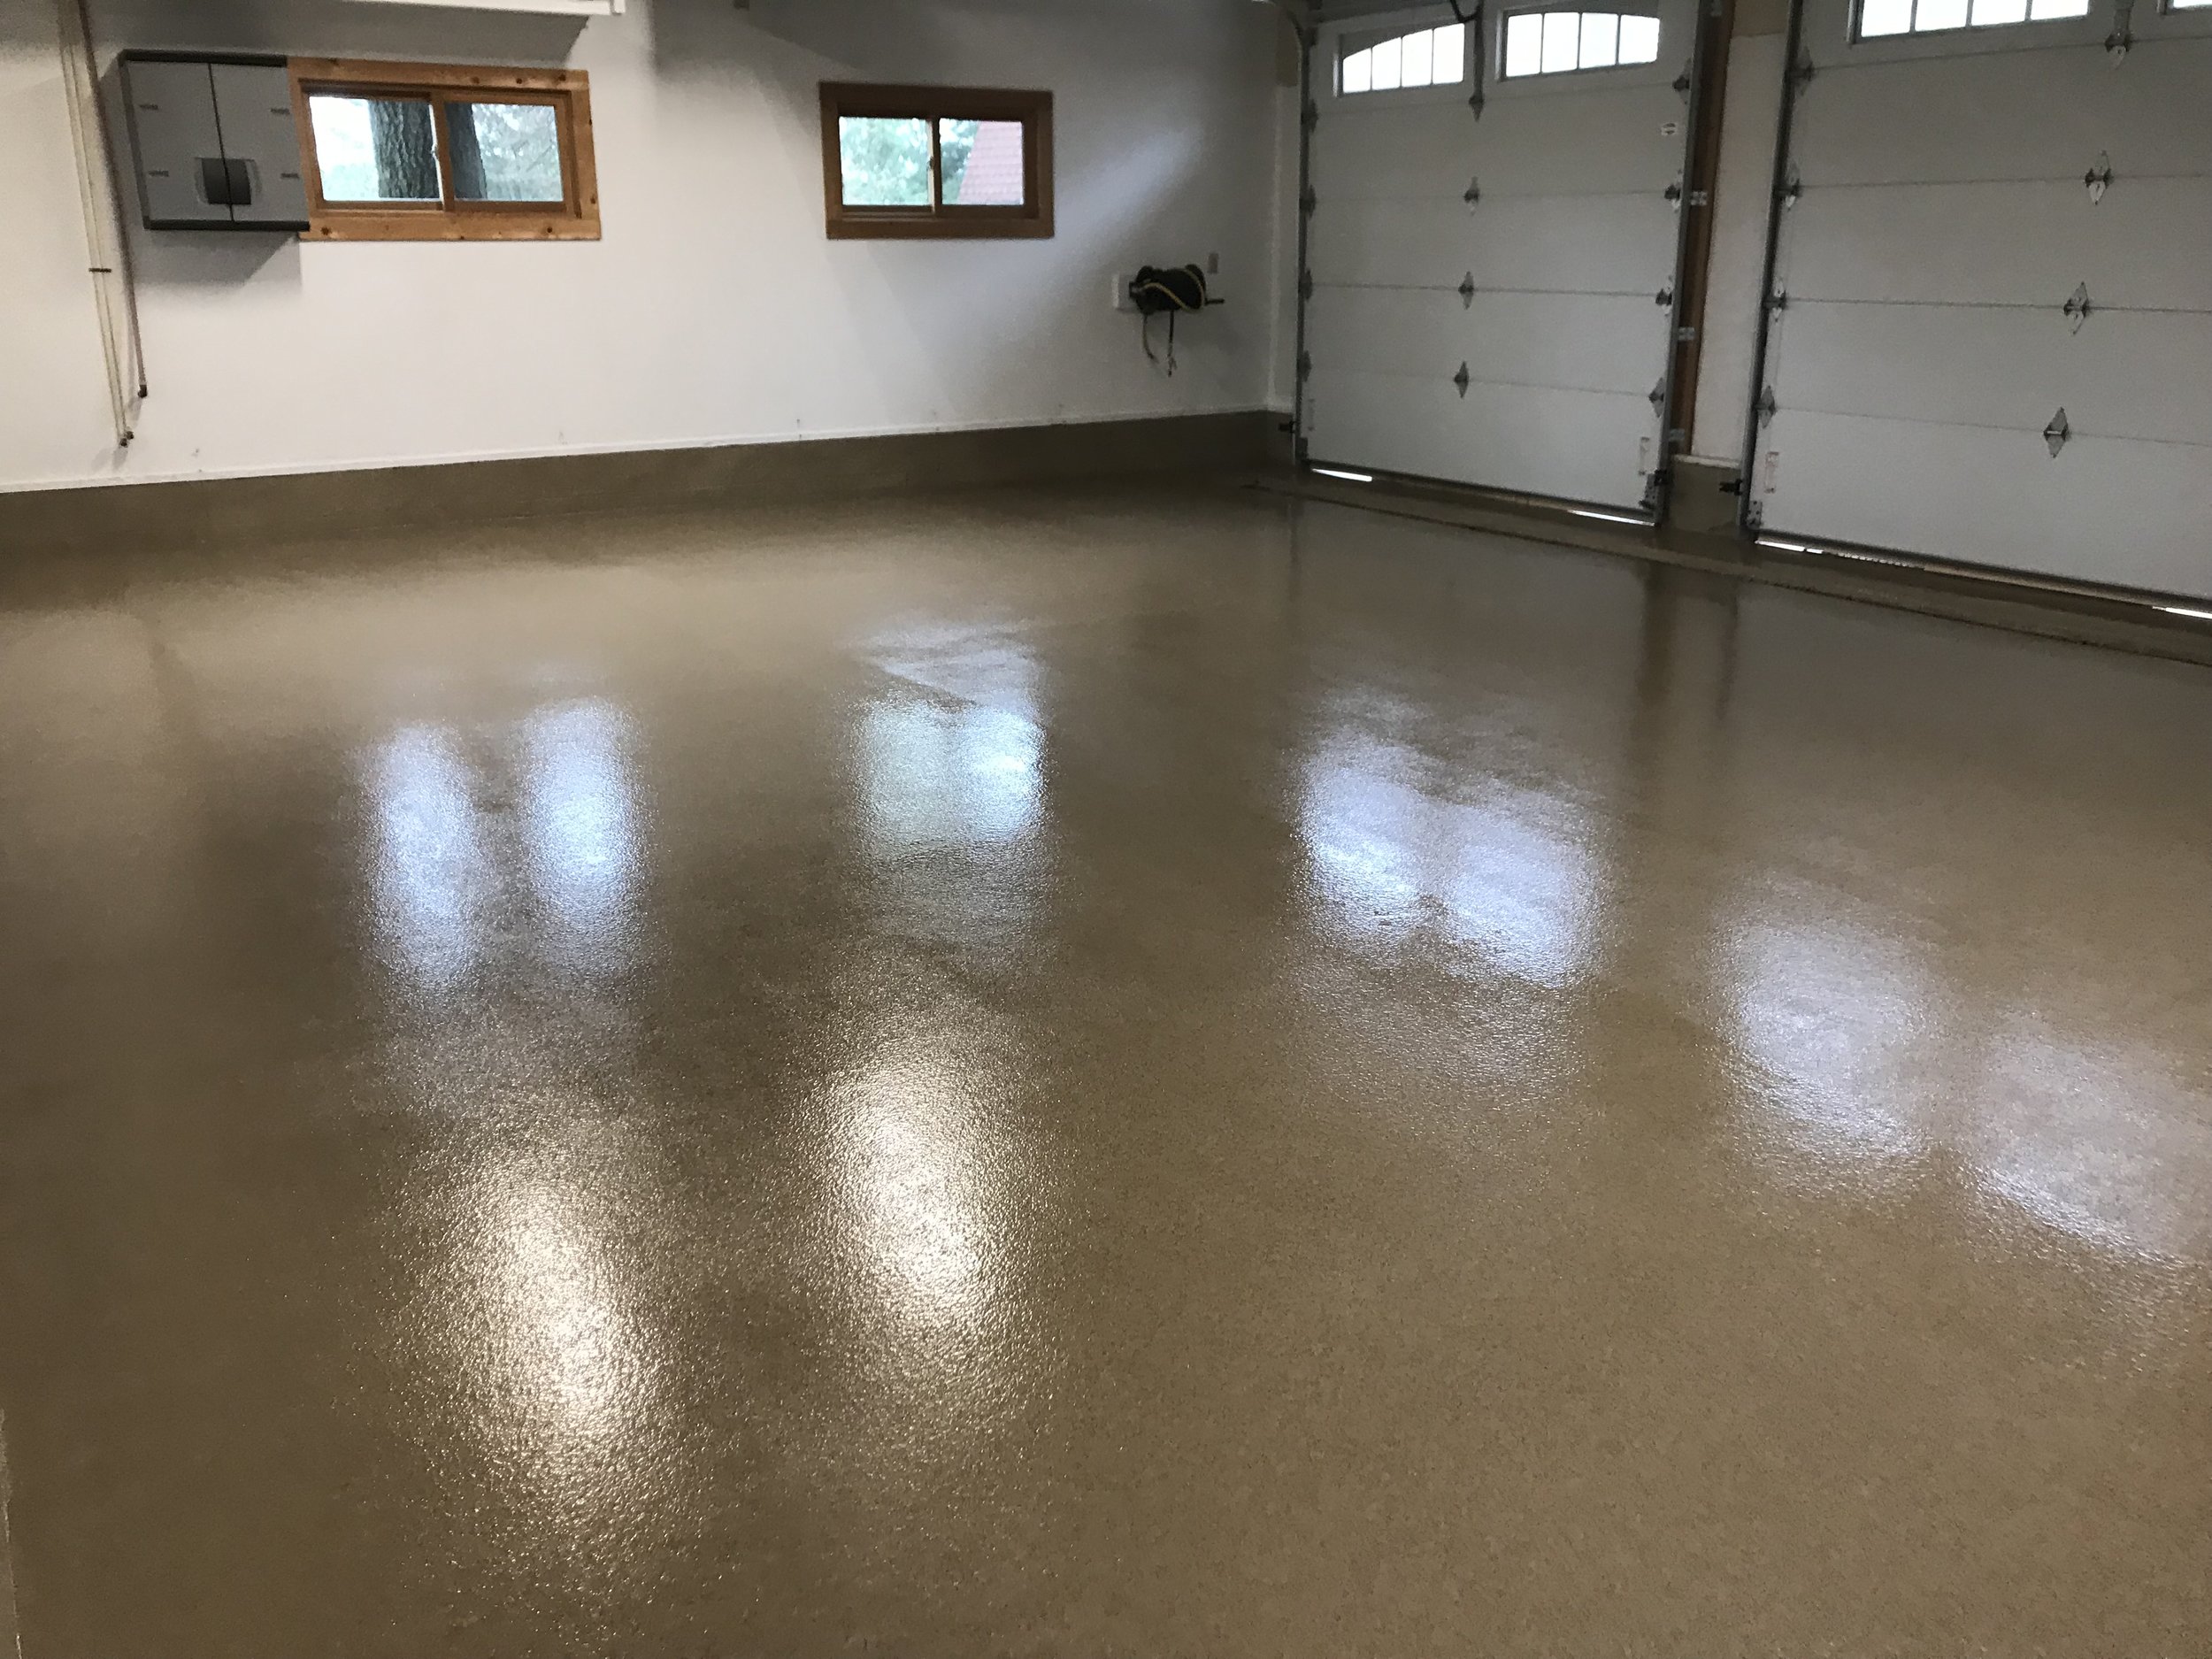
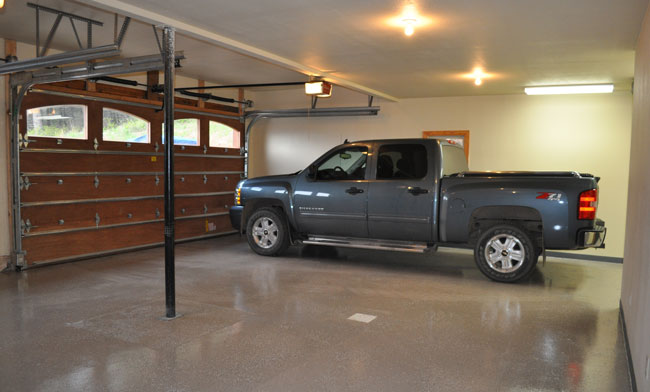
Two years into living with my DIY epoxy garage floor, I’m amazed at how well it has held up under daily use. Regular maintenance involves simple sweeping to remove debris and occasional mopping with mild soap and water. Spills wipe up easily without staining, and the chemical resistance handles automotive fluids without damage. The smooth surface makes cleaning so much easier than the porous concrete I dealt with before.
The durability has exceeded my expectations despite heavy use, including two cars, motorcycle maintenance, and various project work. I do see some minor wear patterns in the highest traffic areas, but nothing that affects the coating’s integrity or overall appearance. Hot tire pickup, which I was warned about, hasn’t been an issue with my quality system, though I try to let extremely hot tires cool briefly before parking.
Long-term care involves protecting the surface from damage and potentially recoating high-wear areas after several years. I use furniture pads under heavy equipment and avoid dragging sharp objects across the floor. Most quality epoxy systems can be recoated without complete removal, making maintenance more economical than full replacement. I inspect the floor regularly and address any chips or damage promptly to prevent moisture infiltration that could cause larger problems.
How long does a DIY epoxy floor project take from start to finish?
My project took about a week total, with most time spent on surface preparation. Concrete grinding and cleaning consumed 2-3 days, application took one long day, and curing required 2-3 days before normal use. Weather conditions significantly affect timing, and humidity and temperature can extend drying times considerably. Plan for longer than expected; rushing any step compromises results.
What’s the total cost for a DIY epoxy garage floor?
My 500-square-foot garage cost about $600 in materials for a quality 100% solids system, including primer, base coat, flakes, and topcoat. Equipment rental added another $200, and safety gear cost $100. Professional installation would have cost $2,500-3,500, so DIY saved significant money despite the time investment and learning curve.

Can I apply epoxy over existing paint or sealers?
Absolutely not, this was my first major mistake. All existing coatings must be completely removed through grinding or chemical strippers. Epoxy needs direct contact with properly prepared concrete to bond correctly. I had to grind off old paint in several areas, adding time but ensuring proper adhesion. Testing with water drops helps identify sealed areas that need additional prep.
Is the epoxy coating slippery when wet?
Pure epoxy can be slippery when wet, which is why I added decorative flakes for texture and slip resistance. The flakes provide excellent traction while maintaining the smooth, easy-to-clean surface. Most quality systems include anti-slip additives or recommend texturing options. I’ve had no safety issues even when washing cars or during wet weather conditions.
How do I fix mistakes or damage after the epoxy cures?
Small bubbles or imperfections can sometimes be sanded out and spot-repaired if caught early. Major problems like poor adhesion or contamination usually require grinding off the failed coating and starting over, which I learned the expensive way. This is why proper preparation is so critical; prevention is much easier than repair once epoxy has cured.
What temperature conditions are needed for epoxy application?
Most systems require temperatures between 60-80°F with low humidity during application and curing. I learned to plan projects around weather conditions, as temperature swings during curing can cause problems. Garage doors should remain closed during application, and heating or cooling may be needed to maintain proper conditions throughout the multi-day curing process.
DIY Epoxy Garage Floor Coating Repair

How to Resurface a Garage Floor
Our DIY Rust-Oleum RockSolid Garage Floor
My beautiful Epoxy floor House flooring, Concrete stained floors

Related Posts: