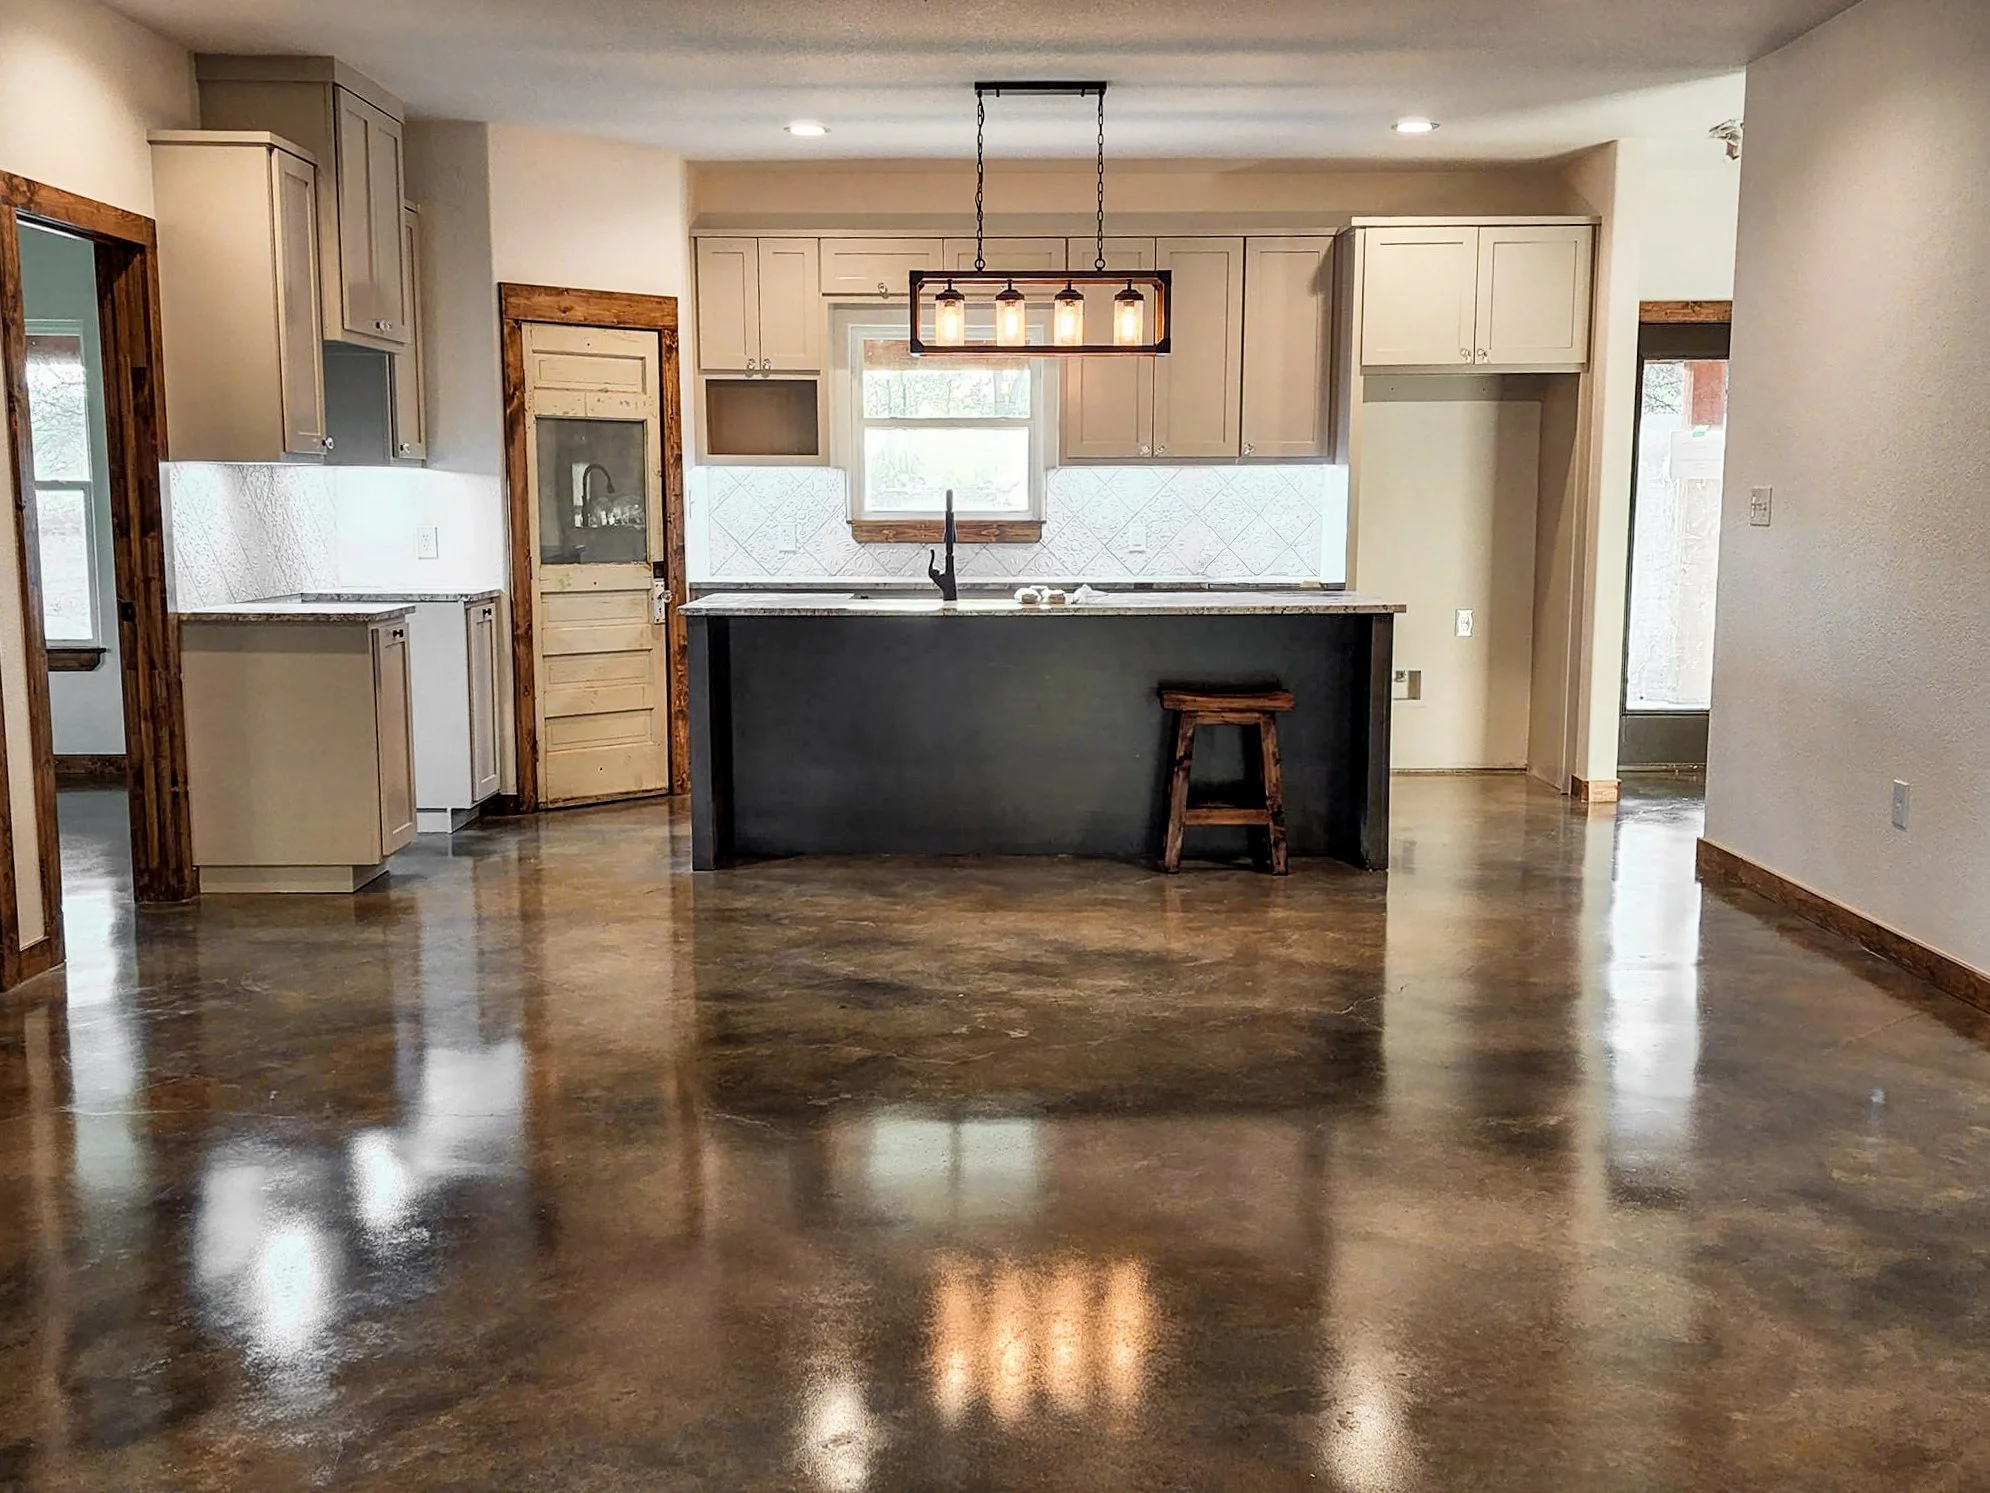
When I first considered acid-stained concrete floors for my loft renovation three years ago, I thought it would be a simple weekend project. I couldn’t have been more wrong, but I also couldn’t have been happier with the results. The transformation from plain gray concrete to a stunning, marbled surface with rich earth tones exceeded every expectation I had. After completing my main living area and later adding stained floors to my workshop and patio, I’ve learned the secrets to achieving professional-looking results and avoiding the costly mistakes that can ruin this beautiful flooring option.
Understanding the Acid Staining Process
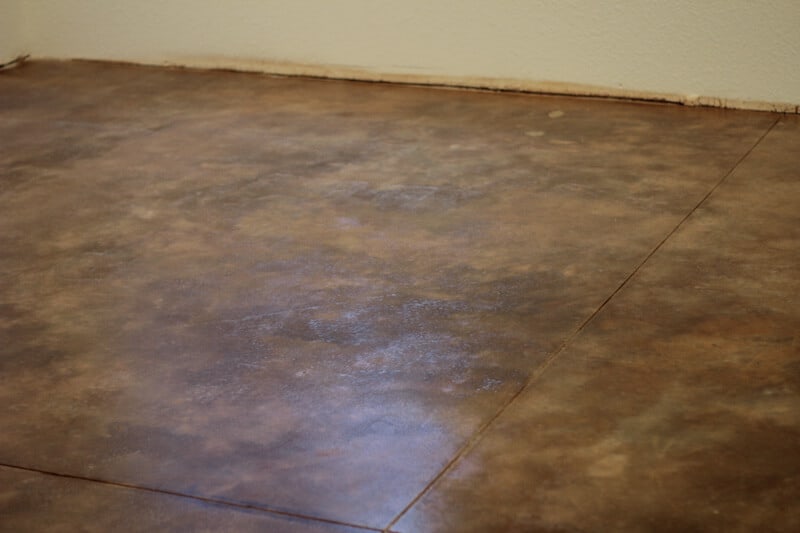
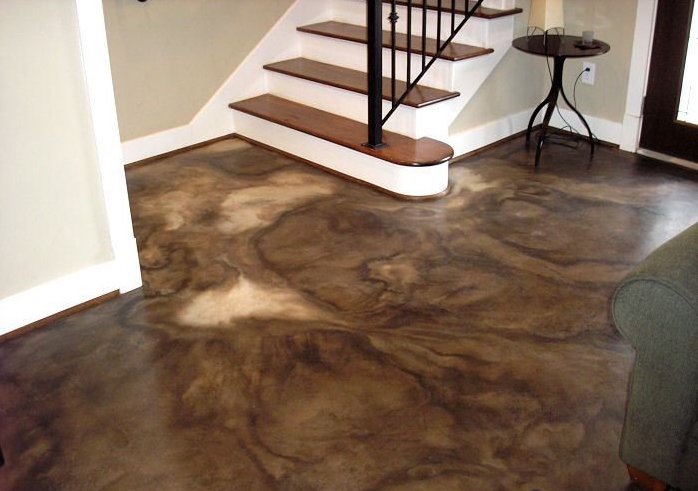
Acid staining isn’t paint or coating; it’s actually a chemical reaction that permanently changes the concrete itself. When I first applied the acid stain to my test area, I watched in fascination as the solution began interacting with the lime content in my concrete, creating unique patterns and color variations that looked almost like natural stone. This chemical process means every floor is unique; you simply cannot predict or replicate exact patterns.
The timing of the reaction taught me patience I didn’t know I needed. I expected immediate results, but the full color development takes 6-8 hours, and I learned not to judge the outcome too early. My initial panic about uneven color distribution turned into appreciation for the organic, mottled appearance that makes acid-stained concrete so distinctive. The colors continue to deepen slightly over the first few weeks after application.
Understanding pH levels became crucial for achieving consistent results across my 1,200 square foot space. Areas where my concrete had different curing ages or exposure to elements reacted differently to the same stain. I learned to test small, inconspicuous areas first and adjust my expectations accordingly. Some sections developed rich browns and oranges while others remained more subtle, creating natural variation I now love.
Surface Preparation That Makes or Breaks Results
My biggest mistake on the first attempt was underestimating how critical proper surface preparation is for acid staining success. I thought a basic cleaning would suffice, but any residue from sealers, paints, or even certain cleaning products can prevent the acid from reaching the concrete and creating the chemical reaction. I ended up with blotchy, inconsistent coverage that required grinding and starting over.
Proper concrete prep means completely removing any previous coatings, oils, or contaminants that might interfere with acid penetration. I rented a concrete grinder to remove old sealer and used degreasing agents on areas where my car had leaked oil. The concrete surface needs to be porous enough for the acid to penetrate, but not so rough that it creates an uneven texture after sealing.
Neutralizing the concrete’s pH before staining became a step I learned not to skip after experiencing poor color development in my workshop. Using a mild muriatic acid solution to etch the surface opens the concrete pores and removes any alkaline residue that might interfere with staining. This prep work is tedious and requires proper ventilation and safety equipment, but it’s essential for professional-looking results.
Color Selection and Achieving Desired Effects
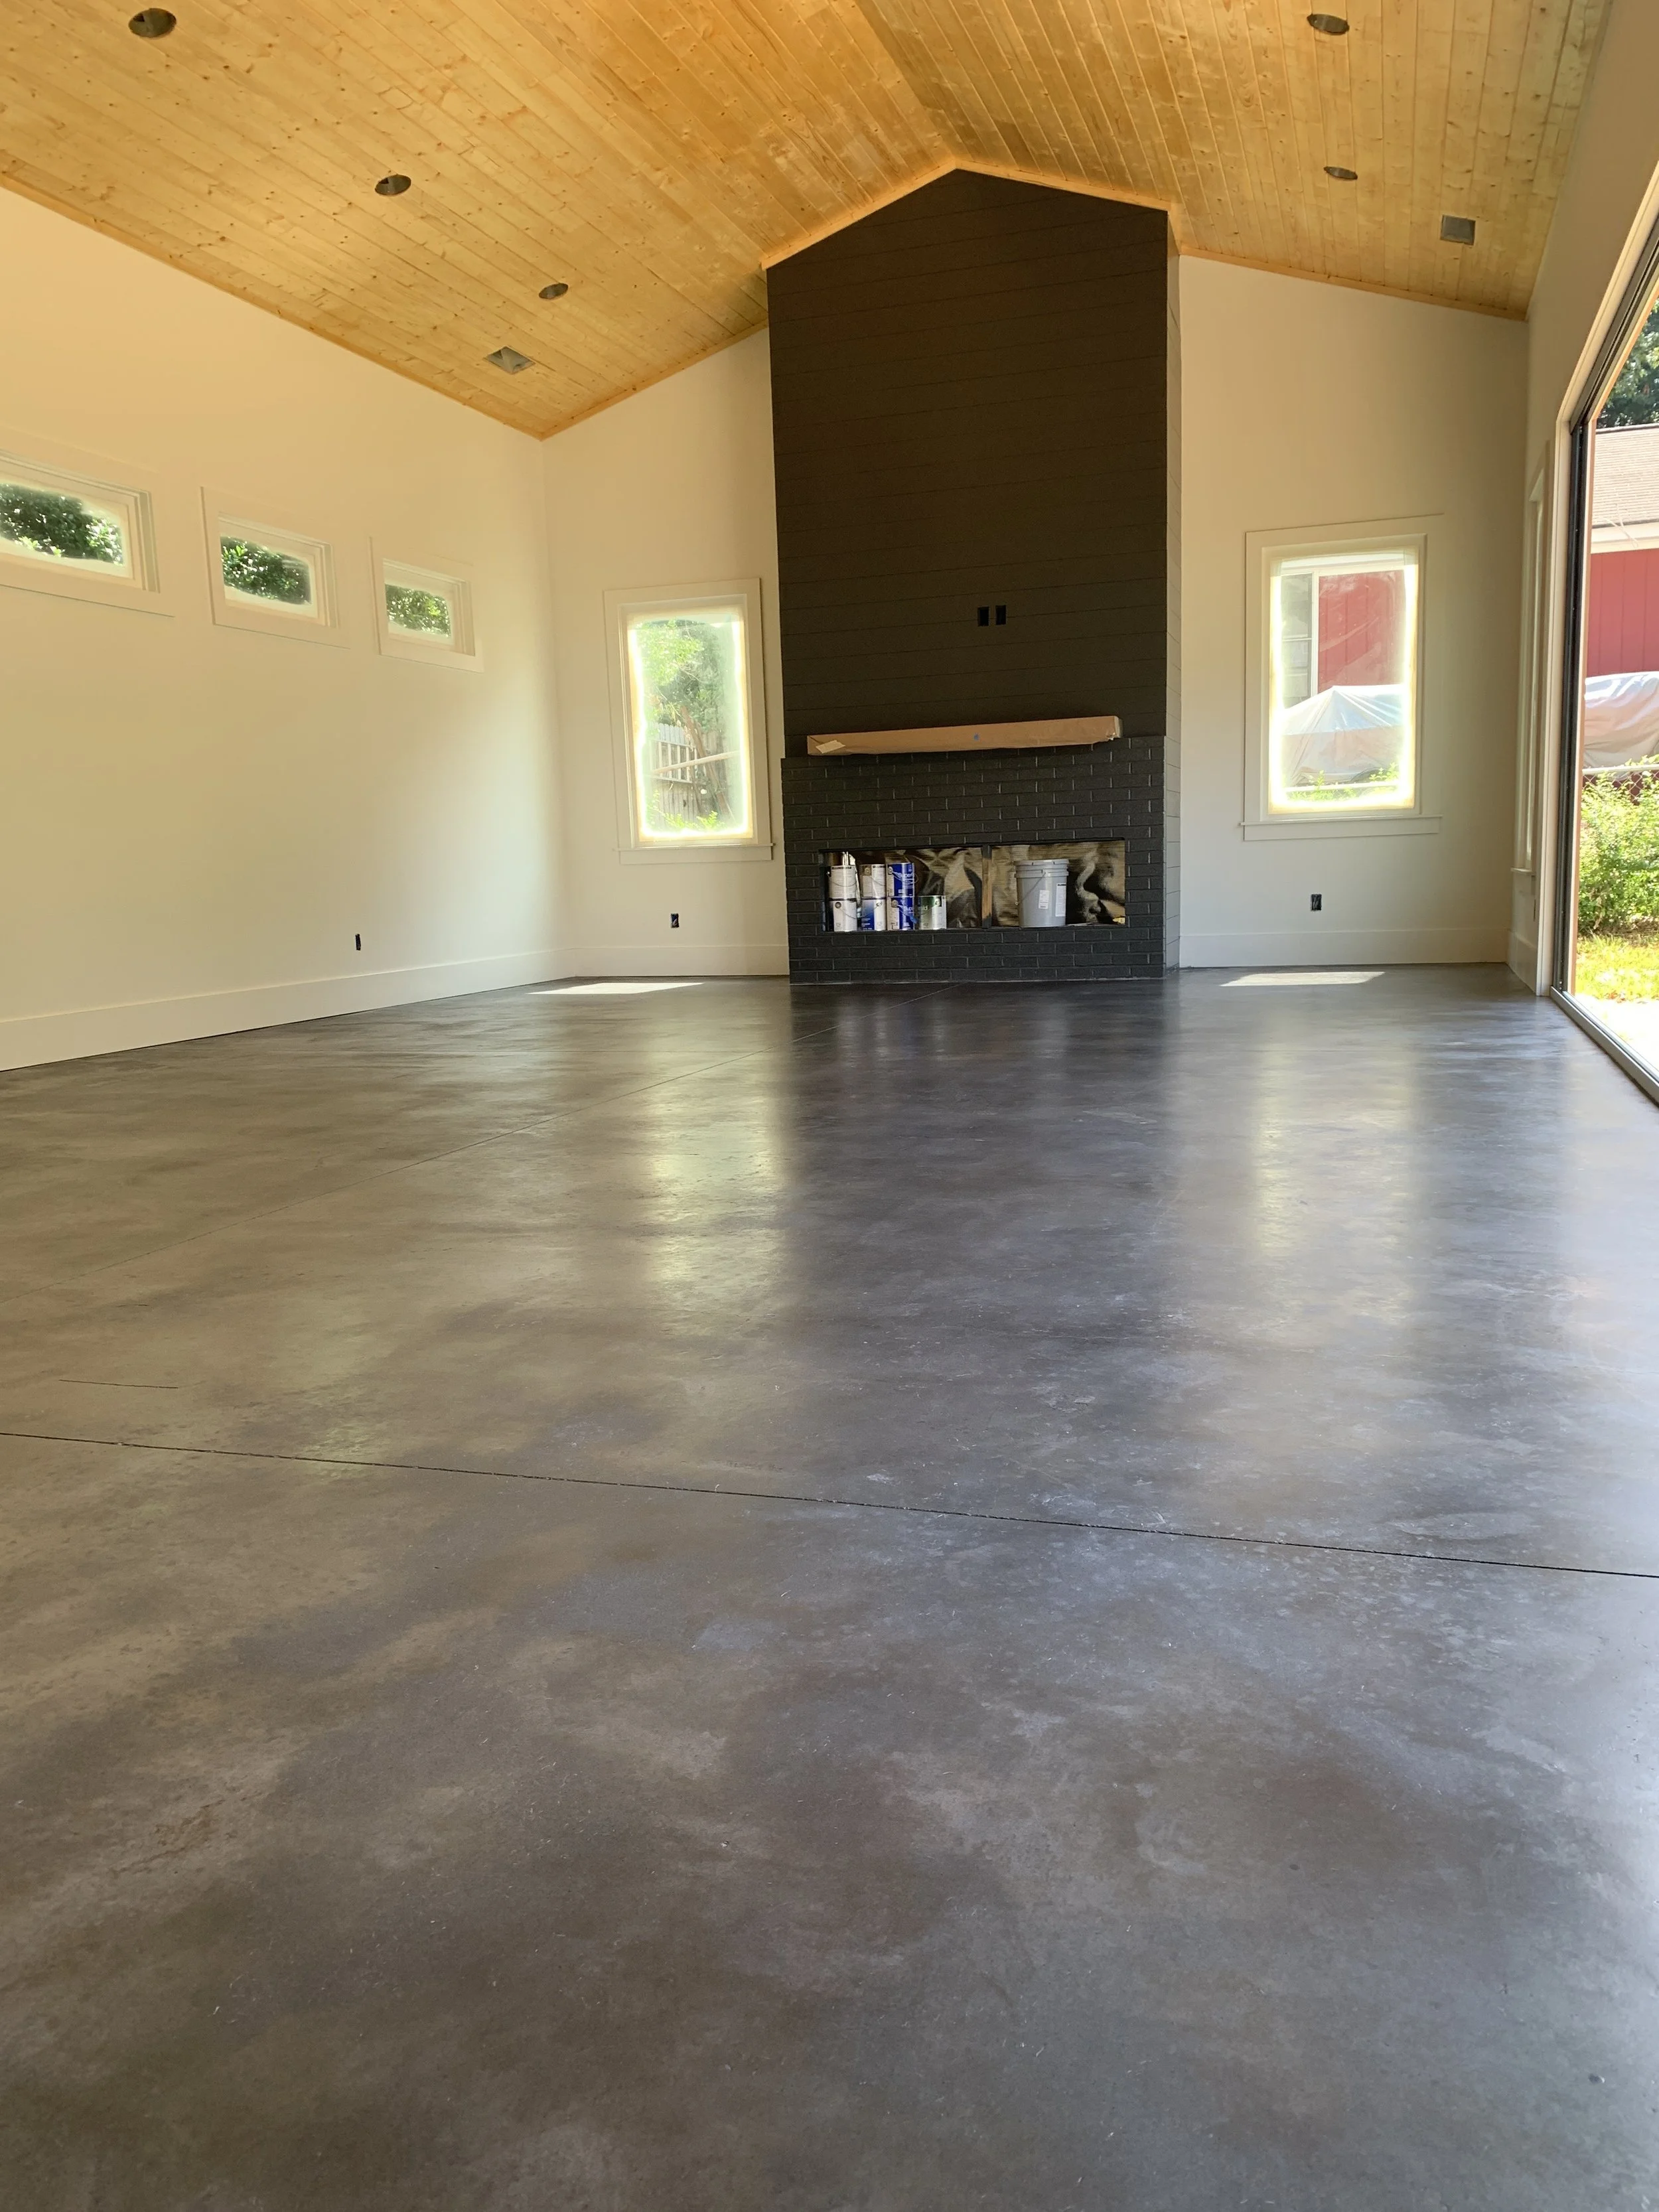
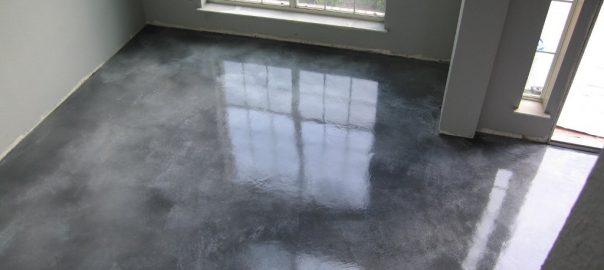
Choosing acid stain colors proved more complex than selecting regular paint because the final results depend heavily on your specific concrete’s mineral content and age. I learned that the same stain can produce dramatically different colors on different concrete surfaces. My living room floor, poured five years before staining, developed rich amber and brown tones, while my newer patio concrete created more subtle, muted colors with the same stain.
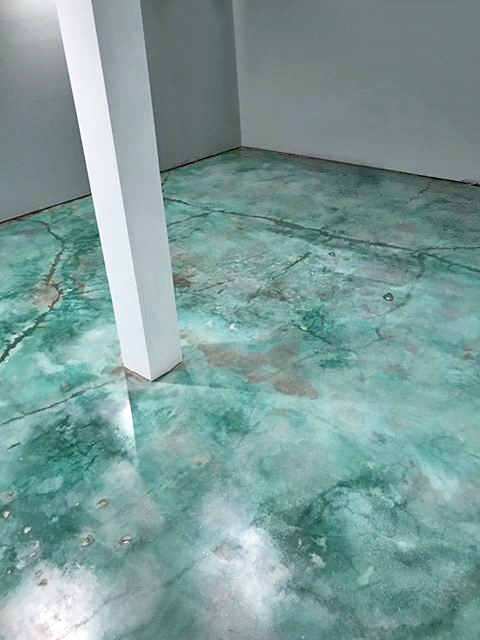
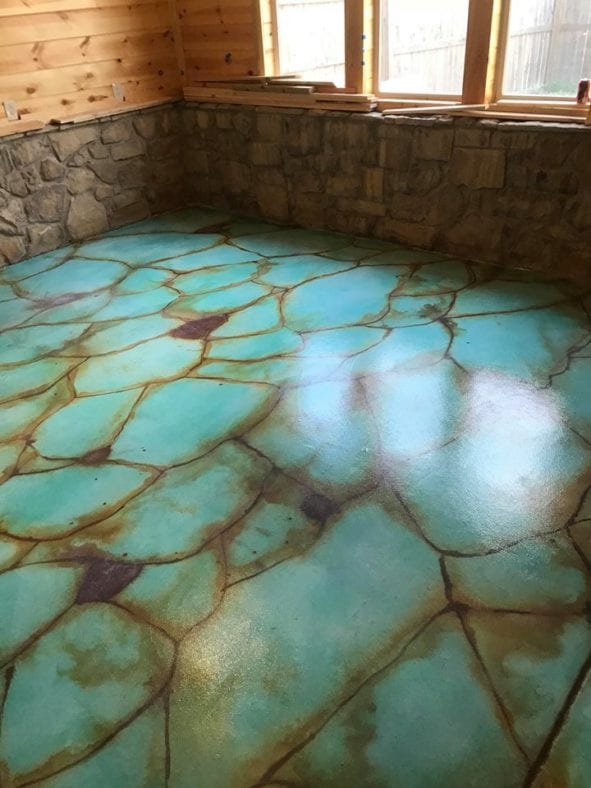
Layering multiple stain colors opened up creative possibilities I hadn’t initially considered. After seeing the single-color results in my main area, I experimented with applying a second stain color in my workshop using a spray bottle to create more complex, variegated patterns. The overlapping colors created depth and interest that single applications simply cannot achieve, though it requires careful timing and technique.
I discovered that the concrete’s aggregate type significantly affects final coloration, something I wish I’d known before starting. My floors have exposed aggregate that created interesting color variations as different stones reacted differently to the acid stain. River rock aggregate produced subtle color changes, while limestone chips created more dramatic contrast. This natural variation is part of acid staining’s charm, but it can surprise homeowners expecting uniform color.

DIY Application Techniques and Safety Considerations
Safety became my top priority after researching the chemicals involved in acid staining. I invested in proper respiratory protection, acid-resistant gloves, and eye protection before starting the project. Working with muriatic acid-based stains requires adequate ventilation. I opened every window and door in my loft and used fans to maintain air circulation throughout the process.
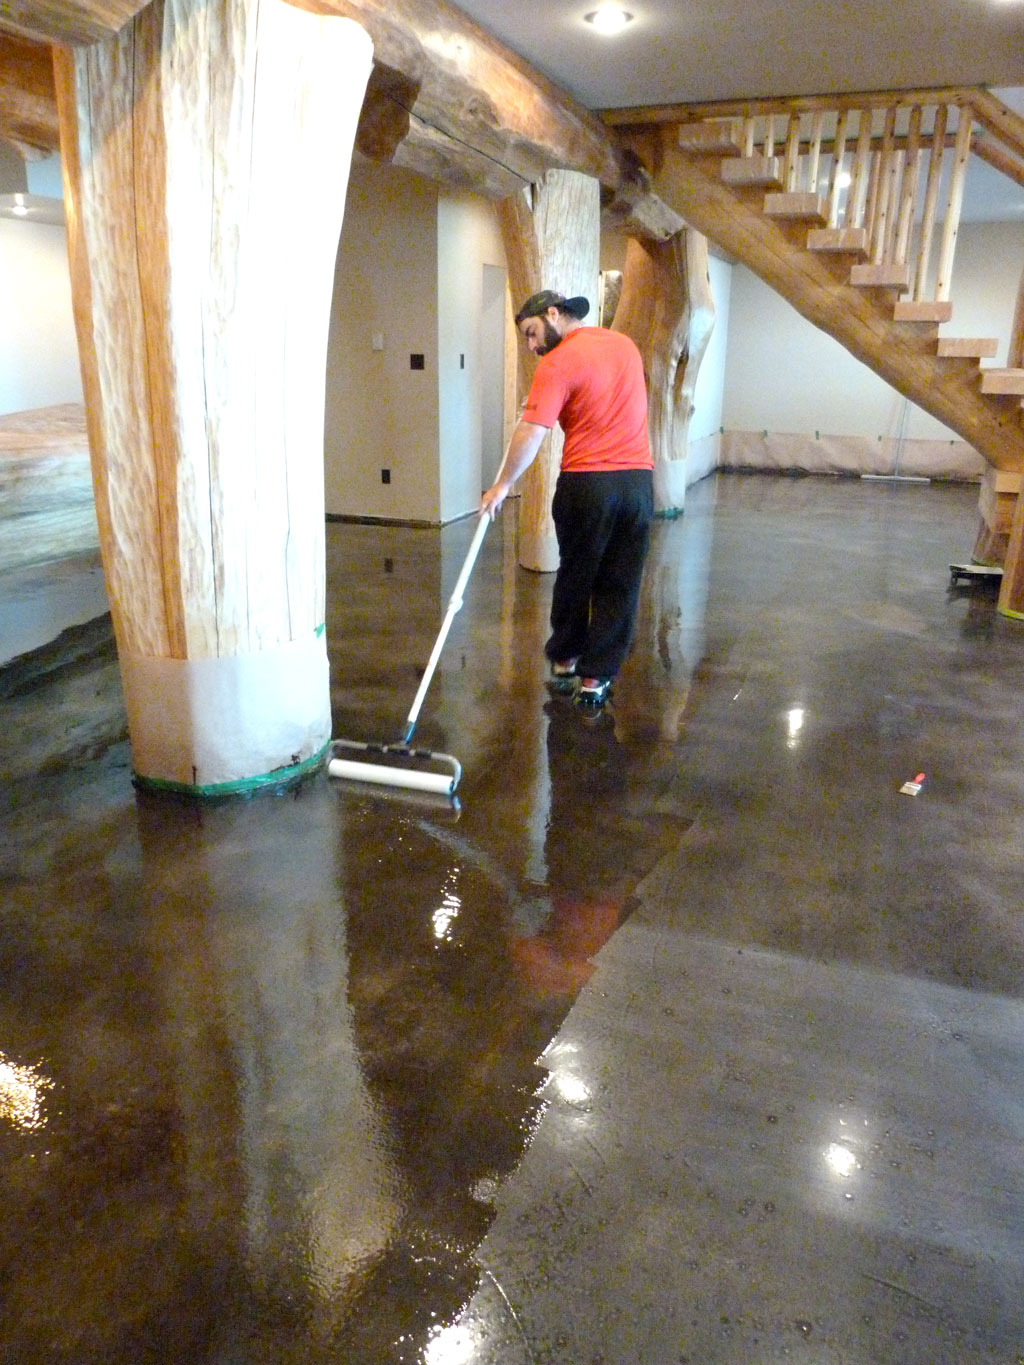
Application technique significantly impacts the final appearance, and I learned this through experimentation on my workshop floor. Using a pump sprayer created the most even coverage, while brush application left visible streaks that showed through the final sealer. I found that working in small sections and maintaining a wet edge prevented overlap marks that would be permanent once the chemical reaction occurred.
The neutralization and cleanup process proved just as important as the initial application. After allowing proper reaction time, I used a baking soda solution to neutralize any remaining acid, then thoroughly rinsed and scrubbed the entire surface. Skipping this step can cause ongoing chemical reactions that damage the final sealer and create long-term maintenance problems I wanted to avoid.
Sealing and Protecting Your Investment
Choosing the right sealer made the difference between a floor that looked great for months versus one that lasted for years. I initially used an acrylic sealer that looked beautiful but showed scuff marks and required reapplication every year. For my second project, I invested in a two-part epoxy sealer that costs more upfront but provides superior durability and chemical resistance for high-traffic areas.
The timing of sealer application requires patience that most DIYers don’t expect. I had to wait 24-48 hours after neutralization before applying the sealer, allowing the concrete to dry completely. Applying sealer to damp concrete creates adhesion problems and a cloudy appearance that requires complete removal and reapplication. I learned to test moisture levels with plastic sheeting taped to the floor overnight.
Maintenance of sealed acid-stained floors has been surprisingly simple once I established the right routine. Daily dust mopping keeps dirt from scratching the sealer, and weekly damp mopping with pH-neutral cleaners maintains the beautiful appearance. I reapply sealer every 3-5 years, depending on traffic, but the underlying stain remains permanent and beautiful. The investment in a quality sealer has paid off through reduced maintenance and sustained appearance.

Troubleshooting Common Problems and Solutions
Color inconsistencies frustrated me initially until I learned they’re often fixable with additional stain applications or color washes. Areas that didn’t achieve adequate color depth can be reacidified and restained, though matching existing colors requires careful testing and patience. I found that slightly diluted stain applications can help blend problem areas without creating obvious patches or overlaps.
Efflorescence, those white mineral deposits that sometimes appear through stained concrete, became an issue in one corner of my space near an exterior wall. The solution involved identifying and stopping the moisture source, then using specialized cleaners to remove the deposits without damaging the underlying stain. Prevention through proper concrete sealing and moisture control proved much easier than remediation after problems developed.
Sealer adhesion problems taught me the importance of proper surface preparation and environmental conditions during application. When my first sealer began peeling in high-traffic areas, I learned it was due to inadequate concrete preparation and applying the sealer in humid conditions. Complete removal and proper reapplication fixed the problem, but prevention through following the manufacturer’s specifications saves time and money in the long run.

How long does the acid staining process take from start to finish?
Plan for 3-5 days total, including prep work and drying time. Surface preparation takes 1-2 days, staining and neutralization require one day, then 24-48 hours before sealing. My 1,200 sq ft space took four full days working at a reasonable pace with proper drying time between steps.
Can acid stained concrete work in homes with kids and pets?
Absolutely! Once properly sealed, my floors are completely safe and non-toxic. The acid reaction is neutralized during installation, and sealed floors resist stains better than many other options. My dog’s nails don’t scratch the surface, and spills wipe up easily without permanent damage or staining.
What’s the total cost compared to other flooring options?
I spent about $5-8 per square foot doing it myself, including quality sealer. Professional installation runs $8-15 per square foot. While not the cheapest option, it’s very competitive with hardwood or high-end tile when you consider the durability and unique appearance you get.
How do acid stained floors hold up in high-traffic areas?
Excellent durability when properly sealed! My main living area sees heavy daily traffic and still looks great after three years. The key is using a quality sealer and maintaining it properly. High-traffic areas may need sealer touch-ups every 3-4 years, but the underlying stain is permanent.

Can I change the color later if I don’t like the results?
The stain penetrates permanently into concrete, so you can’t remove it completely. However, you can apply additional stains to modify colors or use specialized concrete dyes to adjust appearance. I’ve successfully darkened areas and added accent colors to my original staining with good results.
Is acid staining suitable for all concrete surfaces and ages?
Most concrete works well, but very smooth or sealed surfaces need grinding first. New concrete should cure at least 28 days before staining. My 5-year-old floors stained beautifully, while newer sections needed more prep work. Always test a small area first to verify stain penetration and color development.
Acid Stain – EZ Concrete Supply
Acid Stain Concrete American Concrete Polishing & Coating
Acid Stained Floors Care and Maintenance Direct Colors
Stained Concrete Floors: Cost, How to Stain DIY, Maintenance Tips
Related Posts: