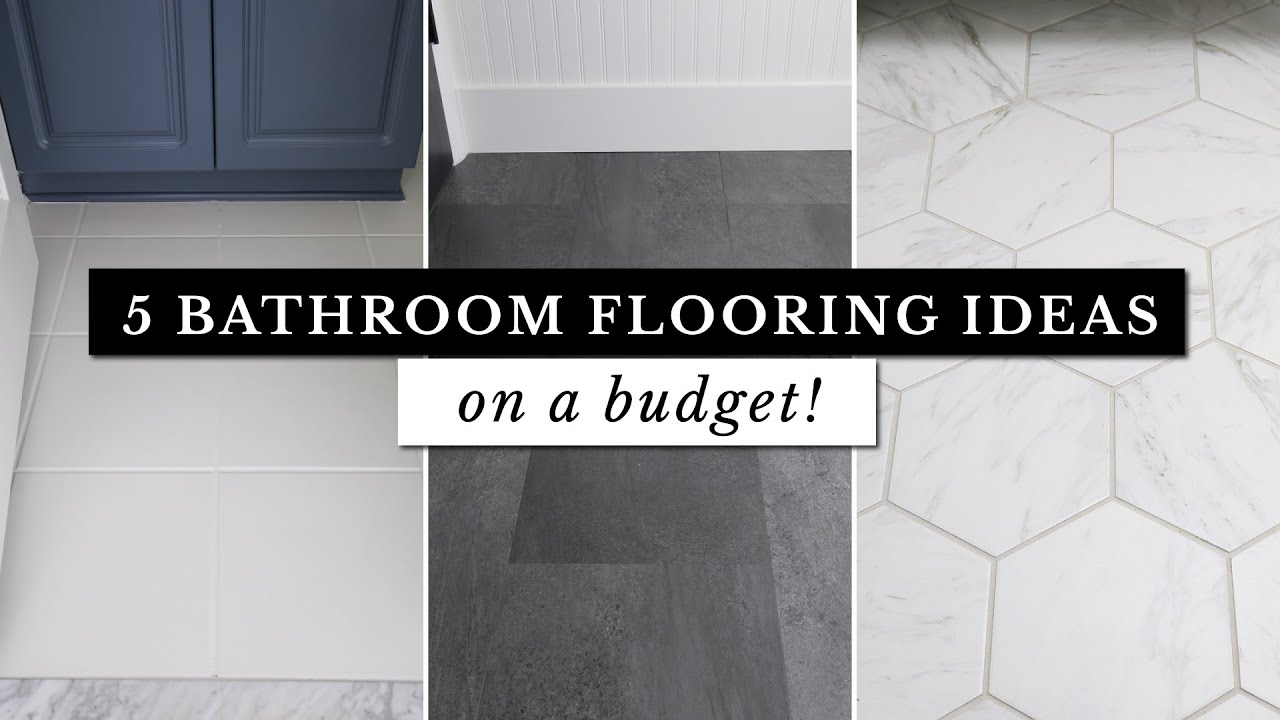
When I started rebuilding my bathroom on a budget, I realized I had to make wise decisions, particularly about the flooring. The floor must withstand rainfall, humidity, and regular foot activity while also being visually appealing. I didn’t want to spend a fortune on installation, so I concentrated on DIY choices that were inexpensive, simple to install, and durable enough to withstand a moist environment. After testing a few in my own home and assisting friends with theirs, I’ve identified numerous flooring possibilities suitable for a DIY bathroom project.
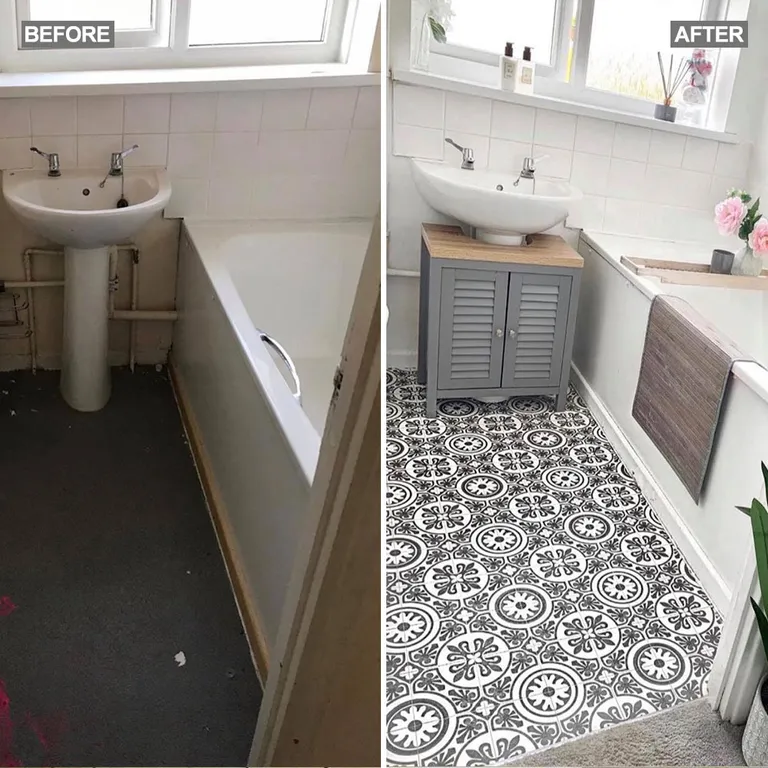
Peel and Stick Vinyl Tiles
One of the first things I tried was peel-and-stick vinyl tiles. They are easy to install and require almost no tools. I just cleaned the subfloor properly, measured a center point, and began setting them in place. They adhere to the floor and can be easily trimmed with a utility knife. The entire operation took me one weekend and drastically transformed the appearance of the bathroom.
What I loved best was the variety of styles available. I went with a marble-look style that created a clean and modern vibe without the need for actual stone. The tiles were water resistant and easy to clean, which is crucial in a bathroom. They held up very nicely, even when kids splashed water around at bath time.
Over time, I had to press down on a few corners that were lifting. But for the price and convenience, it was a reasonable trade-off. This choice is perfect for small bathrooms or powder rooms that require a quick and economical update. The tiles can last for years if they are properly prepared and applied.
Sheet Vinyl Flooring
I’ve also used sheet vinyl, which is perfect for a smooth, continuous surface with few seams. I laid it out in one piece and trimmed it to fit, which required a little patience around corners and fixtures. It’s a little heavier than peel-and-stick tiles, but it’s still DIY-friendly if you take your time with the cuts.
I liked how sheet vinyl provided a seamless, polished finish. Because there are no grout lines or edges, water has a difficult time getting below, which is ideal for humid bathrooms. I applied waterproof adhesive to the edges to keep everything in place and avoid curling over time.
Cleaning was a breeze. A simple cleaning was all it needed to keep its appearance fresh. I chose a wood-look design, which misled more than a few people into believing it was real. Sheet vinyl is very handy in odd-shaped bathrooms or when you wish to reduce the danger of water damage. It’s a solid option if you want both elegance and functionality.
Waterproof Laminate Floors
Waterproof laminate may seem unusual for a bathroom, but I tried it in my guest bath and it’s held up really well. I made certain to purchase the type advertised as waterproof, not merely water-resistant. It has a click-lock system, so there is no need for glue or nails, and I fitted it straight over a padded underlay.
The boards snapped together neatly, and the project was completed in a few hours. I chose a light oak finish, which added warmth to the room. It looked like real wood but was strong enough to withstand spills and steam. The surface was tough, so scratches and dents weren’t an issue.
The only thing I had to be careful about was sealing the edges. I used waterproof caulk along the baseboards and fixtures to prevent water from seeping underneath. With that in place, it remained tight and dry. Waterproof laminate is an option for anyone who likes the look of wood but does not want to deal with the upkeep.

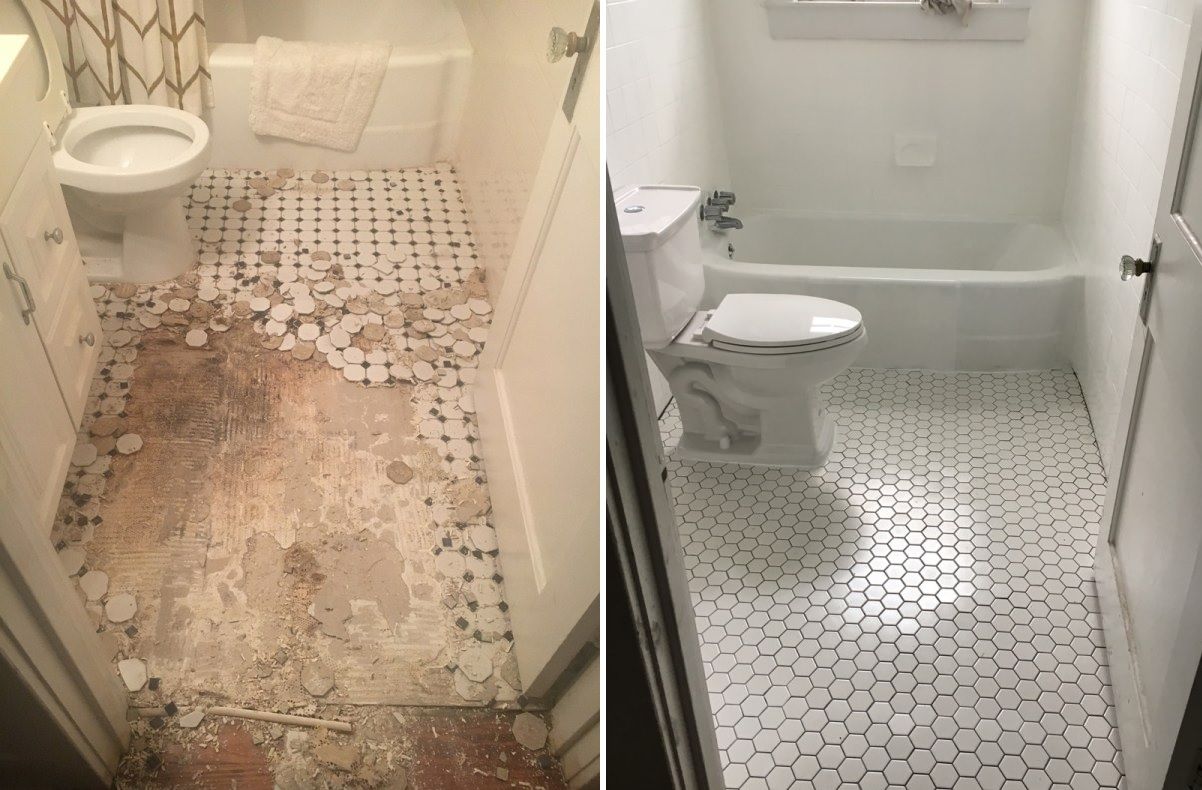
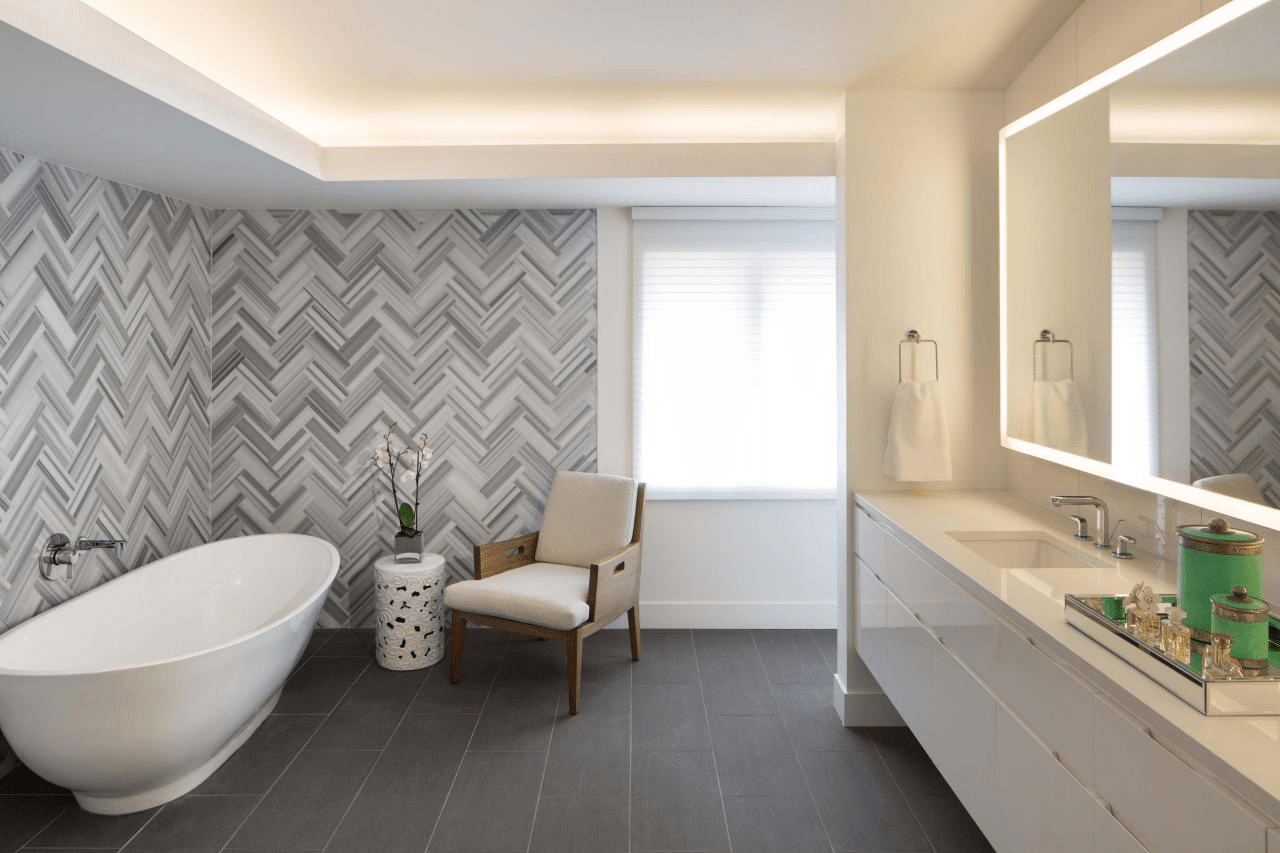
Ceramic or Porcelain Tiles
Installing ceramic or porcelain tile requires more effort, but I found it to be a manageable DIY project. I began by ensuring the subfloor was level and solid. After laying out my design, I applied thin-set mortar with tile spacers and a notched trowel before carefully placing each tile. Once it set, I grouted the gaps and sealed everything.
I like tile because it is durable and waterproof. It’s been in my main bathroom for years and still looks like new. The cool surface is useful in the summer, and it can withstand heat if you add radiant heating underneath. Furthermore, the design options are limitless, ranging from simple white squares to vibrant mosaics.
It’s a bit messier and takes longer than other flooring options, but I think it’s worth it for a long-term solution. As long as you take your time and follow each step, it’s totally manageable. If you want a custom look and aren’t afraid to get your hands dirty, ceramic or porcelain tile is a strong DIY option.

Cork Flooring
I tried cork flooring in a half-bath where I wanted something soft and natural underfoot. Cork has a nice springy feel, and it stays warm in cooler weather. I chose cork tiles made for wet environments and sealed them thoroughly after installation. The tiles glued down easily, and I used a rolling pin to press them flat.
Cork has a distinct look that makes the space feel warm and unique. It’s also great at absorbing sound, which I appreciated in a small house with echoey bathrooms. The tiles have a natural texture and tone that added character to the space without feeling rustic or dated.
I made sure to reapply the sealer every year to keep water from soaking in. As long as it’s sealed properly, cork can hold up well in a bathroom. It’s not as common as other flooring choices, but if you want something eco-friendly and a bit different, cork might be a perfect fit.

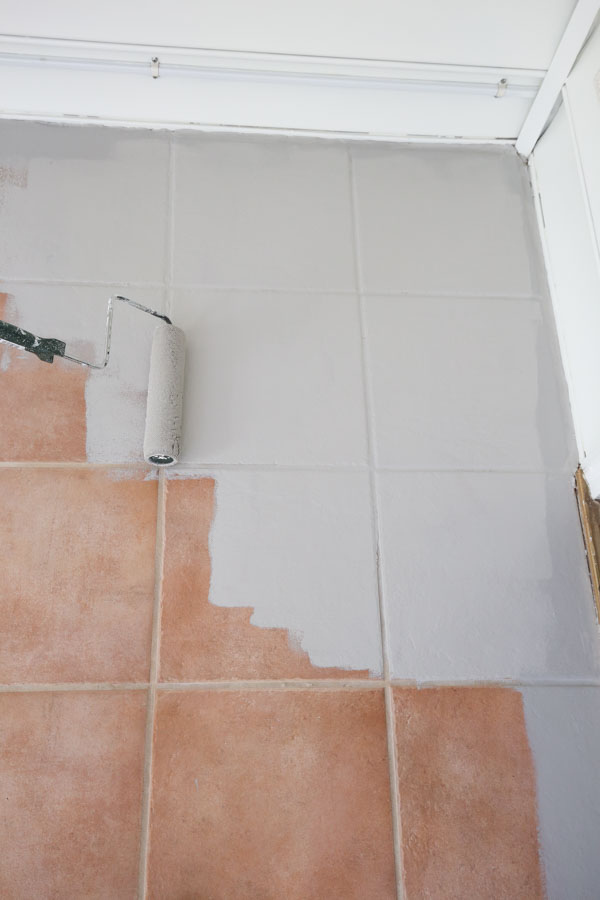
Painted Concrete
In my basement bathroom, I chose to keep it basic and go with painted concrete. I proceeded by washing the floor properly and fixing any cracks. After that, I applied a concrete primer followed by two coats of epoxy-based floor paint. I coated it with a sealant to keep moisture out and give it a small gloss.
This choice amazed me with how wonderful it looked. I chose for a dark gray tone that gave the room a clean and industrial appearance. It was the easiest floor to clean and didn’t collect dust or stains. Plus, it was slip-resistant, which increased safety to a damp environment.
The one negative is that it can feel cold underfoot, but I solved that with a tiny bath mat. Painted concrete isn’t fancy, but it’s budget-friendly and holds up better than you’d imagine. If you’re looking for a low-maintenance, no-frills option that yet looks neat, this is one of the most practical solutions out there.

Is it safe to lay laminate flooring in a bathroom?
It can be, but only if it’s waterproof laminate. I made the mistake of attempting ordinary laminate once, and it warped due to dampness. I now exclusively use waterproof versions and seal all edges with caulk to keep water from getting below. When done correctly, it is durable and resembles real wood.
What is the easiest DIY bathroom flooring project for beginners?
Peel-and-stick vinyl tiles are arguably the simplest. I didn’t require any special tools or adhesives, and it only took me a few hours to complete the flooring. As long as your subfloor is clean and dry, this is a forgiving project that you can finish in a weekend with little effort.

Can I install tile without professional assistance?
Yes, I have done it myself. It takes more time and effort than other flooring, but if you’re patient and follow the instructions—particularly the spacing and grouting—it’s possible. Simply make sure your surface is level and arrange your pattern ahead of time to avoid cutting too many tiles at problematic angles.
How can I avoid DIY bathroom flooring from being harmed by water?
The key ensures appropriate sealing. Regardless of the material I use, I always use waterproof caulk around the borders and baseboards. I also check for leaks on a regular basis and clean up any spills immediately away. Choosing moisture-resistant materials from the start can be really beneficial.
Is cork a decent option for bathrooms?
Yes, if it is properly sealed. I used cork in a half-bath and enjoyed the way it felt underfoot. It’s soft, toasty, and looks fantastic. Just make sure to use waterproof cork and seal it completely. Every year, I reapply a protective coat to keep moisture from causing damage.
Does painted concrete hold up in a bathroom?
Absolutely. I used it in a basement bathroom, and it worked great. You only need the correct paint (epoxy-based is preferable) and a suitable sealant. It is easy to clean and has excellent water resistance. It isn’t as warm or sophisticated as other floors, but it’s durable and inexpensive.
Underfoot: Unique Bathroom Flooring Ideas
Bathroom Flooring Ideas on a Budget – Angela Marie Made
Related Posts: