This is a fantastic solution which has been utilized since time immemorial by home owners across the globe. Bathroom vinyl tiles are produced in shades that are different and textures. You are able to also try things out with colored grout. These tiles can be arranged to form patterns & themes. You are able to find pages of well-liked paintings or maybe scenarist or perhaps plain geometric patterns. Other tiles can be used to add color to a white grout pattern.
Images about Floor Prep For Tile Bathroom
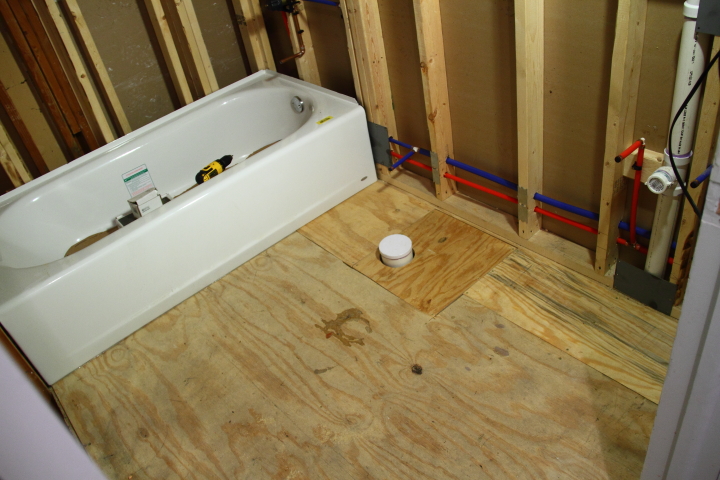
Floor Prep For Tile Bathroom
These tiles come in colors which are several and are Eco friendly too. Lastly, in case you are after design and quality for your luxury bathroom designs, stone flooring. Blue, red colored, green or yellow grout adds color along with an aspect of fun to the bathroom.
Prepping a Bathroom Floor for Tile JLC Online

For example, a Victorian style bathroom can be tiled using pale blue or green or even beige colored tiles with fragile floral as well as artistic pages. You are able to not just choose the best appearance for your bath room, however, you are able to additionally create personalized tiles by choosing two patterns which are different and affixing them within an alternating layout.
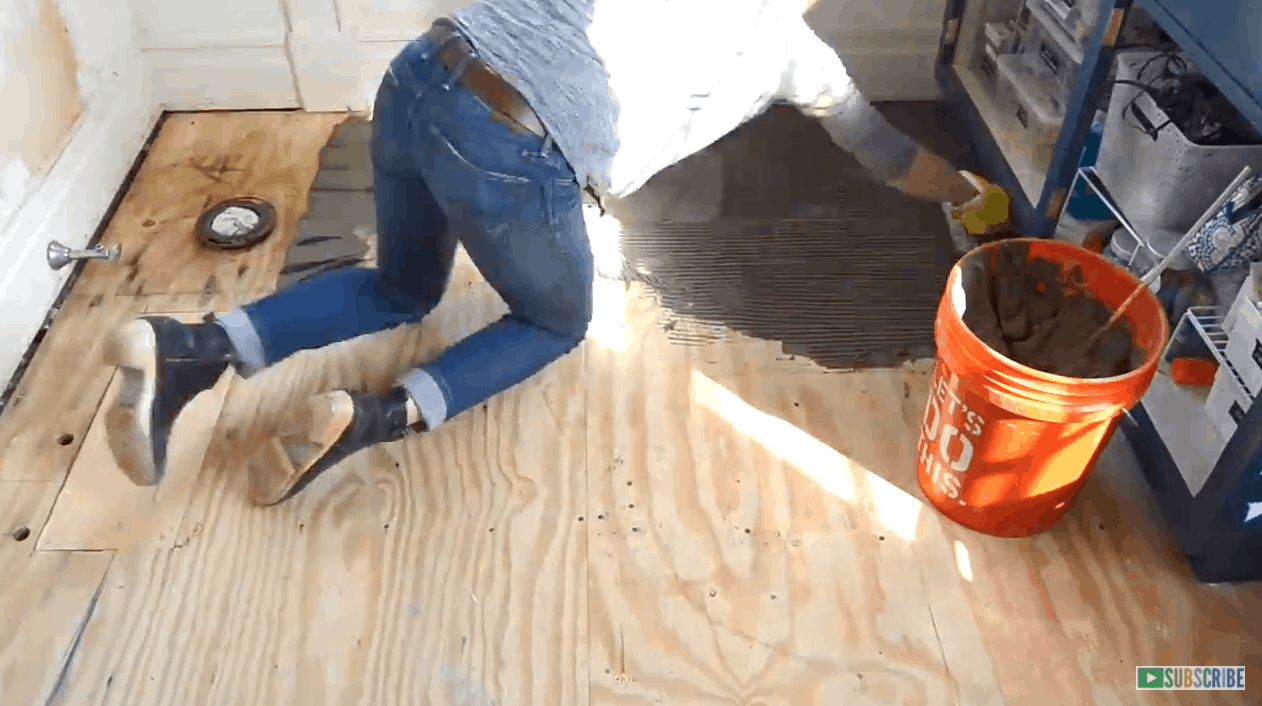
How to Prep for Tile – Taping Seams – Bower Power
Best Way to Prep Your Floor for Tile Installation u2013 The Good Guys

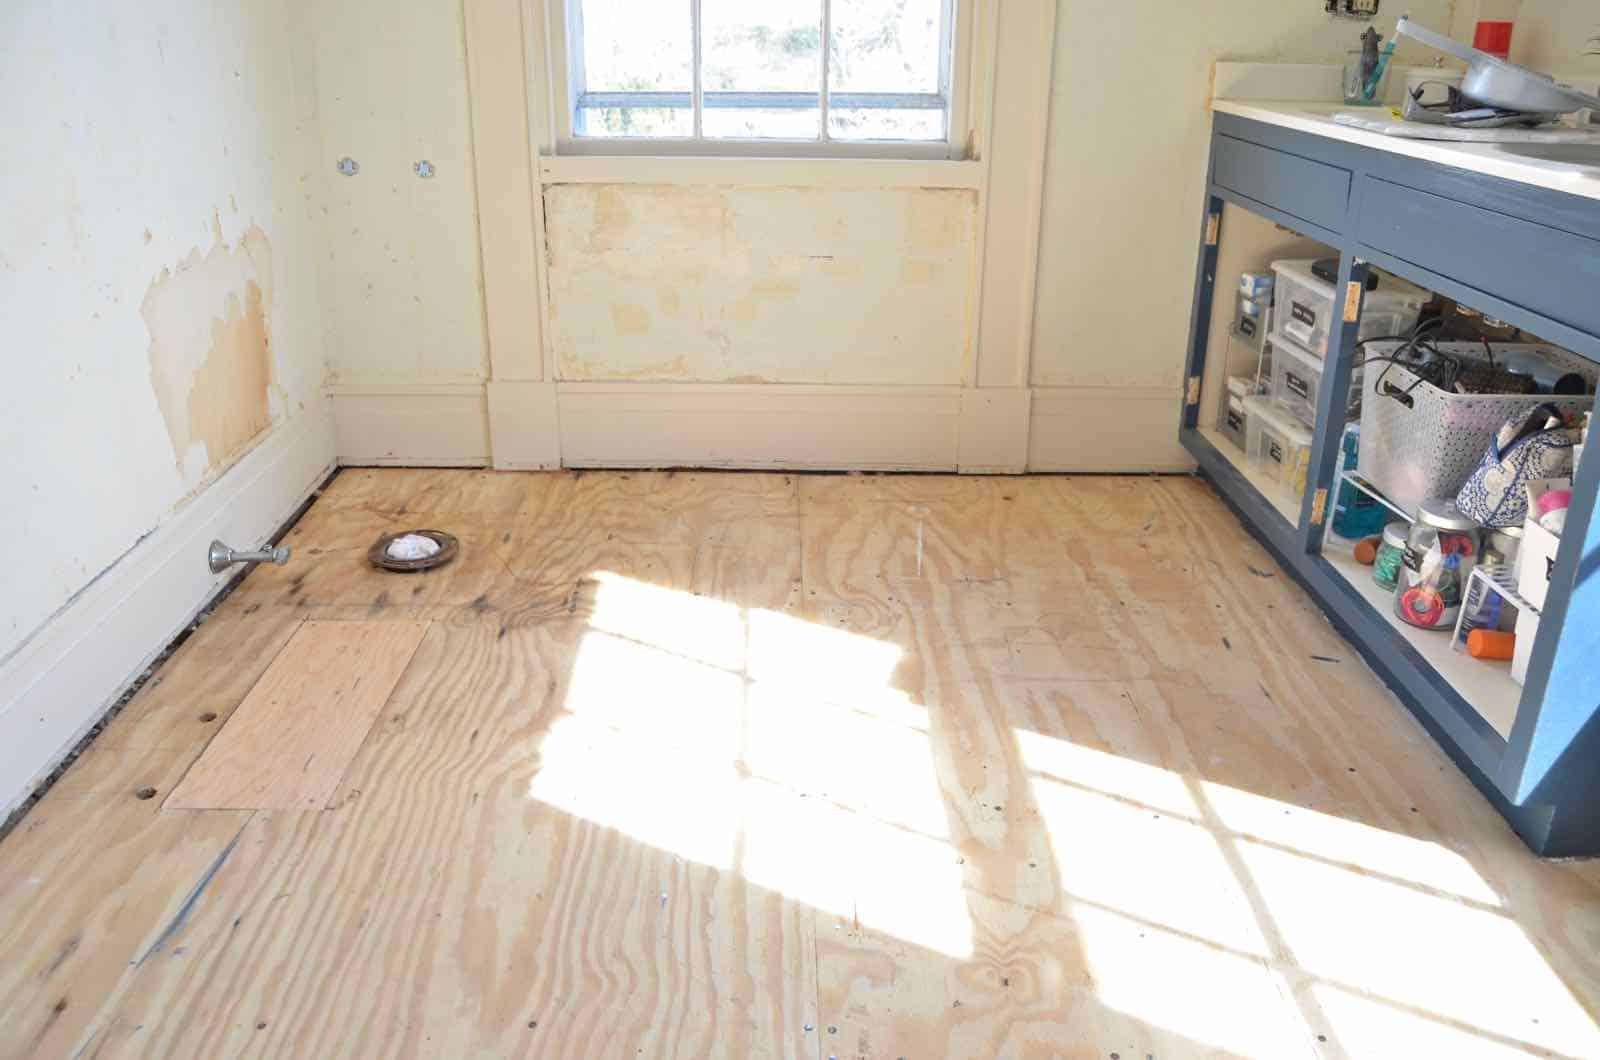
How to Prep and Tile a Floor – At Charlotteu0027s House
3 Shower-Pan Choices for a Solid Tile Floor Installation – Fine

How to Prep and Tile a Floor – At Charlotteu0027s House
How to Tile a Bathroom Floor with Wickes

How To Tile a Shower – Floor Tile Installation u0026 Prep #1
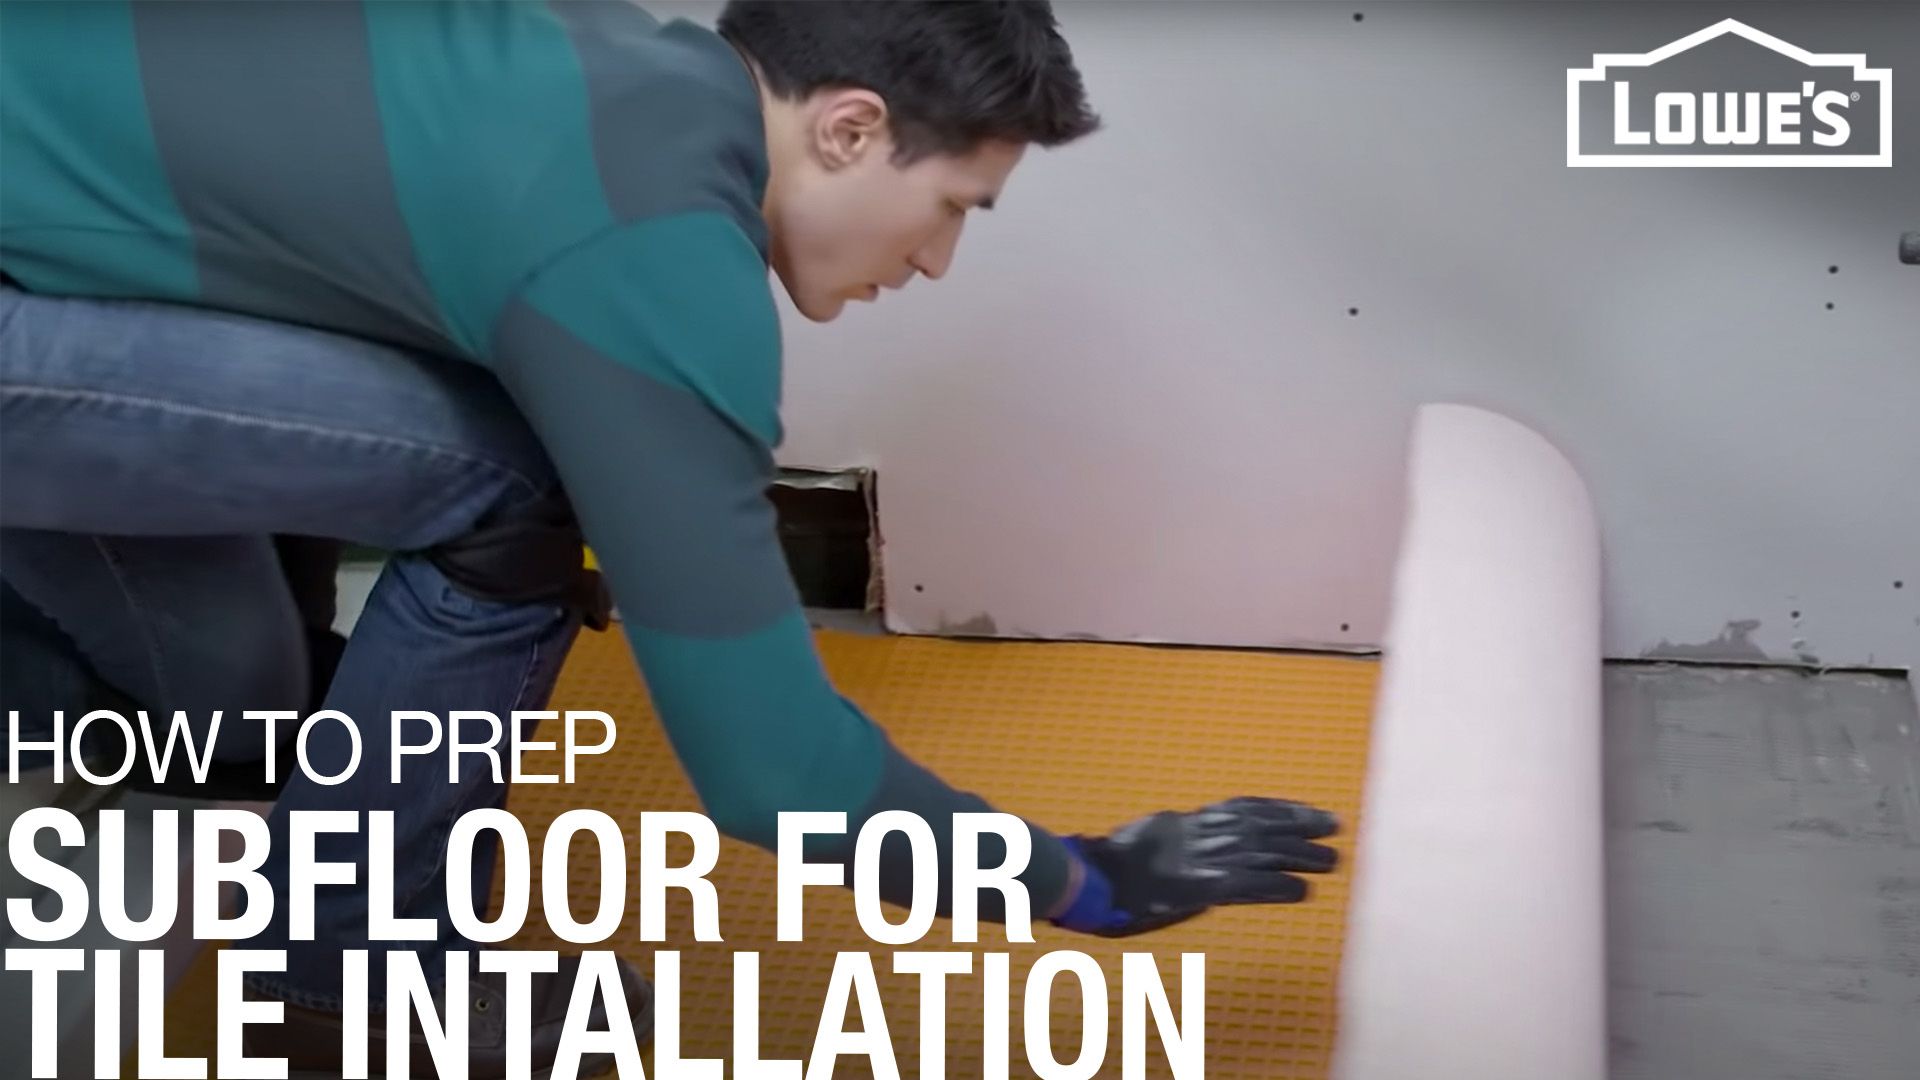
How to Prepare a Subfloor for Tile Installation
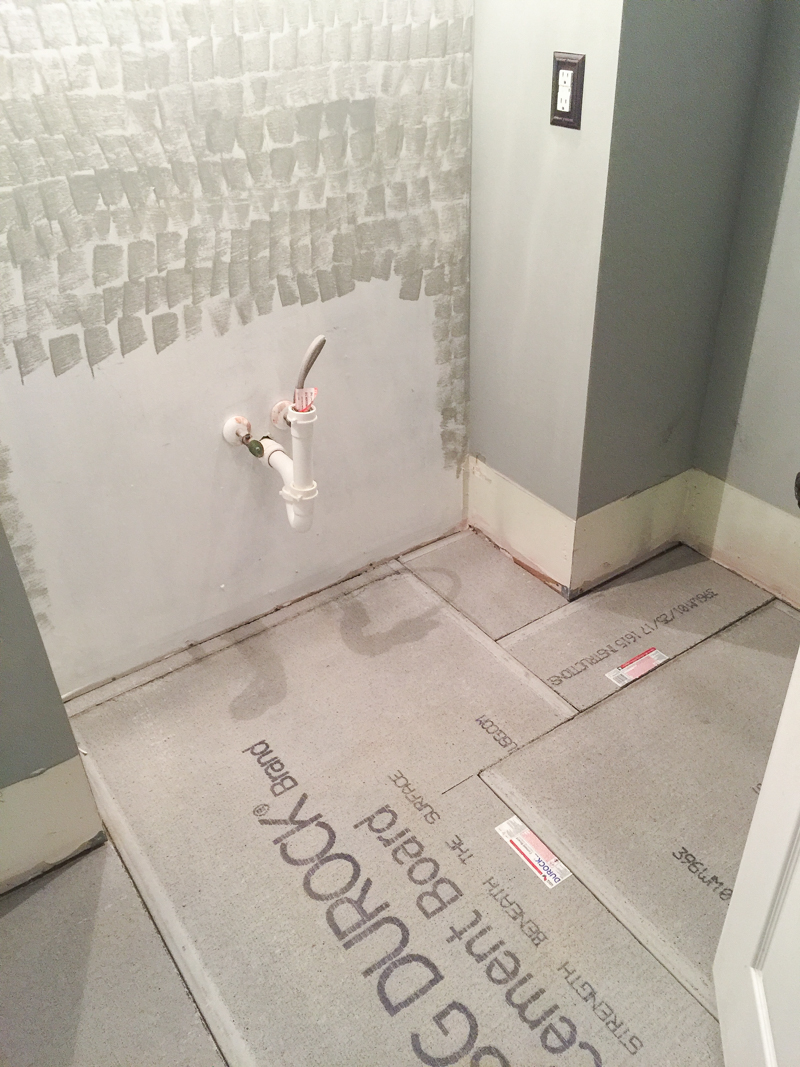
How to Install Cement Board on a Floor (DIY) Family Handyman

How to Prep Subfloor for Tile Installation

Prep a Tile Floor
Herringbone Tile Floor – How to Prep, Lay, and Install

Related Posts:
- Reglazing Bathroom Floor Tiles
- Colorful Bathroom Floor Tile
- Vinyl Flooring For Bathrooms
- Bathroom Flooring Ideas
- Bathroom Floor Patterns
- Bathroom Tile Floors
- Modern Vinyl Bathroom Flooring
- Mosaic Bathroom Floor Tiles
- Wood Bathroom Floor
- 1930s Bathroom Floor Tile
Floor Prep For Tile Bathroom: A Complete Guide
Preparing the floor in your bathroom for tile can be a daunting task, but with a few simple steps, you’ll be on your way to having a beautiful, tile-ready bathroom floor. Floor preparation is one of the most important steps before installing tile, so it’s important to get it right. In this article, we’ll be discussing different types of floor preparation, the tools and materials needed, and some frequently asked questions.
Types of Floor Preparation
One of the first things you should consider when preparing your bathroom floor for tile is the type of floor preparation that will be necessary. Depending on the existing condition of your bathroom floor, you may need to prime, level, patch, or clean the existing surface before installing tile.
Priming
Priming is a process that involves applying a sealant or primer to the existing floor surface to provide a smooth and even base for the tile. Primers are designed to adhere to the surface and create a protective layer that will help ensure that the tile adheres correctly. It’s important to choose a primer that is specifically designed for use with tile, as some primers may not be suitable for this application.
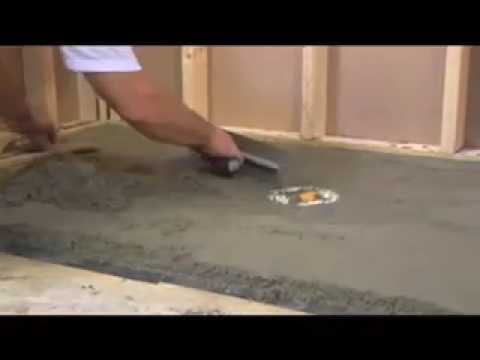
Leveling
If your existing bathroom floor isn’t level or has dips and bumps, you may need to level it before installing tile. Leveling is a process that involves using a self-leveling compound or other material to fill in any uneven areas and create an even surface. This is an important step in creating a solid foundation for your tile.
Patching
Patching is necessary if there are any holes or cracks in the existing surface. You’ll need to fill these in with a patching compound before installing tile over them. It’s important to make sure that the patching compound is properly mixed and applied evenly over the affected area.
Cleaning
Before installing tile on your bathroom floor, you’ll also need to make sure that it is clean and free of debris. This can be done by sweeping or vacuuming the area and then mopping with warm water and mild soap or detergent. It’s important to make sure that all traces of soap are removed before applying the primer or self-leveling compound.
Tools & Materials Needed
Before starting any kind of floor preparation process, you’ll need to make sure you have all the necessary tools and materials on hand. These include:
• Primer or sealant
• Self-leveling compound
• Patching compound
• Trowel
• Sponge
• Bucket
• Warm water
• Mild soap or detergent
• Vacuum cleaner or broom
• Notched trowel
• Grout sponge
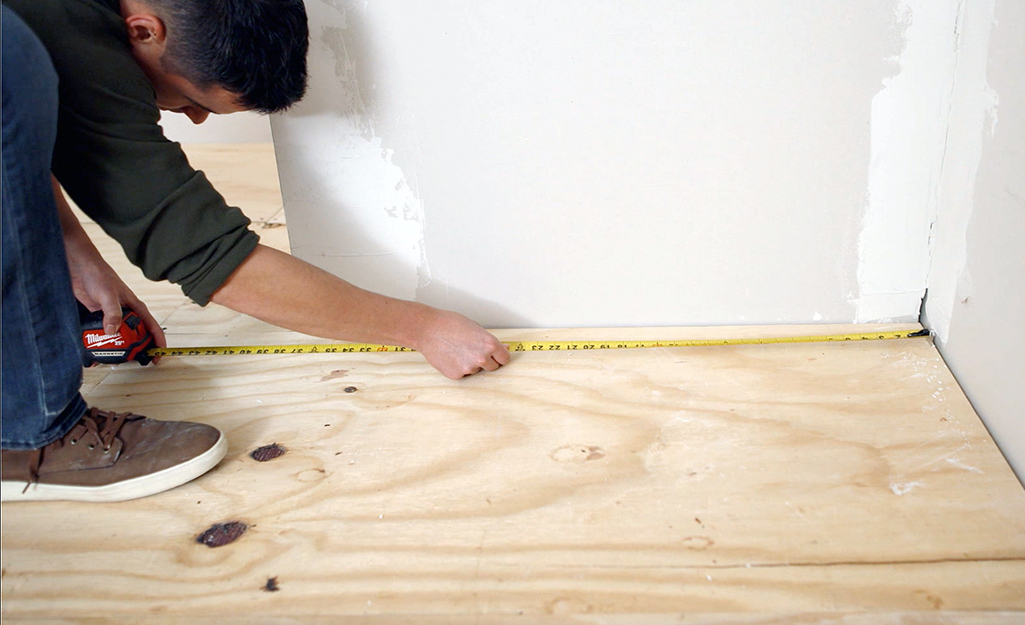
• Level
• Tape measure
• Safety glasses and gloves
• Protective clothing
Once you have all of these items on hand, you’re ready to begin the process of floor preparation for tile installation in your bathroom. FAQs About Floor Prep For Tile Bathroom
Q: What type of primer should I use?
A: When selecting a primer for use with tile, it’s important to choose one that is specifically designed for use with ceramic tiles. To ensure proper adhesion and protection, look for primers that are water-resistant and mildew-resistant.
Q: How do I know if my bathroom floor needs leveling?
A: If you notice any dips or bumps in your existing bathroom floor surface, then it likely needs to be leveled before installing tile. To check for unevenness, use a level or tape measure to check for any high or low spots in the existing floor surface.
Q: